This post is part of the Home network v2 series.
We recently moved the twins into their own bedrooms, after sharing a room for nine years — it was finally time for some privacy 🙂
With their own rooms; they also got their own computers — a life long dream 😉 Those computers needs network, proper network, not Wi-Fi.
Table of contents
The plan
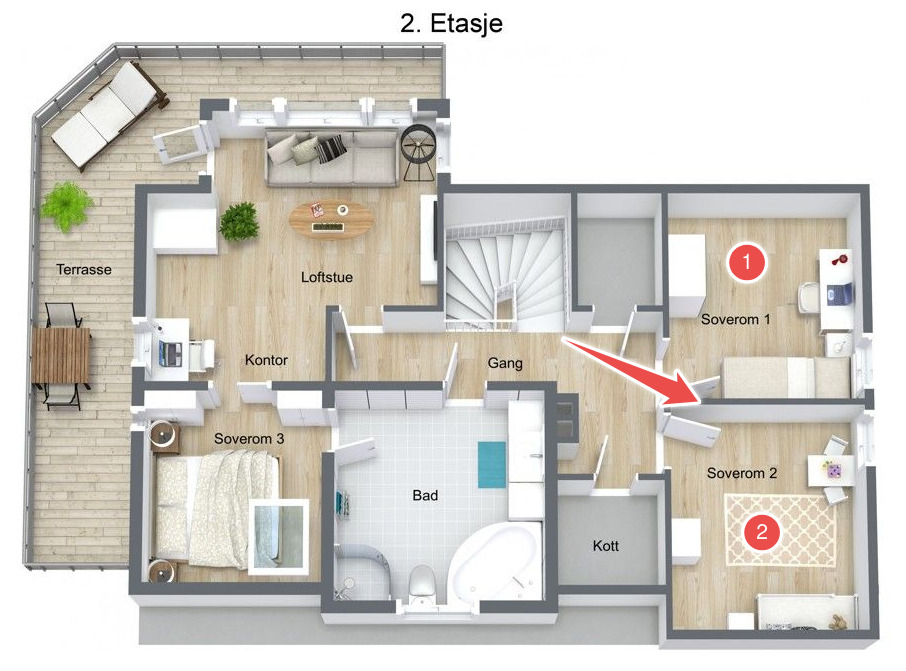
The two rooms, marked with 1 and 2, are separated by an insulated interior wall. My plan was to drill down from the attic, into this wall. And pull conduits between the wall boards and insulation, on both sides. Then terminate the new network outlets in the attic switch I installed earlier.
Even though their desks are by the window; I decided to install the outlets by the door (arrow on the floor plan), because:
- There is electricity inside the wall by the desk
- I could use the ventilation duct by the door as a reference when drilling
- Having the network outlets behind the door means it will never get in the way of any cabinets along the wall
Drilling
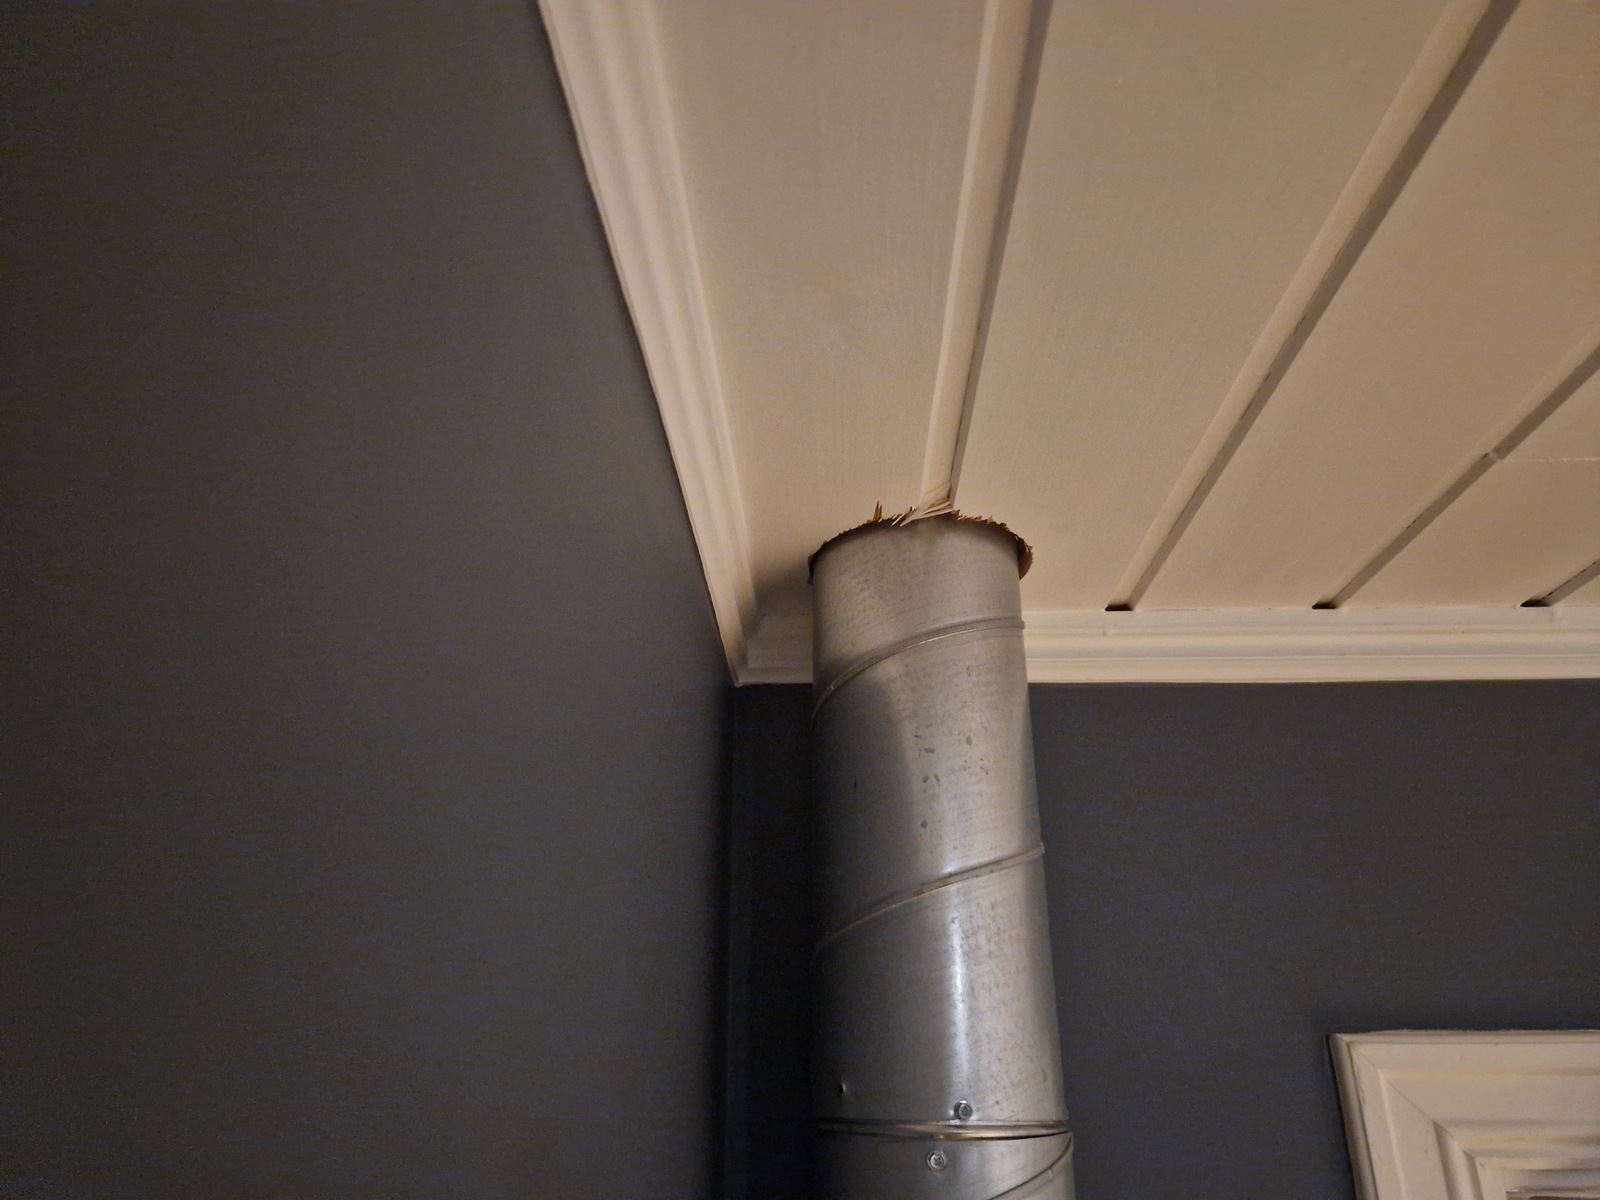
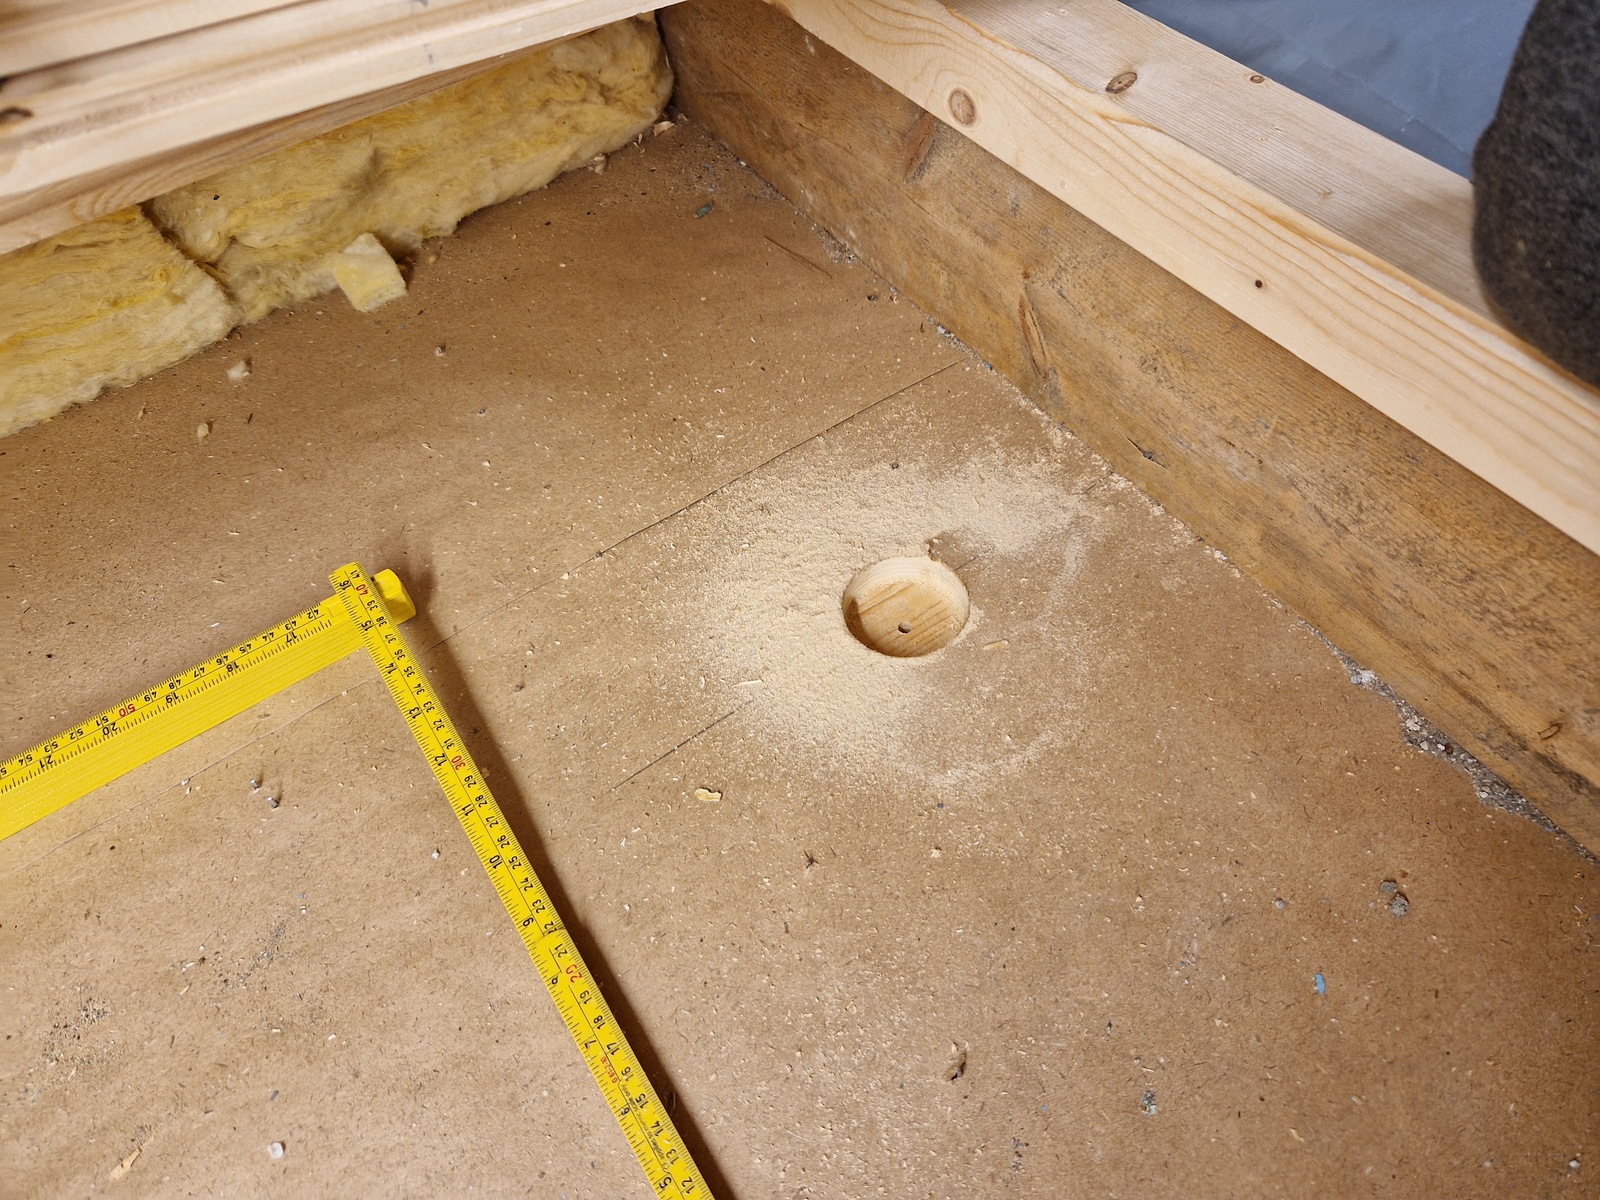
The first challenge was figuring out where to drill, the interior wall is not visible from the attic. Luckily there is a ventilation duct passing through bedroom #1, continuing down to the 1st floor.
I measured the distance between the wall and the duct — 5.5 cm.
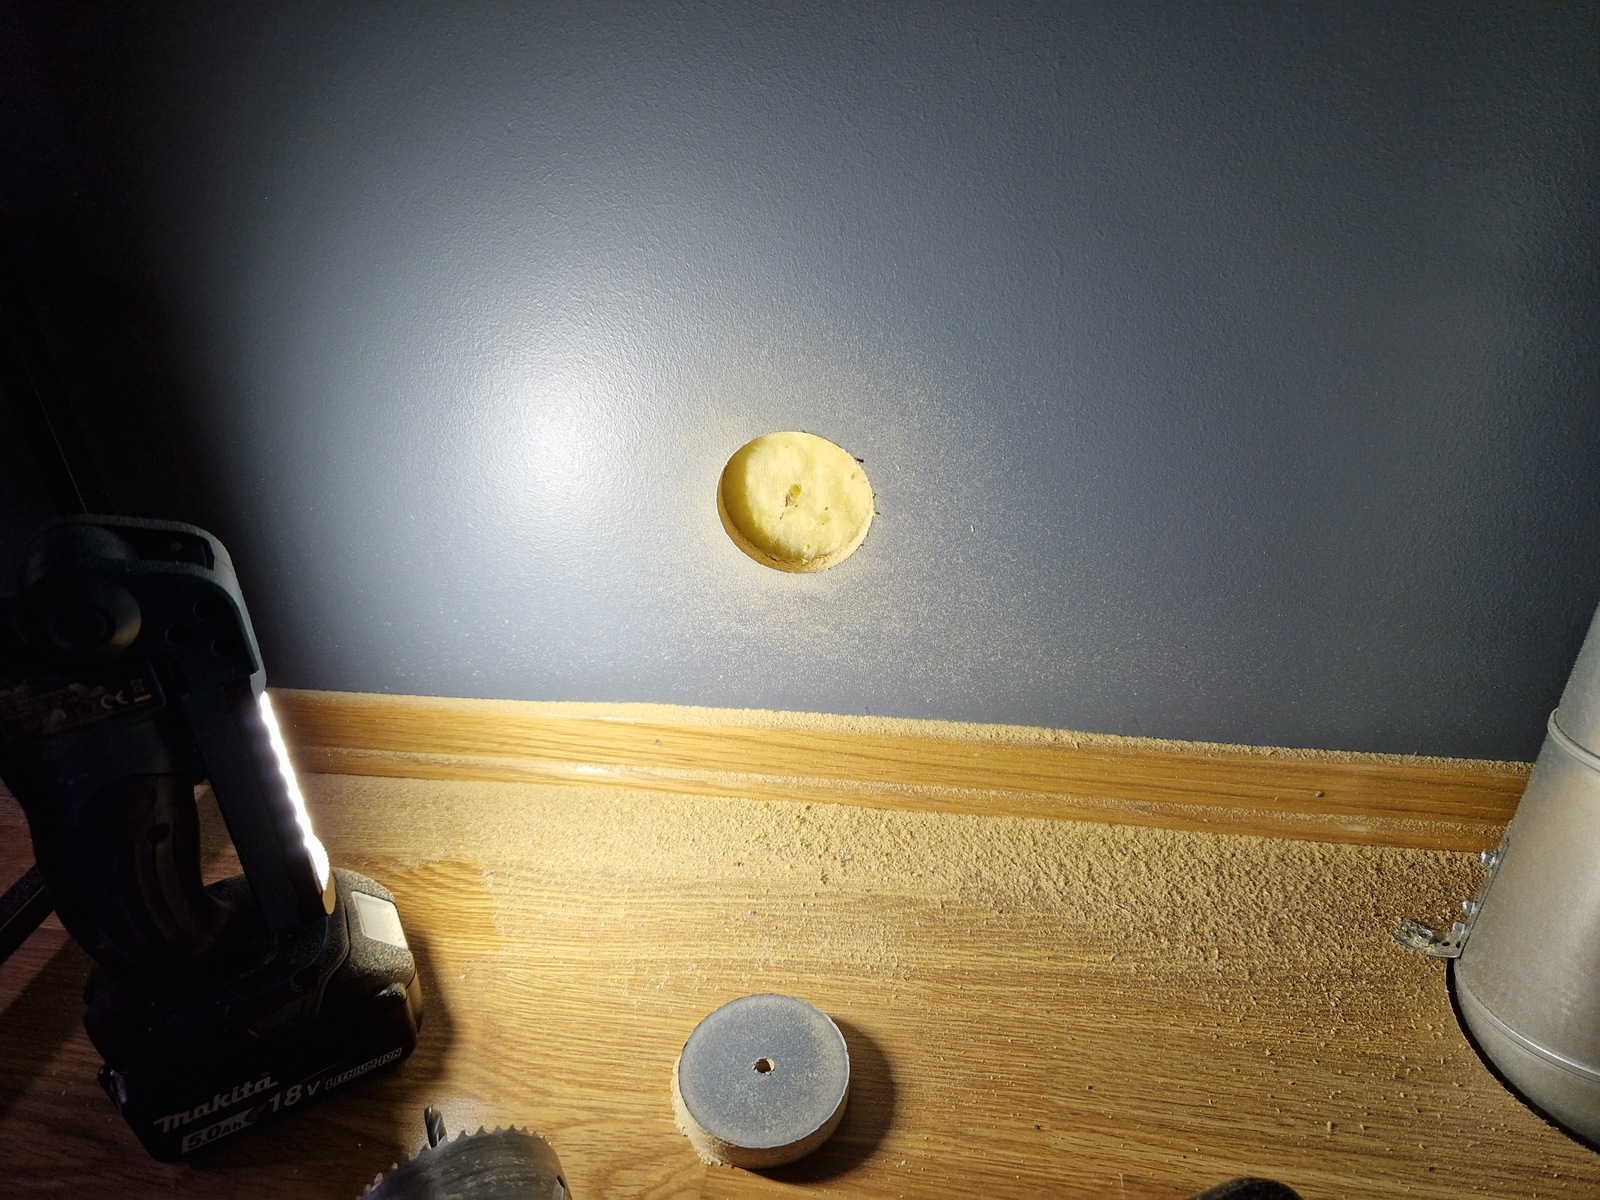
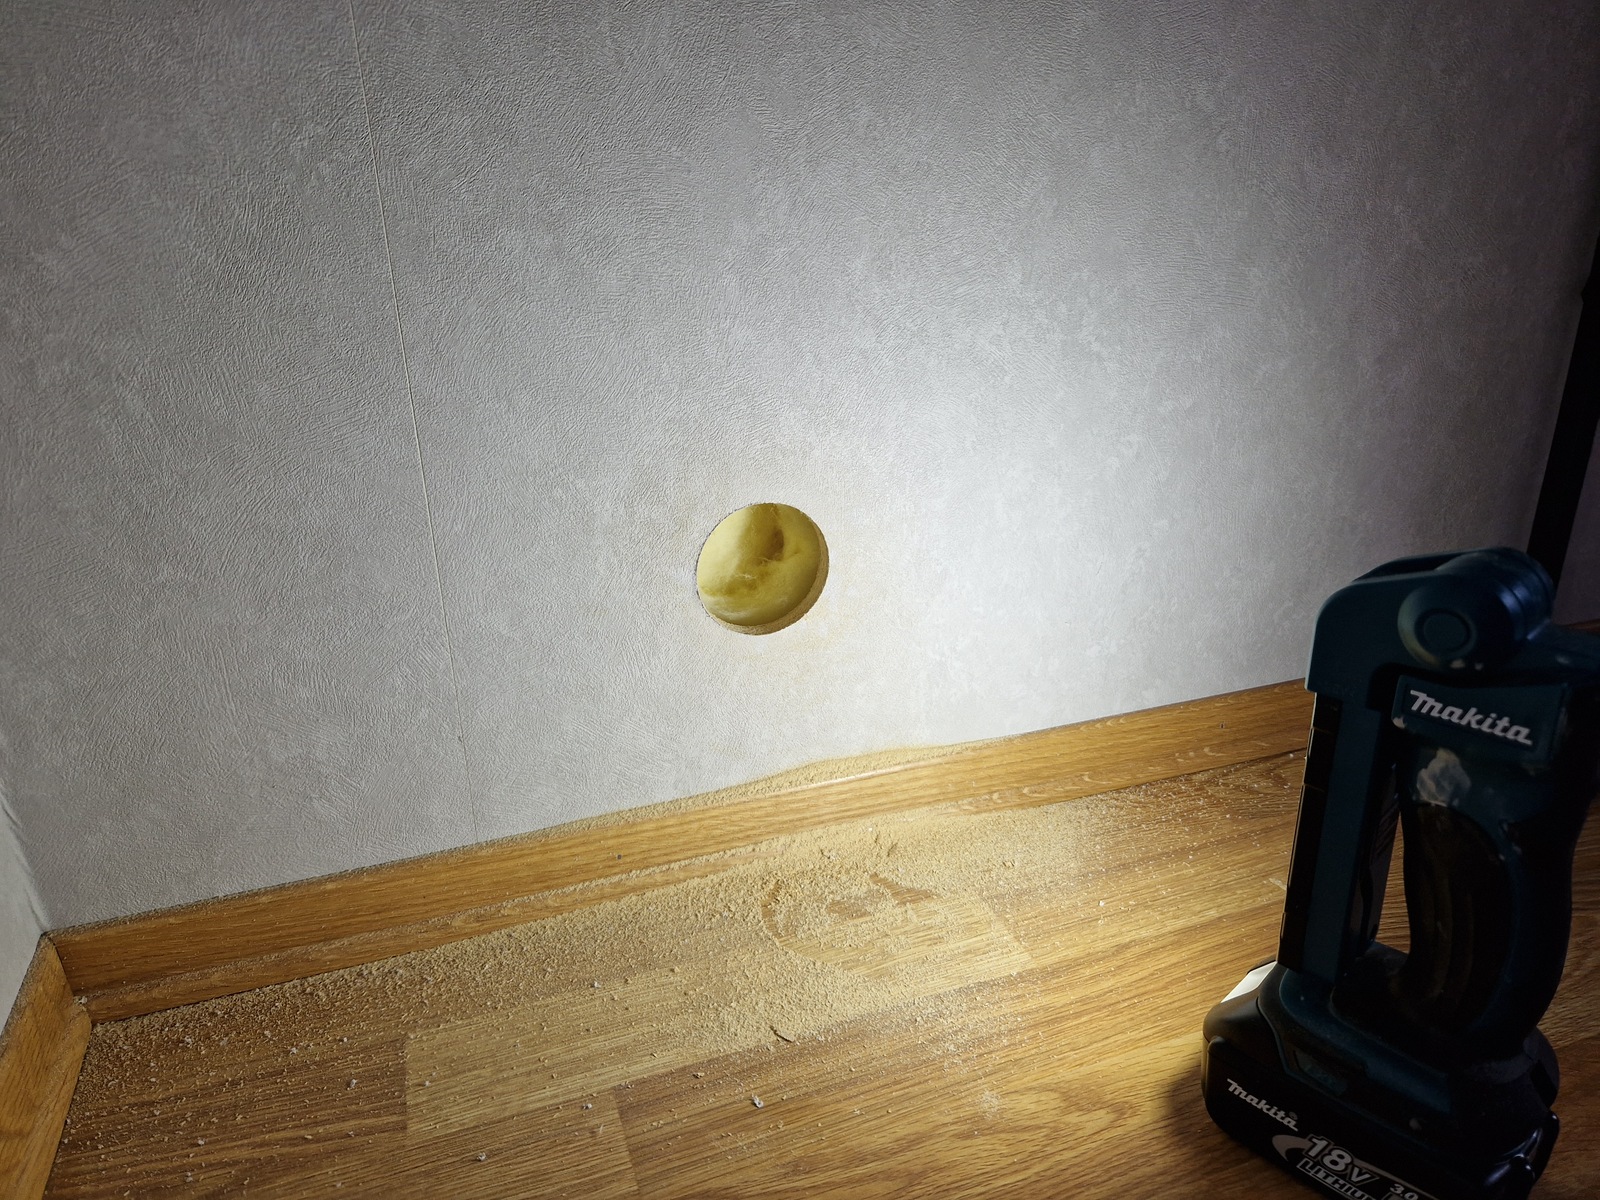
Then I drilled a 73 mm hole in the interior wall in bedroom #1, I made sure to have it the same distance from the floor as the rest of the outlets in the room.
Now I was able to measure the thickness of the wall plate, 1.2 cm, and the inner width of the interior wall itself: 10 cm.
Using math; I calculated that the center of the interior wall should be 5.5+1.2+(10/2) = 11.7 cm from the ventilation duct.
My reference duct was on the other side of a ceiling joist, so I used a speed square to transfer the measurement as best I could.
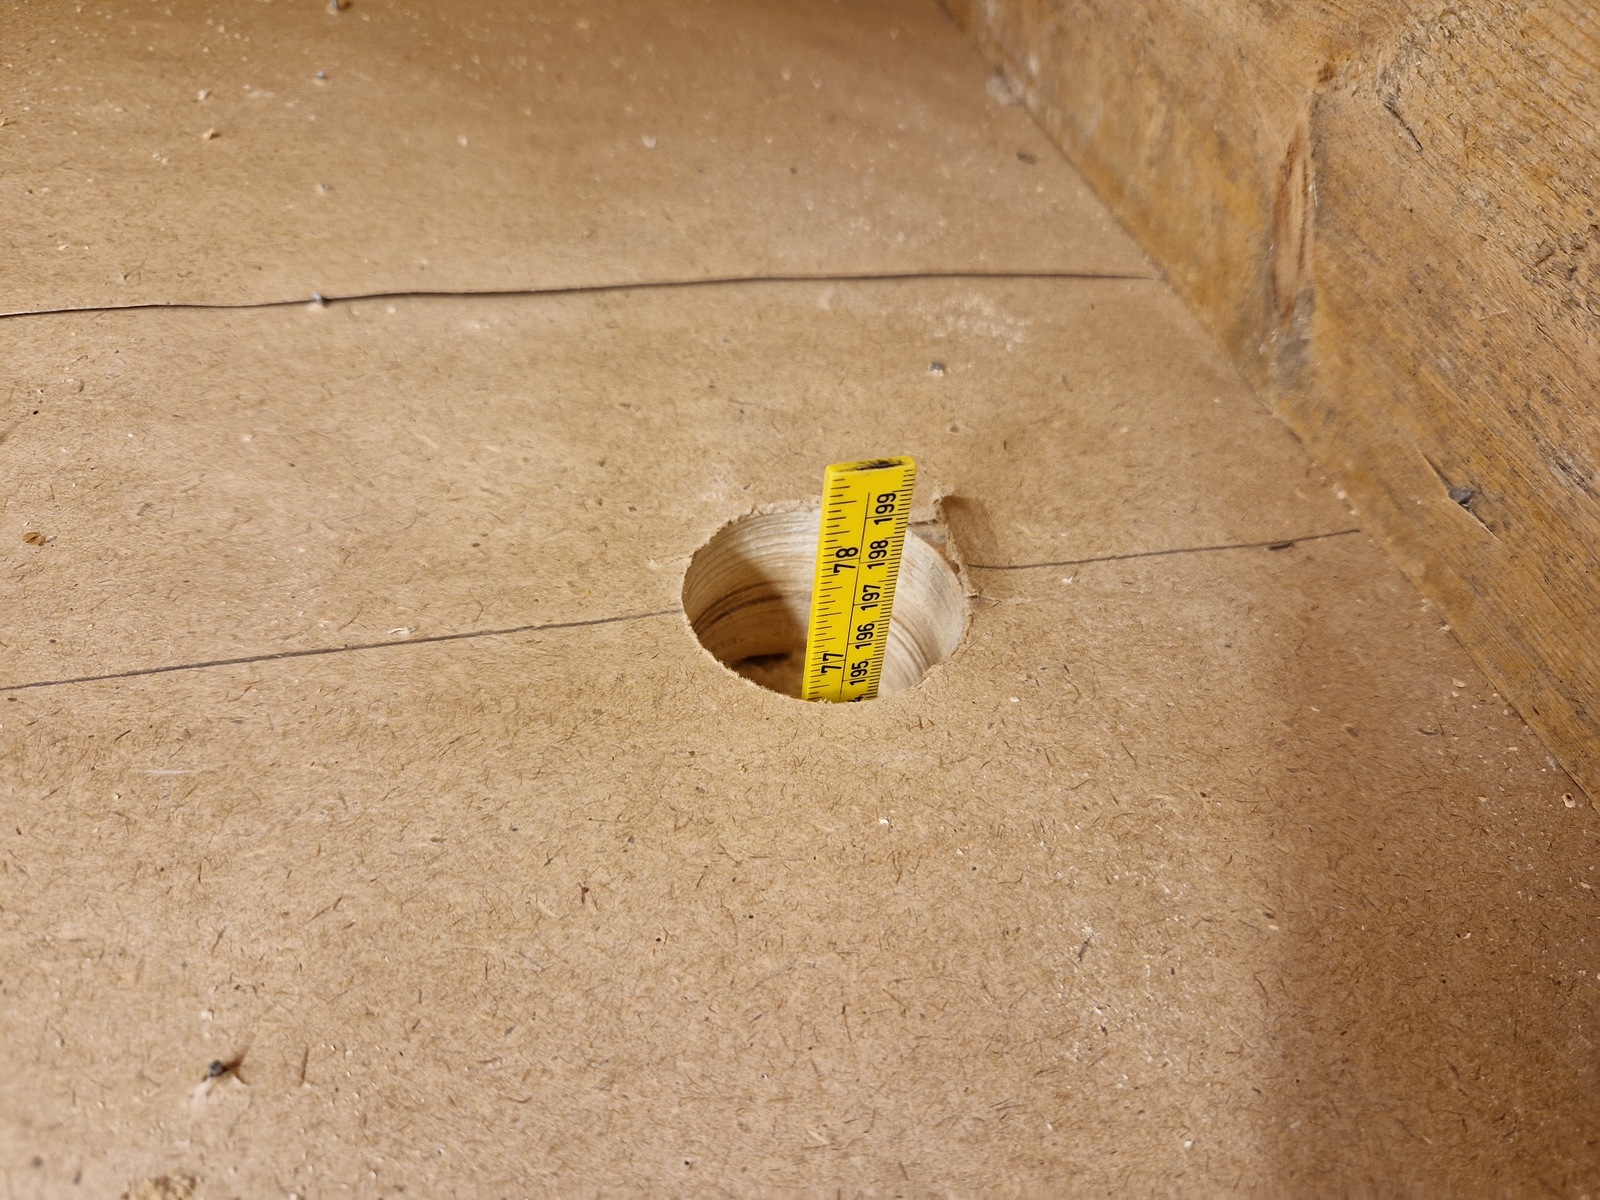
After spending an eternity questioning and checking my measurements — I finally drilled through. I started with a small drill bit, to make sure I didn’t come out in the ceiling, or through a molding.
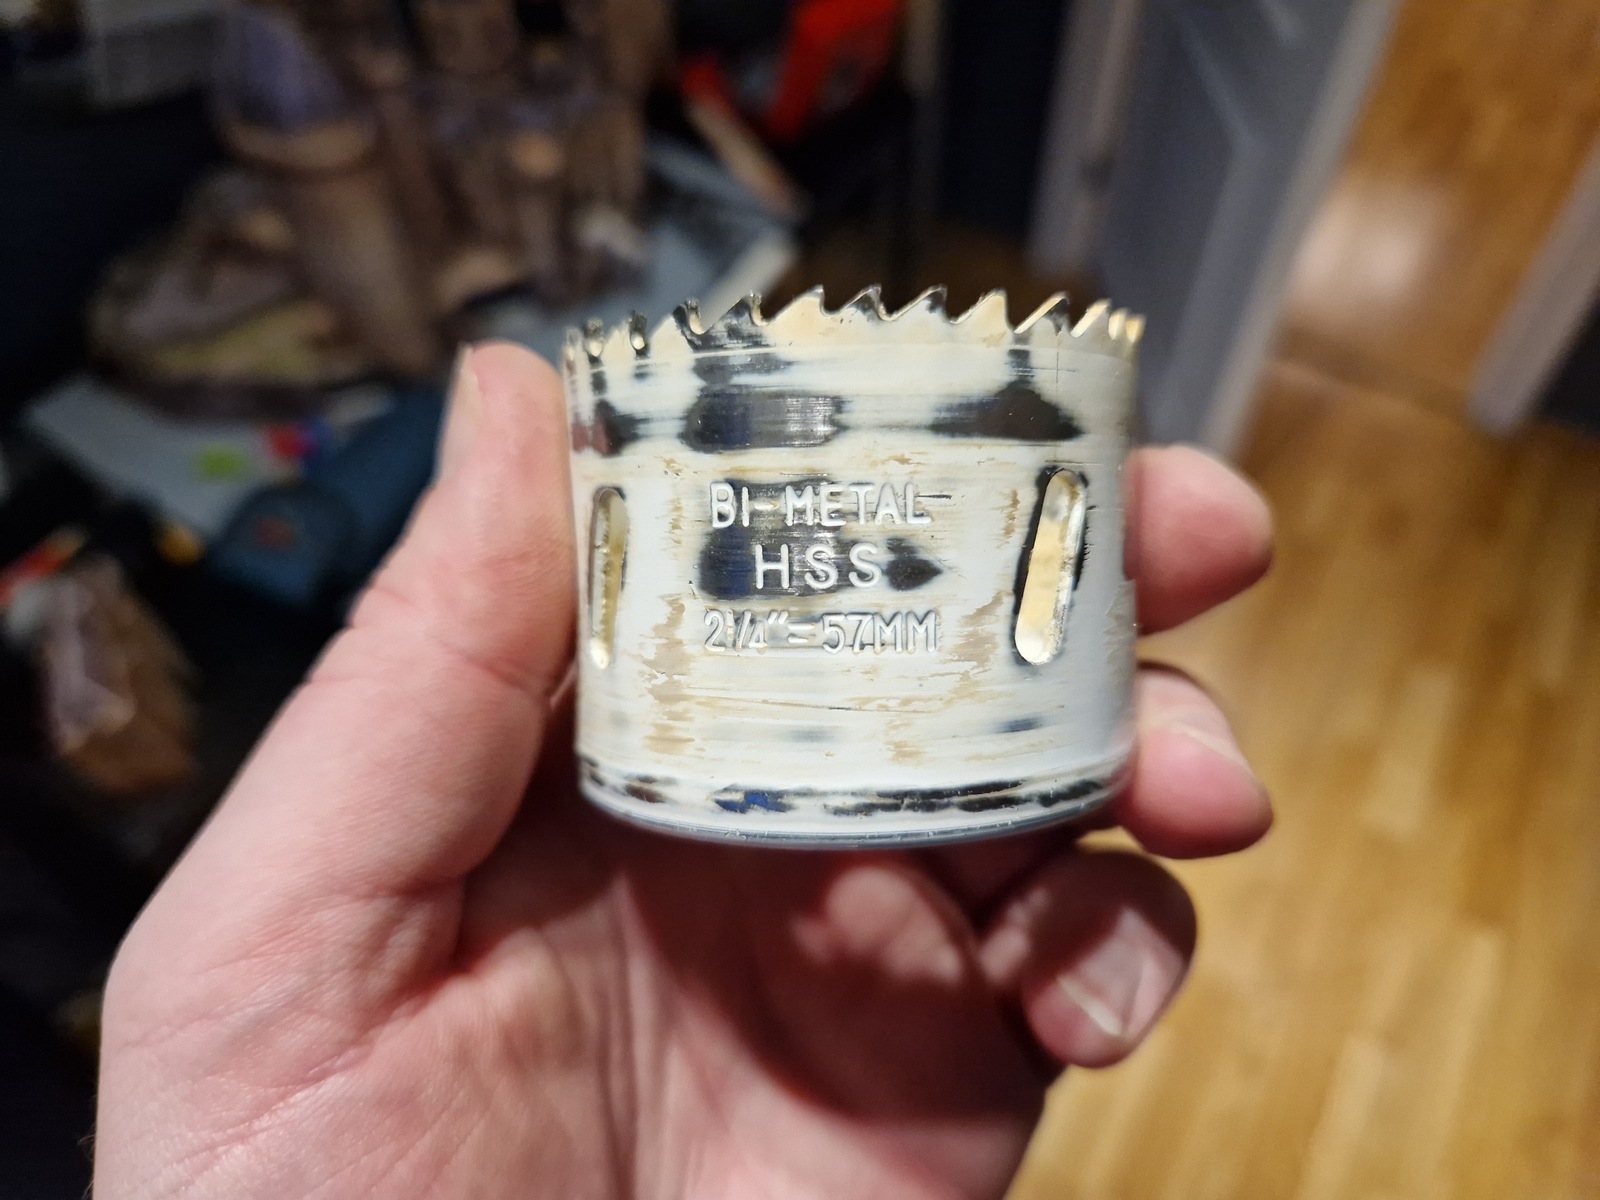
Everything looked good, so I drilled with a 57 mm hole saw.
After a few centimeters, I got through the first “layer”. Beneath was what looked like a 2"4 — it definitely didn’t look like the underside of the ceiling boards. I concluded it had to be the wall top plate 😎
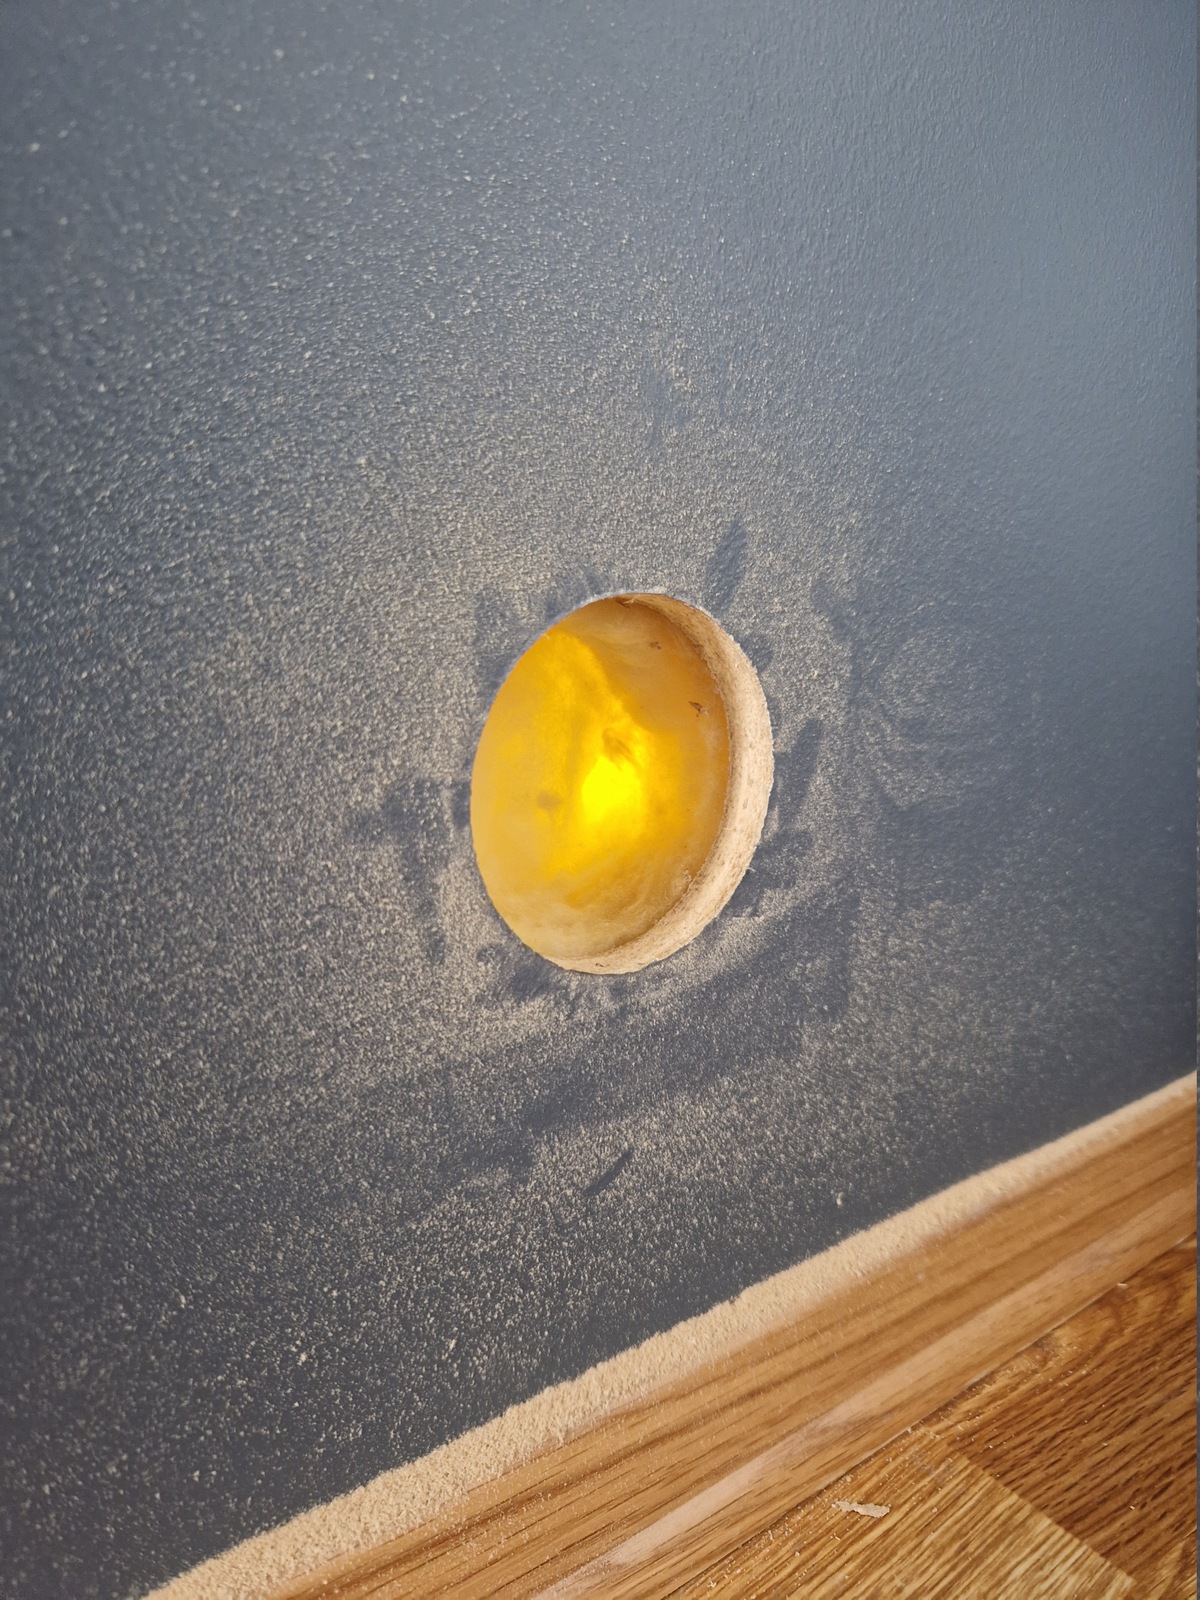
Feeling confident I was in the right place; I drilled through it. And voila! I could see the insulation in the interior wall 🥳
Poking my finger down; I could feel the backside of both wall plates. And my hole was pretty much centered — win! 😎

I put my folding ruler down to check for any fire stops, but I got down 2 meters without hitting anything. Another win 😎
It was getting late; so I put the insulation back and went down to drill the 73 mm hole in the other bedroom’s interior wall.
I drilled this hole about 10 cm closer to the door, to avoid the wall boxes conflicting.
I cut into the insulation, making space for the wall boxes. With both holes drilled; light was visible through the insulation.
It’s time for the next step 👇
The conduit
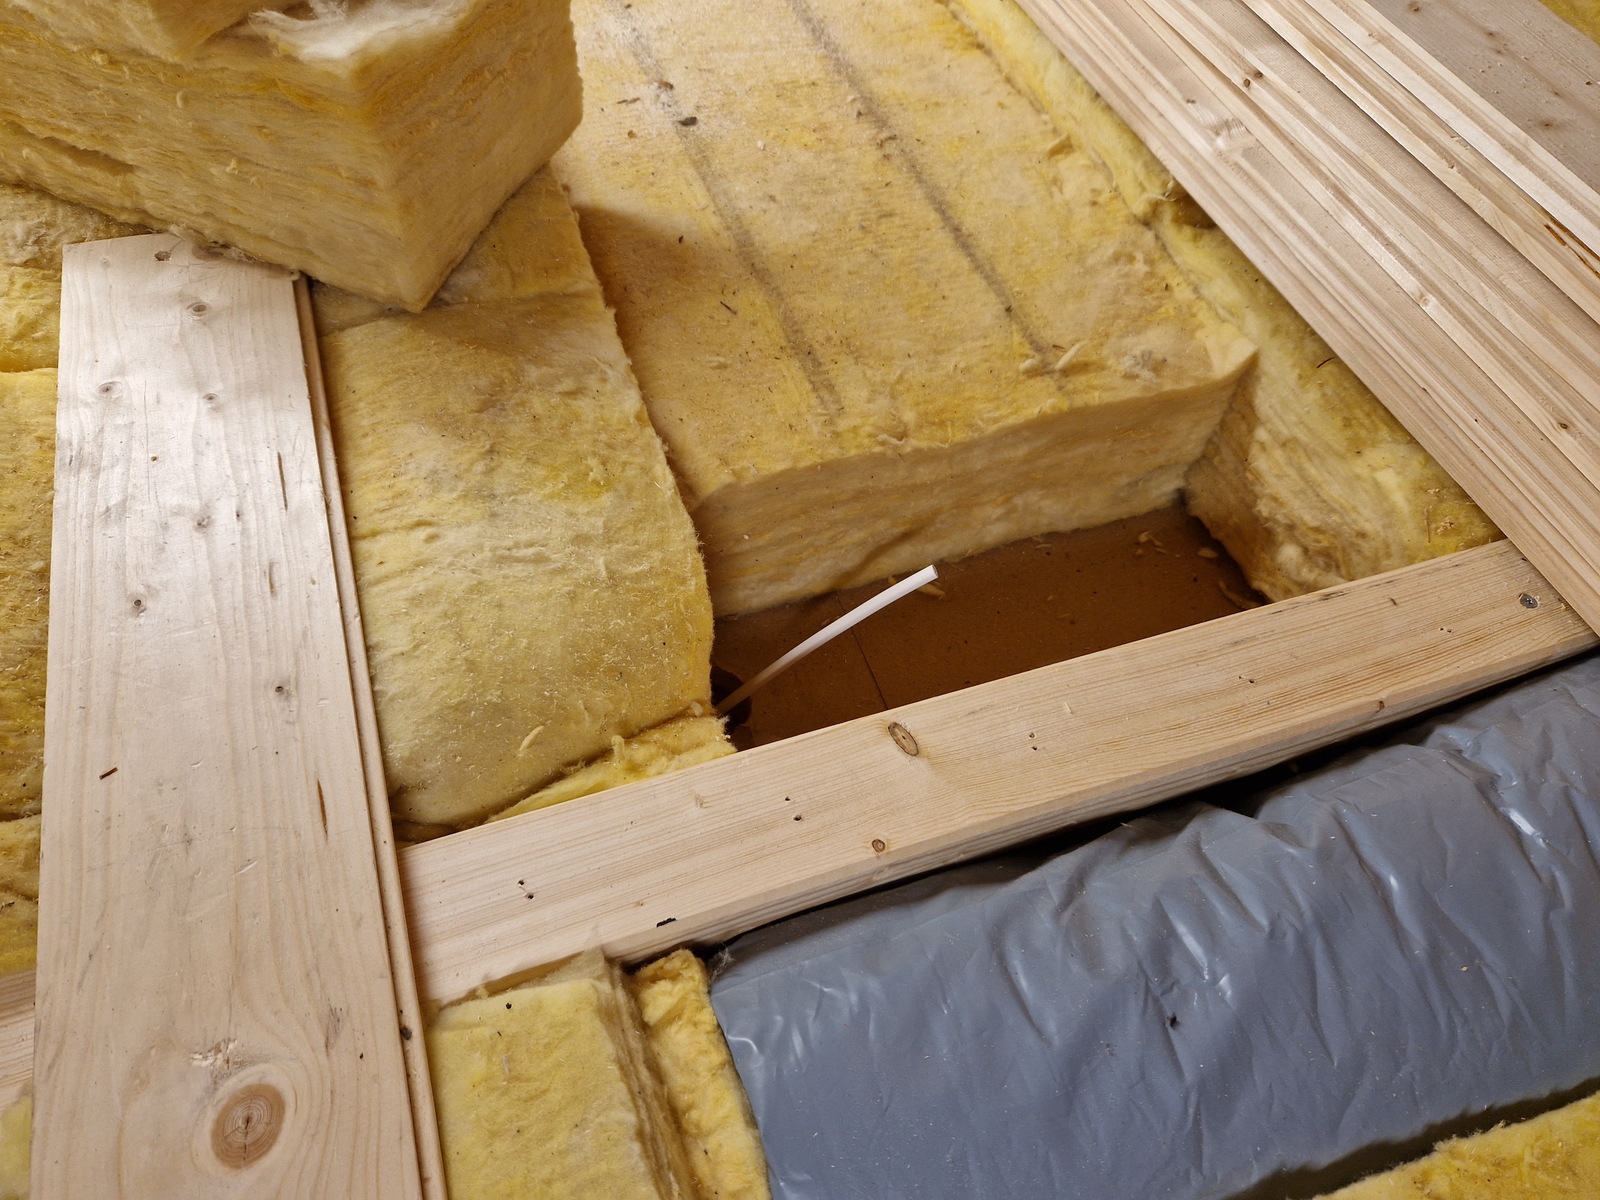
My plan was to push my folding ruler down, between the wall and insulation — and pull up a piece of string to pull the conduit.
It’s important that the conduit gets pulled in the space between the wall and insulation, pulling through the insulation is not possible and could ruin the insulation.
My folding ruler wasn’t long enough to reach all the way from the attic to the 73 mm hole, so I duct-taped a piece of stiff mains cable to it 🙂
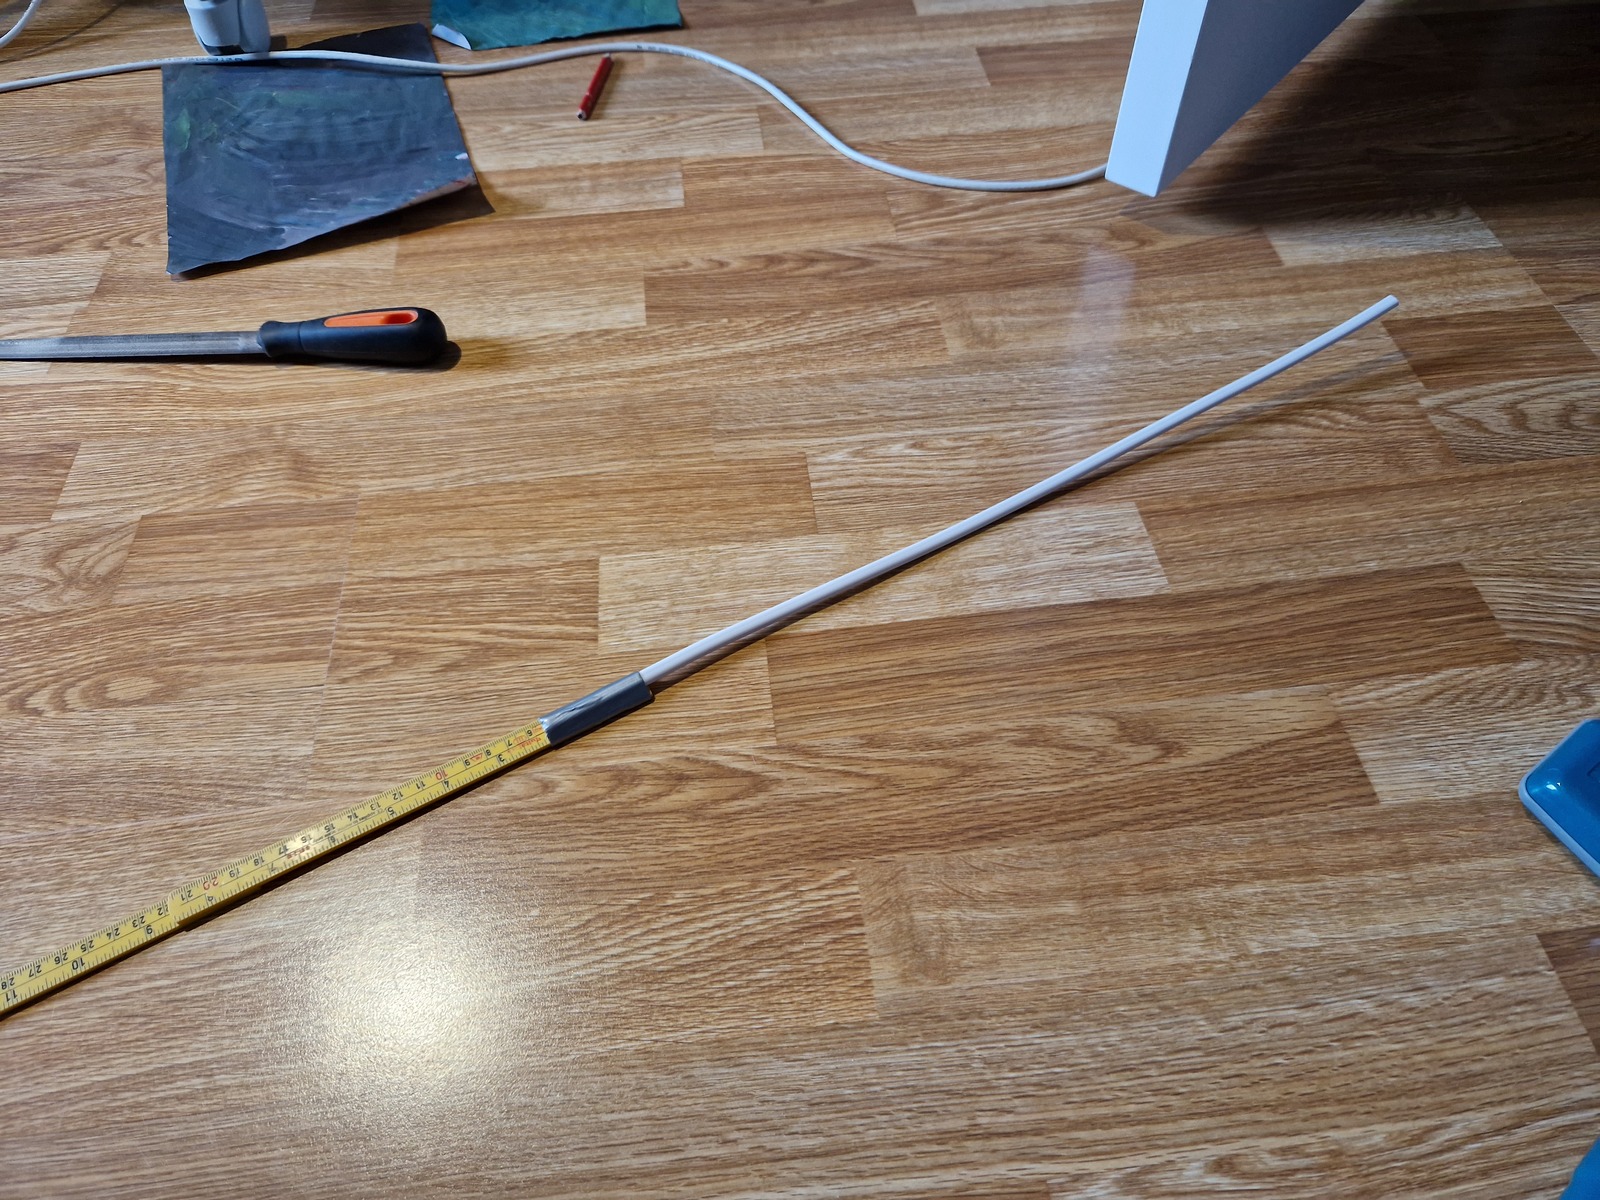
The ruler went down easily — the large 57 mm hole made it possible to guide the ruler down alongside the wall. Once through; I taped on a piece of string.

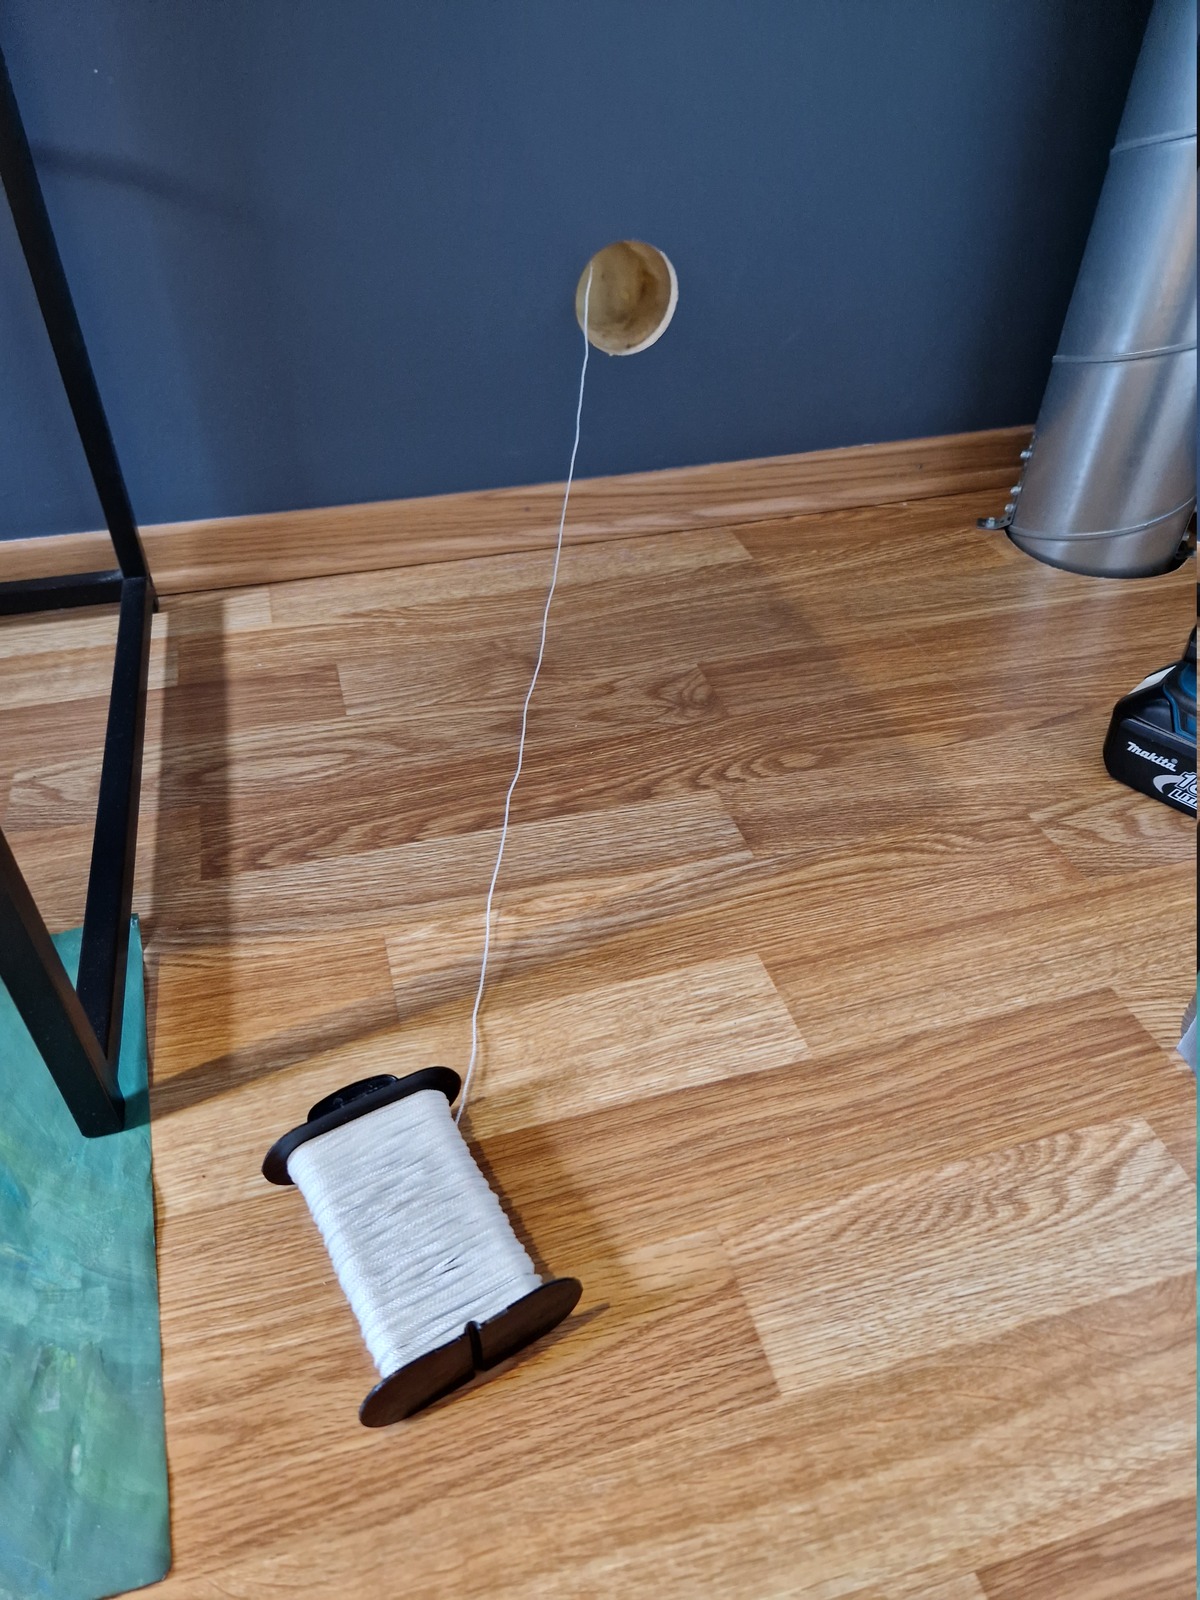
Time to pull it back up, gently — so nothing falls off 😛
I had no problems pulling the string through 👍
Now; I repeated the same steps for the other room.
Back in bedroom #1; I drilled two small holes in the conduit, and tied the string through those.

Then I duct-taped around it, to smooth out the sharp edges — making it easier to pull.
Everything was ready 🙂 This was a two person job — I was in the attic gently pulling the string, and my father was on the 2nd floor feeding the conduit.
Again the large 57 mm hole came in handy, as I was able to keep the string in parallel with the wall, preventing the conduit getting caught on the insulation.
Once I had pulled enough conduit through, I mounted an ELKO multi box. The multi box has cut-outs for 16 and 20 mm conduit. I’m using 20 mm, as it will fit who CAT6 cables.
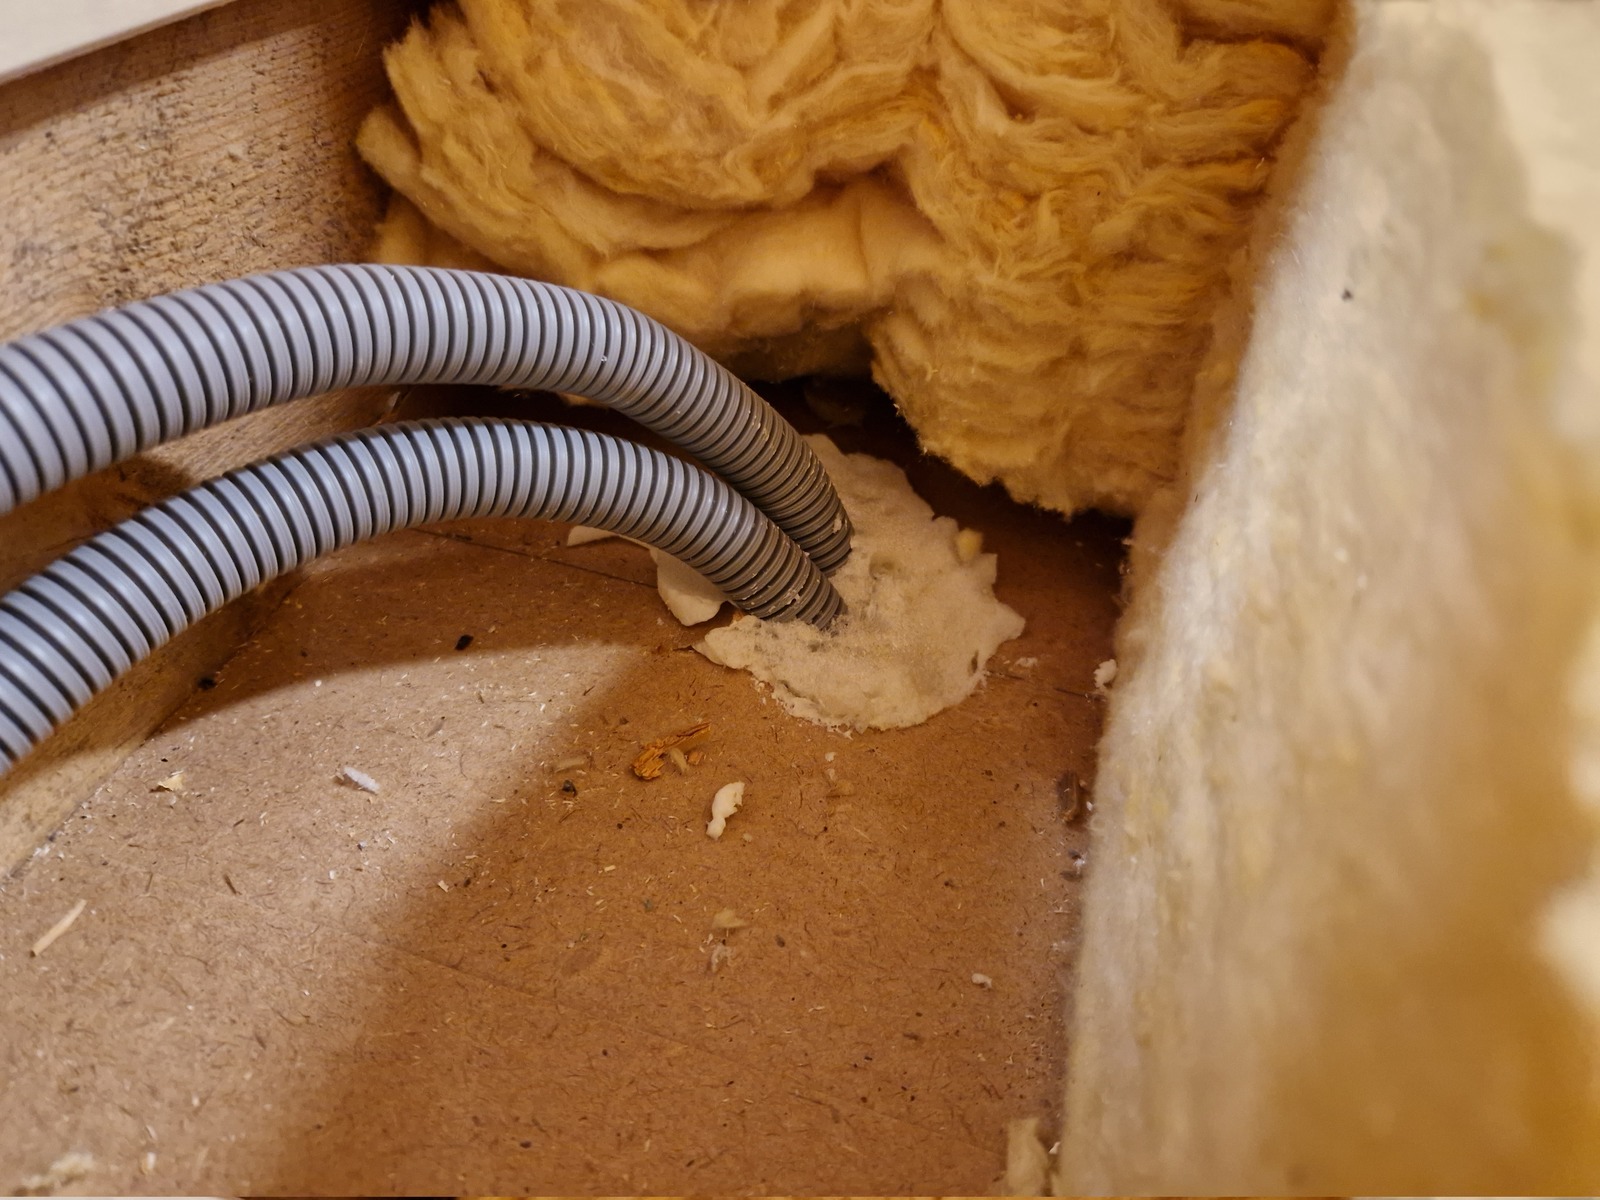
Both conduits pulled through the wall — and into the attic 😎
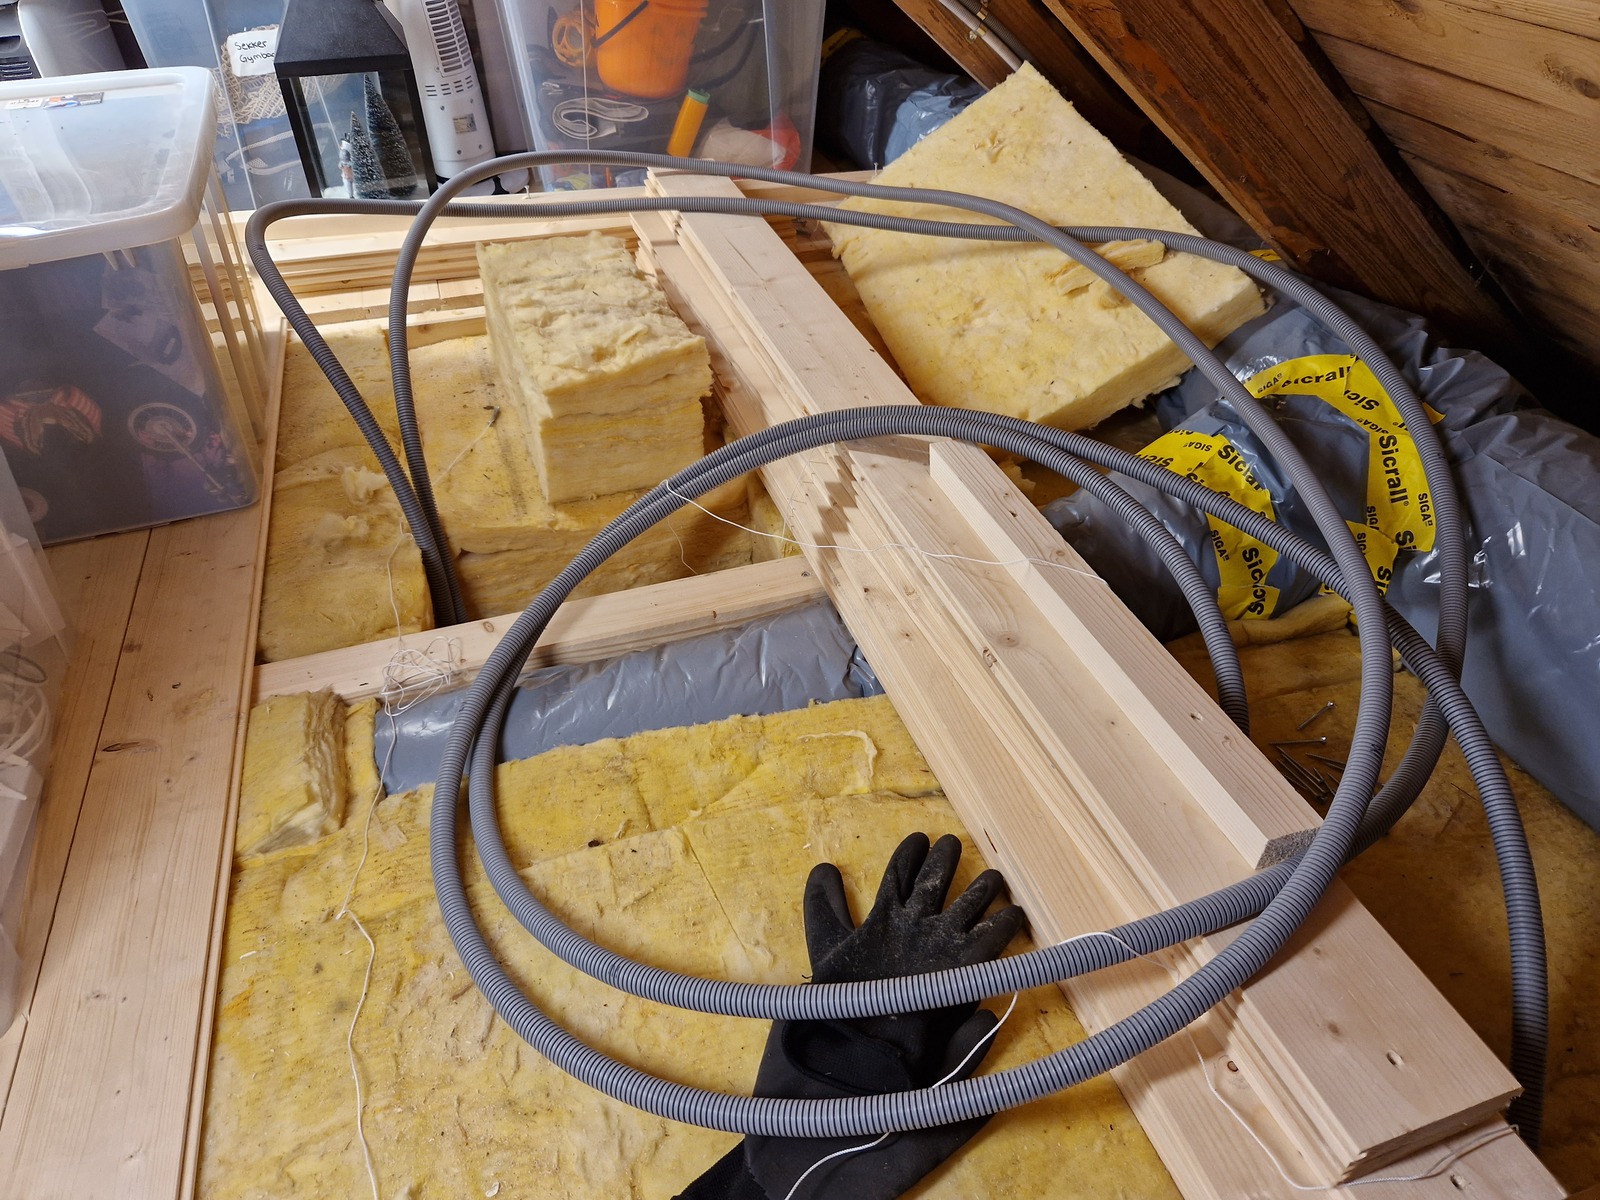
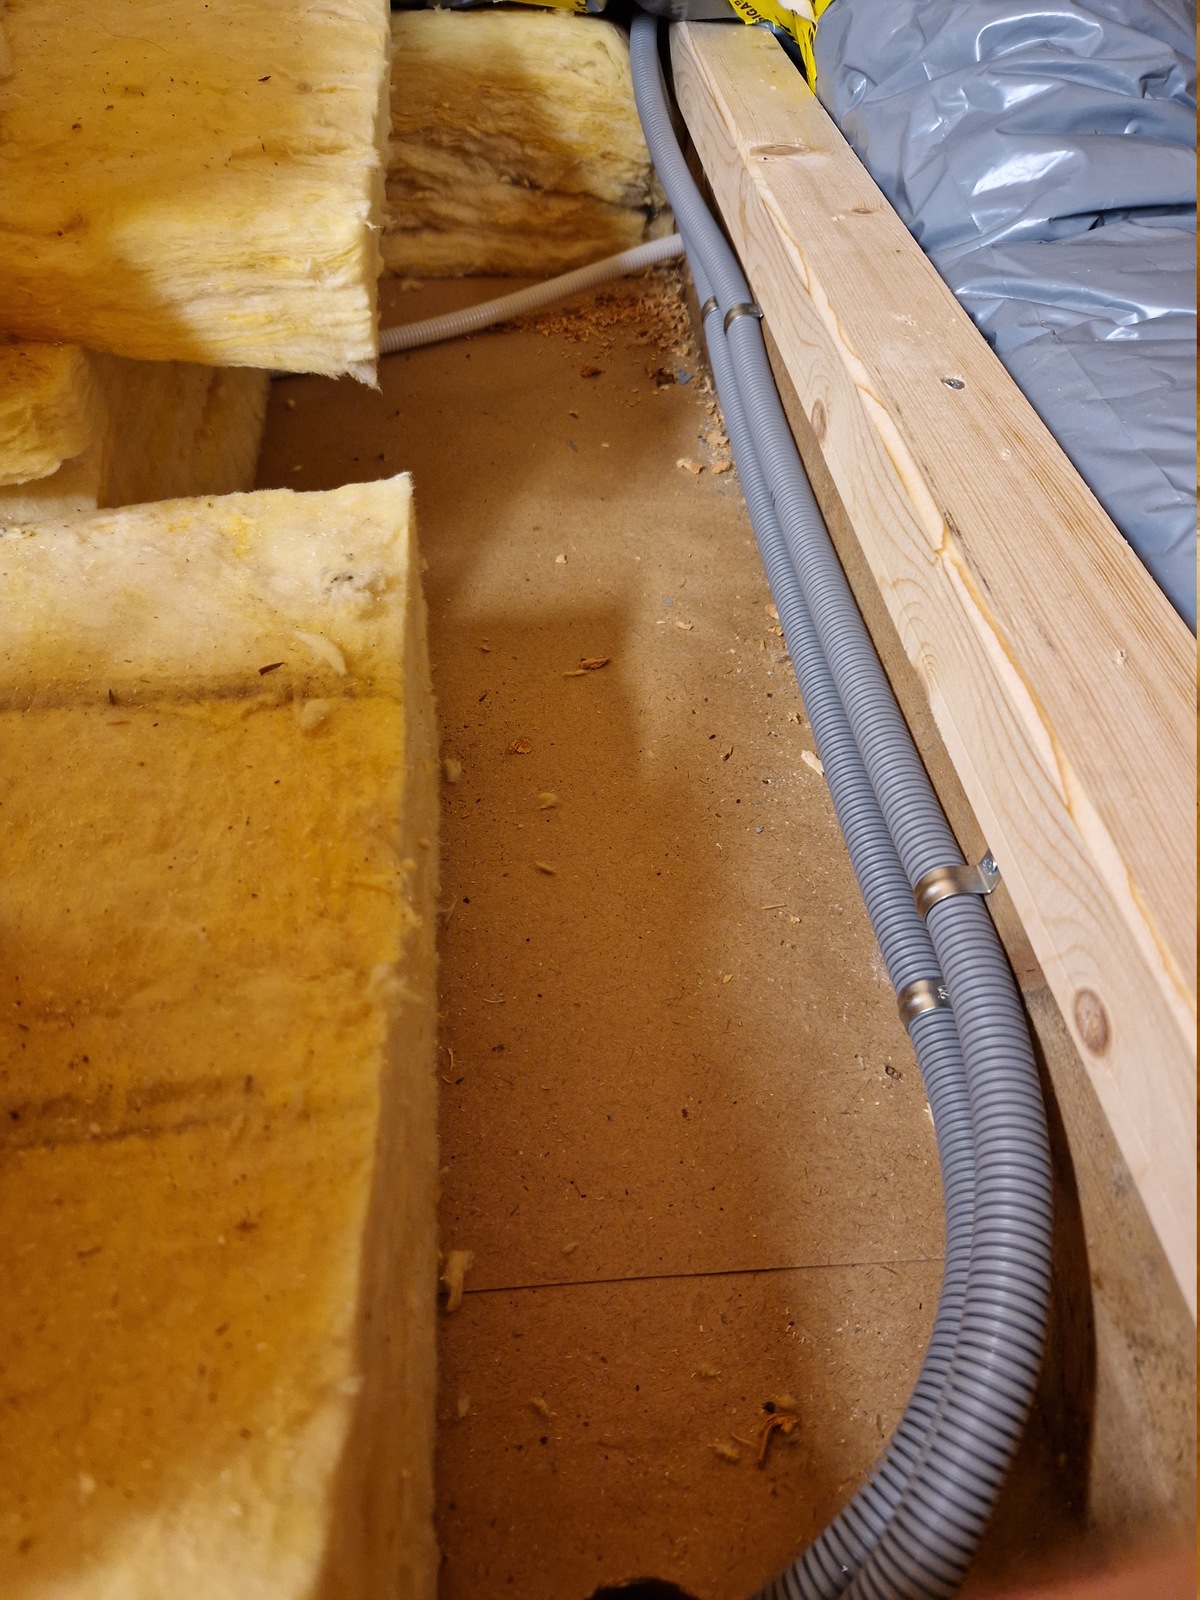
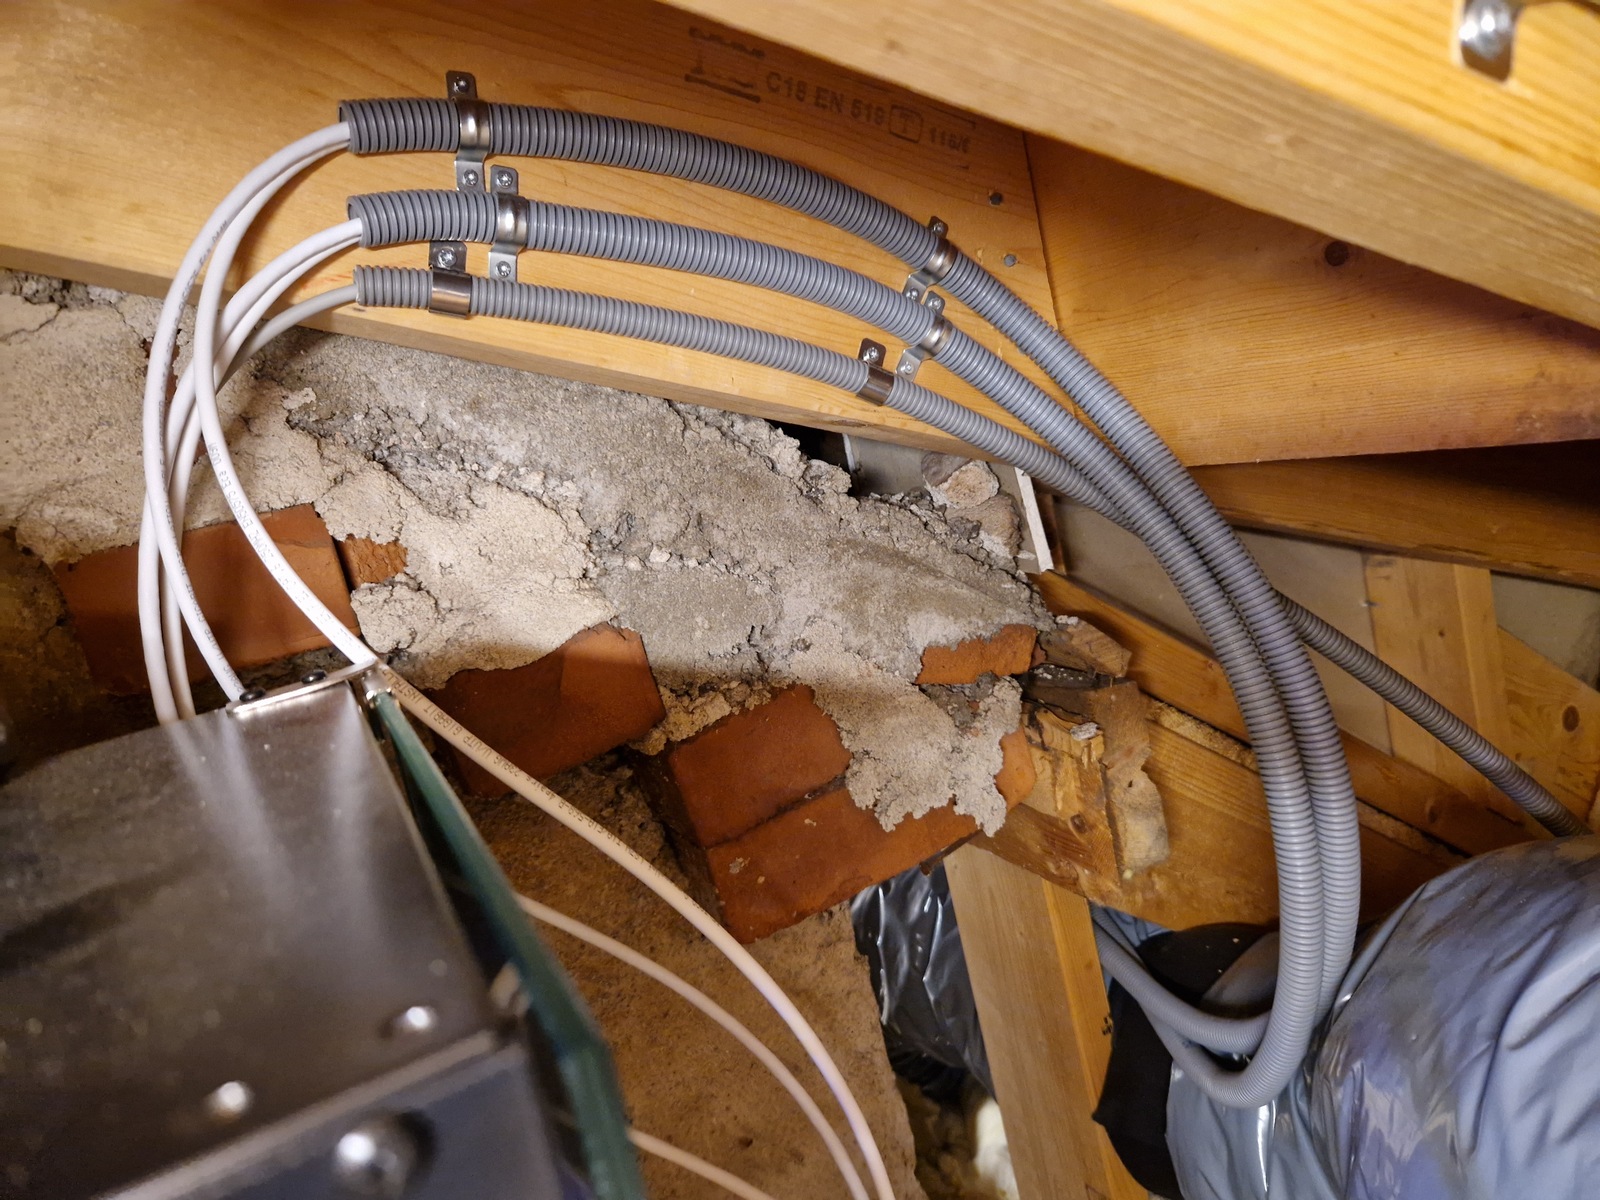
The conduits take a 90° turn after coming out of the wall…
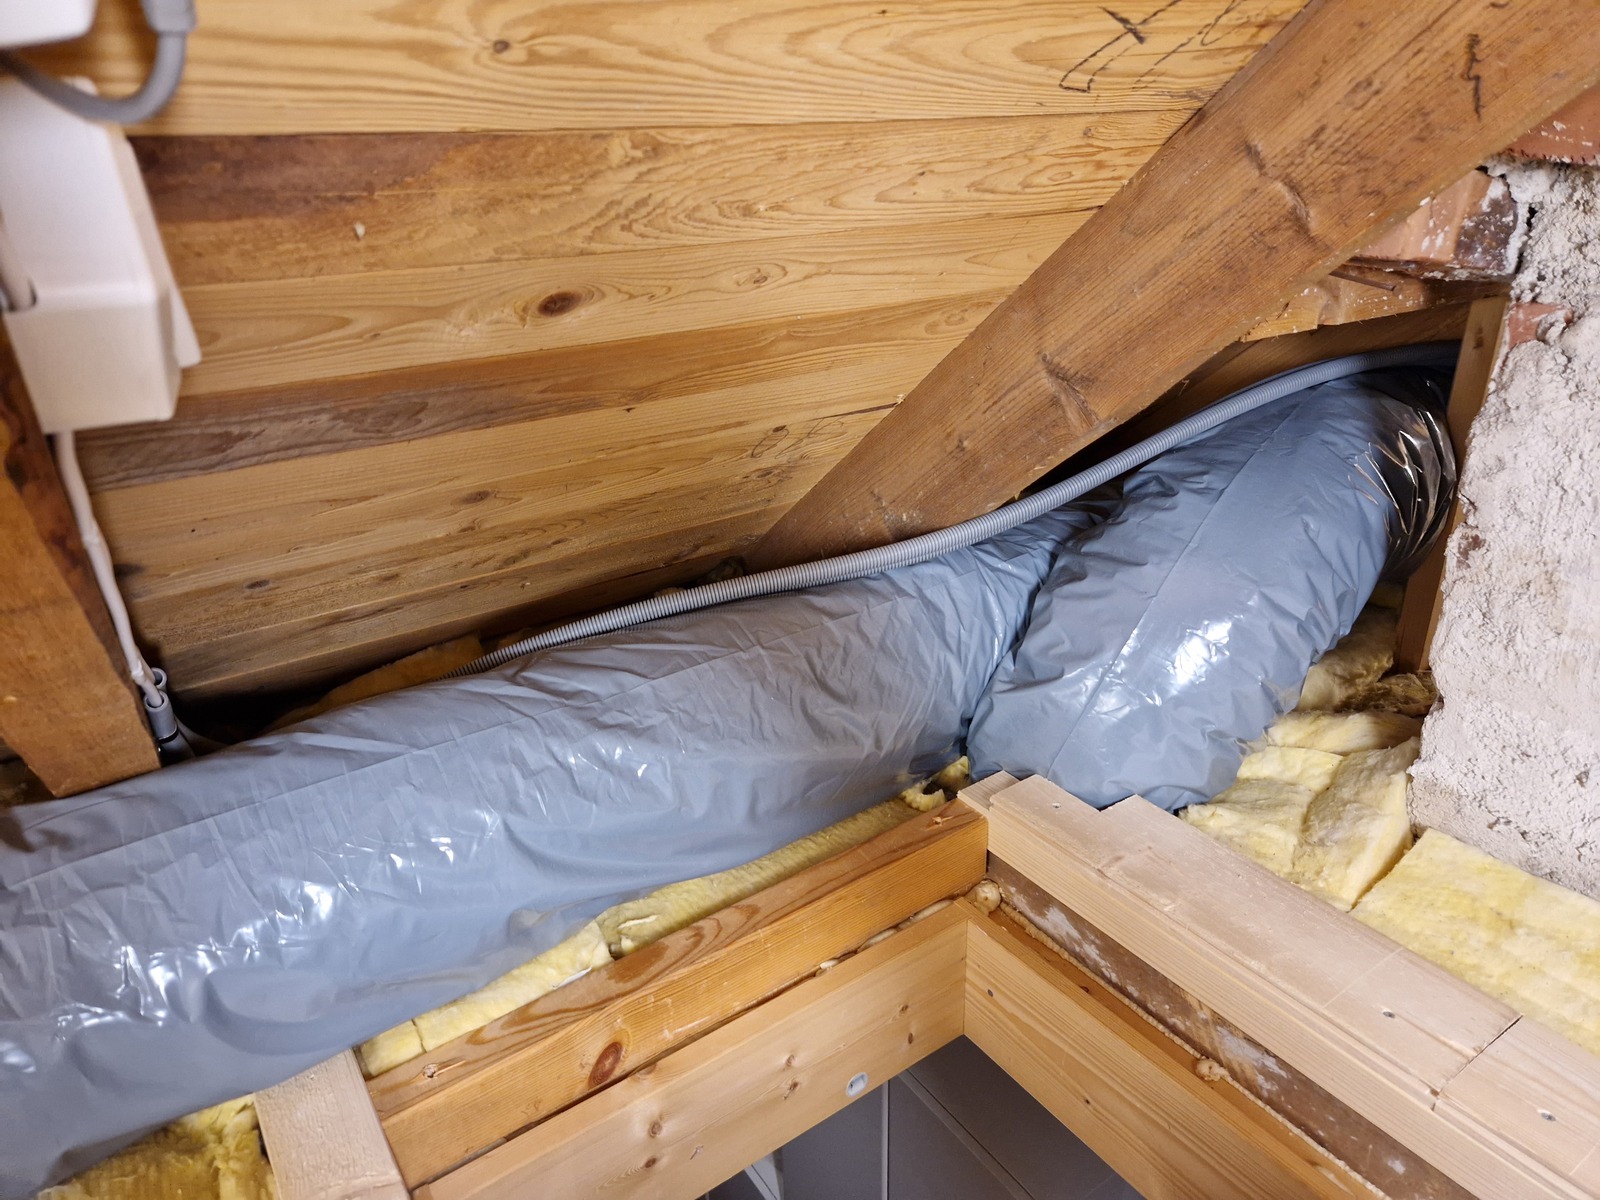
And follows a ceiling joist towards the pitched roof.
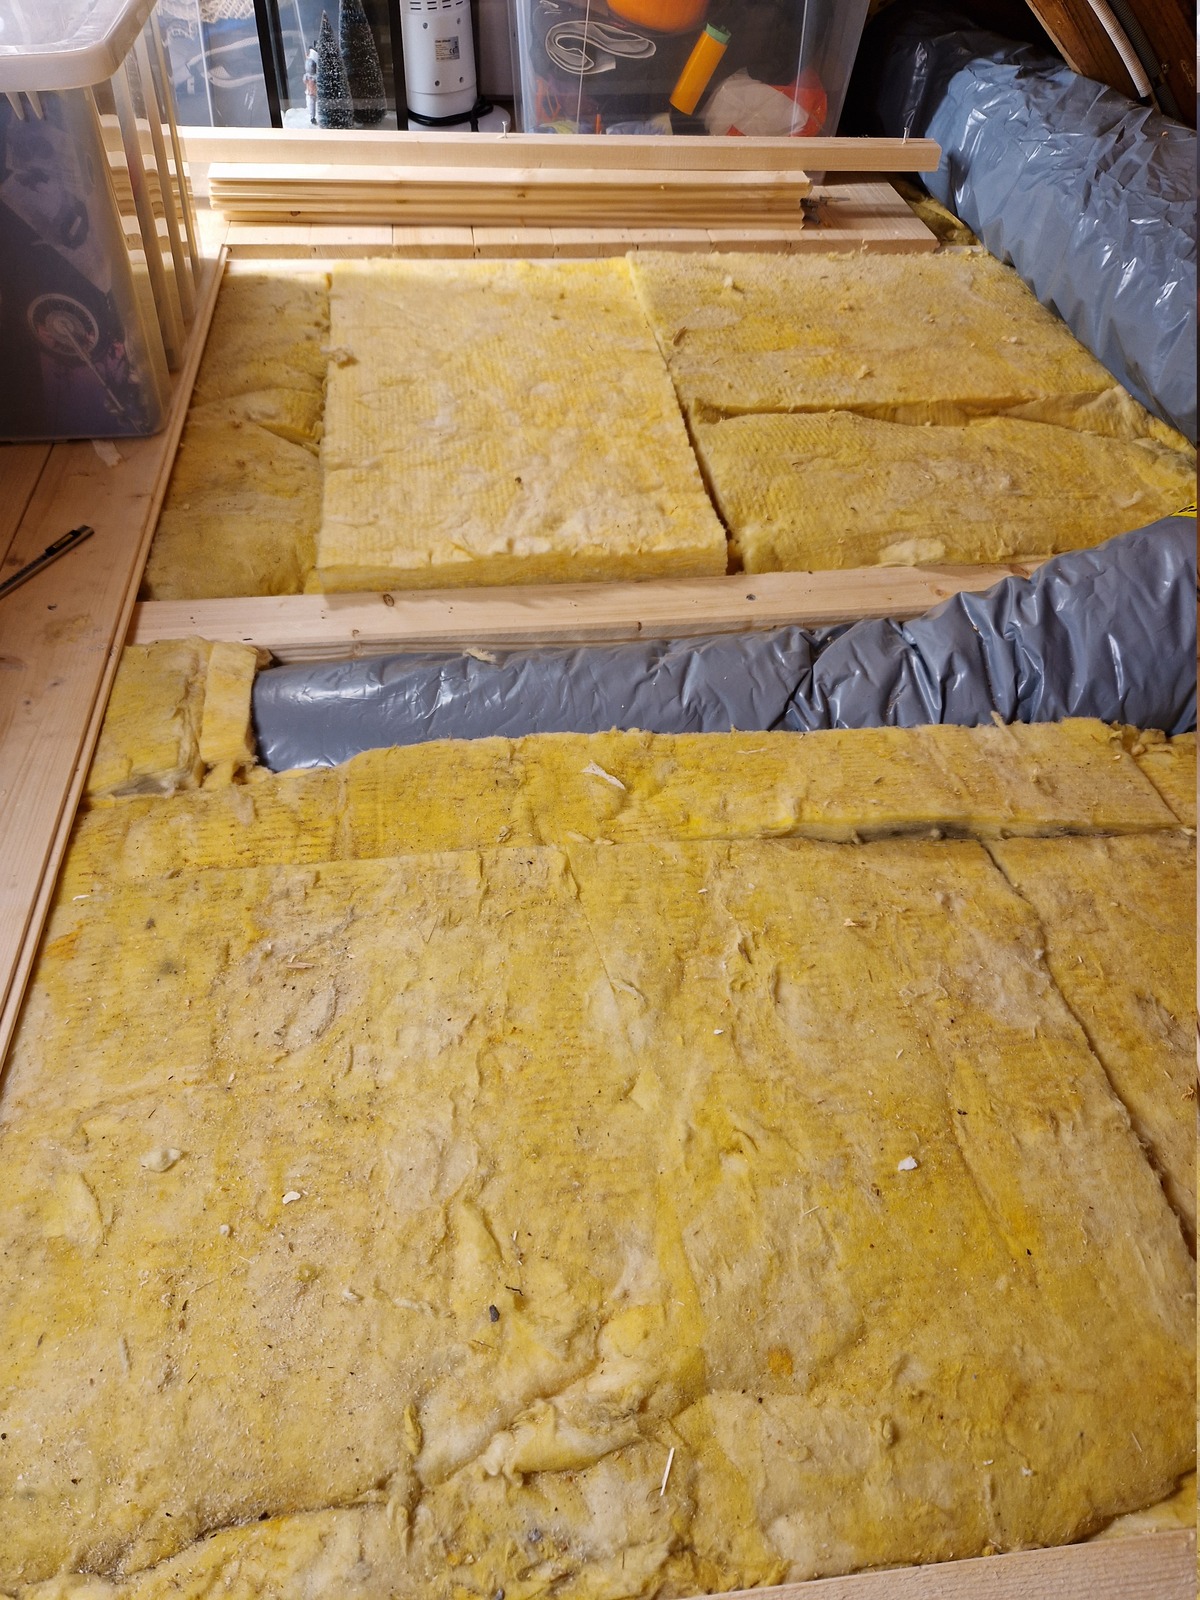
Then under a ventilation duct…

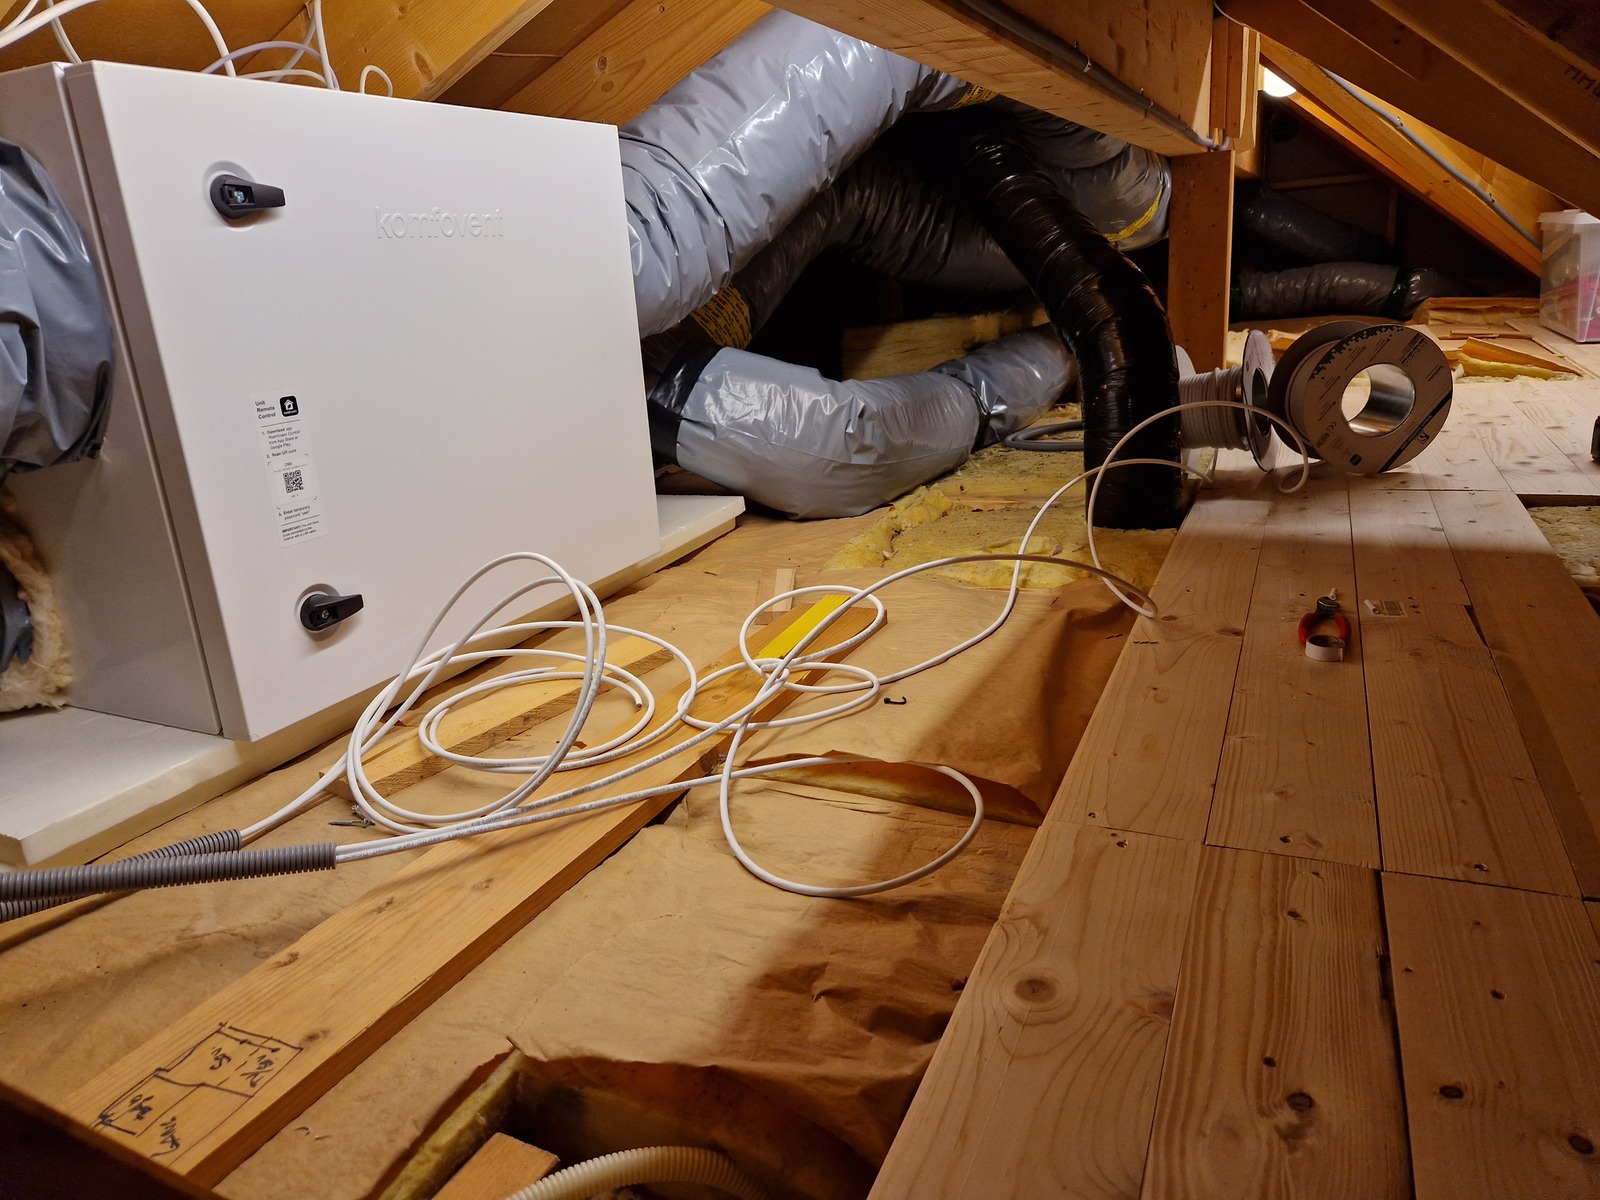
Which they follow towards the attic network cabinet.
And then arrive at their final destination. I didn’t fasten the conduits in this end yet, to make it easier to push and pull the CAT6 cable through.

Now the hard part is basically done; the conduits are going the from attic network cabinet — all the way to the wall boxes in each room. Oh man, that feels like such an accomplishment 🥳
Time for the cables 👇
Pulling the cables
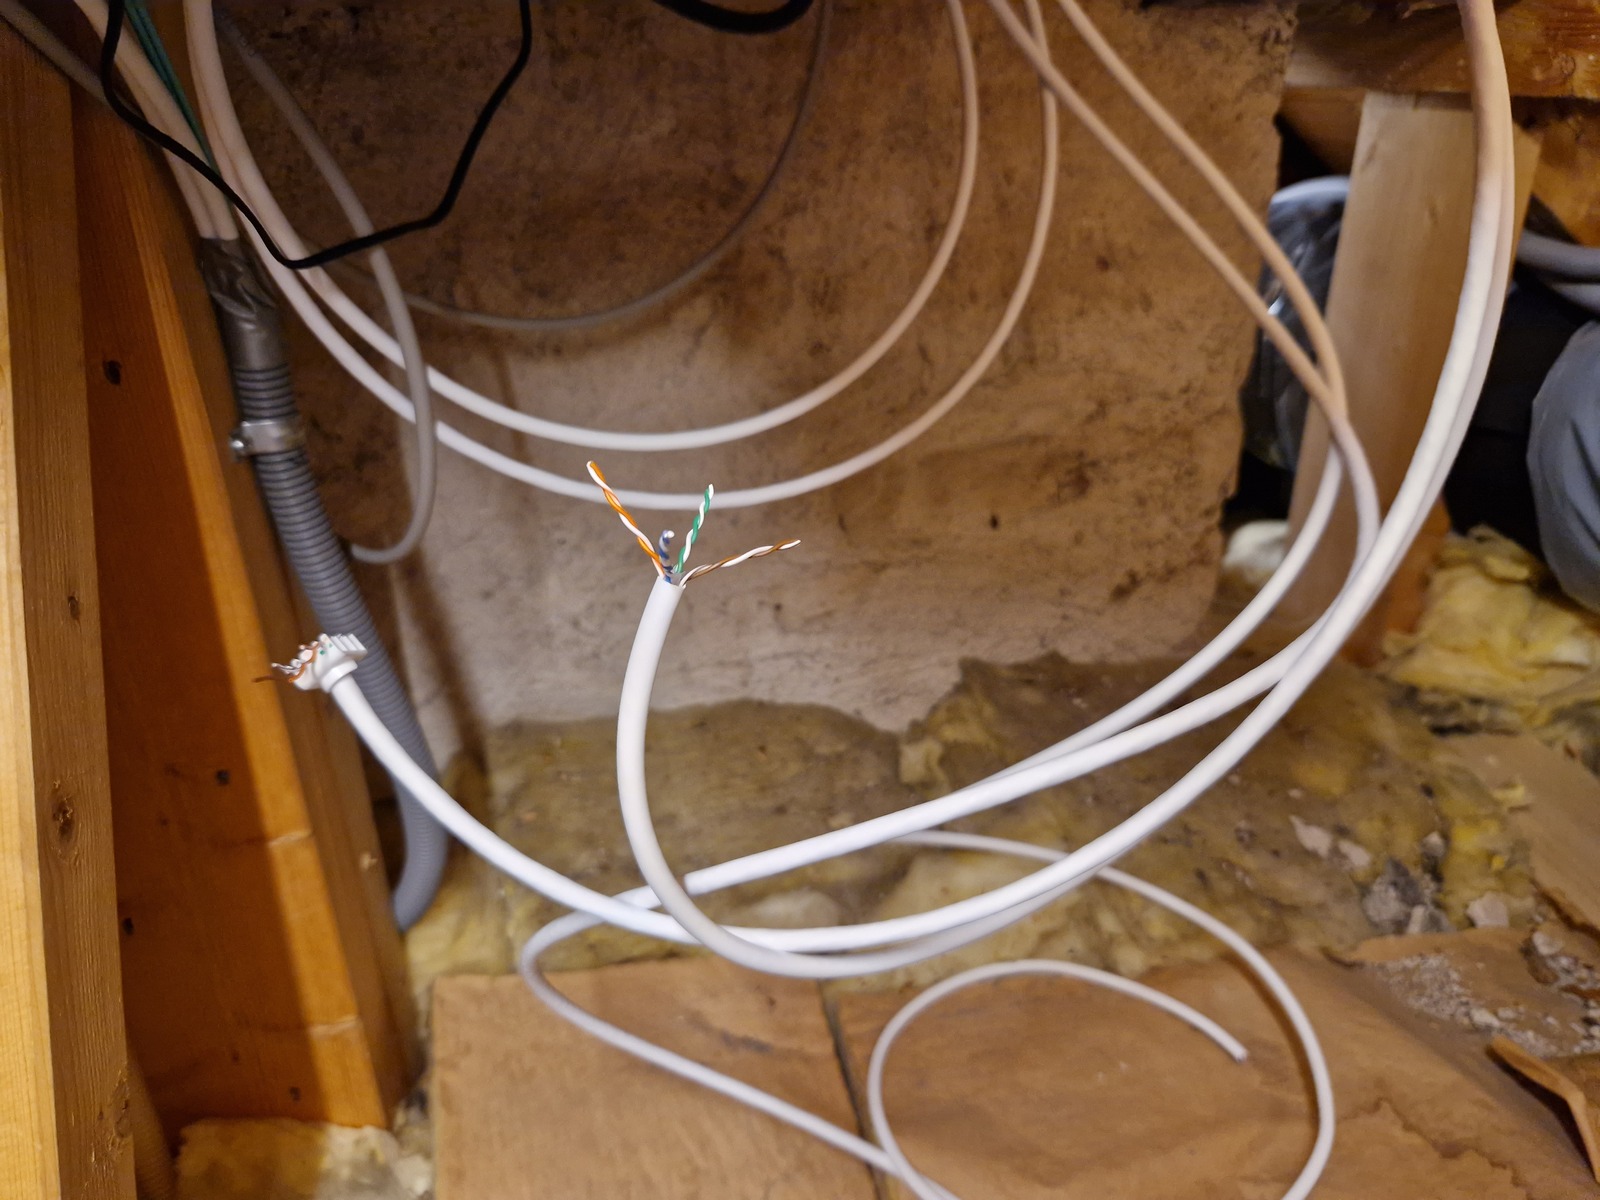
I used two spools of CAT6 cables, taped the ends together, and pushed them through the conduit from the attic.
When pushing, or pulling, cables through conduits; I always do it from the top, letting gravity help the cables down.
In bedroom #2 I was able to push the cables all the way through with no issues.
But in bedroom #1 it got stuck just as it was about to come out of the conduit in the wall box — so I used a fish tape. I was by myself, and the push/pull technique really requires two people. There was a lot of back and forth between the bedroom, and the attic 😛
But I did get it done in the end 🙂

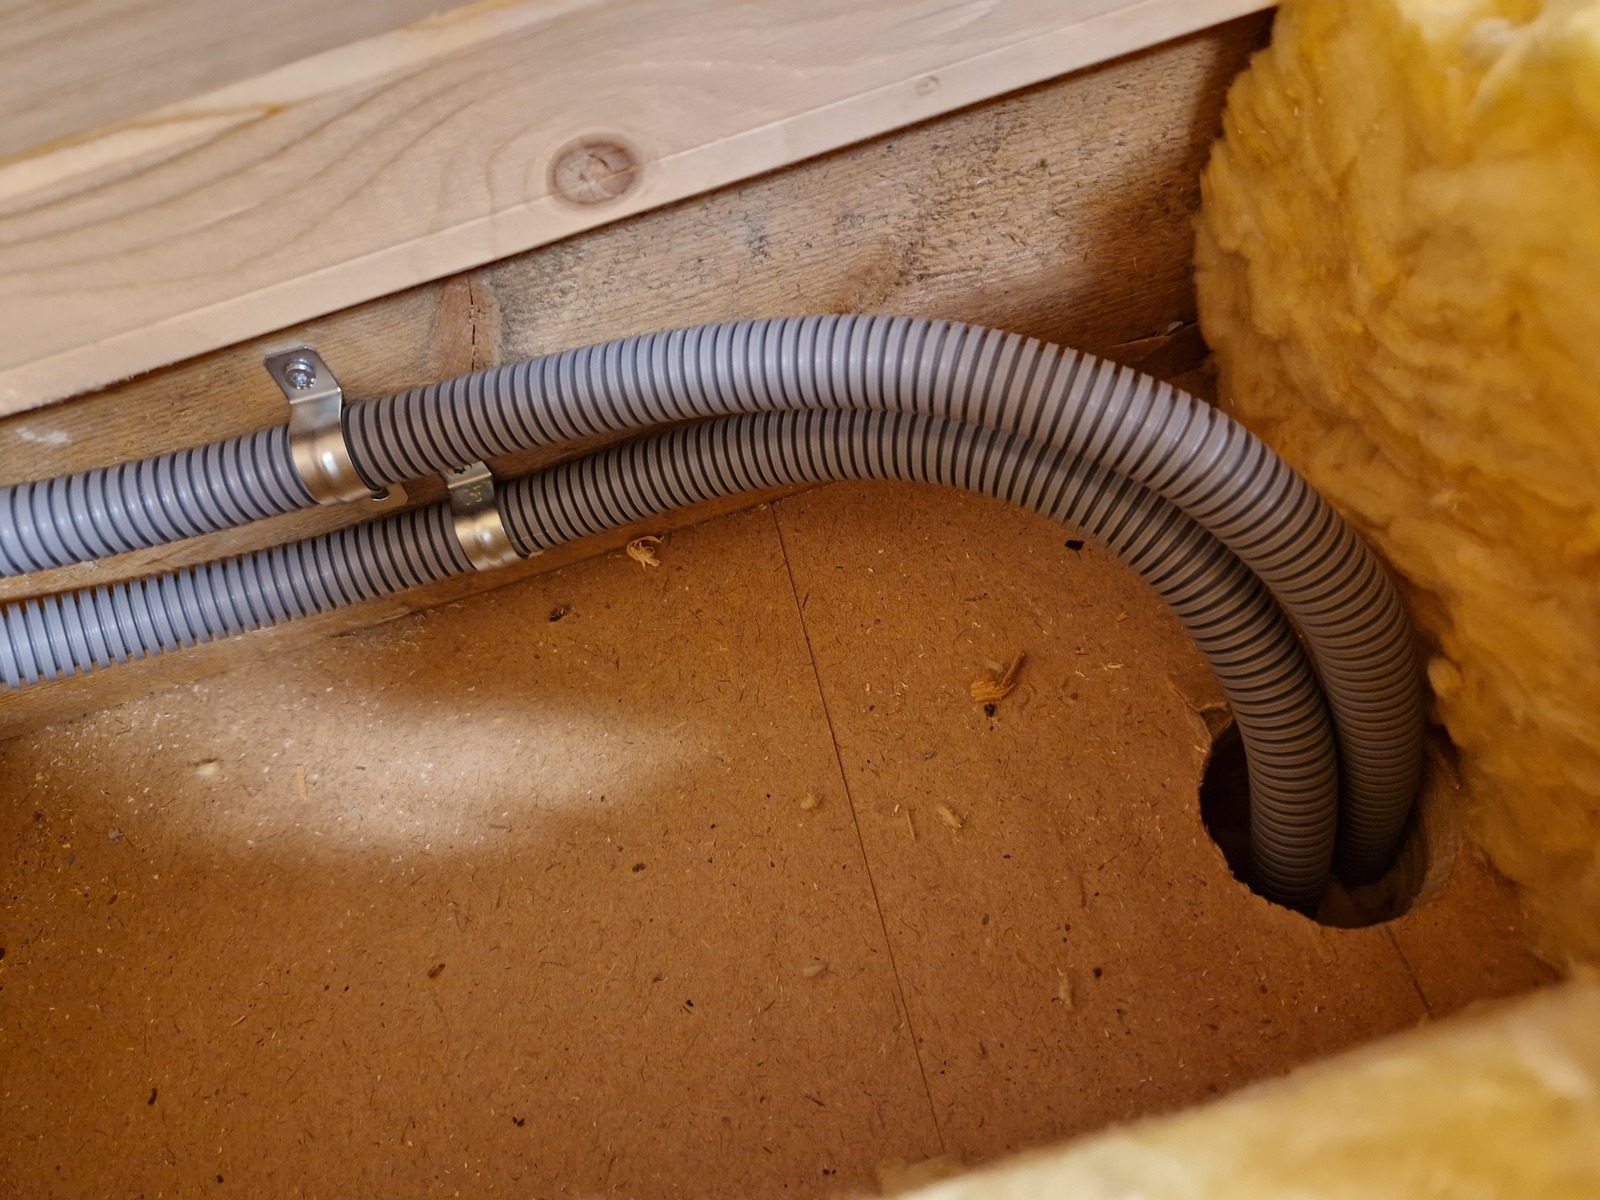
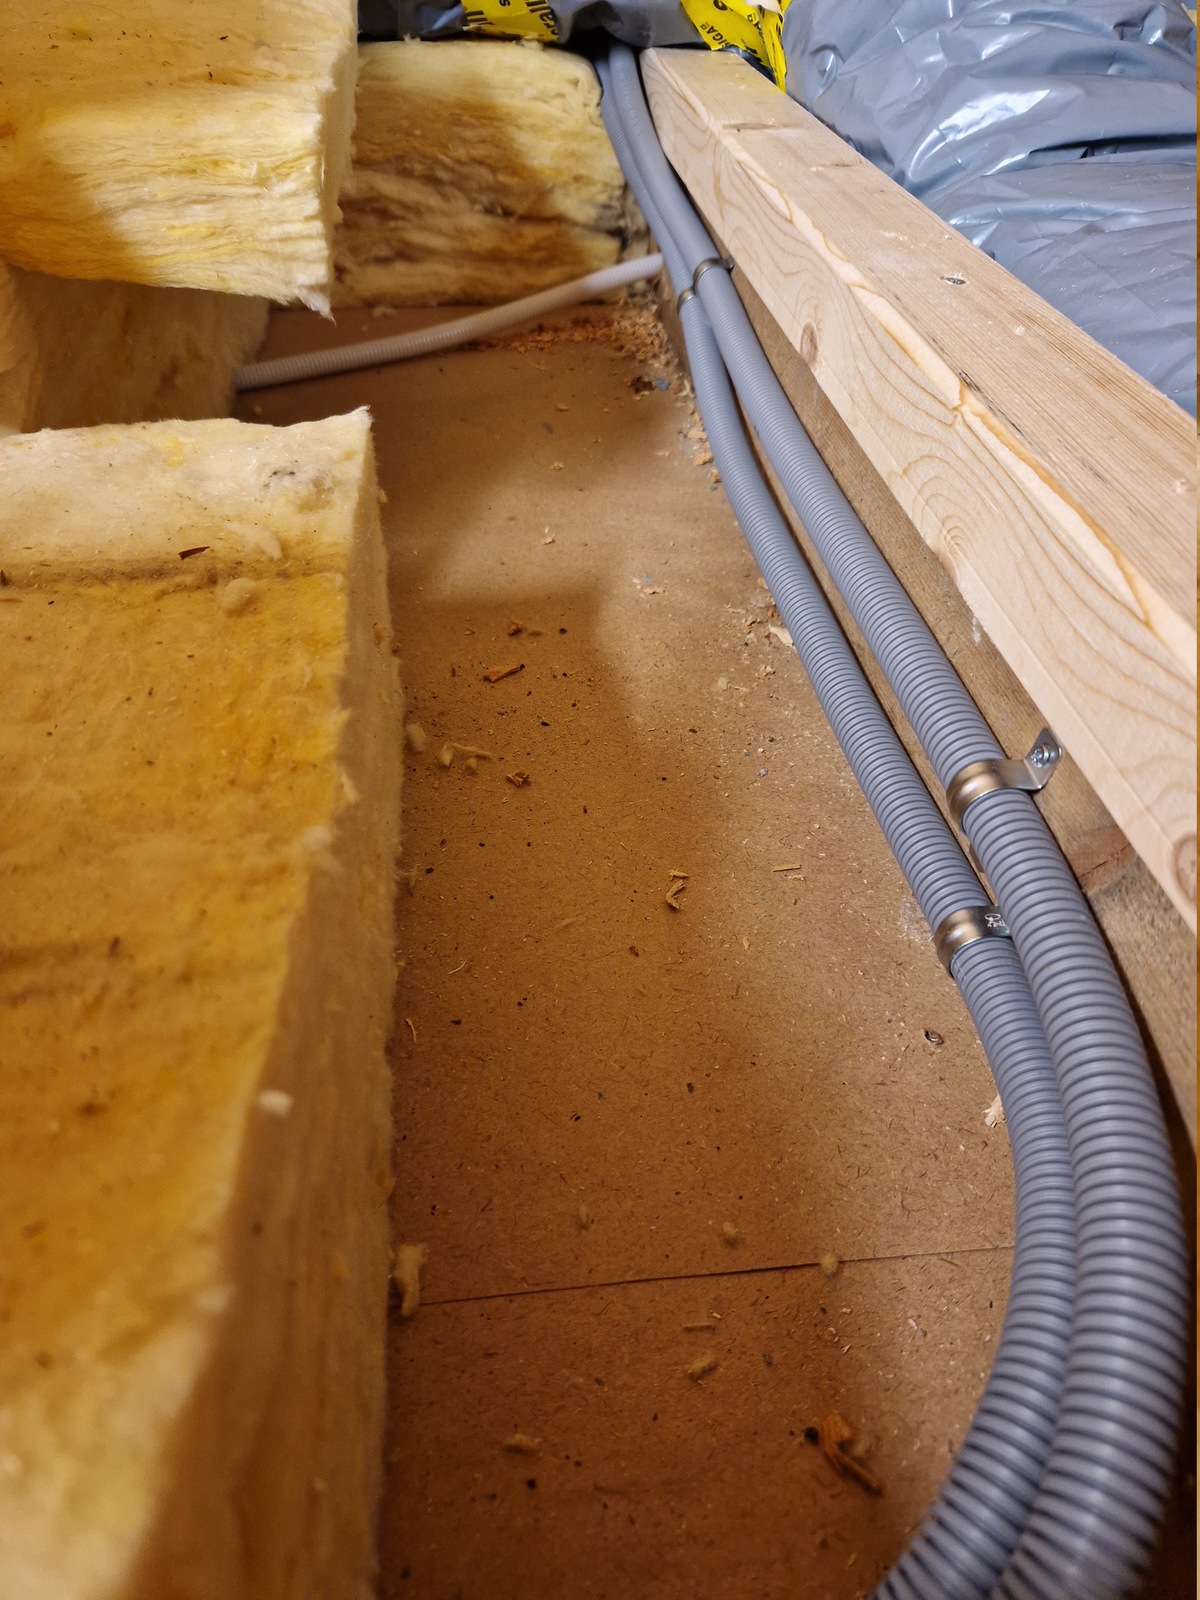
Now that the CAT6 cables were through, I tightened down the fasteners securing the conduits.
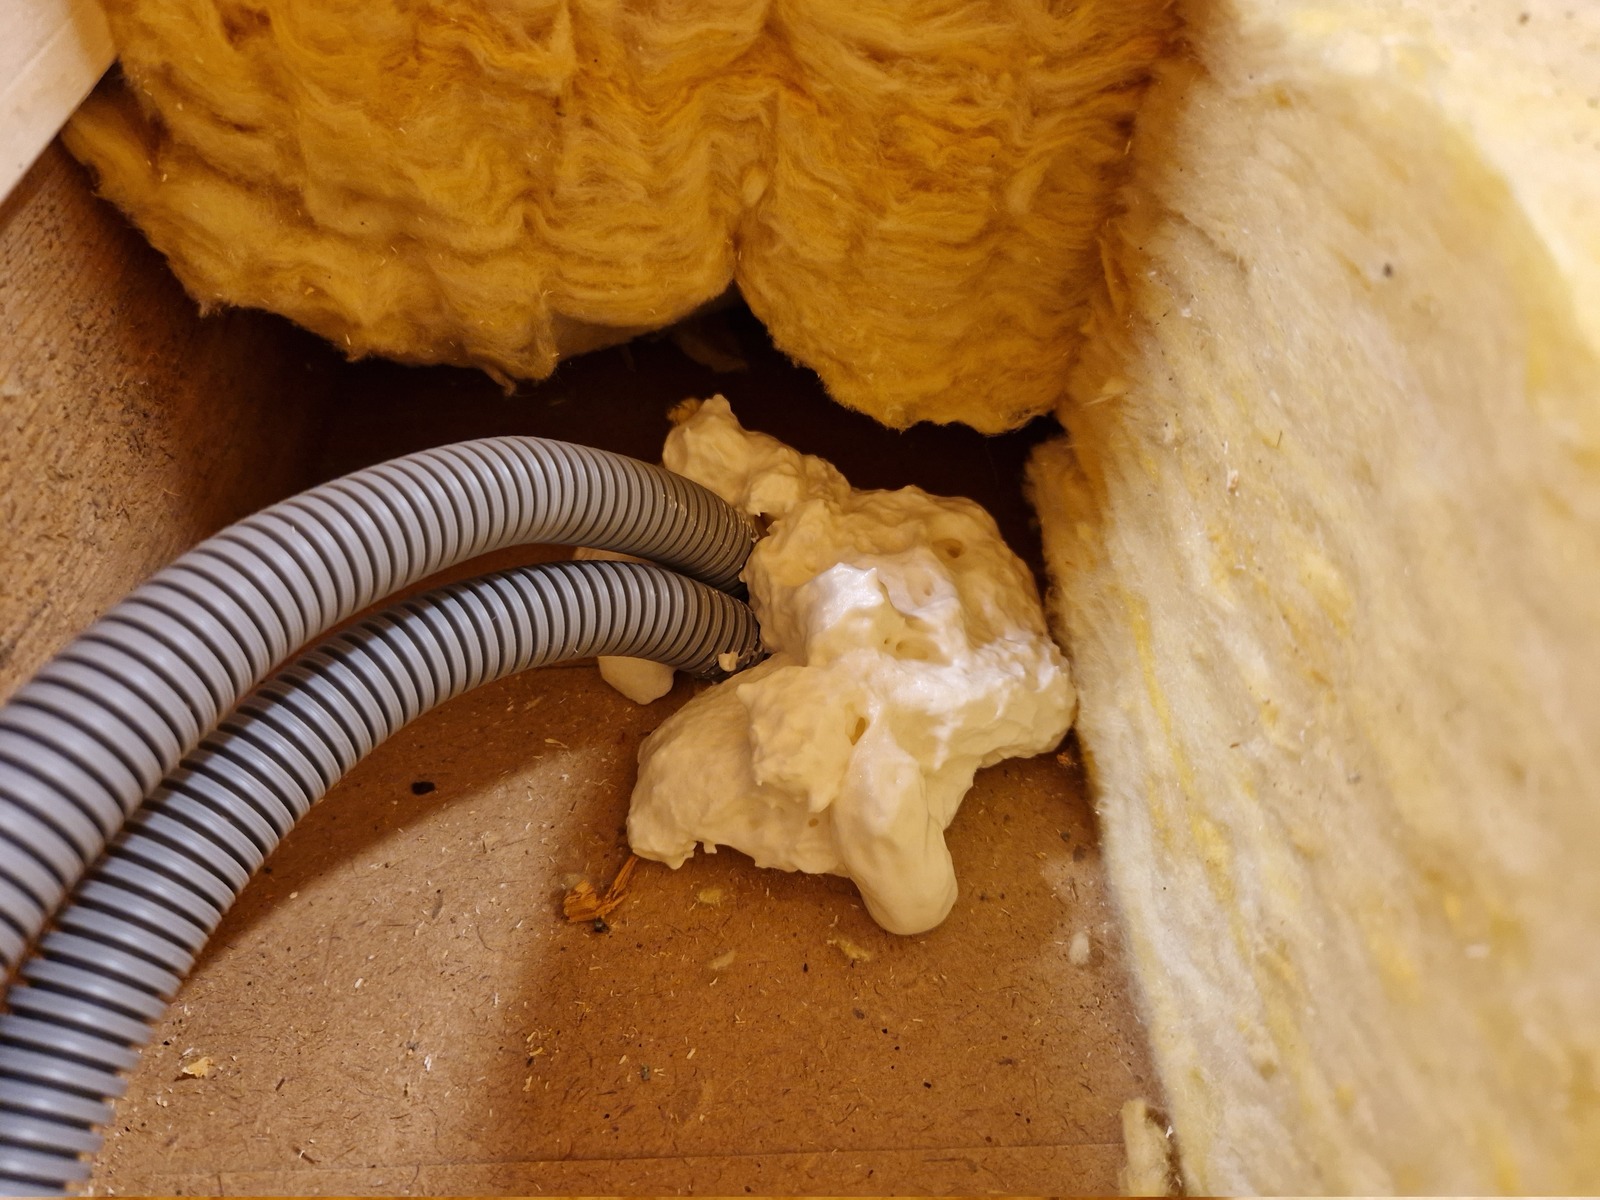
And used expanding foam to fill the 57 mm hole going into the interior wall.
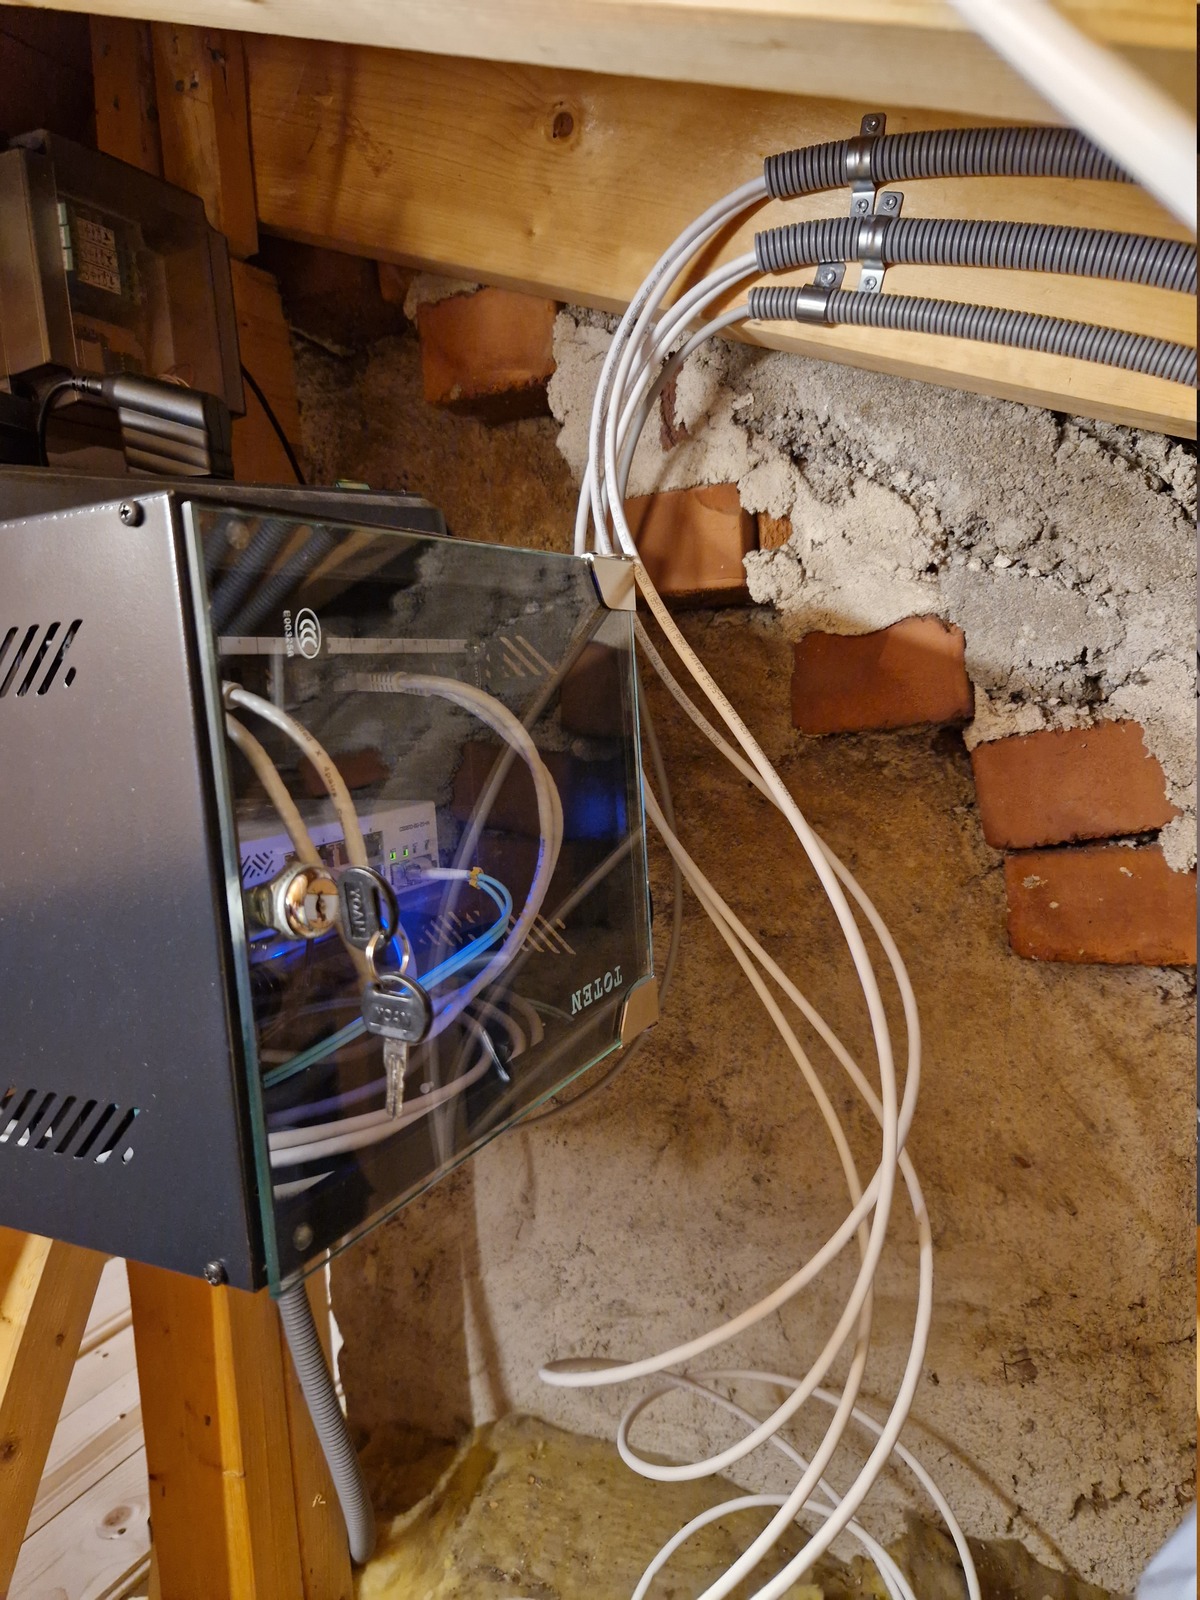
I also fastened the conduits by the network cabinet.
As always; I made sure to leave plenty of slack in the cables by the network cabinet. Making it easier to terminate, and service later on.
This was day 2 in the project, and it was getting late. Now; only the home stretch remained 👇
Terminating
New day, time to finish this networking project 😎
I removed the outer jackets, and mounted the double CAT6 outlet. Luckily the wall box is quite deep, leaving a fair bit of space behind the outlet. Since the CAT6 cables comes into the box at the top — I found it best to turn 180°, leaving them pointing upwards.

Due to the depth and size of the wall box; I was able to do this without kinking or putting strain on the CAT6 cables.
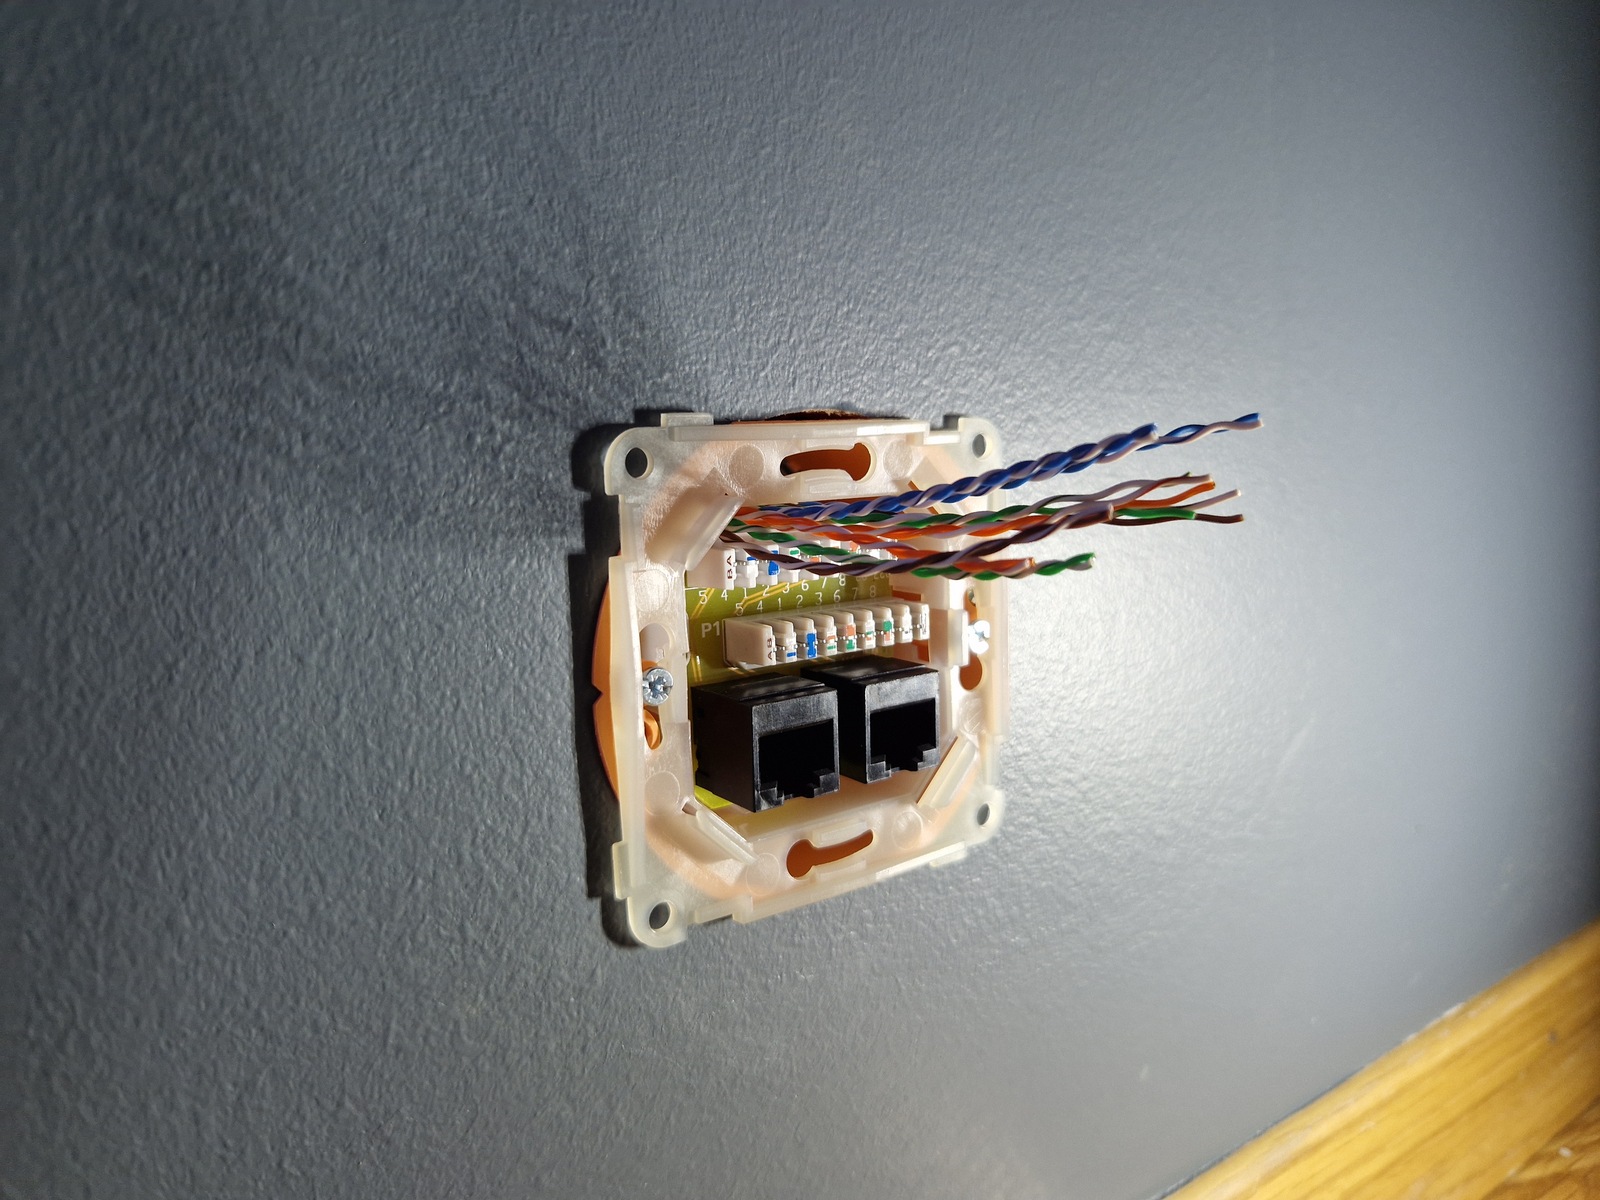
I terminated the lower block first — using a punch down tool. I also made sure to leave the pair twisted as close to the terminal block as possible. 1 cm of untwisted pair is the recommended maximum.

On the attic site; I used tool-free keystone jacks.
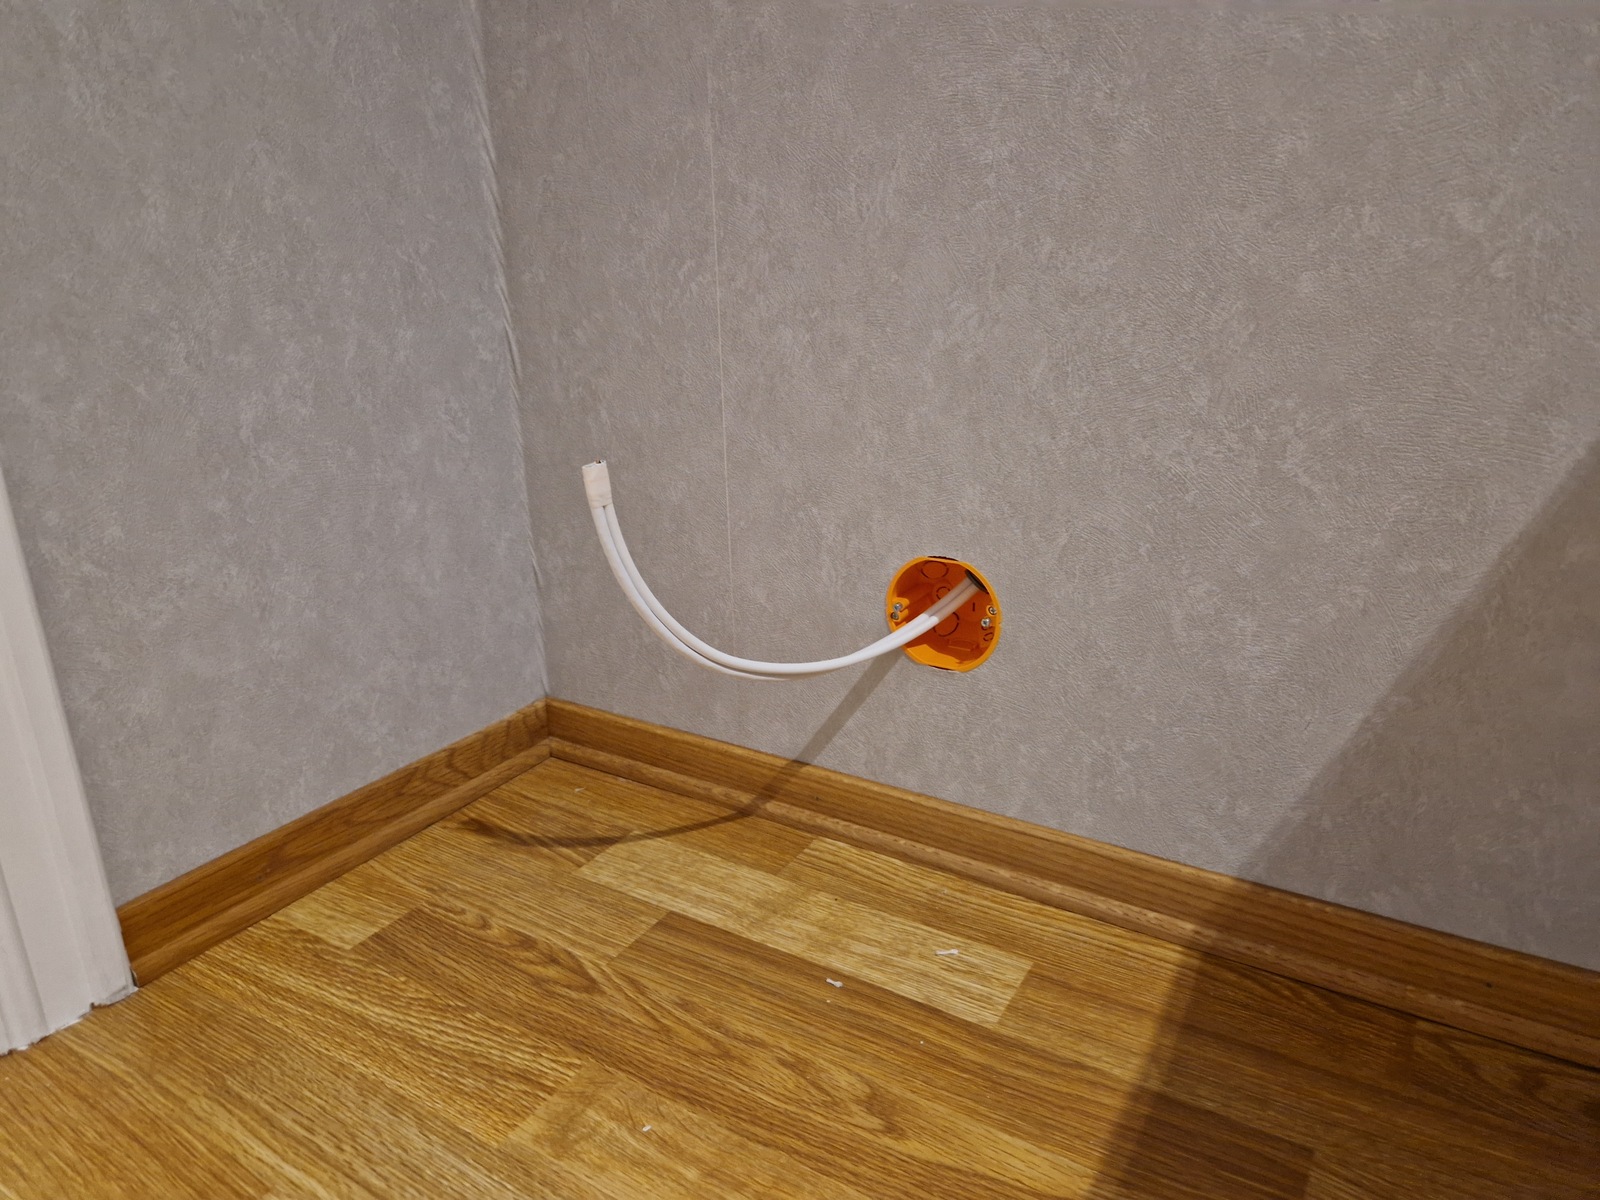
Voila! Both cables terminated in bedroom #1…

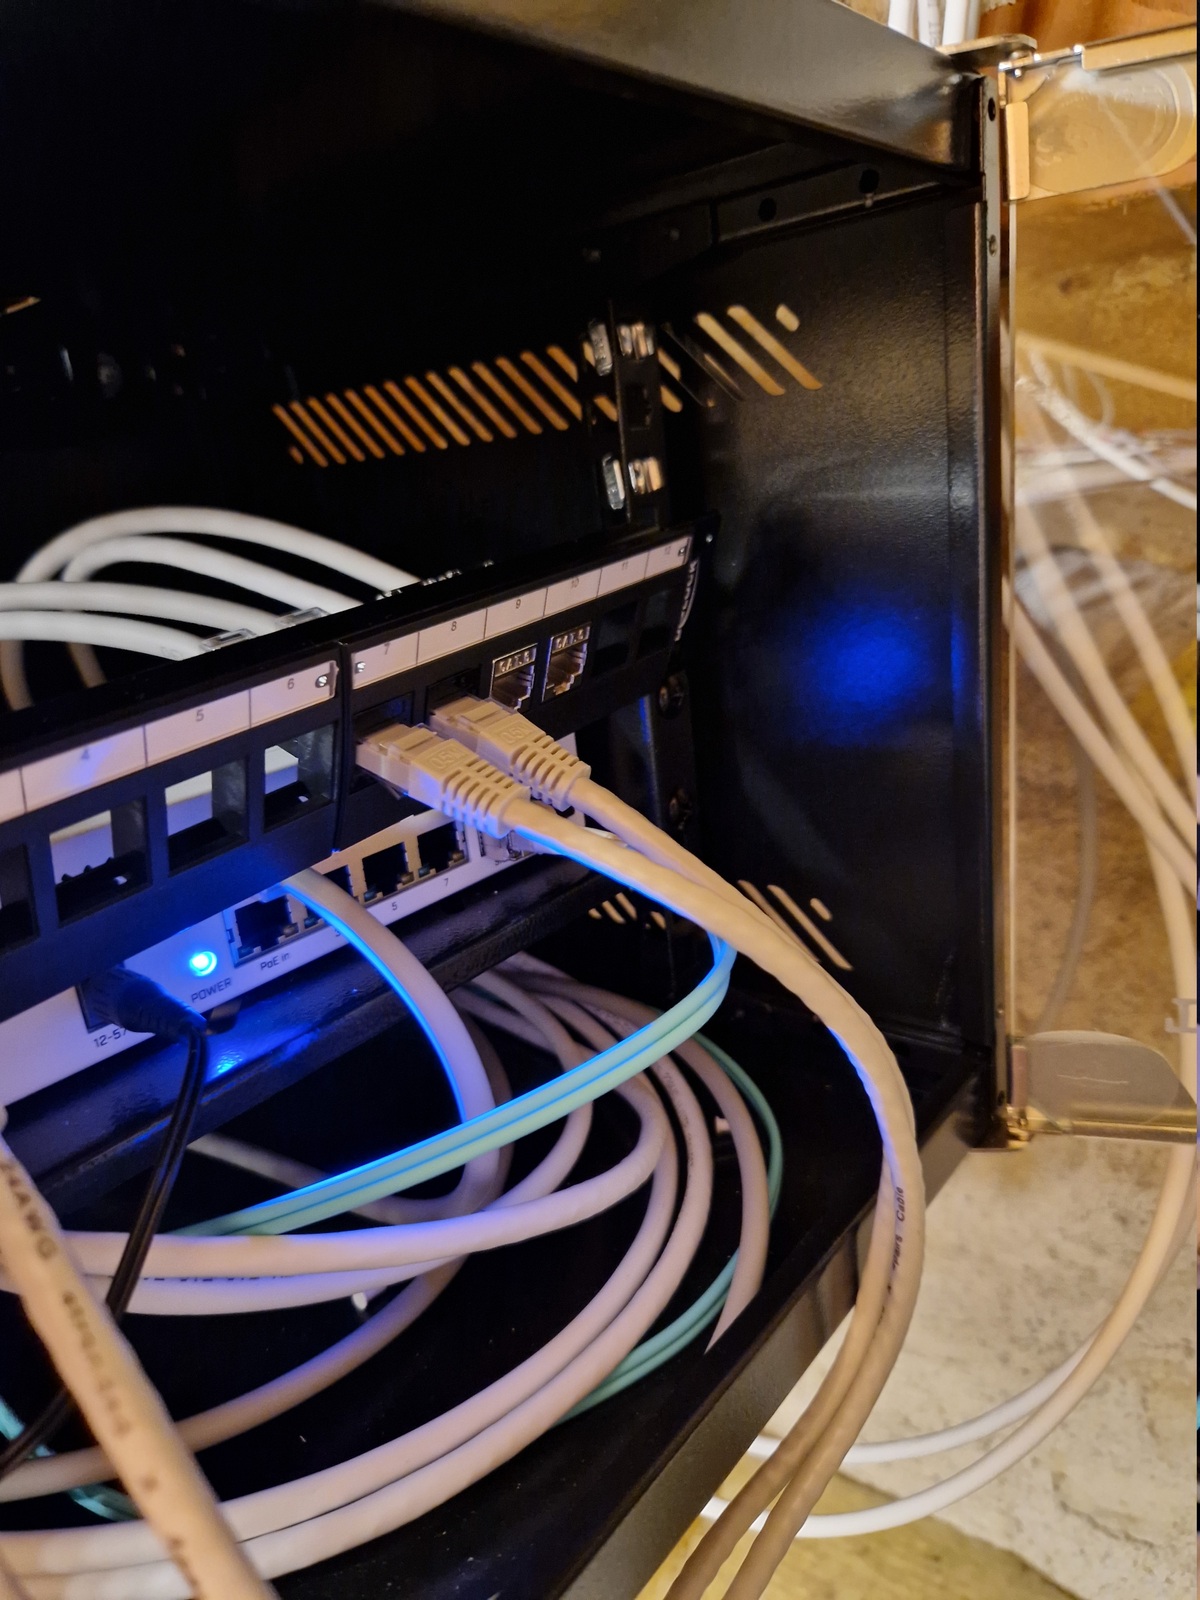
And keystone jacks secured in the patch panel in the network cabinet 👍
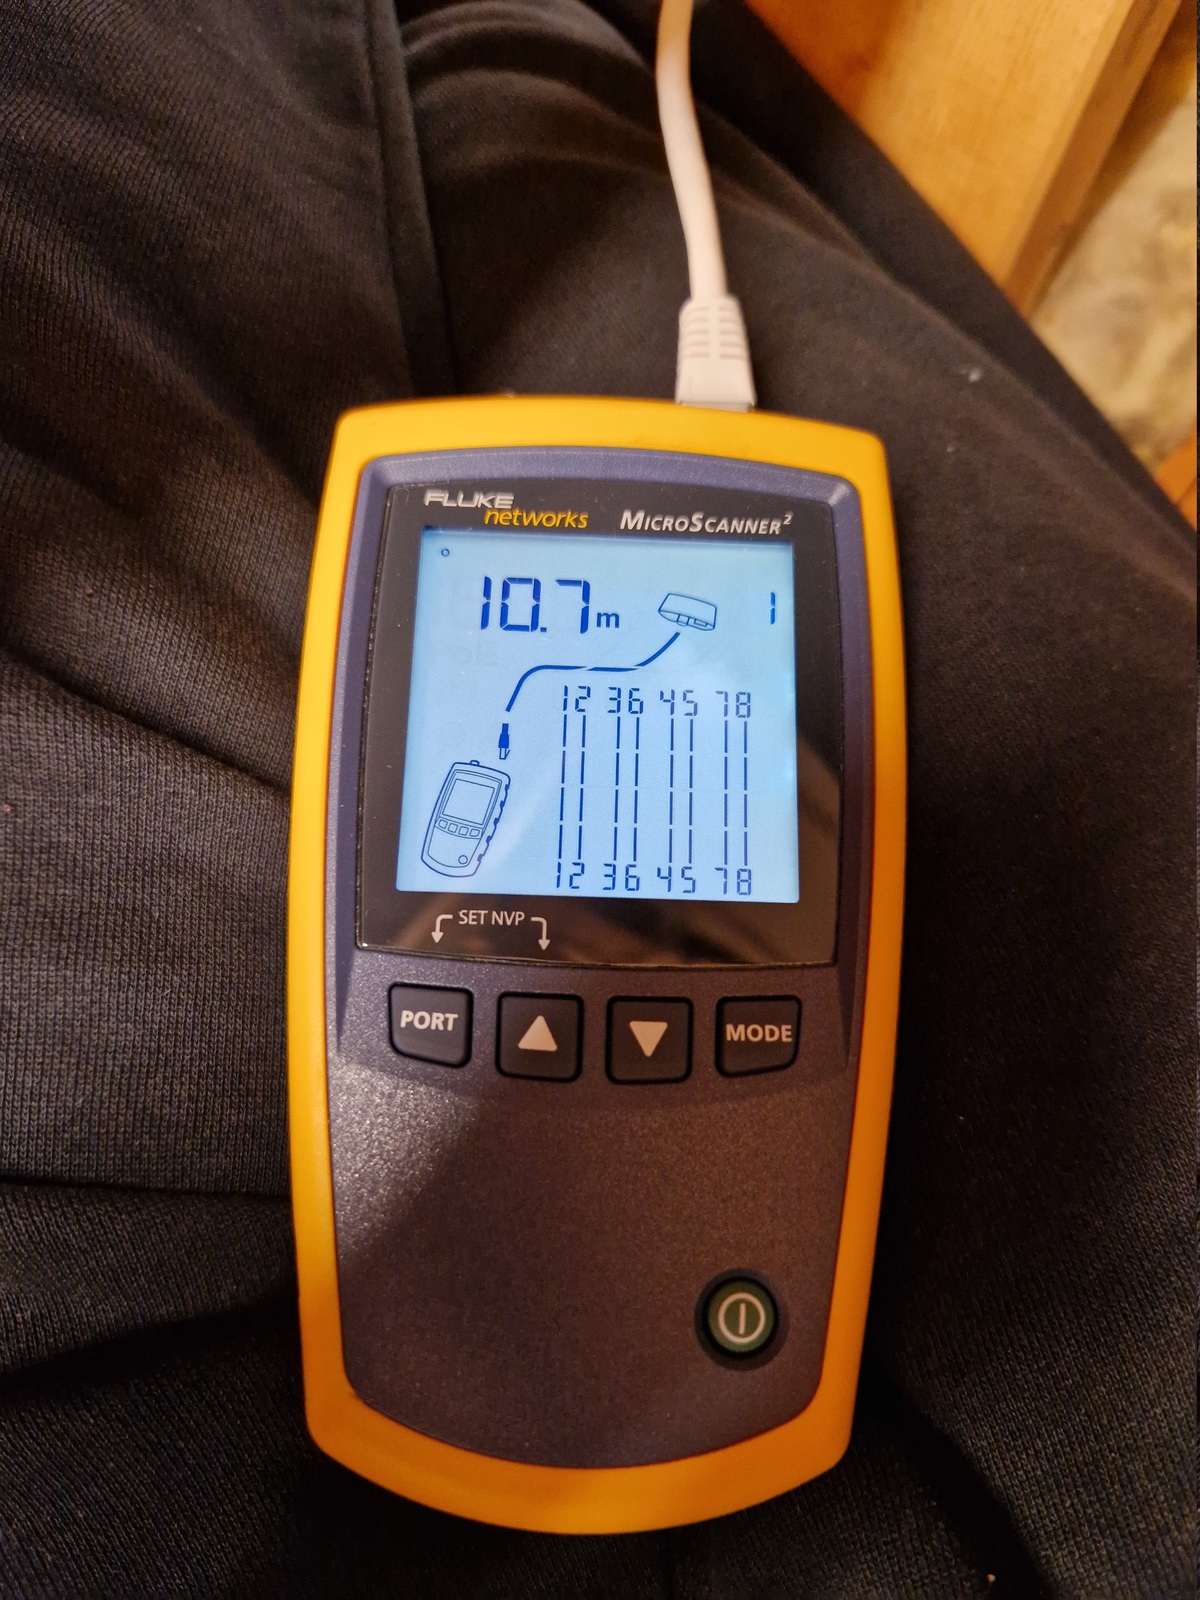
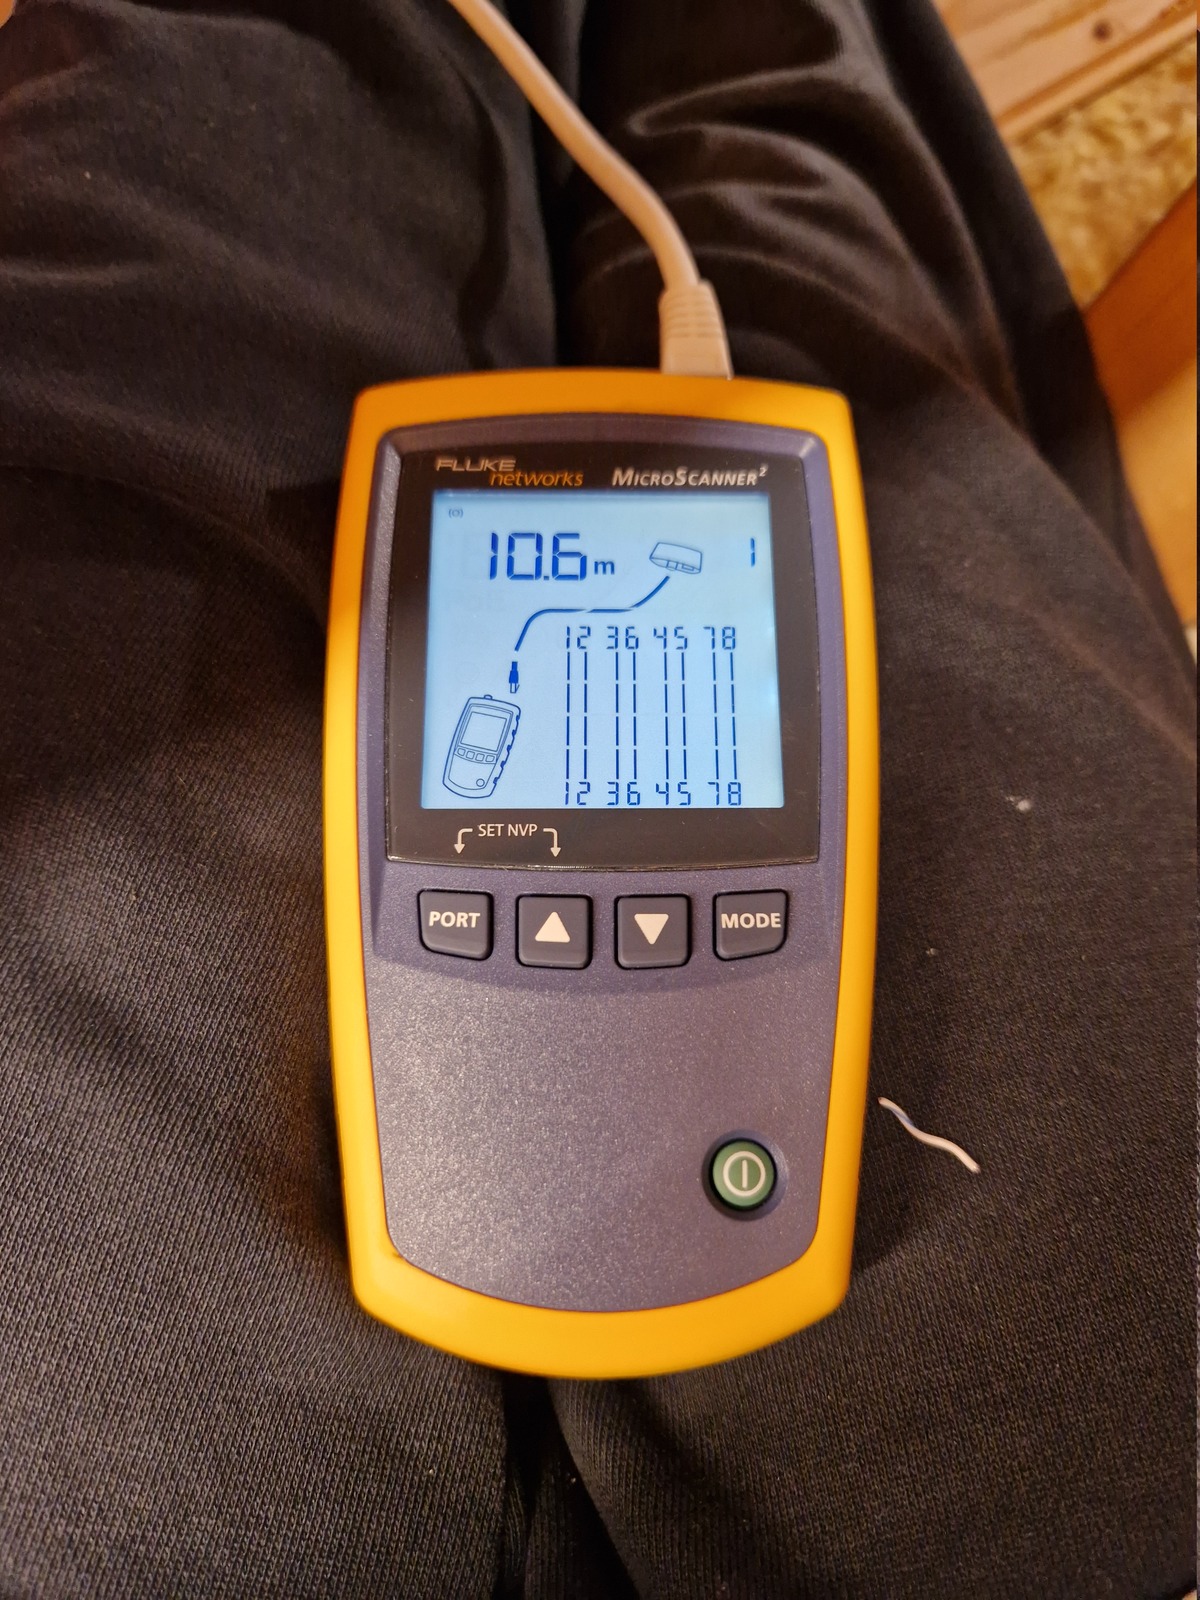
As always; I checked the terminations and length of the cables using my Fluke network tester.
With the front plate installed; the outlet in bedroom #1 is now complete. Time to repeat the process for bedroom #2 👷

I placed the cables inside the wall box, same as before — and removed the outer jackets.

Punched them down into the terminal blocks — taking care to not untwist more than needed.

Checked with my Fluke network tester.
Secured the keystone jacks in the patch panel.
And mounted the front plate 😎

Now I have four new CAT6 network runs — two to each bedroom 🎉
Finishing up
The expanding foam had hardened; so I cut off the excess.
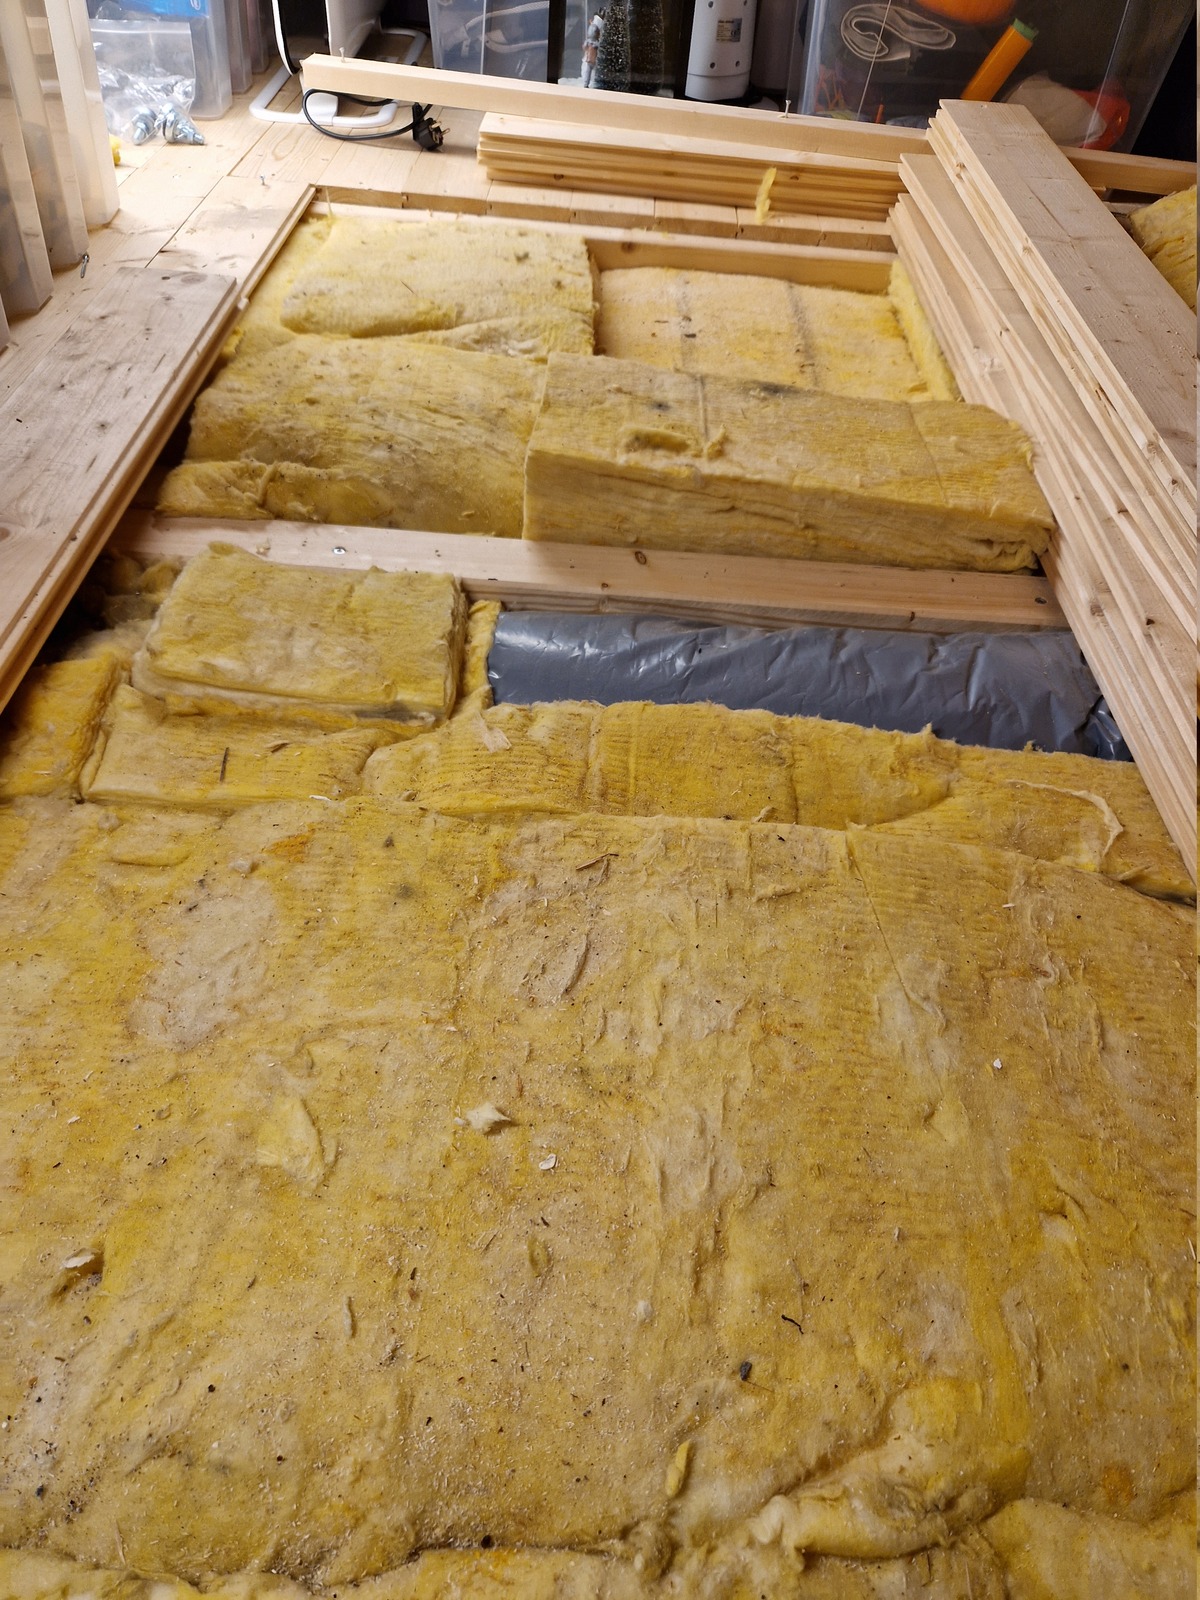
I cut and placed insulation around and under the conduits as best I could.

Then put the large pieces back. Now the floor boards can be put back as well — and it’s like nothing ever happened 🙂
There are two additional keystones in the patch panel that I haven’t explained yet. I did another network — to the 2nd floor den, just pretend they aren’t there. I’ll write about those in a future post.
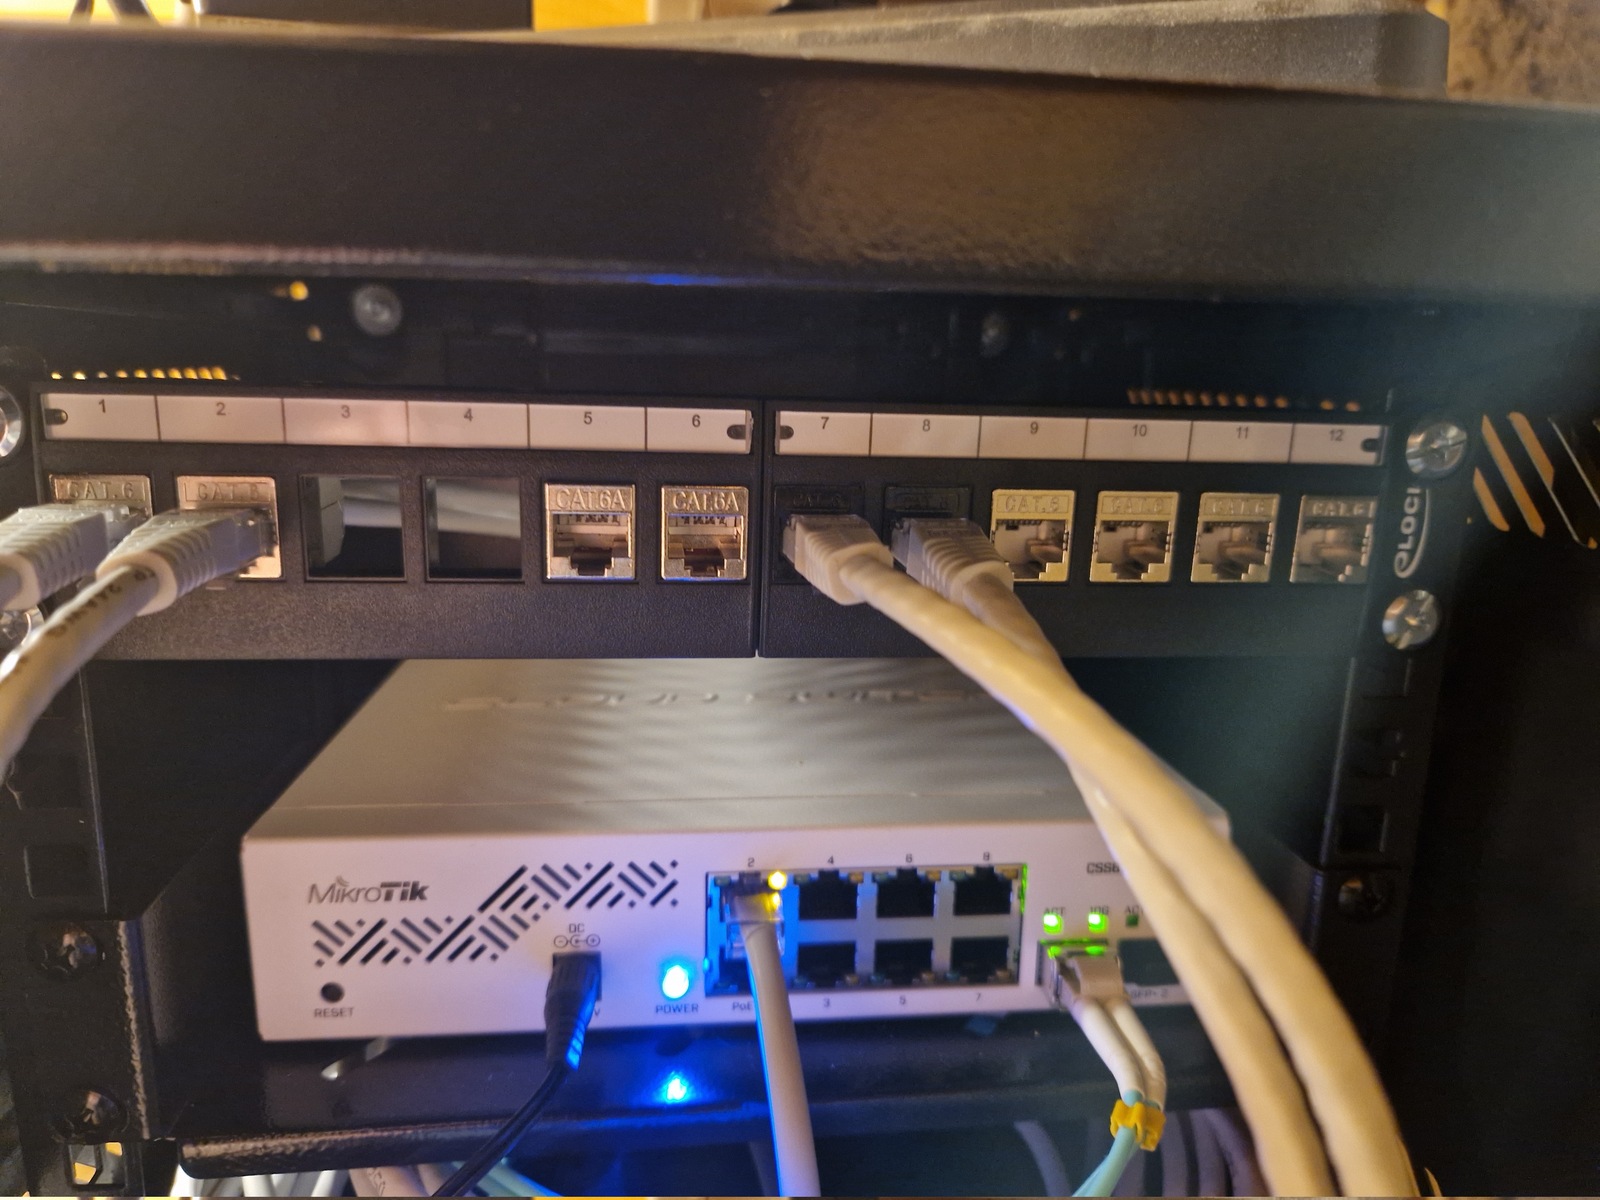
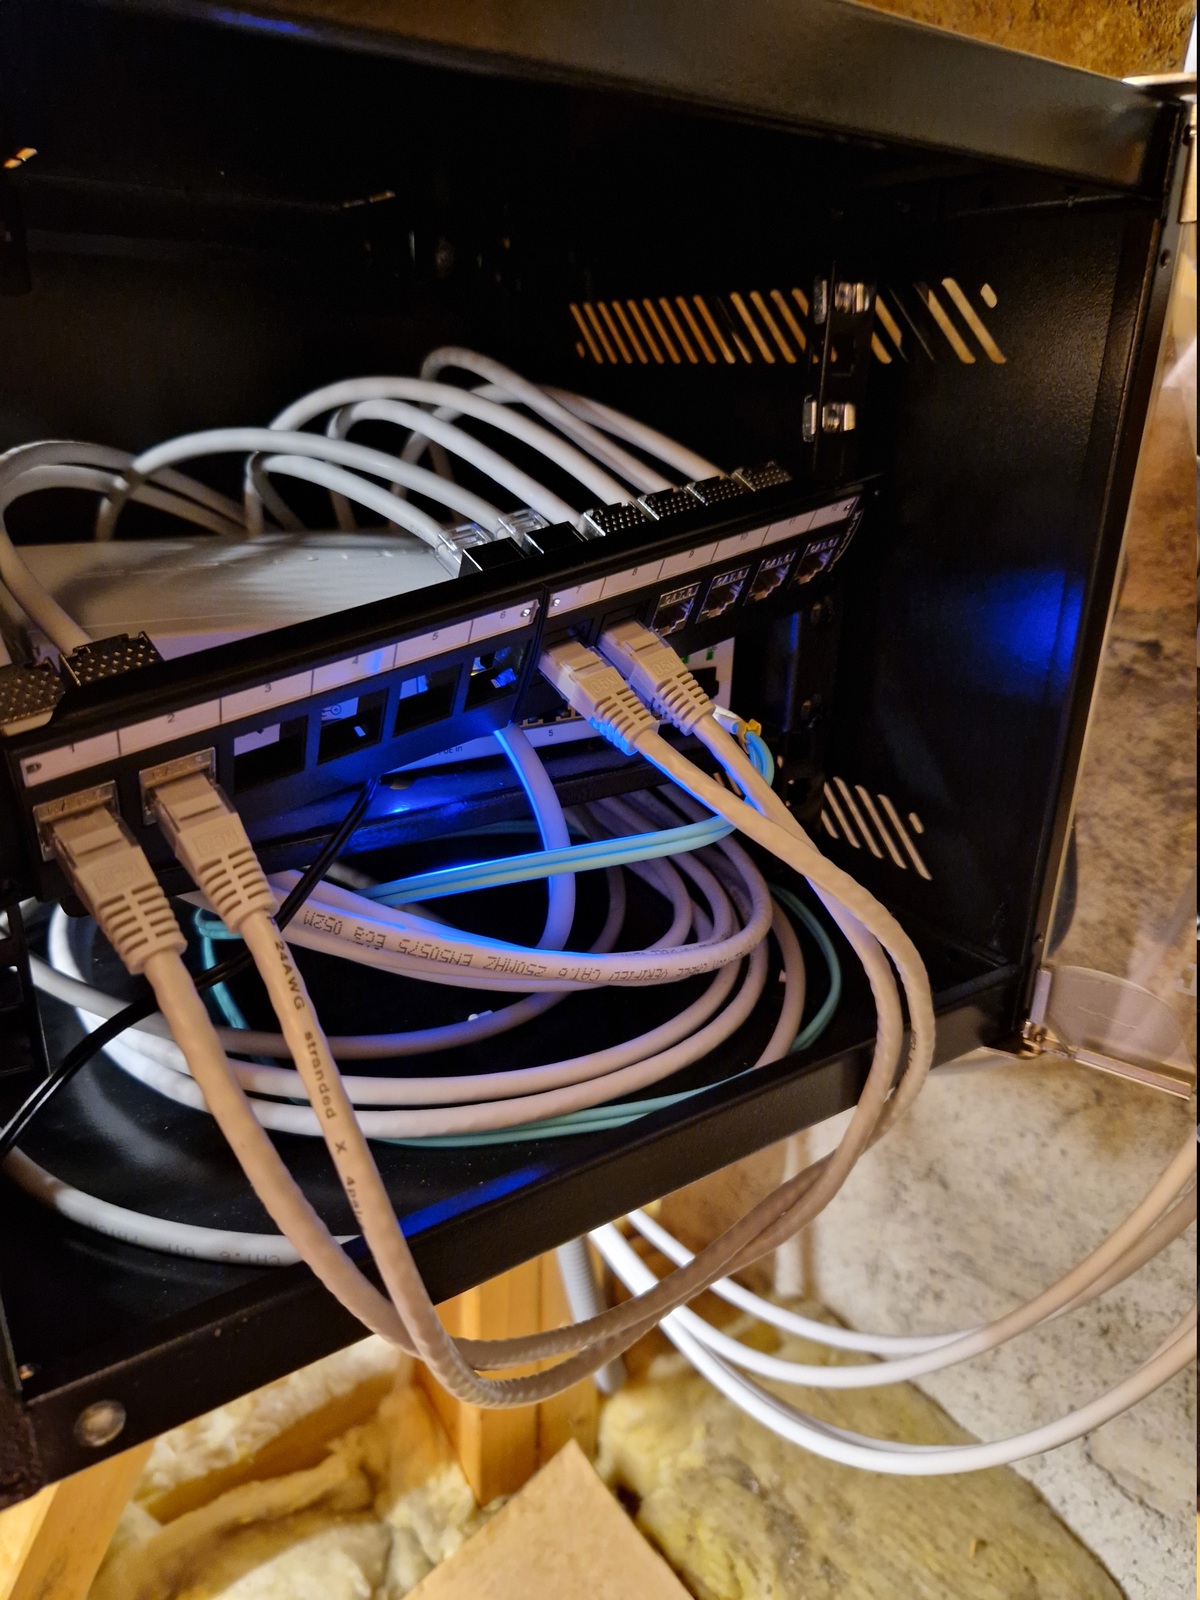
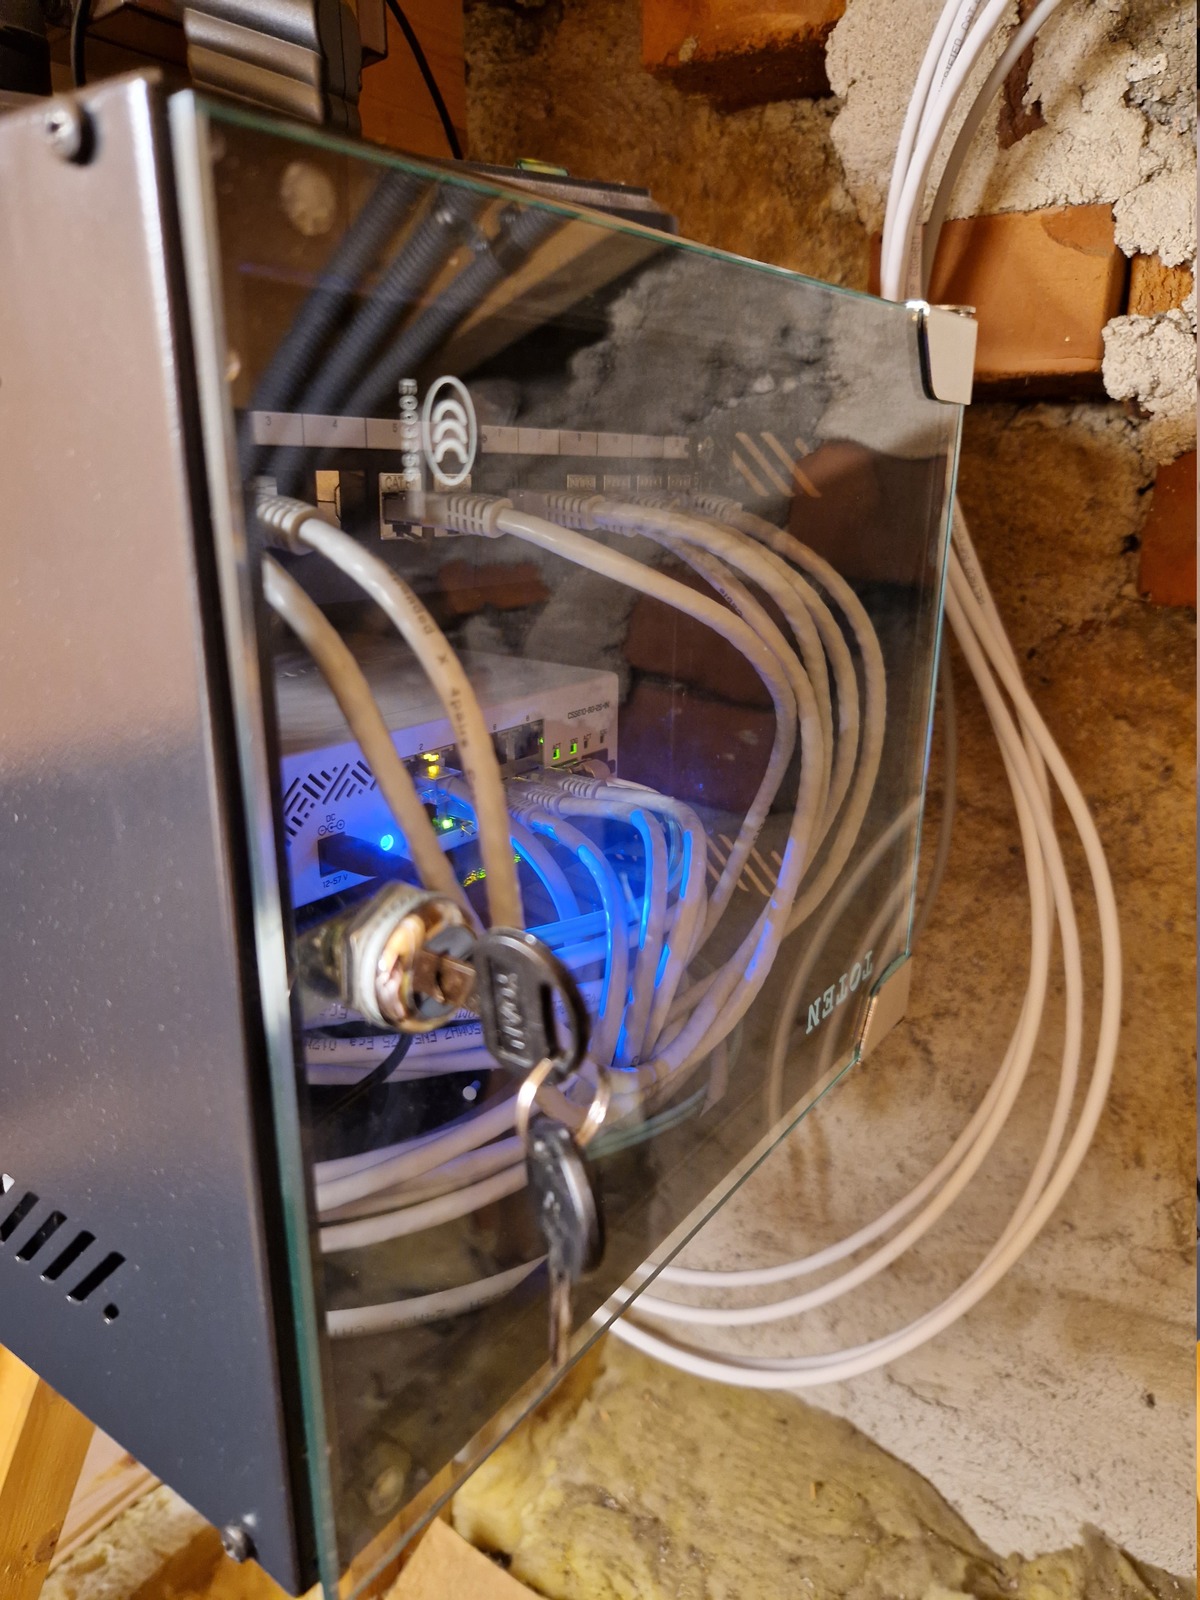
Anyway; I patched the new network runs into the attic switch, using 0.5 m patch cables.
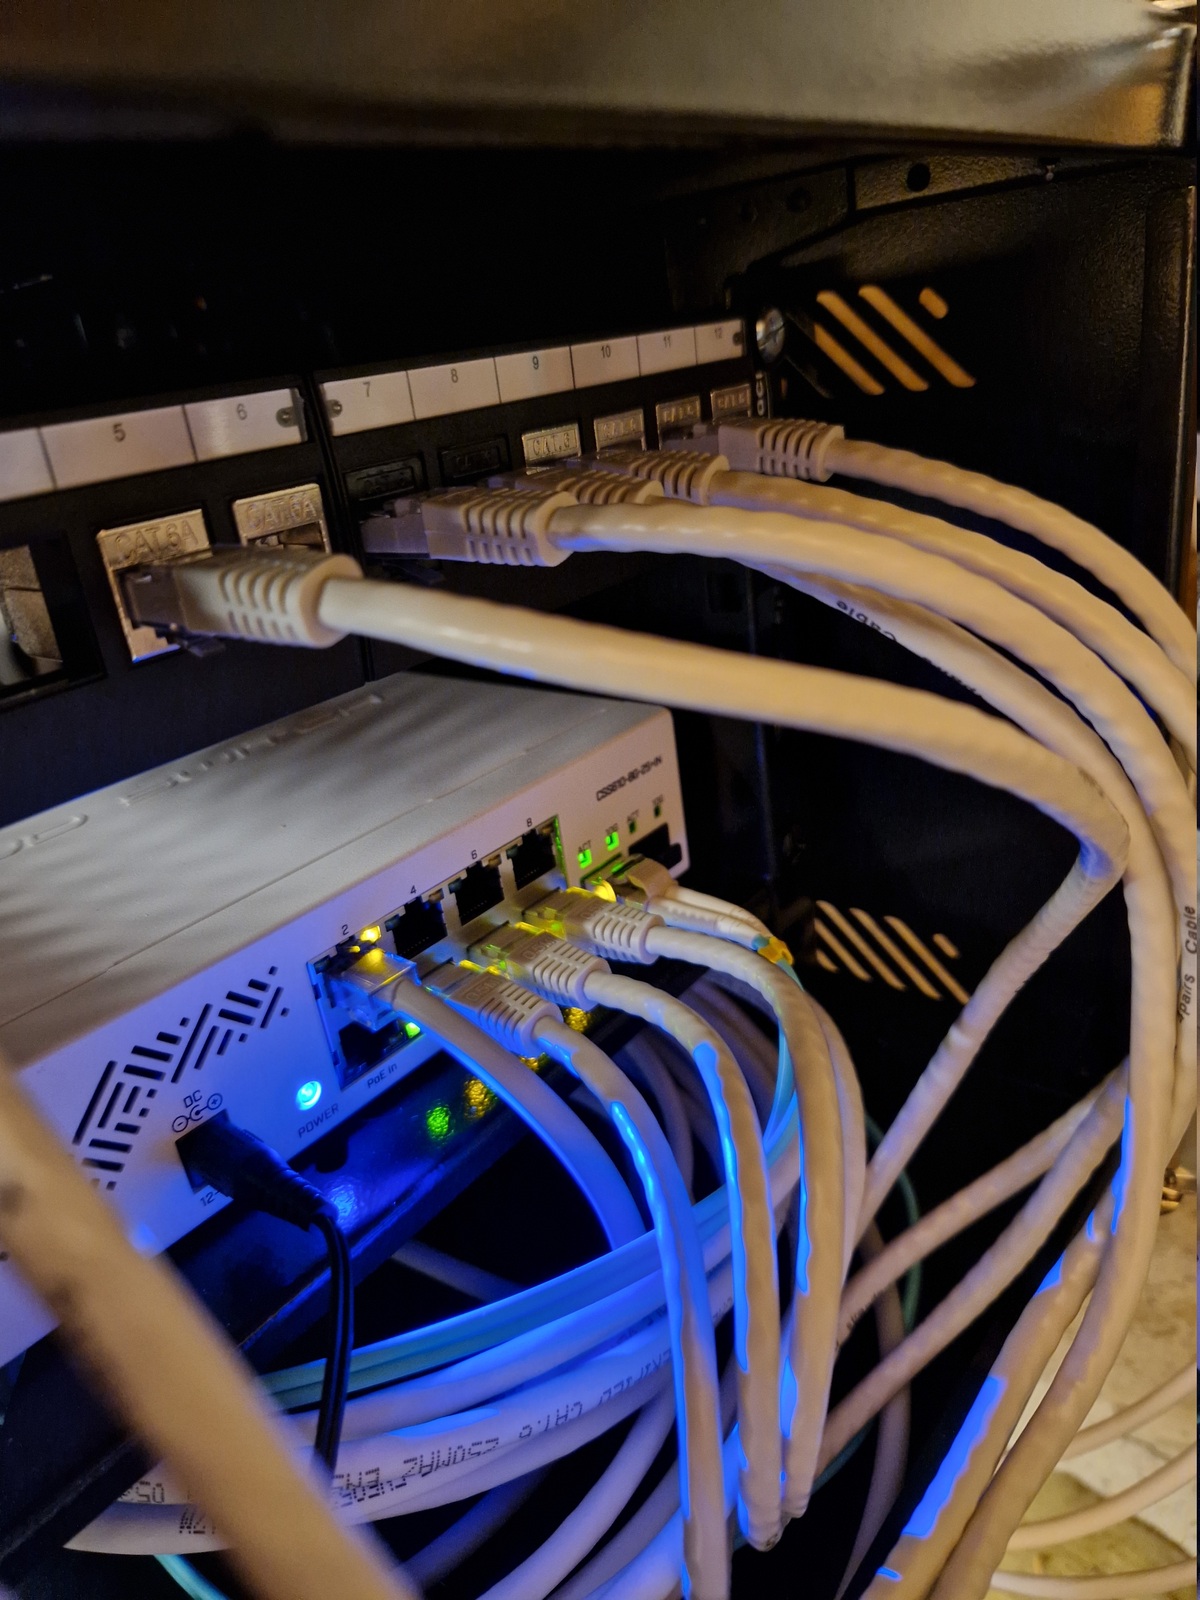
The small network cabinet, 4U 10", is filling up 🙂
Electrons flowing
From the computer in bedroom #1… 👇
Through a 3 m CAT6 patch cable — to new network outlet #1 👇

And the computer in bedroom #2… 👇
Through a 3 m CAT6 patch cable — to new network outlet #2 👇

Into 1 Gbit ports on the switch in the attic — then through 20 m 10 Gbit fiber… 👇
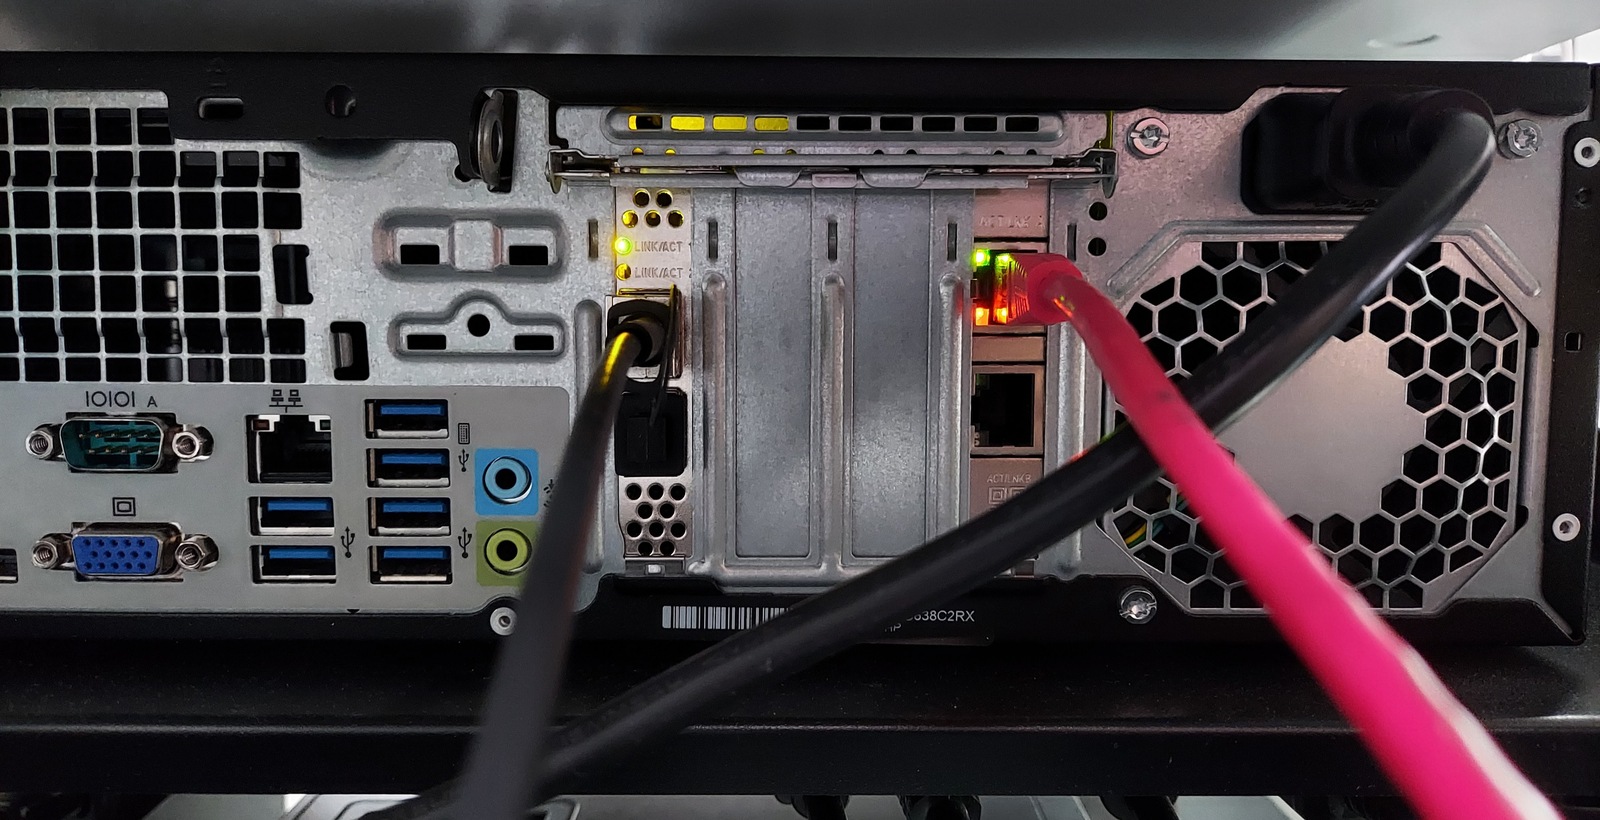
To the 10 Gbit core switch in the homelab rack 👇
And finally; 10 Gbit DAC cable, into my virtual MikroTik CHR 👇
Closing thoughts
Of all my network cabling projects — this is probably the one I’ve dreaded the most. I just wasn’t sure it would be possible, and I spent way too long thinking about it — all the things that could go wrong.
I considered a few other options:
- Going outside, and in through the exterior wall
- I’d like to keep the cables inside, if possible. And I would have needed a lift to get high enough.
- Down alongside the ventilation duct
- But when where to put the network outlets?
- Through the wall from the adjacent storage rooms
- The network outlet would end up very far from the computer desk
- Getting to the storage room by bedroom #2 would have been a pain
The best solution was to go down into the interior wall — as I did. And I am glad I followed through with that plan. I did need a bit of moral support when drilling down into the wall, and luckily my father was with me to provide that ❤️
I’m going to mount a small cable duct between the network outlet and the computers — to prevent the cable getting pulled, and make it a bit more tidy.
Another successful network run completed 🖖
Last commit 2024-11-11, with message: Add lots of tags to posts.
All posts in Home network v2 series
- Replacing Unifi switches with MikroTik
- Getting started with MikroTik CCR1009 and RouterOS
- Altibox fiber — straight into Mikrotik CCR1009
- Running underground CAT6 to detached garage
- Plans for my home network
- Running two CAT6 cables to the play room
- Running three CAT6 cables to the living room TV bench
- Moving CAT6 cable for access point; inside the wall
- Altibox fiber — straight into Ubiquiti EdgeRouter
- Two CAT6 cables and a fiber — from the basement to the attic
- A few Wi-Fi improvements
- Updated plans for my home network
- Knot Resolver — with ad blocking
- Pulling CAT6 cable in existing conduit
- Running CAT6 to the twins' rooms — inside interior wall
- Running CAT6 to the 2nd floor den — another interior wall
- Finally getting fiber between the house and garage
