This post is part of the Home network v2 series.
We recently got a family computer in our play room, and it of course needs network. So I ran a 20 mm conduit from the basement, through the kitchen, to the play room, and pulled two CAT6 cables.
Table of contents
The plan
My home office is directly below the kitchen, and the kitchen shares a wall with the play room. So I figured I’d run a conduit through the ceiling in my home office, come out under the kitchen base cabinets, and through the wall to the play room.

No visible cables, easy as pie… Well, not so easy it turned out. But let’s get back to that later.
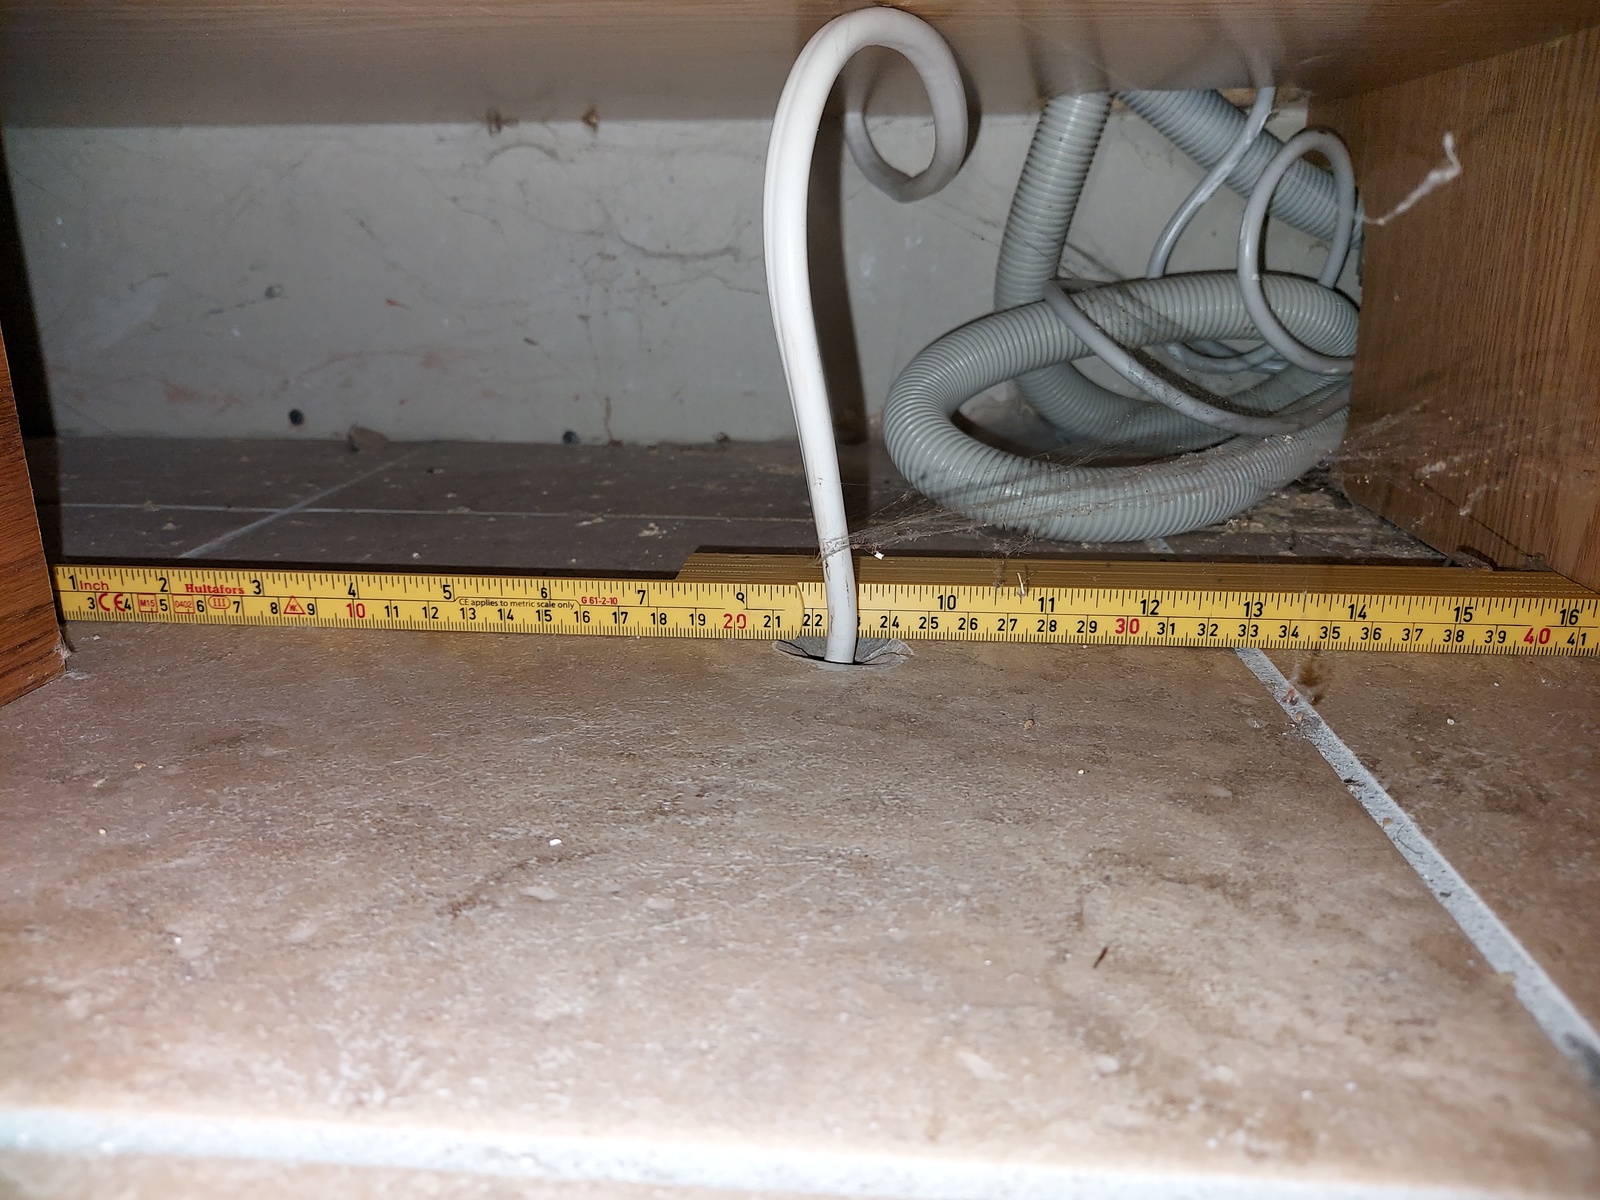
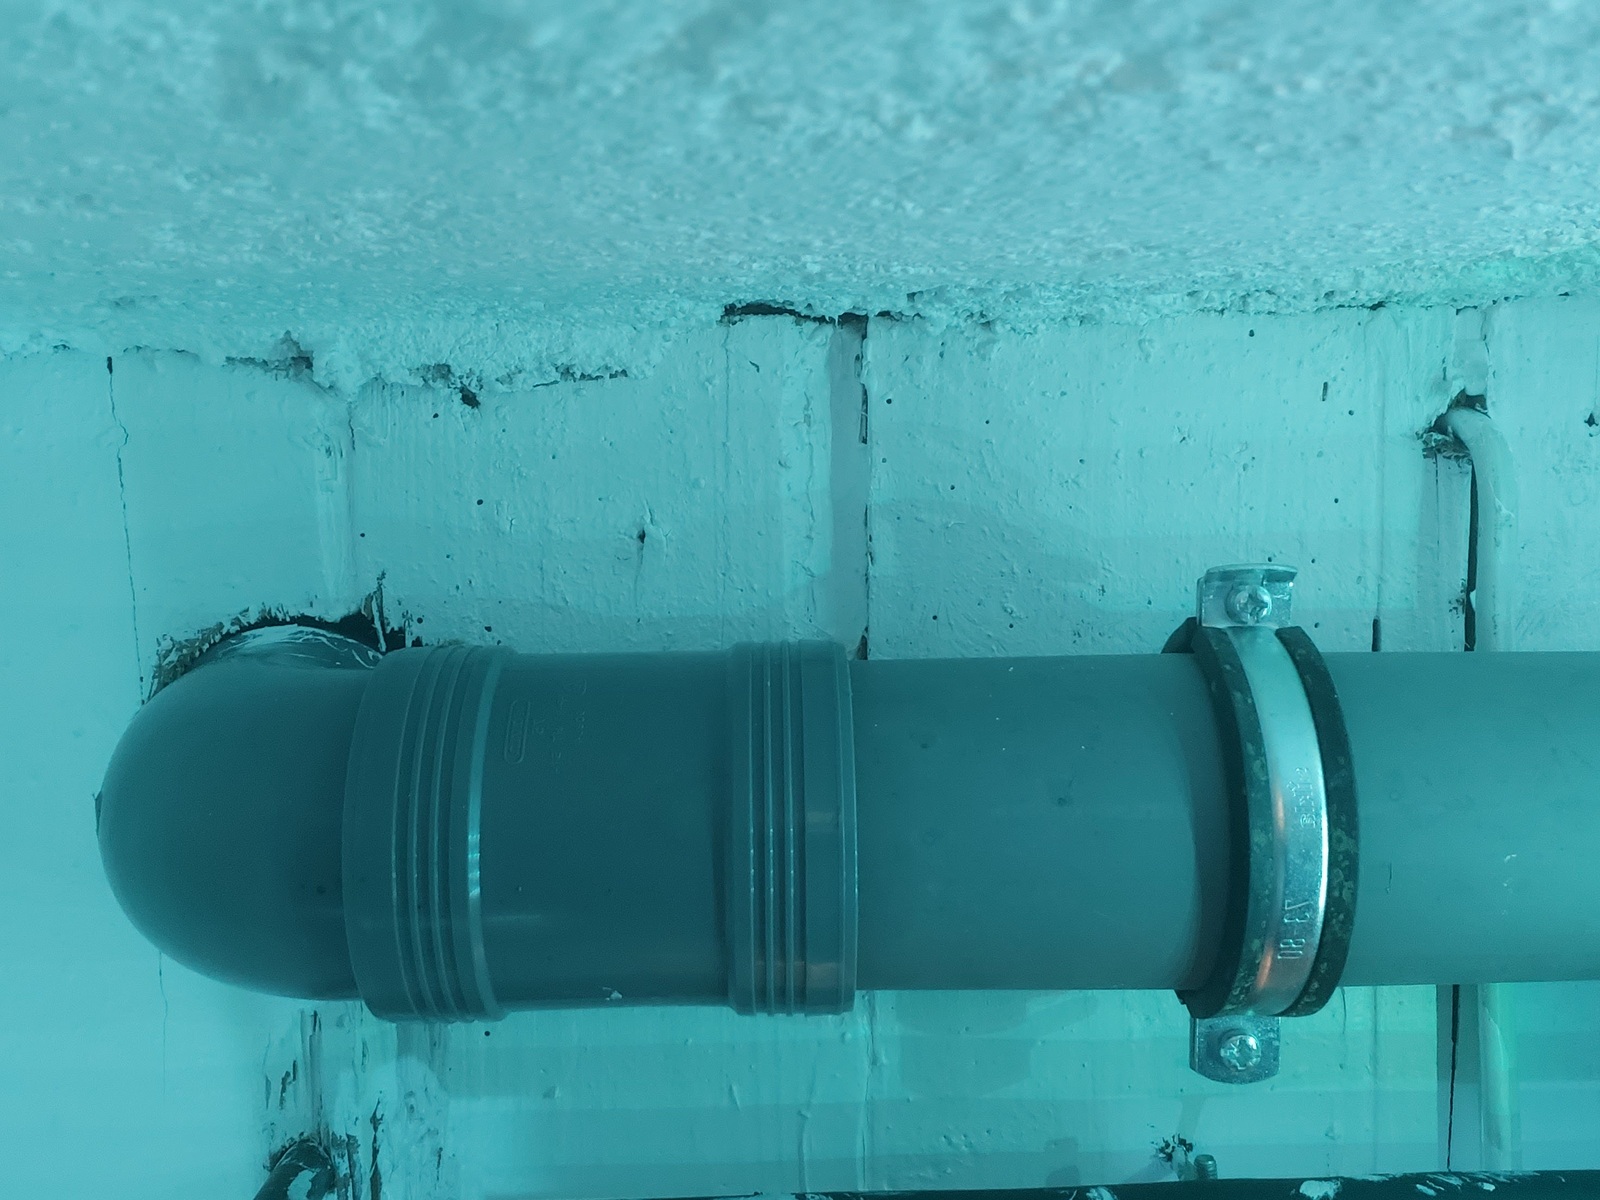
There is already a power cable going through from the basement to the kitchen, so I used this as a reference to know where to drill. As there are water and drain pipes in this area — knowing where the drill would come out was important.
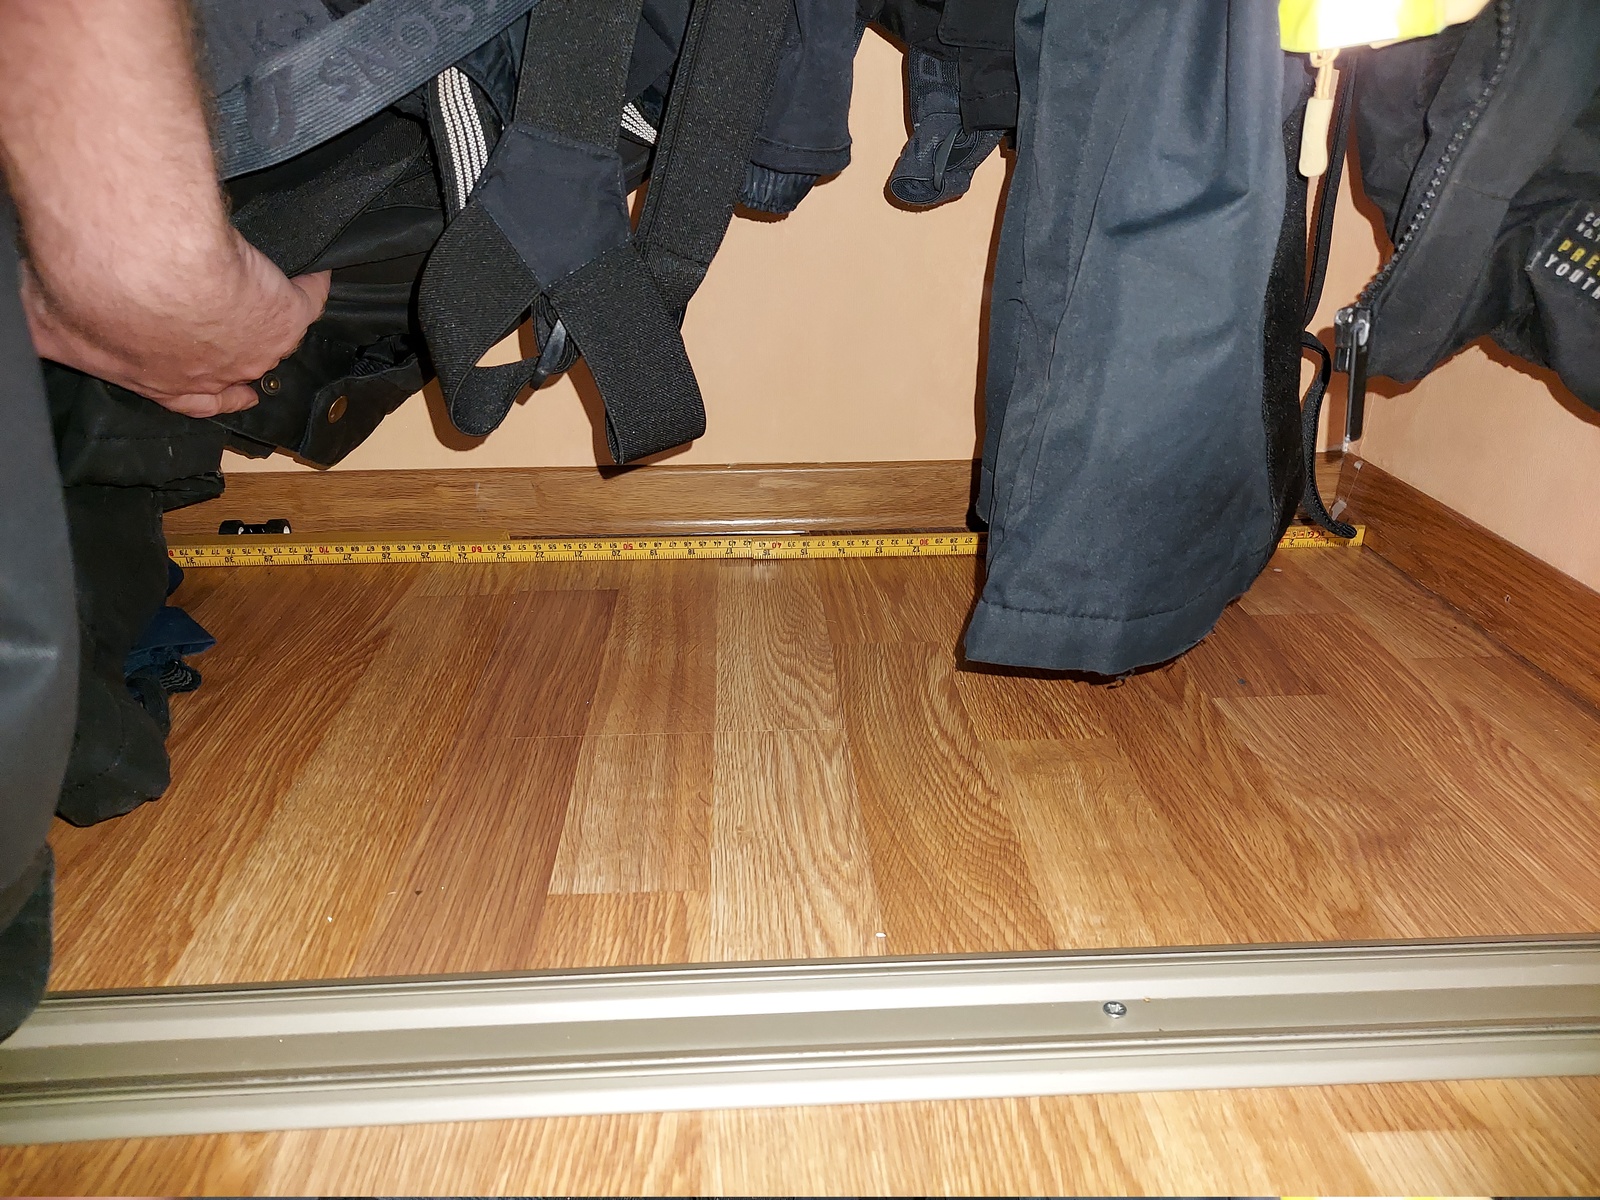
The kitchen and play room shares a wall, going through it; I would come out in a closet on the play room side.
After doing a lot of measurements, using the power cable and pipes as a reference — I was finally ready to get started 🙂
Drilling
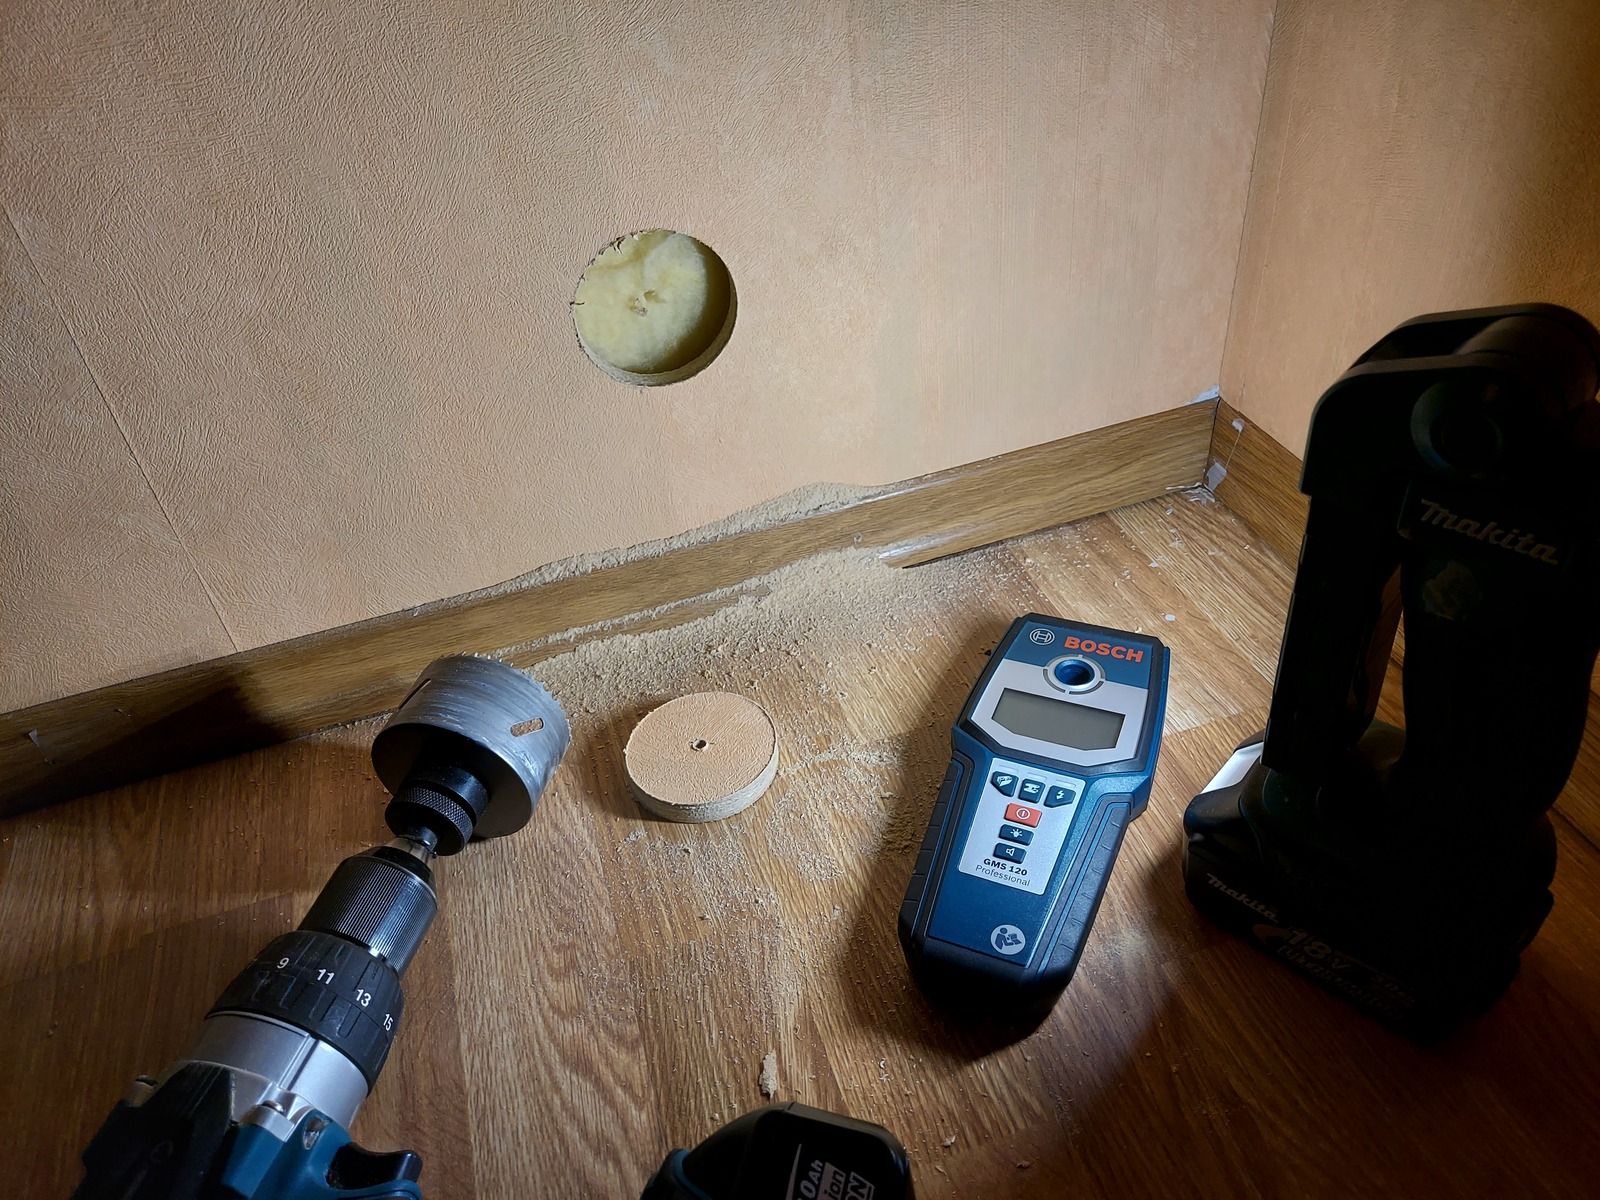
I first cut a 73 mm hole on the play room side, to fit the multi box. Drilling into the unknown always stresses me out — but the stud finder didn’t indicate any metals or power 👍
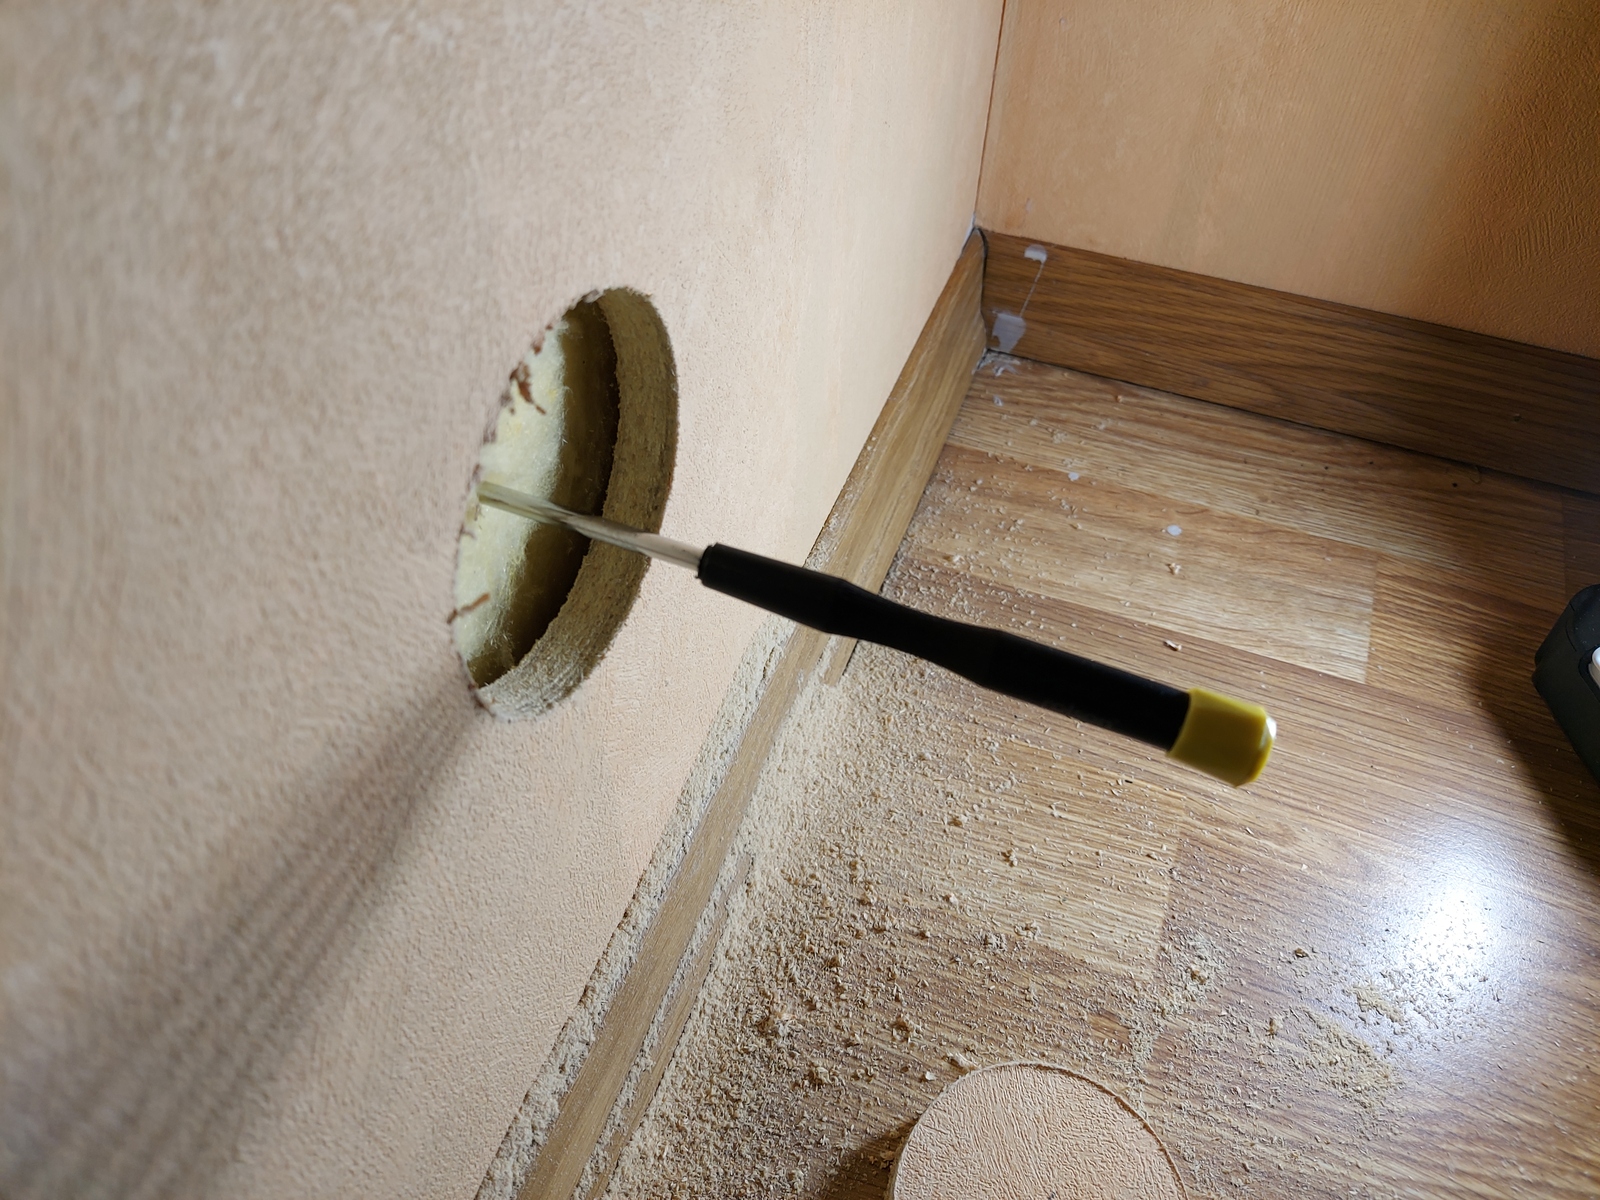
I then used a screw driver to measure the depth to the kitchen wall; it was 12.5 cm.
Next I drilled from the home office, with a 10 mm drill bit. I switched to a masonry bit when I hit the underside of the floor tile, but it didn’t want to go through. Probably not the greatest masonry bit…
After trying for a while I got a hammer and hit the underside of the drill bit a few times, that did the trick and I got through the tile 🙂
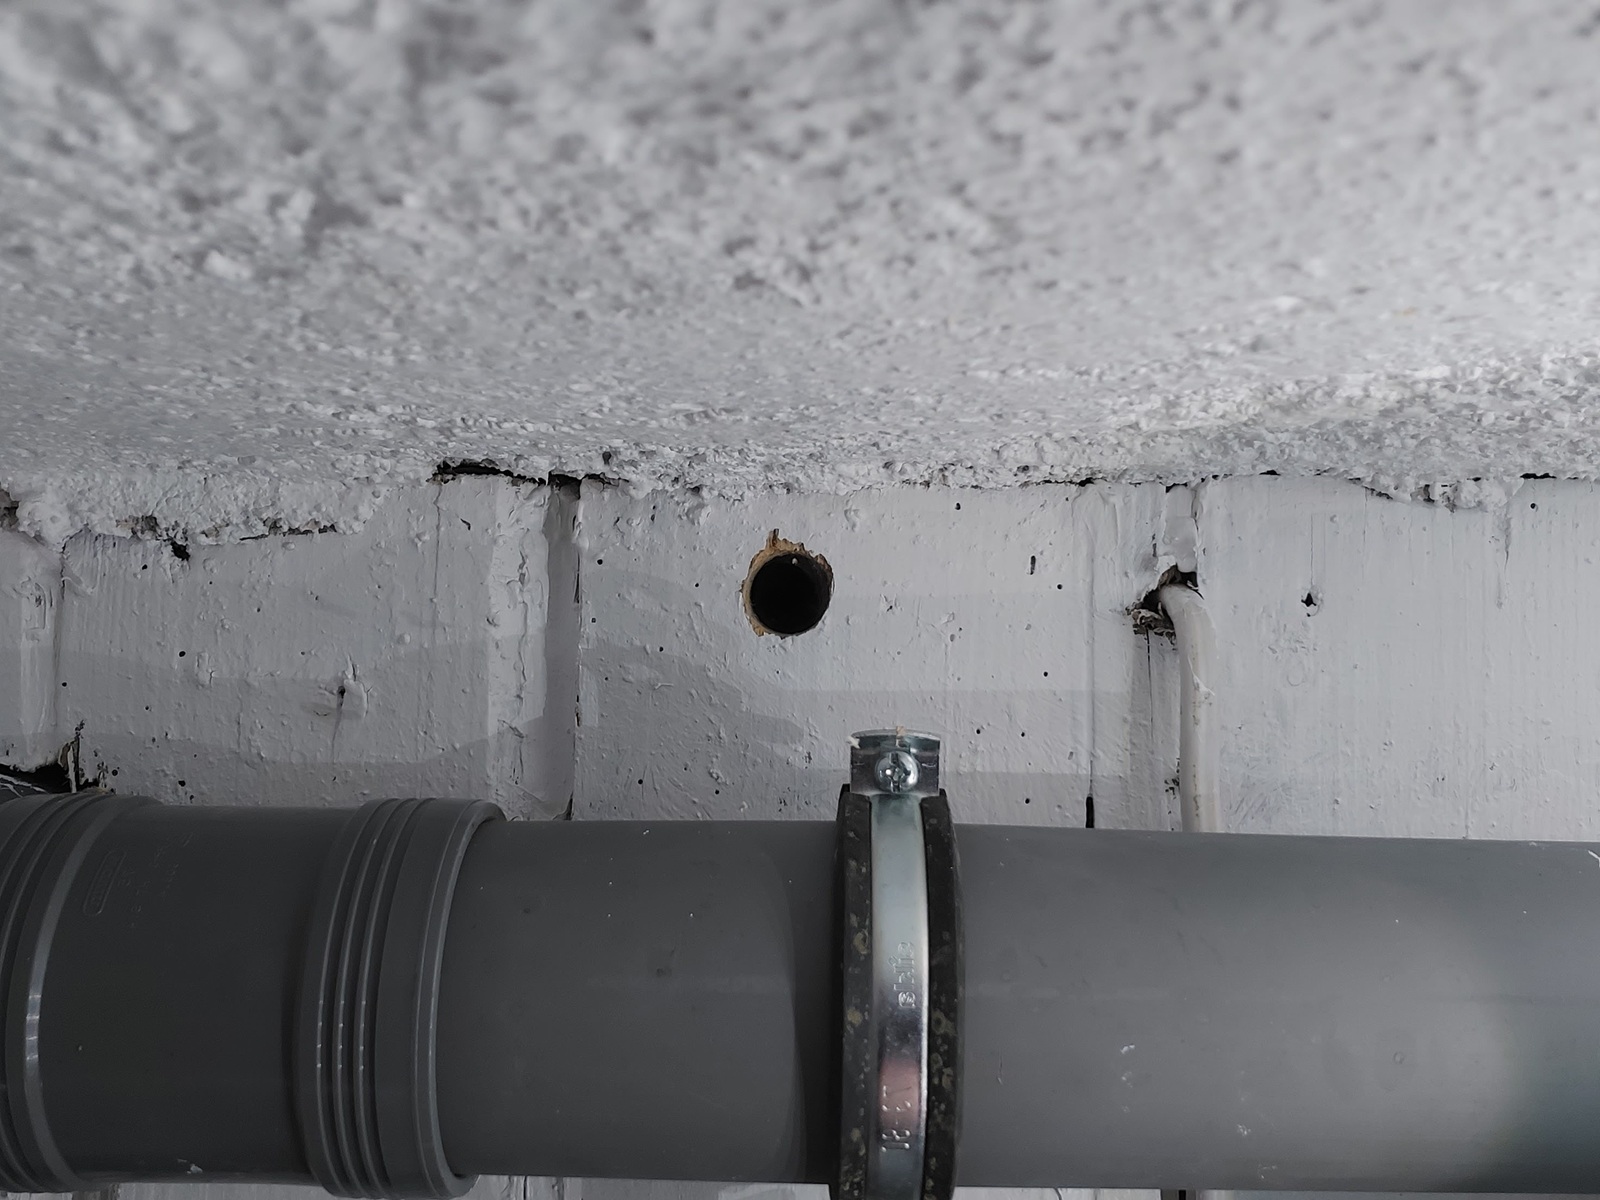
The 10 mm pilot hole was just to get the position where the drill would go through, on the kitchen side. I used a 22 mm drill bit to widen the hole from the basement, but it wasn’t long enough to get all the way through.
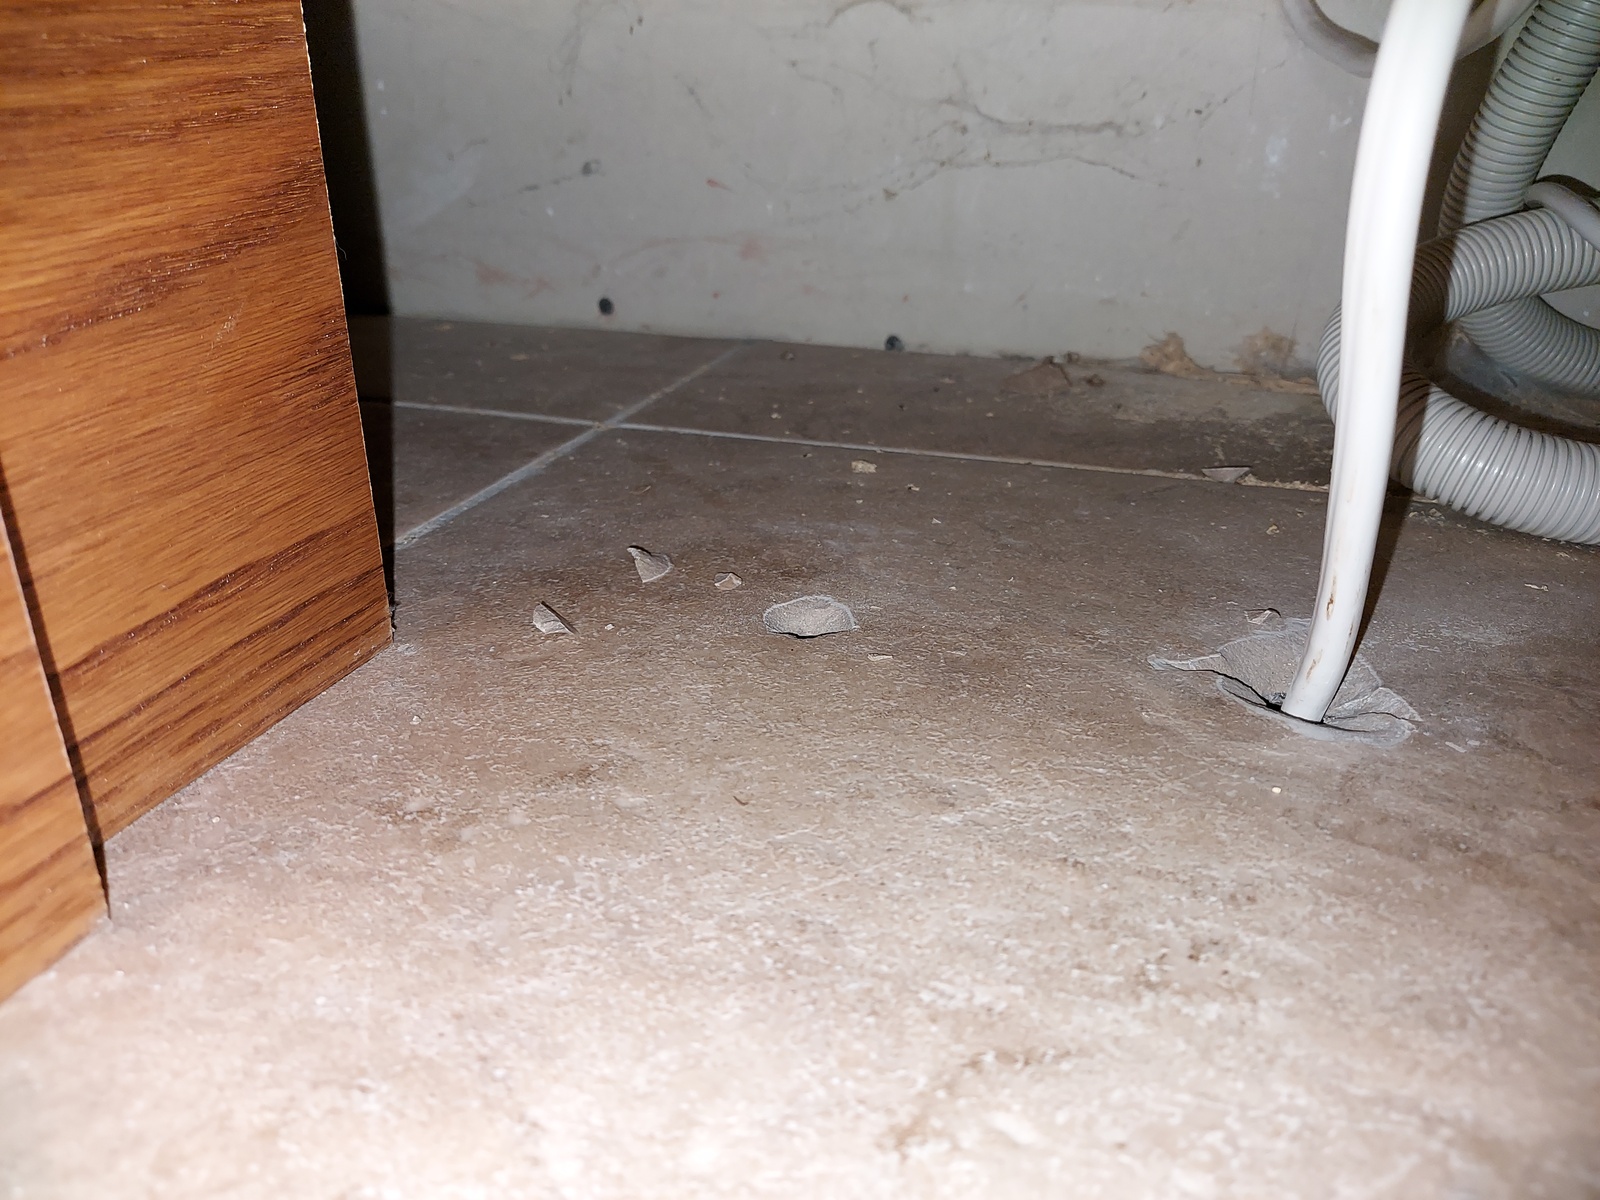
While I waited for some new tools; I drilled through from the play room to the kitchen, in a slightly downward angle to make sure I didn’t end up inside the cabinet.
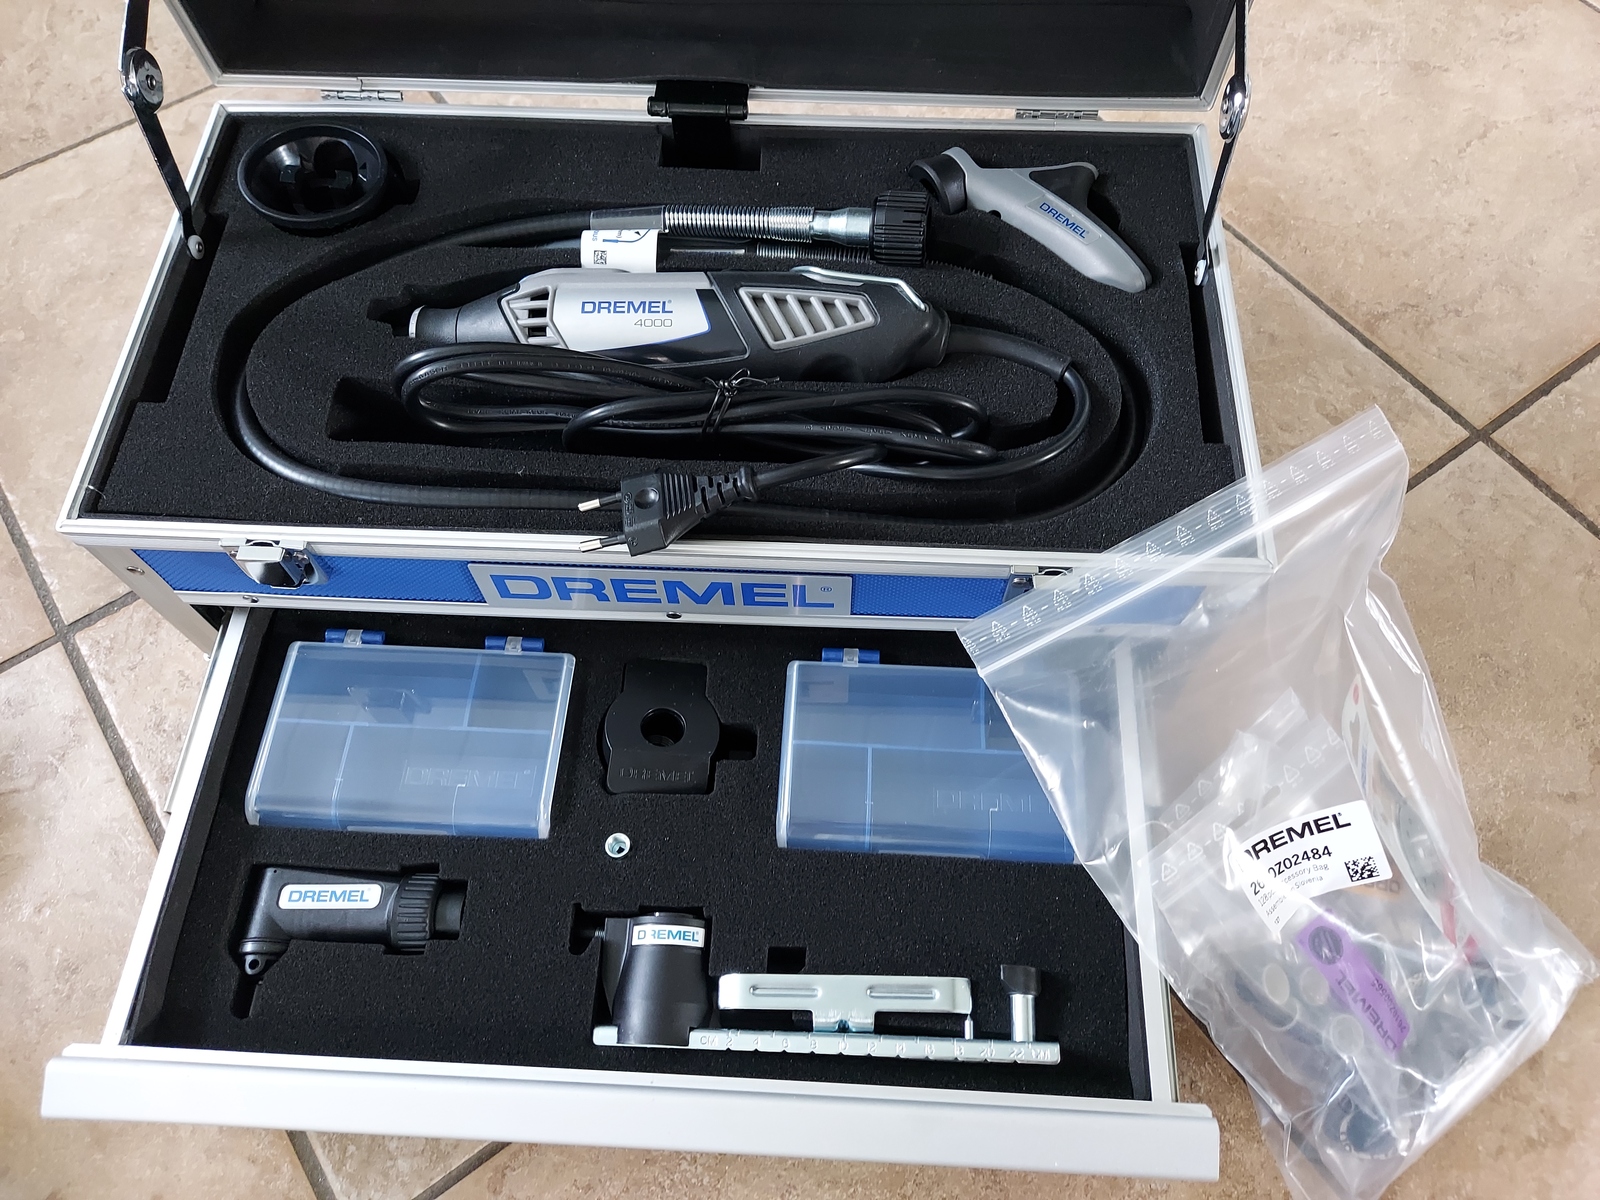
My new rotary tool arrived 😃 The plan was to use a diamond cutting blade to get a big enough opening in the floor tiles. Those tiles are rock hard, and there wasn’t a lot of room to work with under the base cabinets.
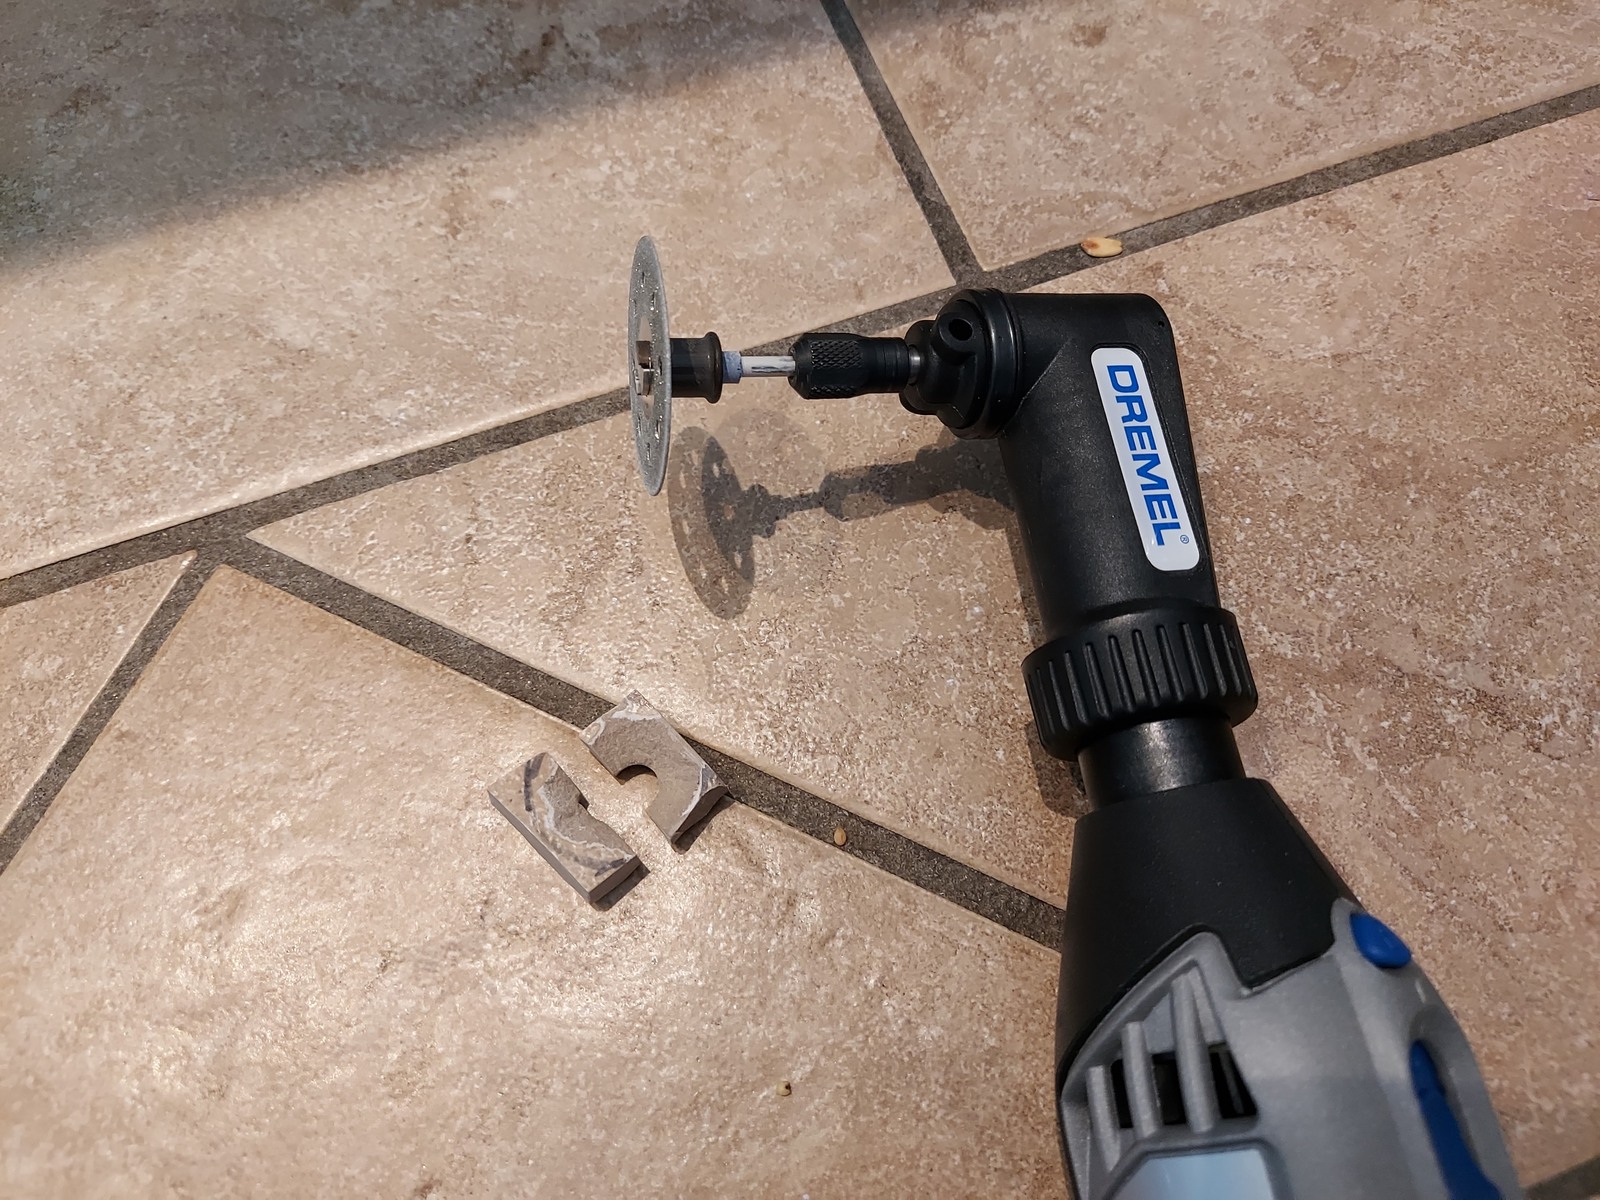
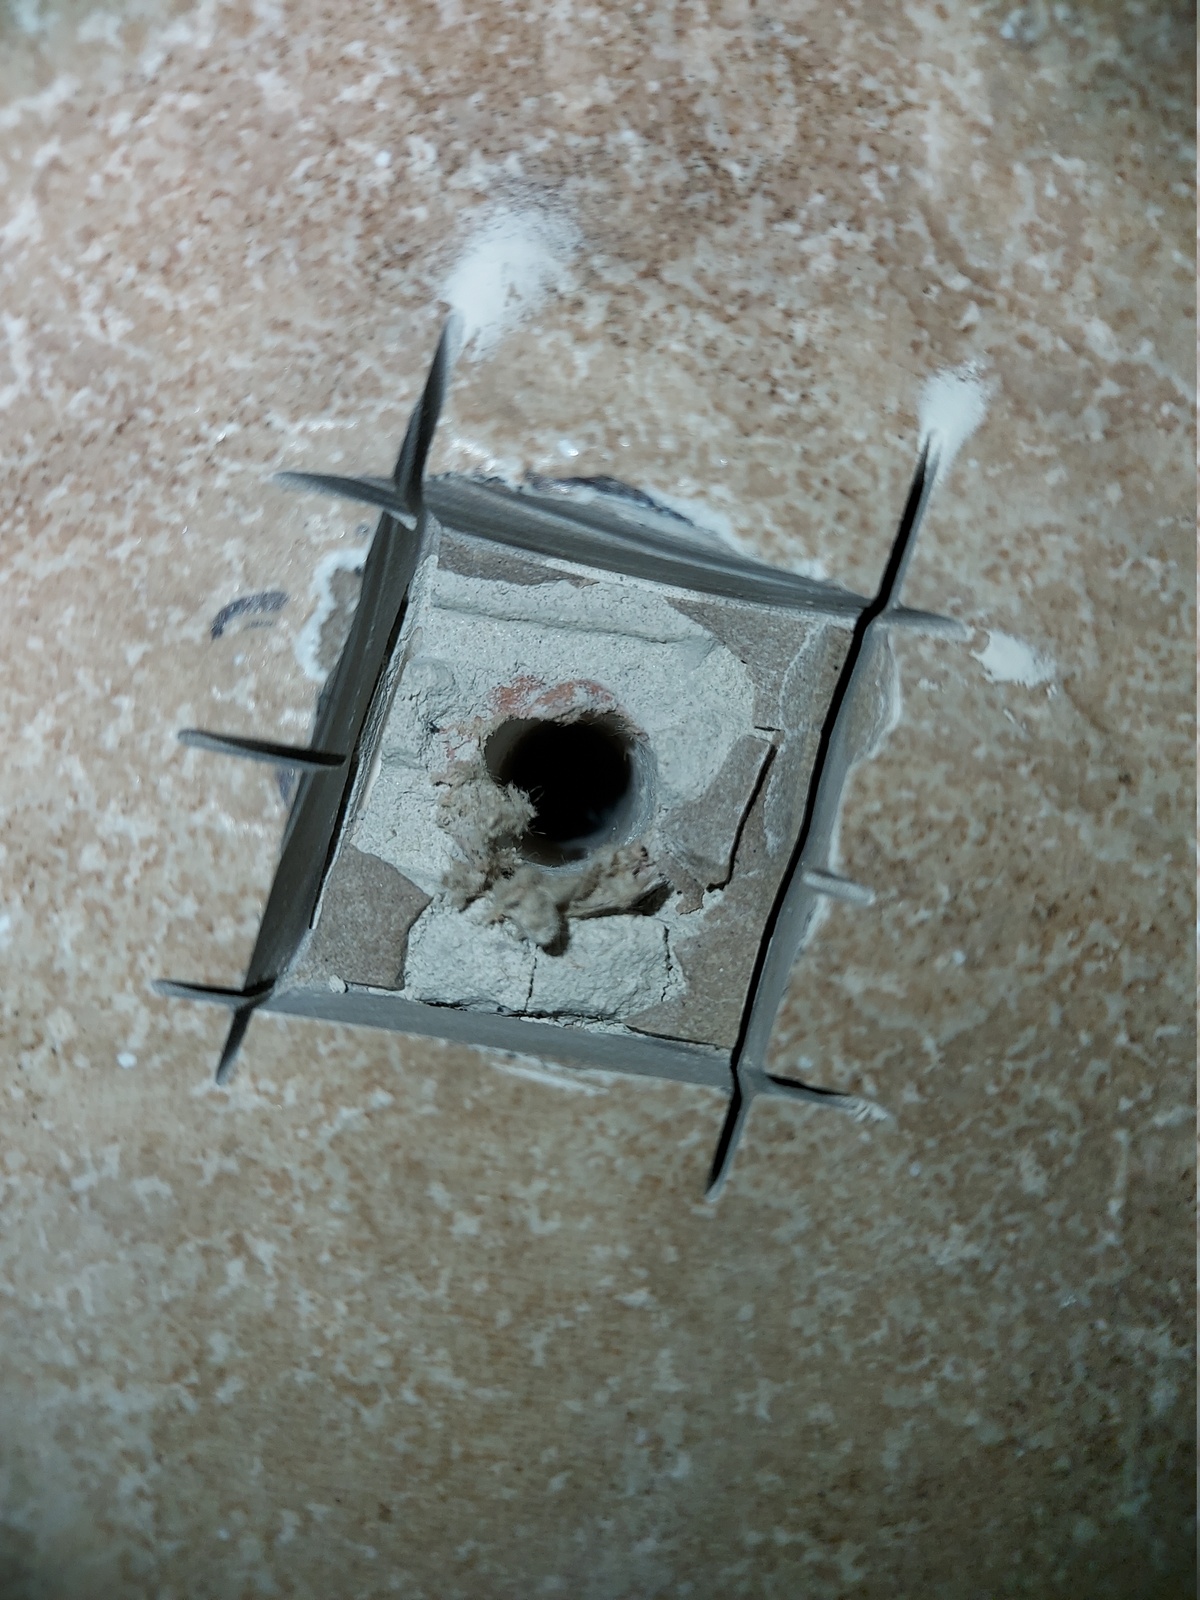
Using the diamond cutting blade; I was able to cut out a section of the floor tile 🙂
I borrowed a 22 mm drill bit, that was long enough to get through. I made good progress for a little while…
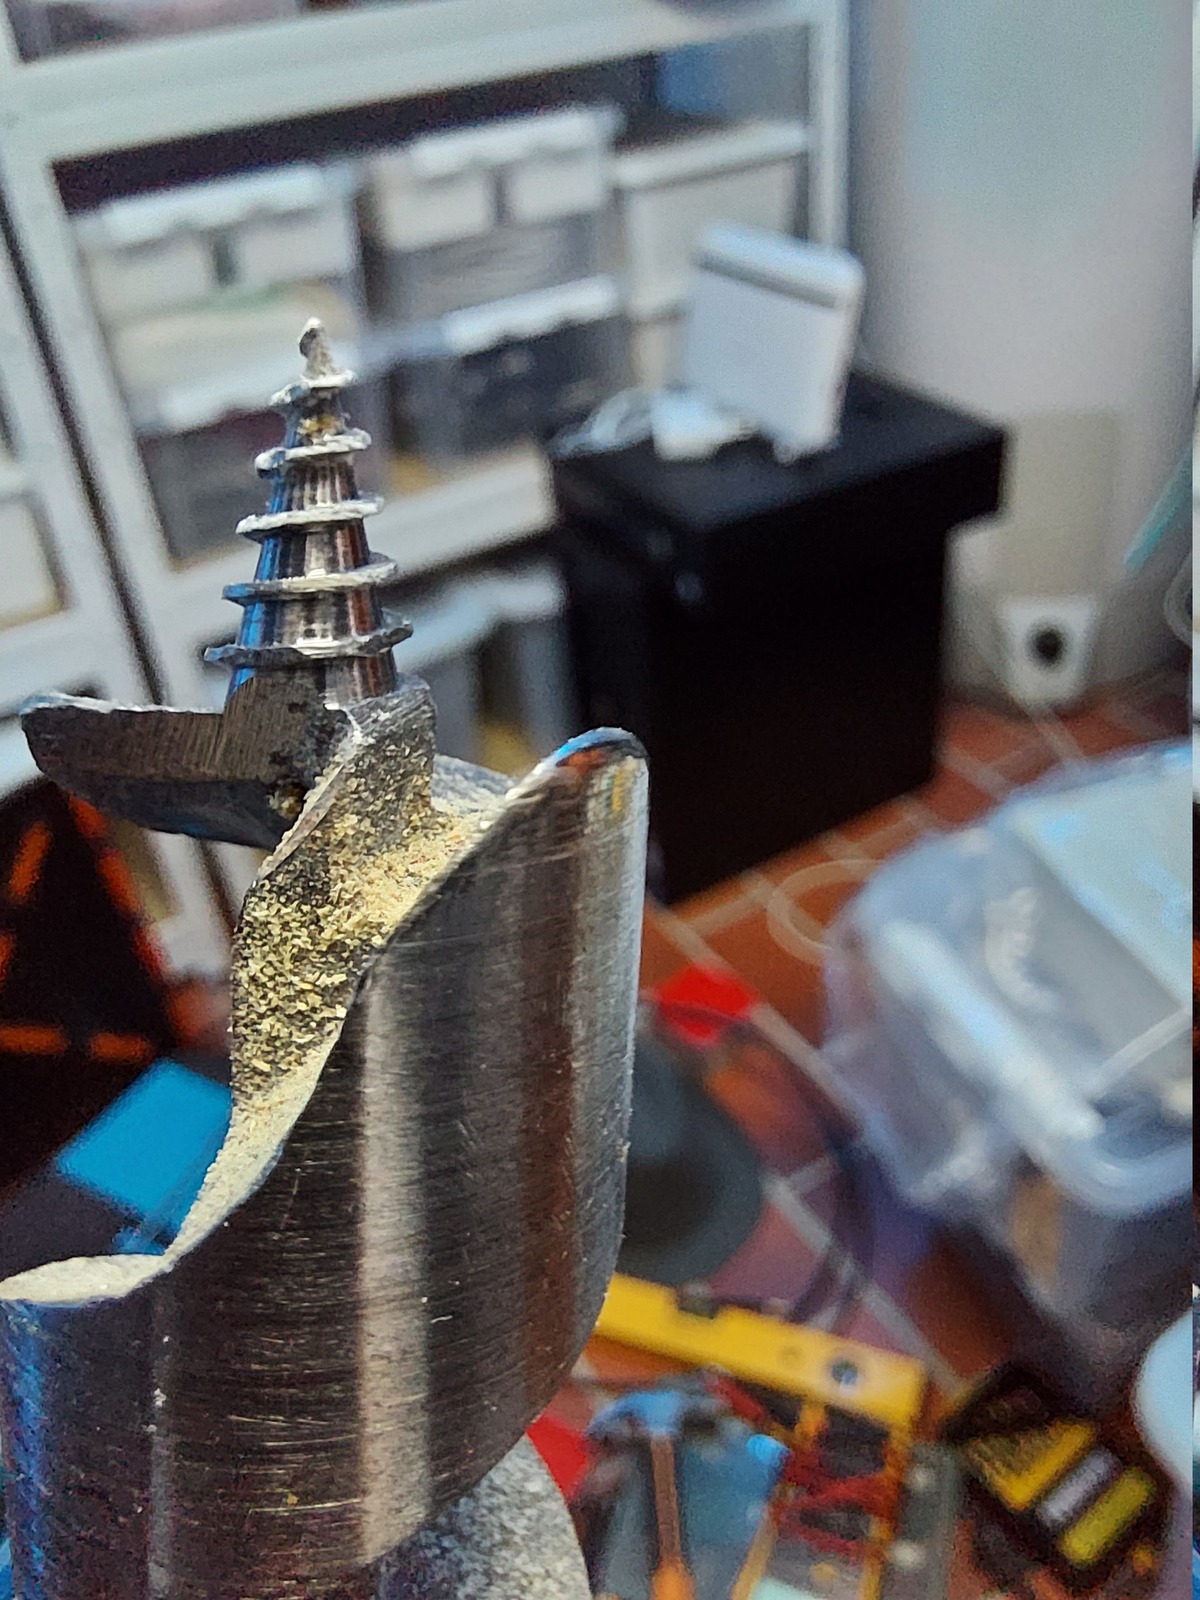
…and then I hit something. I didn’t understand what, but it was obvious that I had hit something — the drill bit was completely ruined. And I didn’t make it through 😞
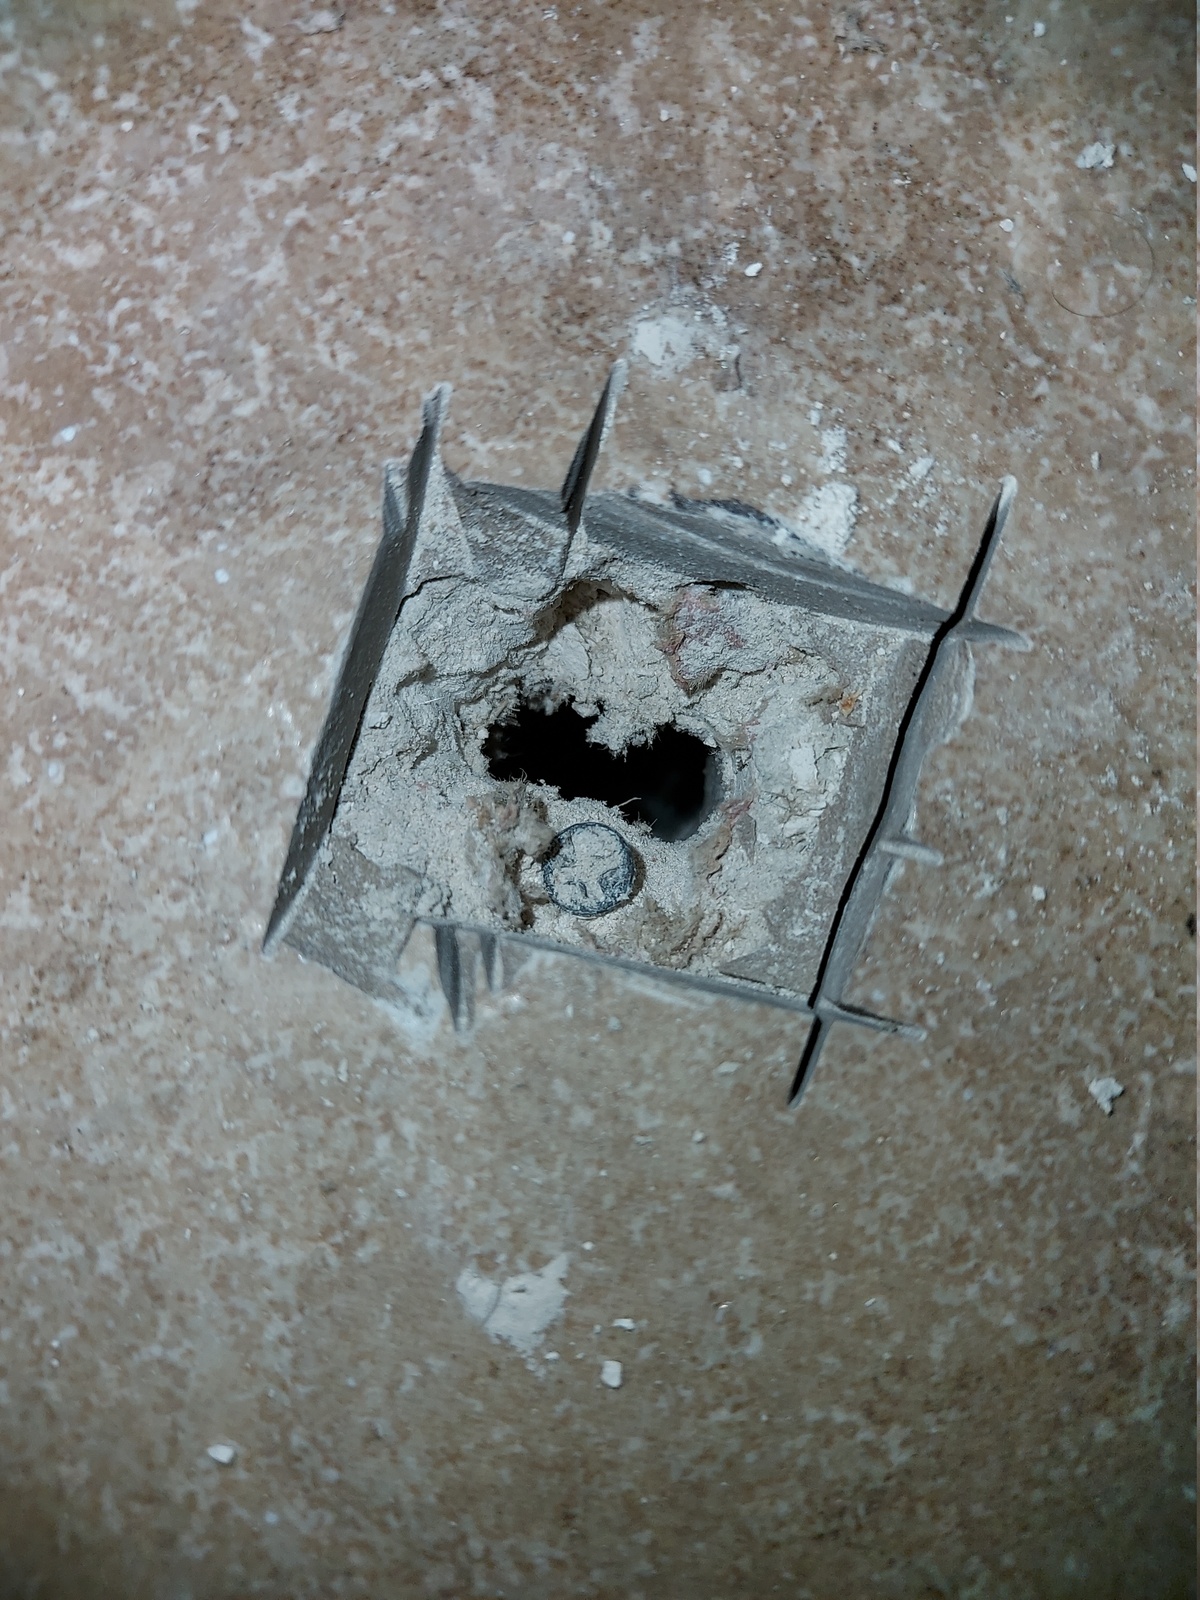
Looking through the half-finished hole, from the basement; it looked like the 22 mm drill bit had deviated from my 10 mm pilot hole. So I widened the opening in the kitchen floor tile. And while doing so; I found what I had hit:
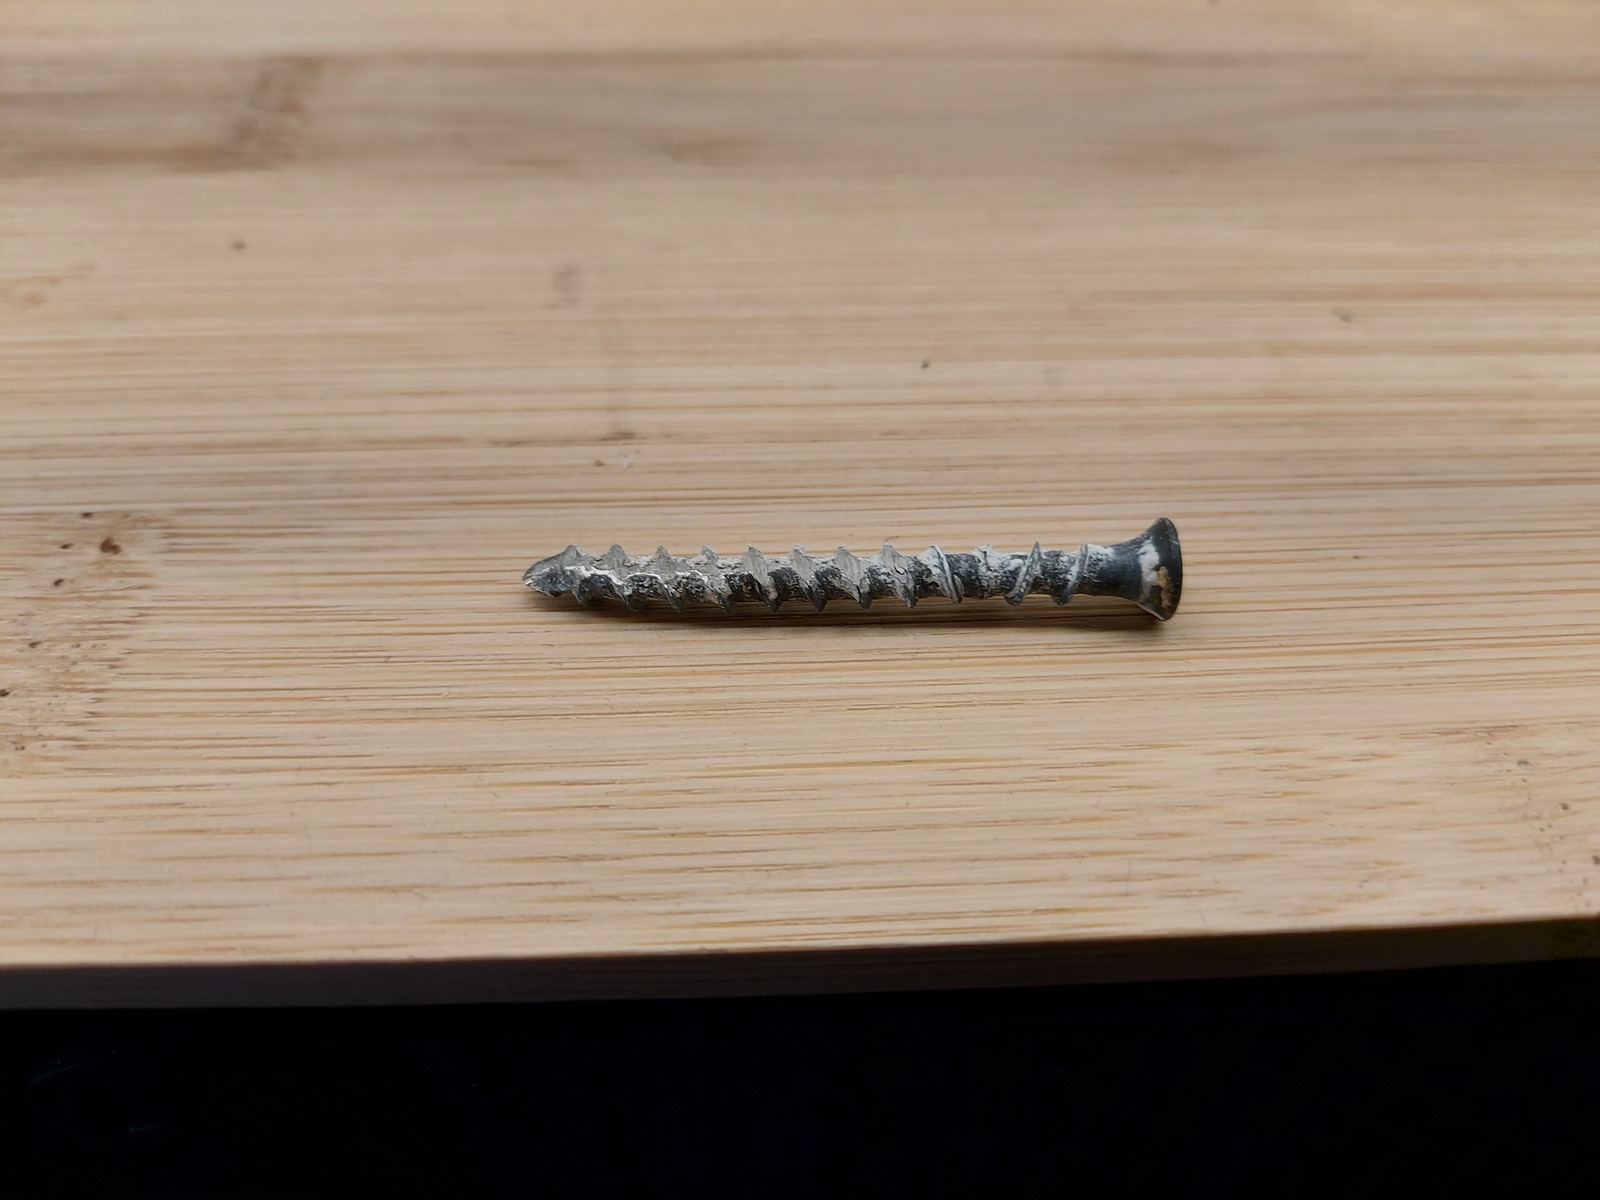
A screw! 🤬 Under the floor tiles; there is plasterboard, held down by screws. And I hit one of them… That is just bad luck. Luckily — I was actually able to unscrew it.

I ordered a formwork twist drill bit, they can get through nails, metals, and all kind of things 🙂 It took about a week to arrive — and, with the screw gone, easily made it through 🥳
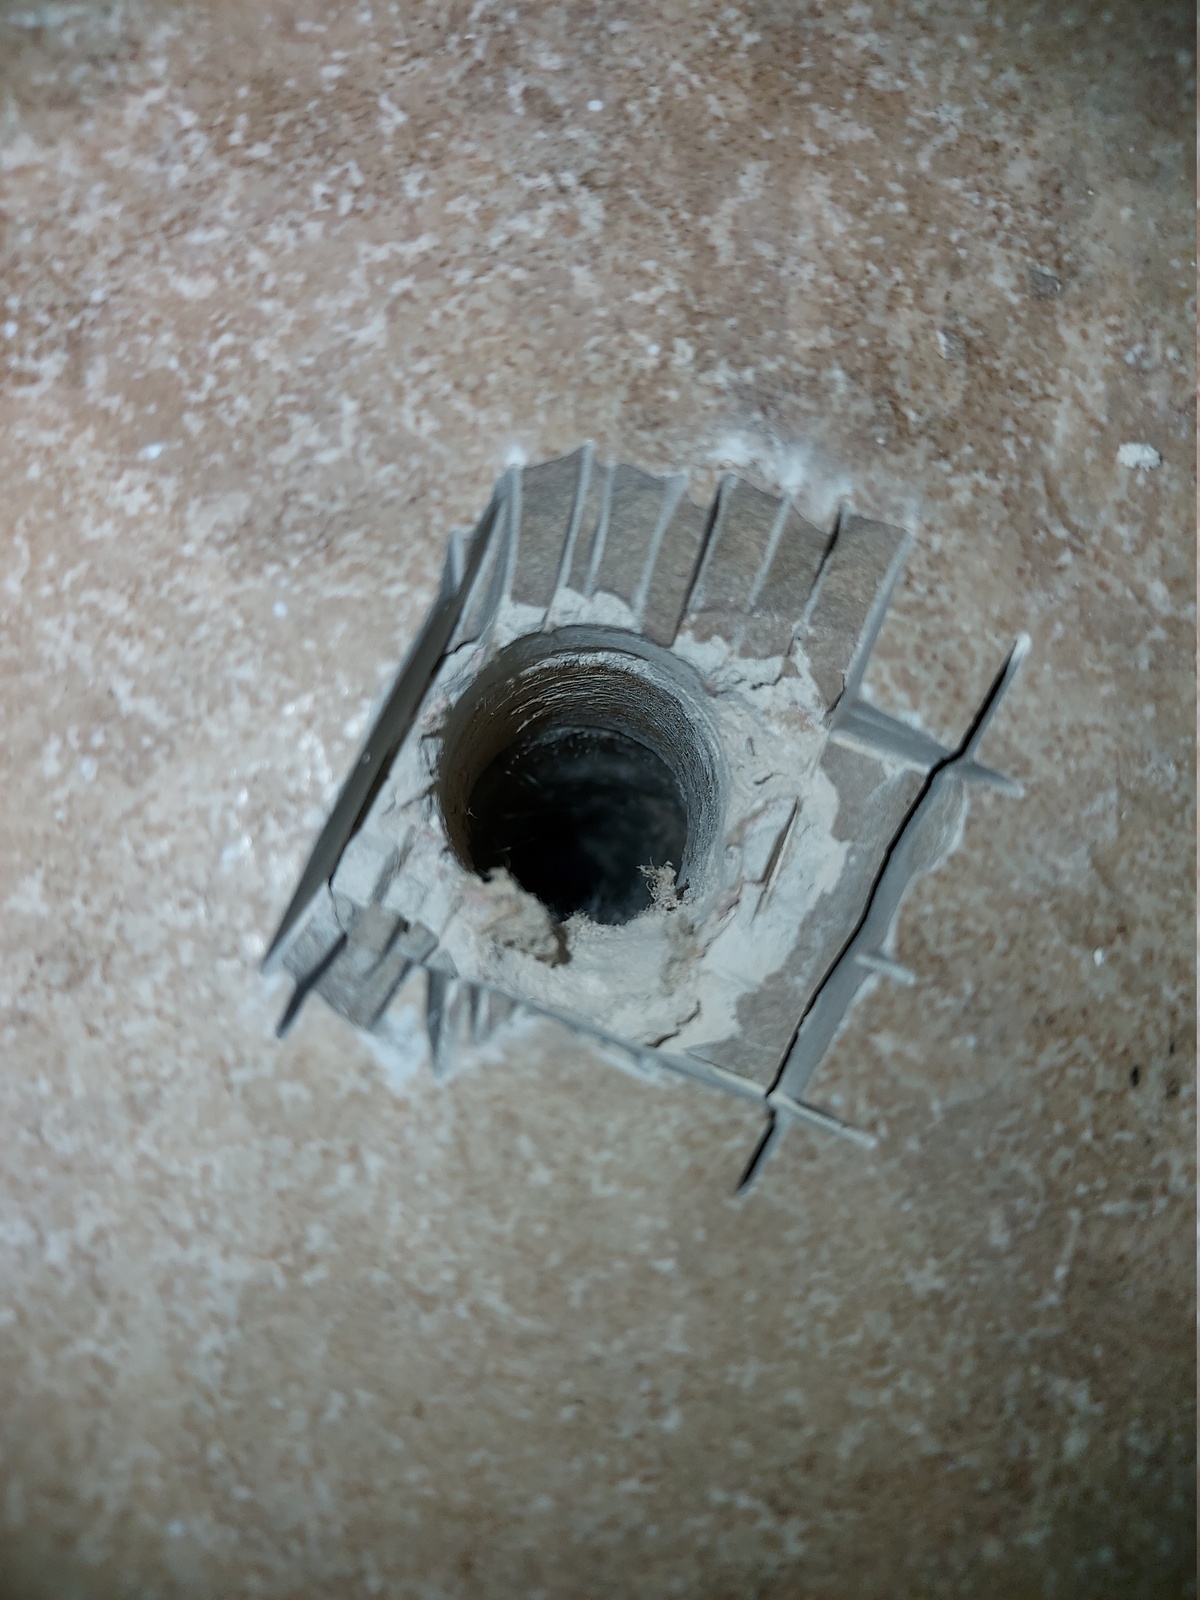
I had to widen the opening in the floor tile just a bit more… Ready for the conduit 😃
The conduit
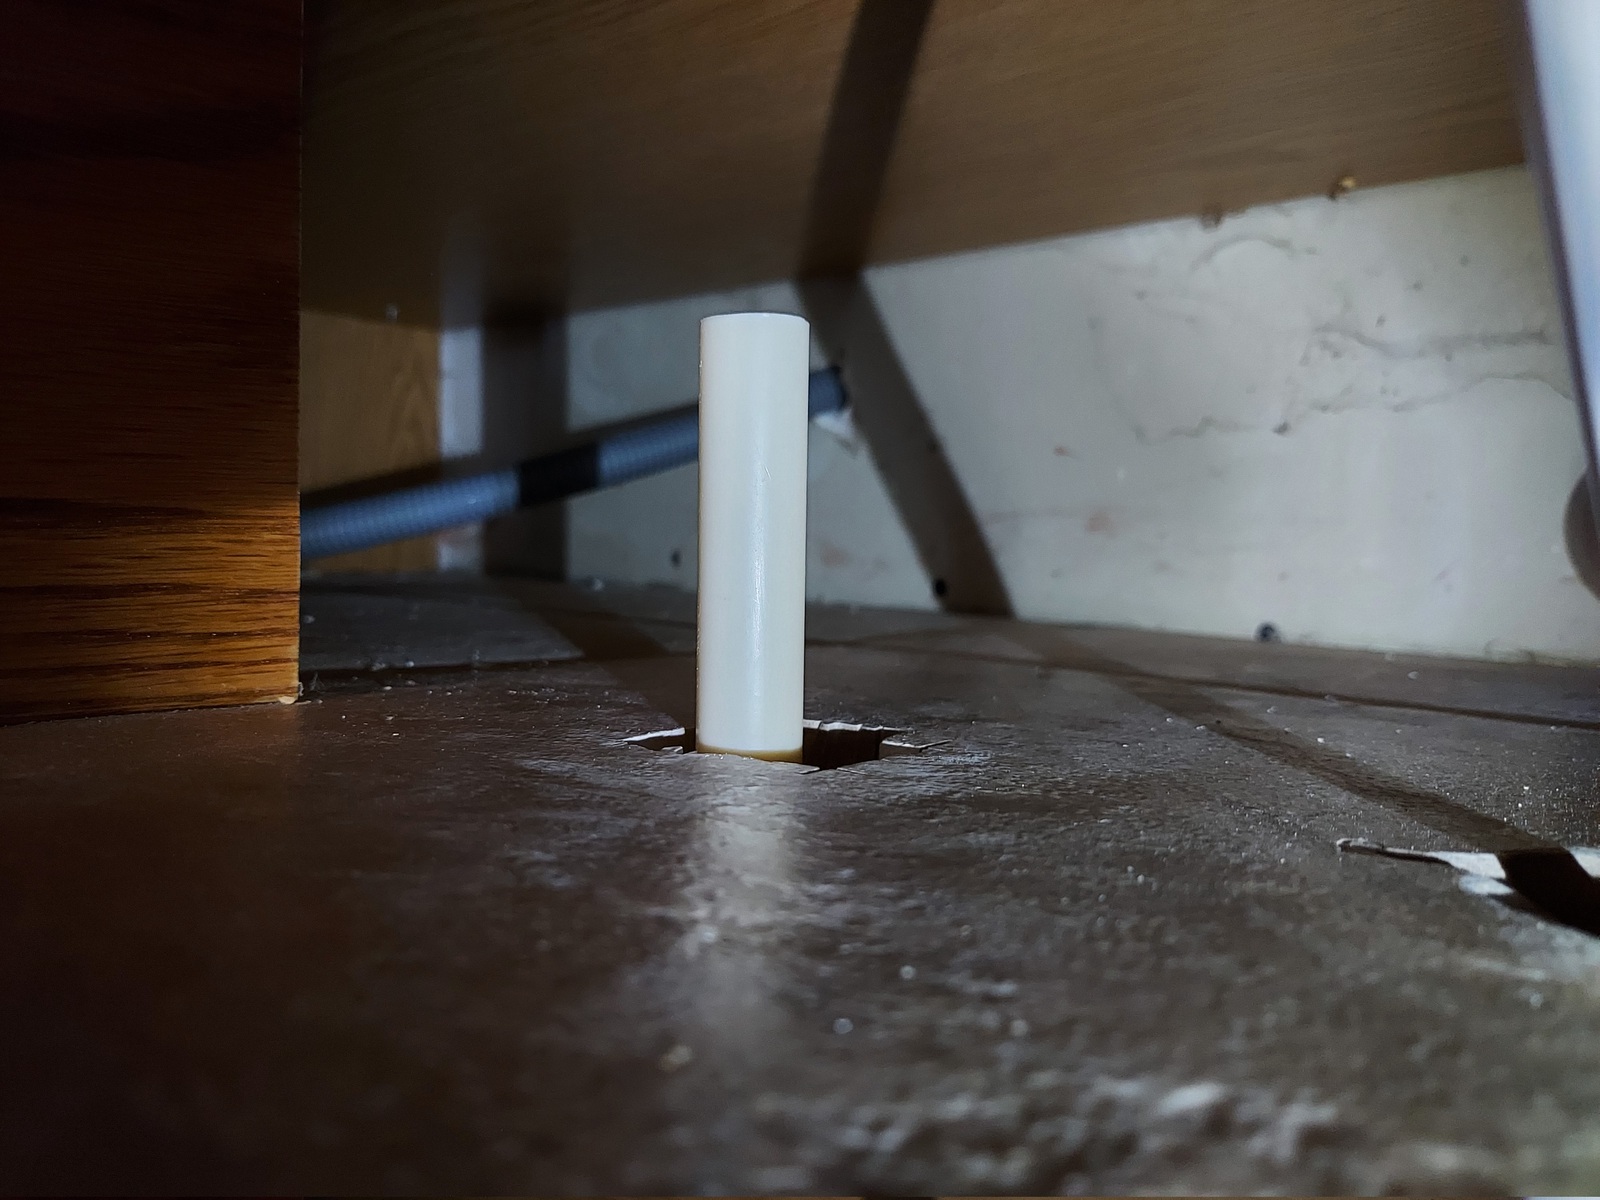
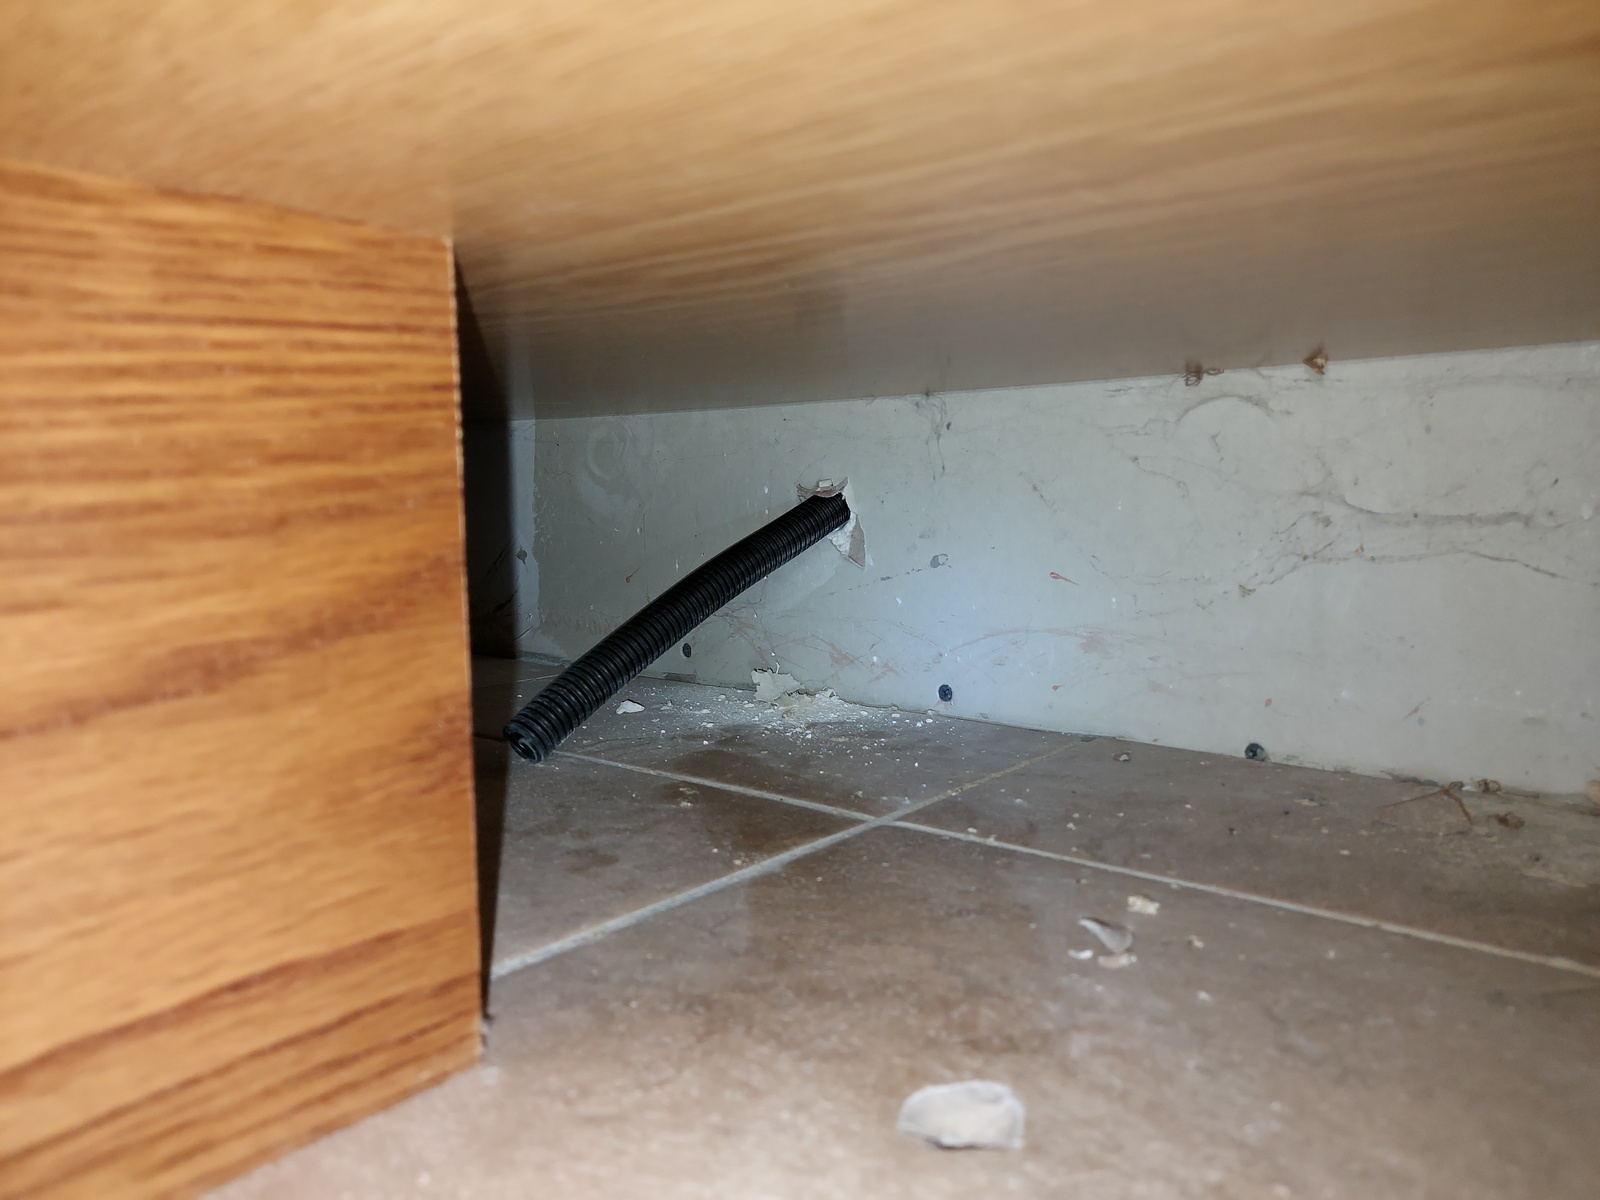
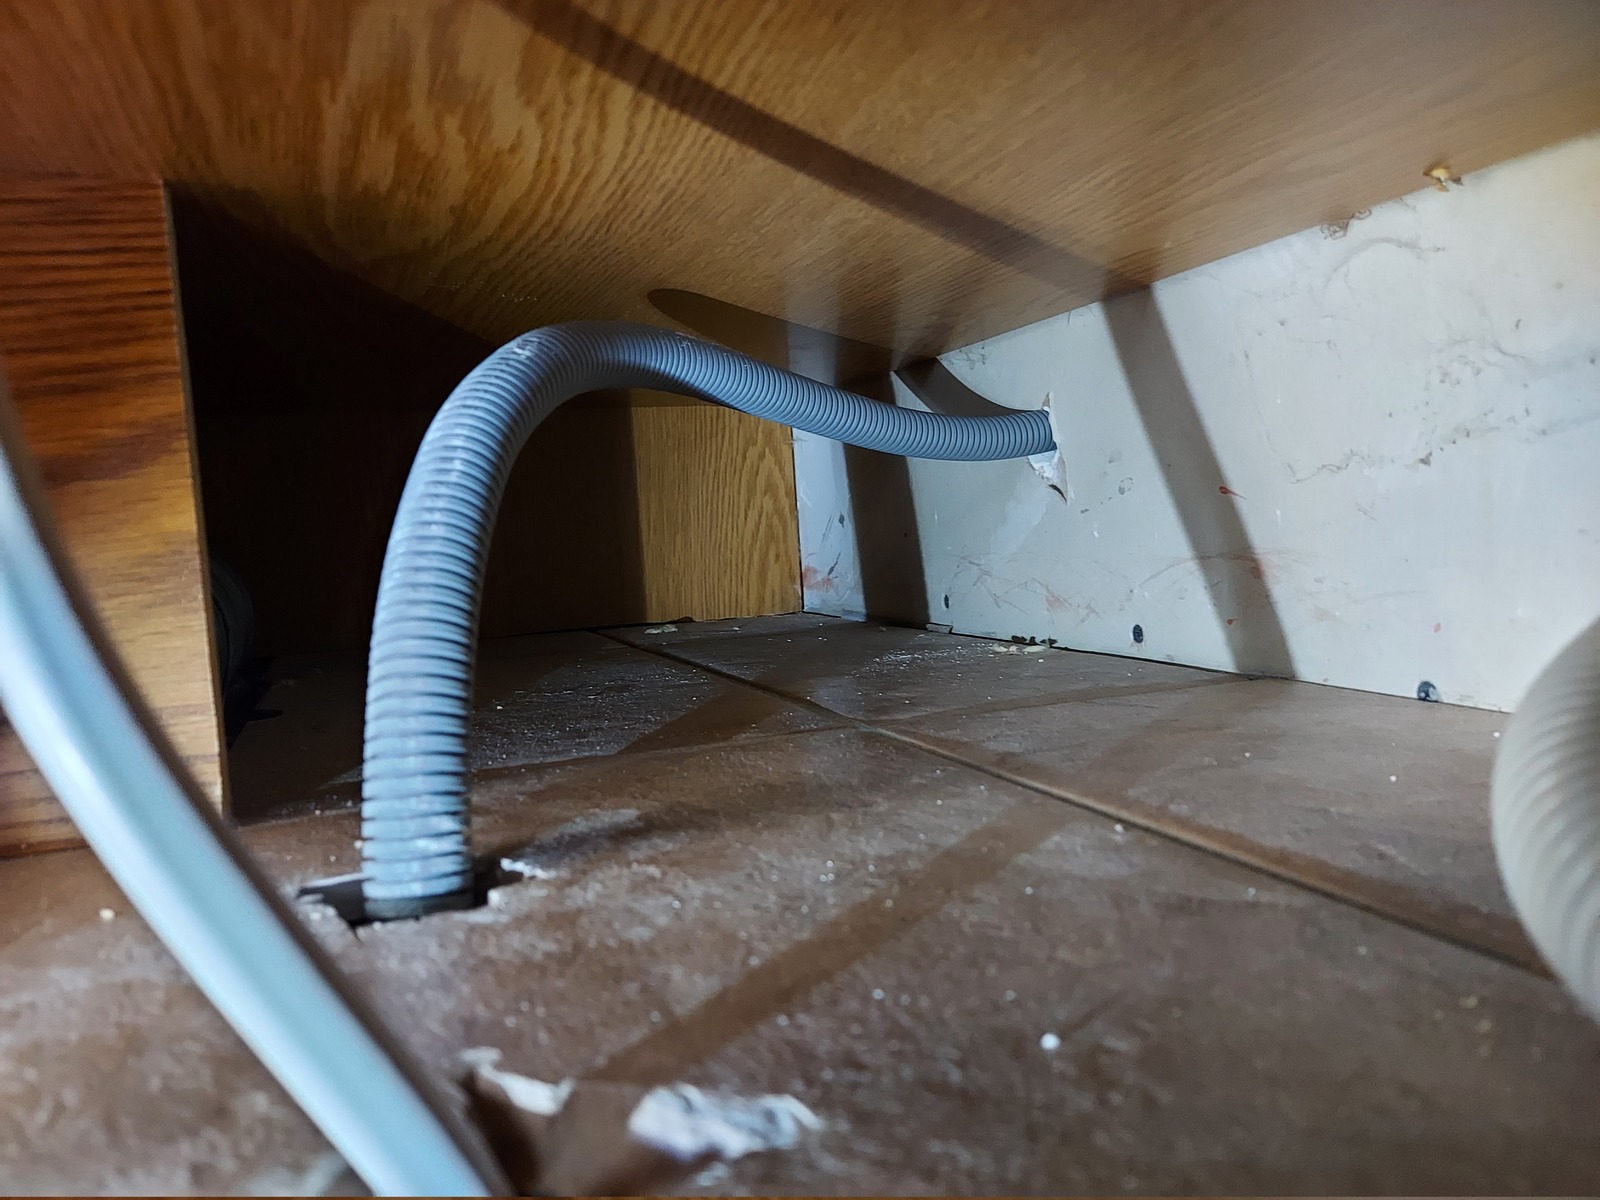
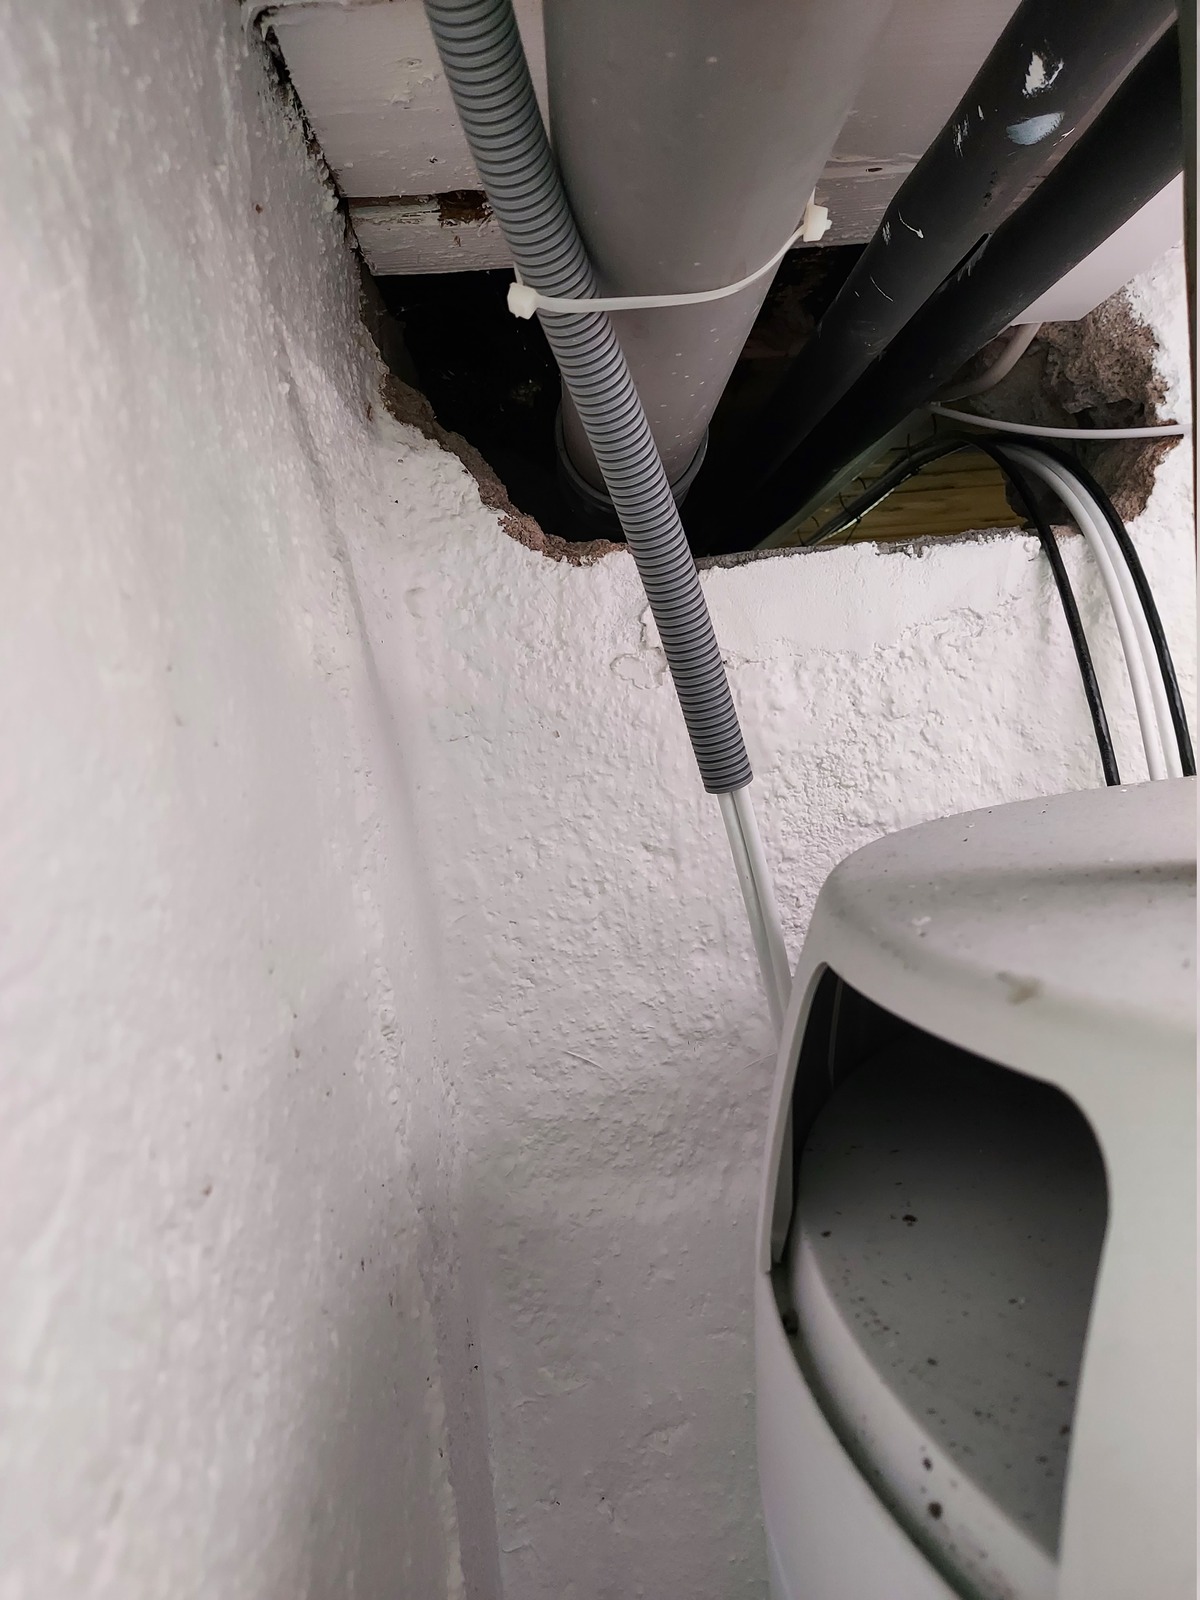
To get the flexible conduit through; I inserted a 16 mm PVC pipe from the basement, duck-taped the conduit to it, and pushed it down.

That guided the flexible conduit through, making sure it hit the hole in the basement ceiling.
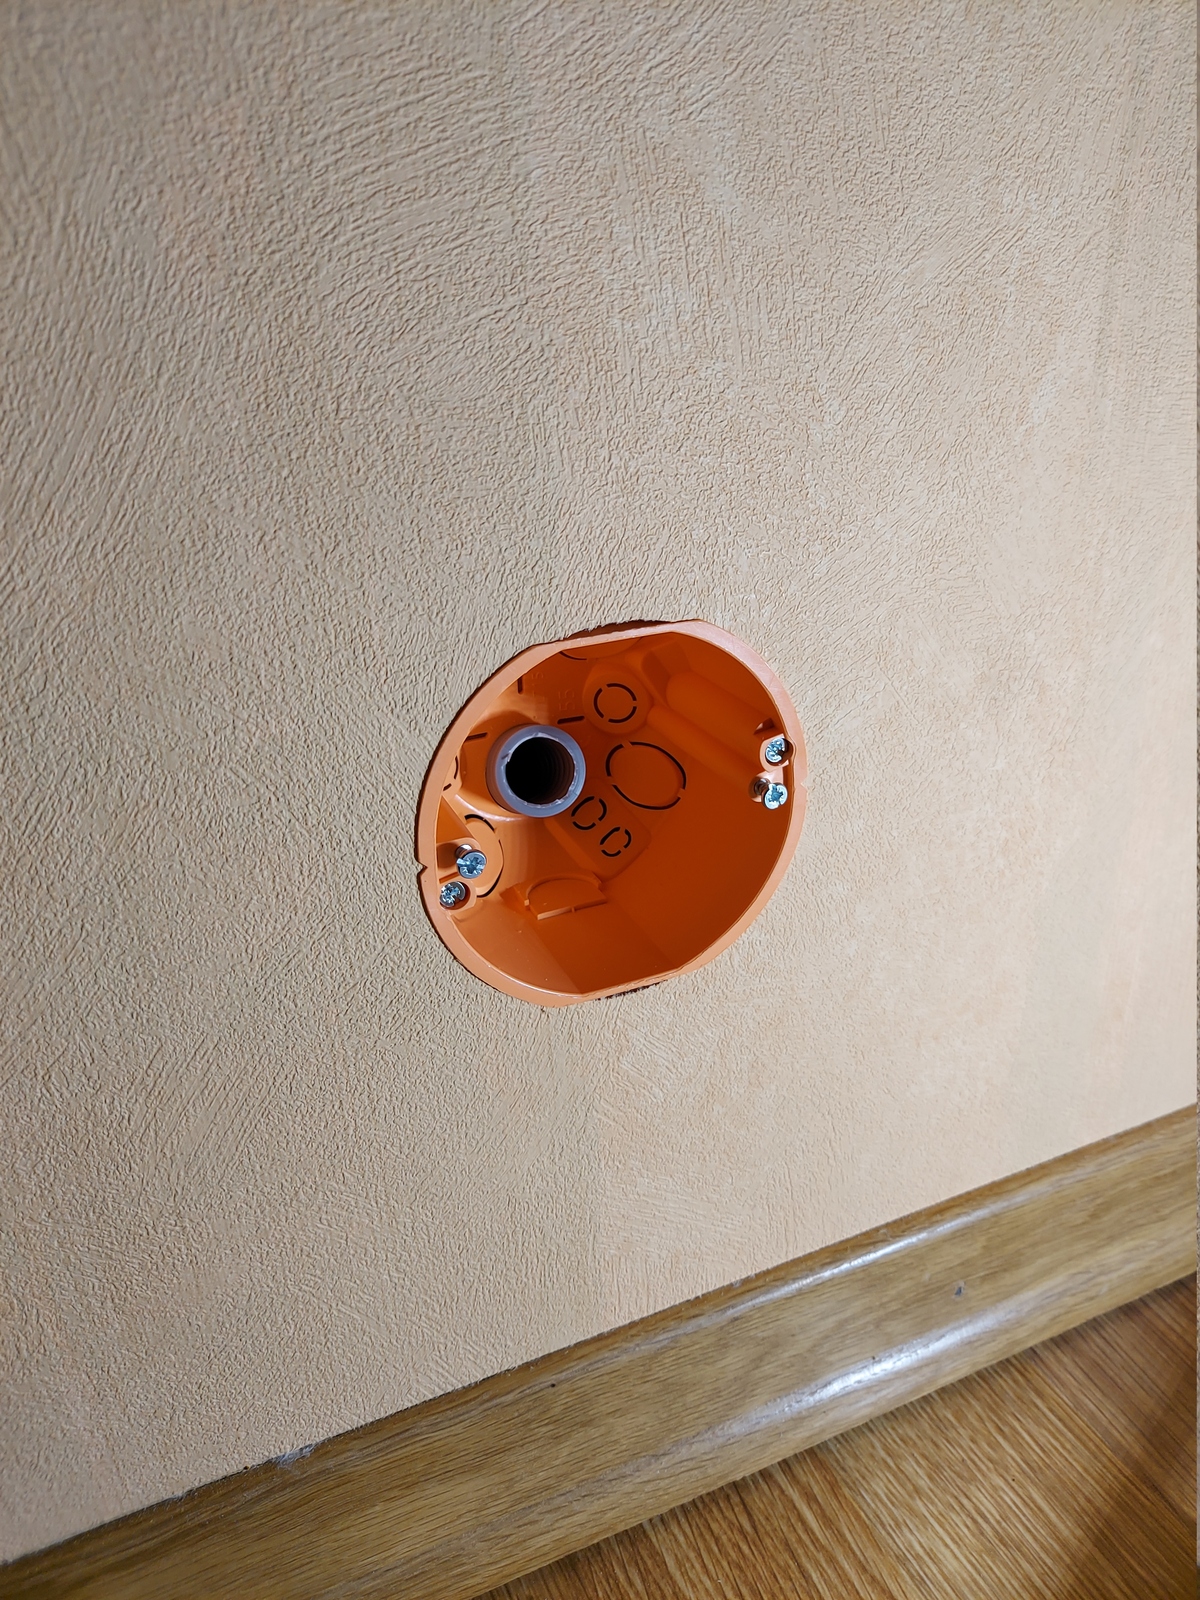
Next I installed the ELKO multi box in the 73 mm opening on the play room side.
The cables
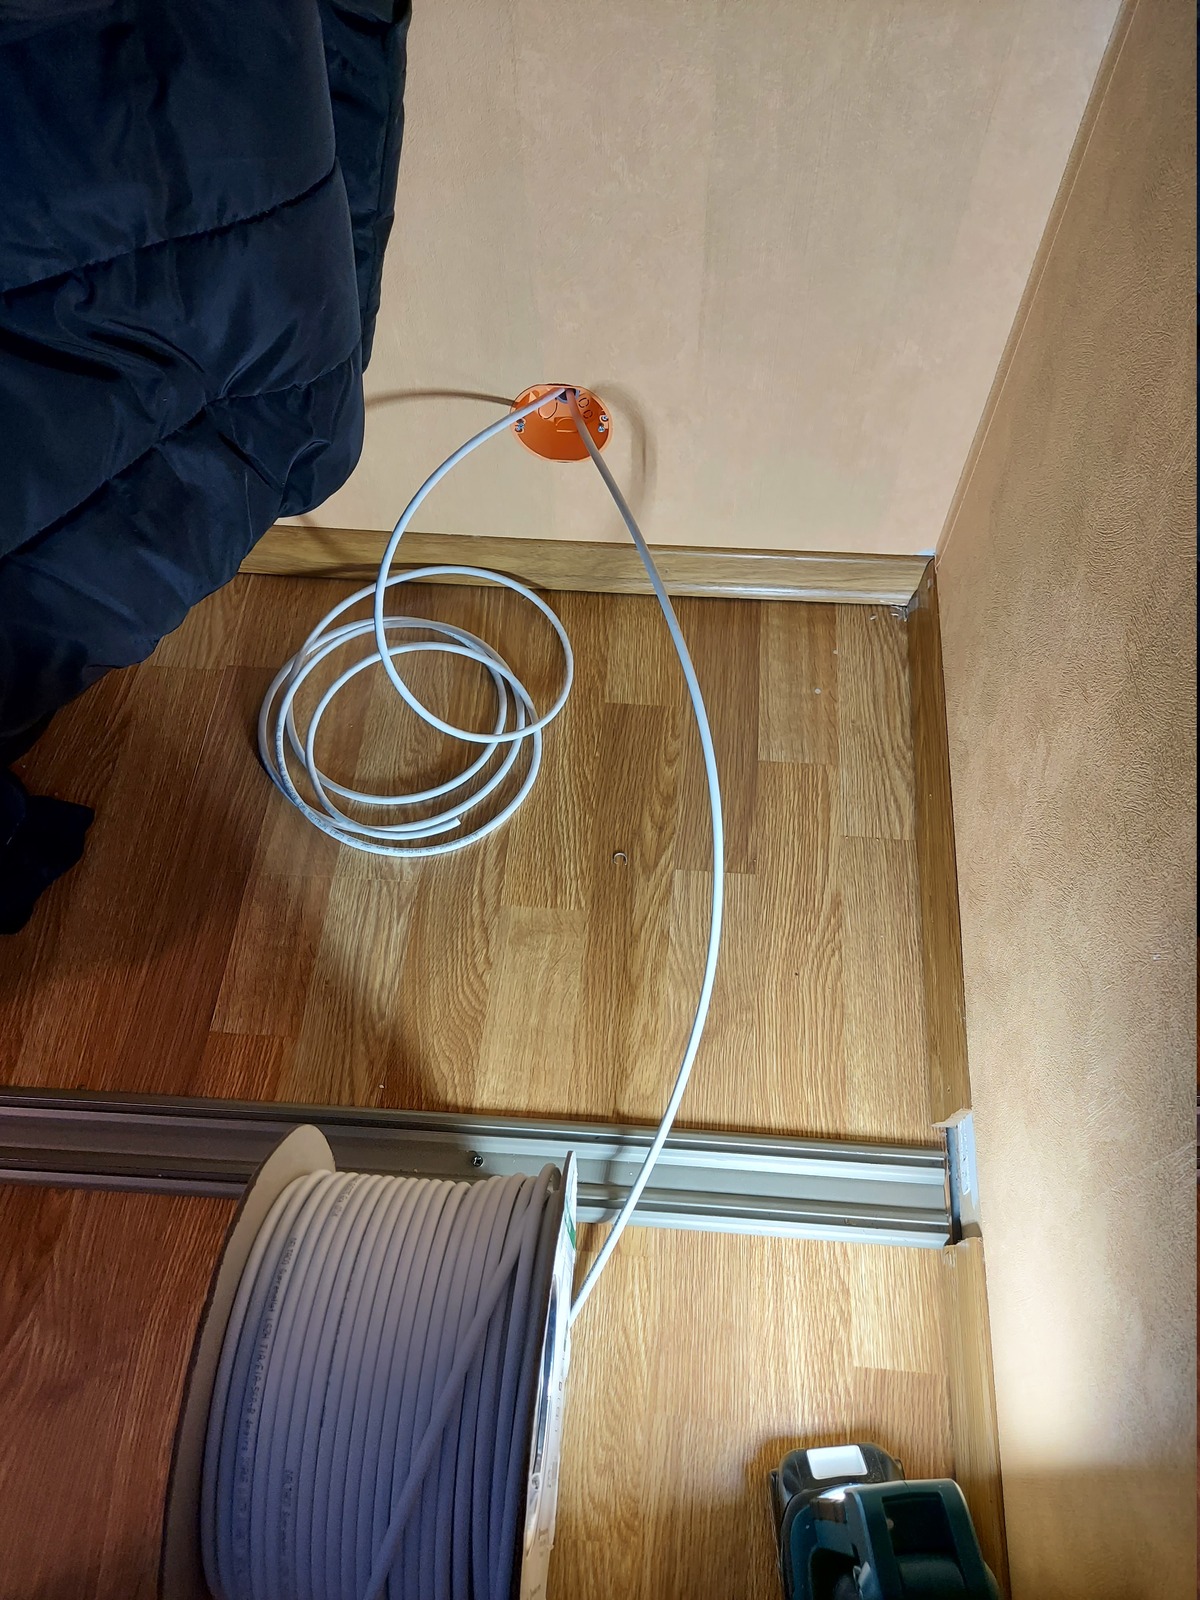
I measured the approximate length of CAT6 cable I would need, being generous, and cut a length from the spool. Then I pushed both cables through from the play room. It’s always easier to work with gravity 🙂
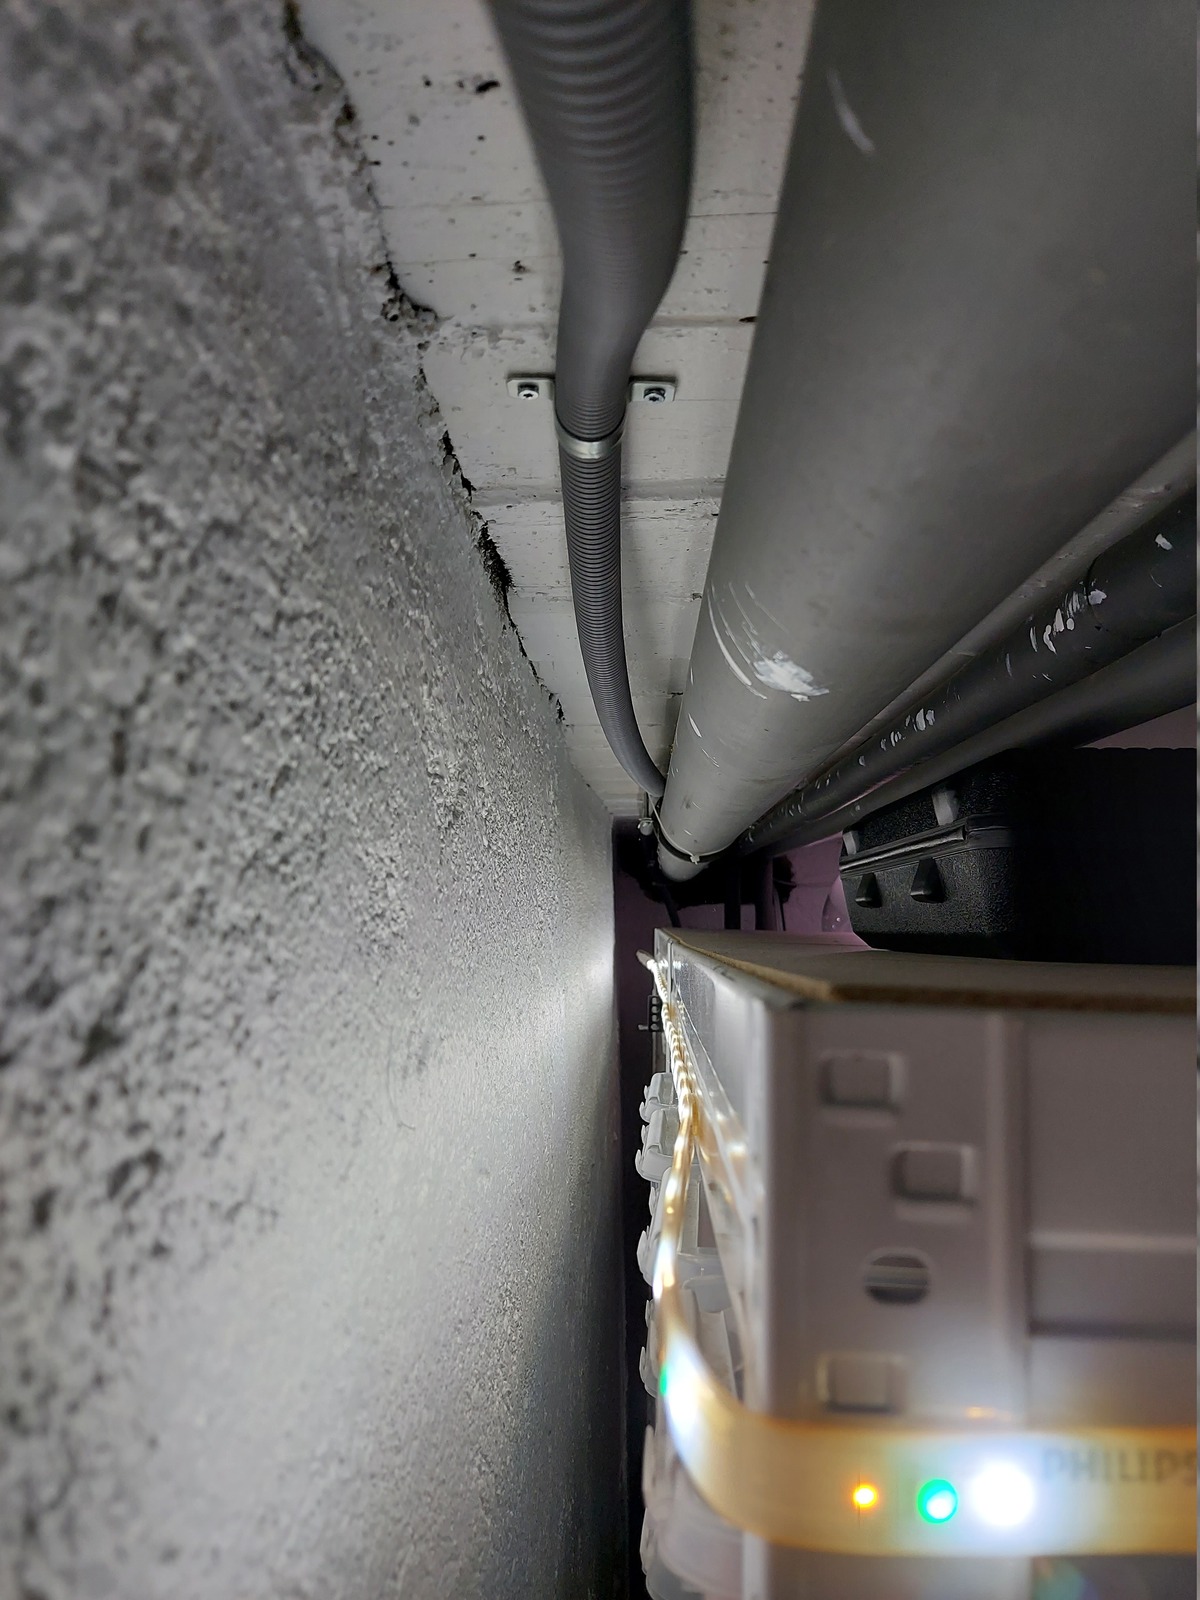
After the cables were through; I fastened the conduit to the ceiling in my home office.
Ending them right by the homelab patch panel 🙂
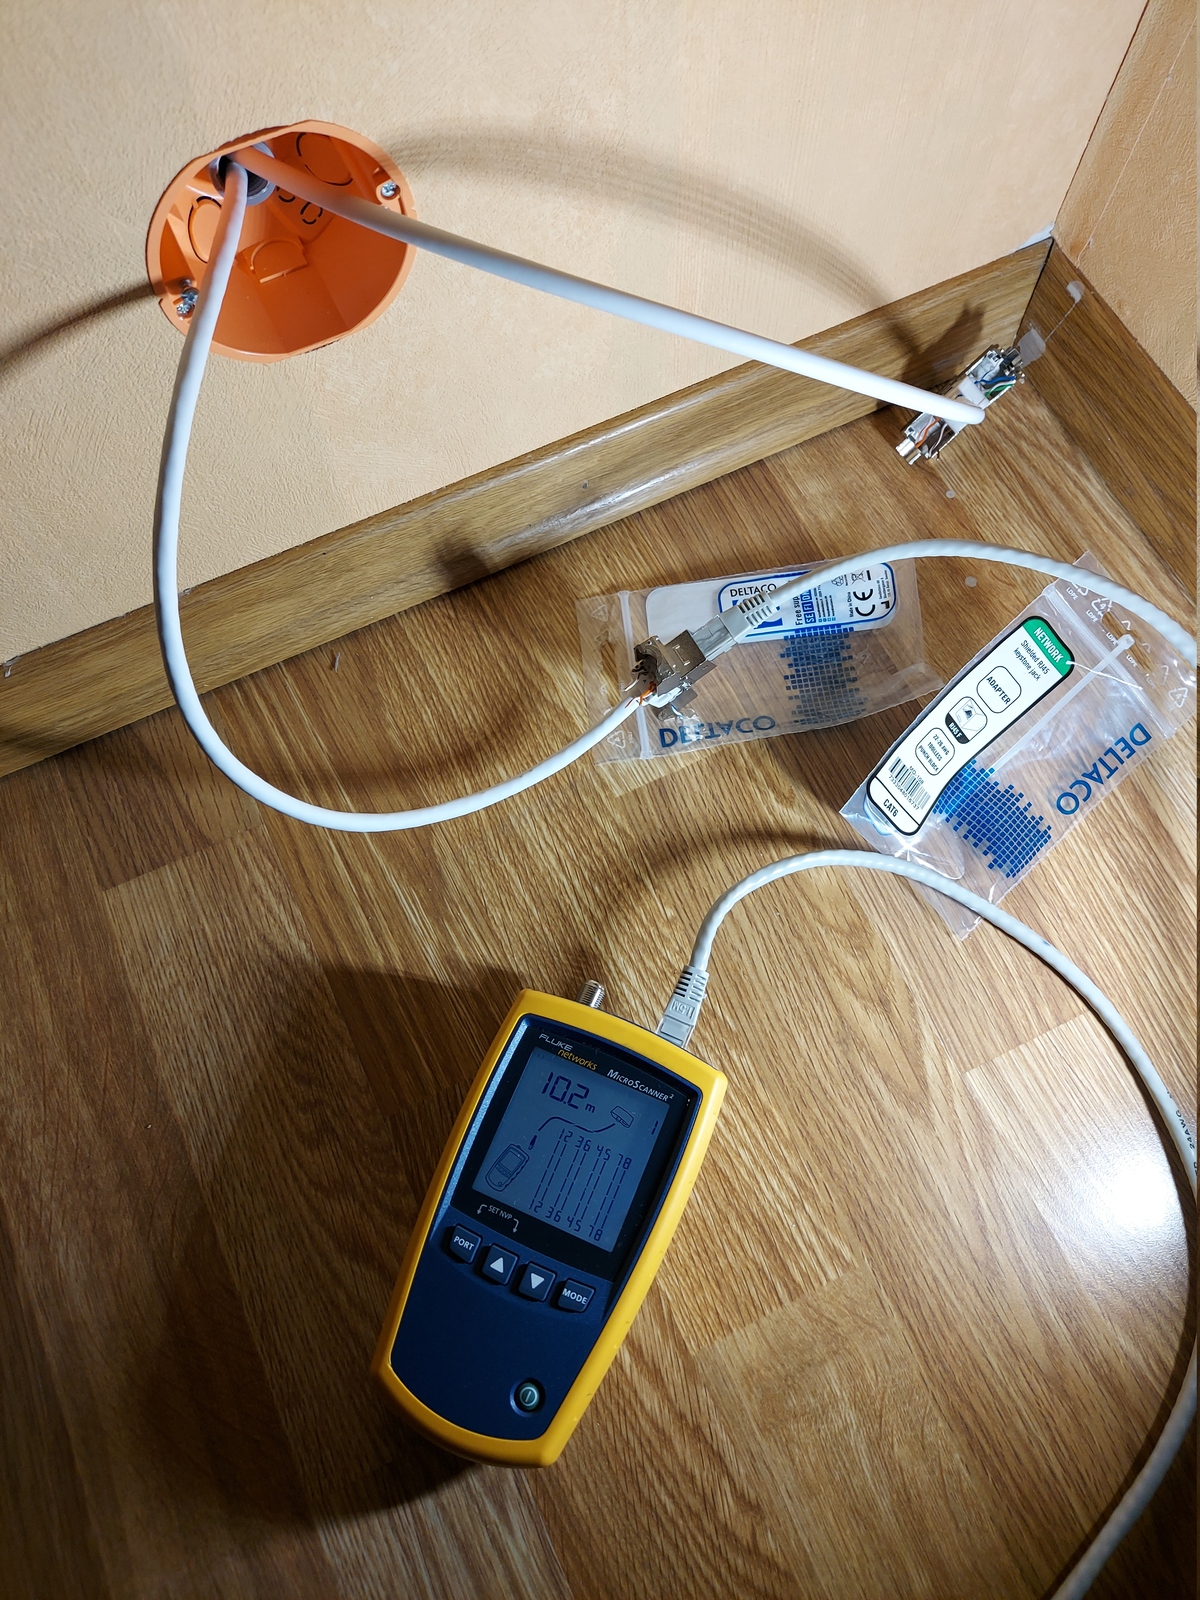
I terminated both ends of the CAT6 cables with tool-free keystone jacks. And made sure it was good; using a Fluke MikroScanner 🙂
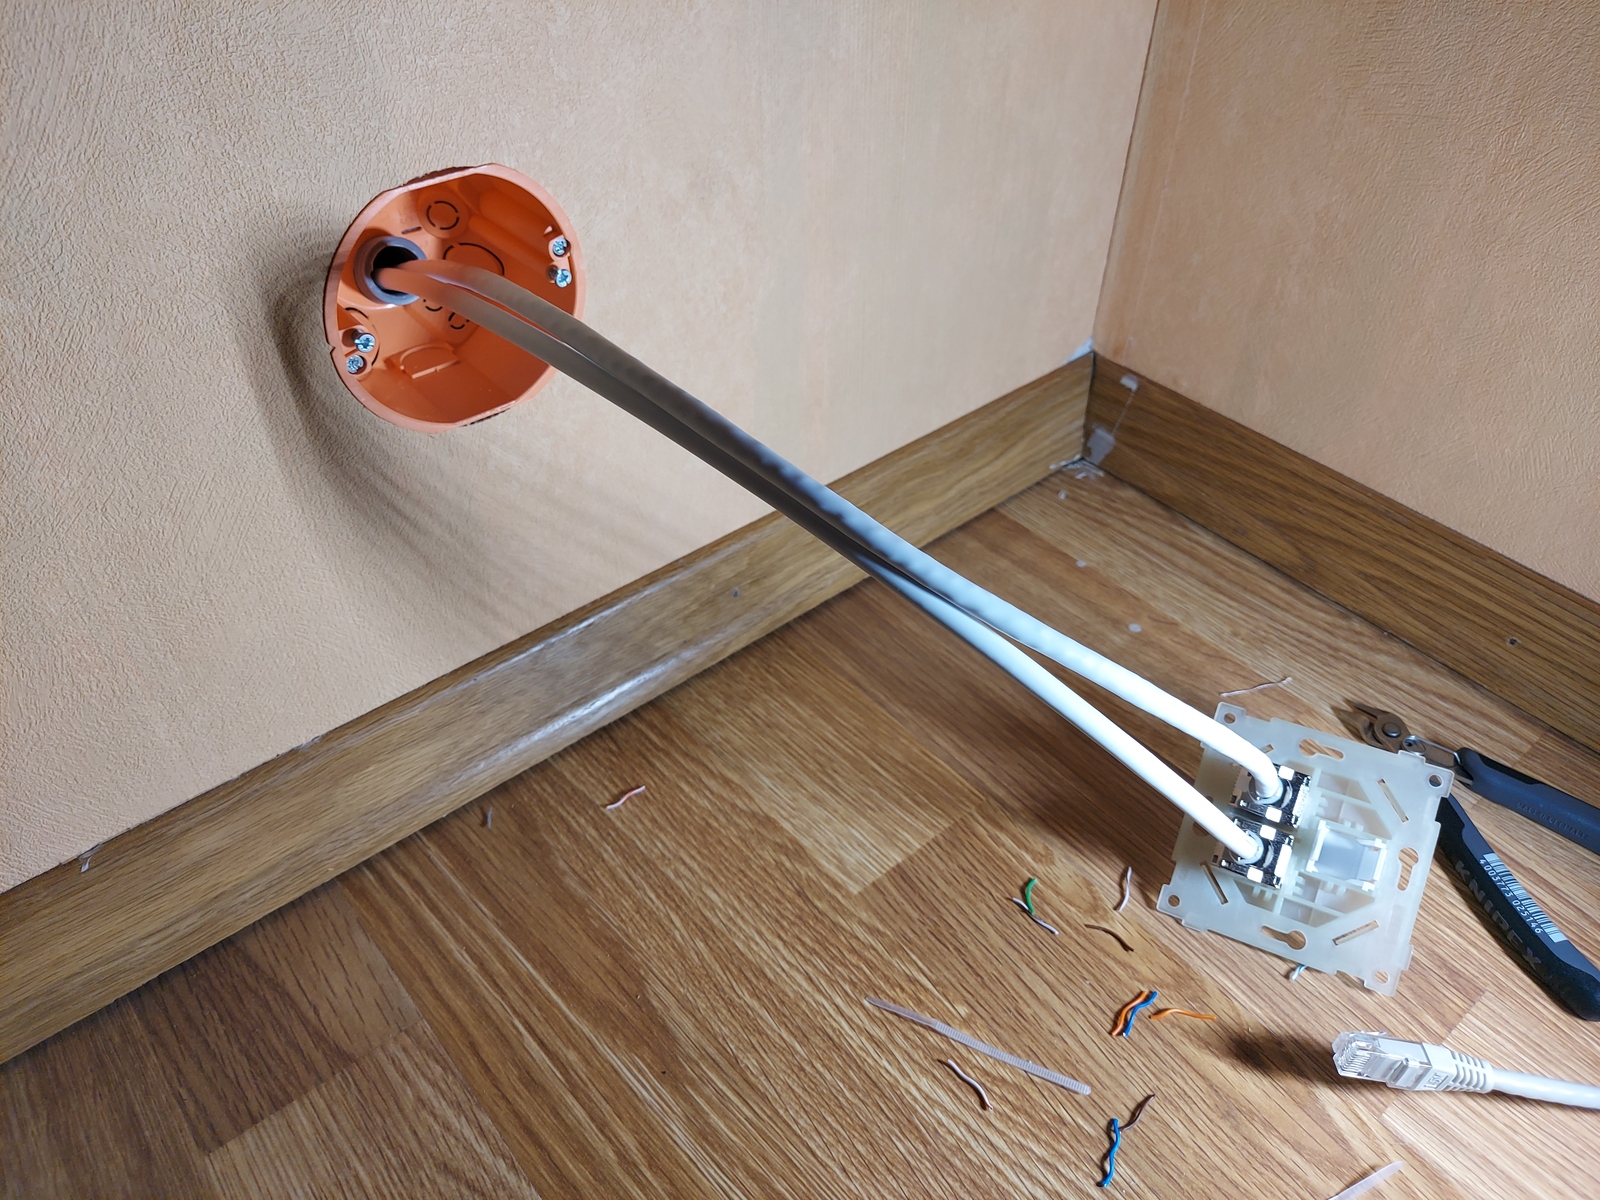
Then I clicked both keystone jacks into the ELKO wall plate, and pushed the additional length of cable back into the conduit.
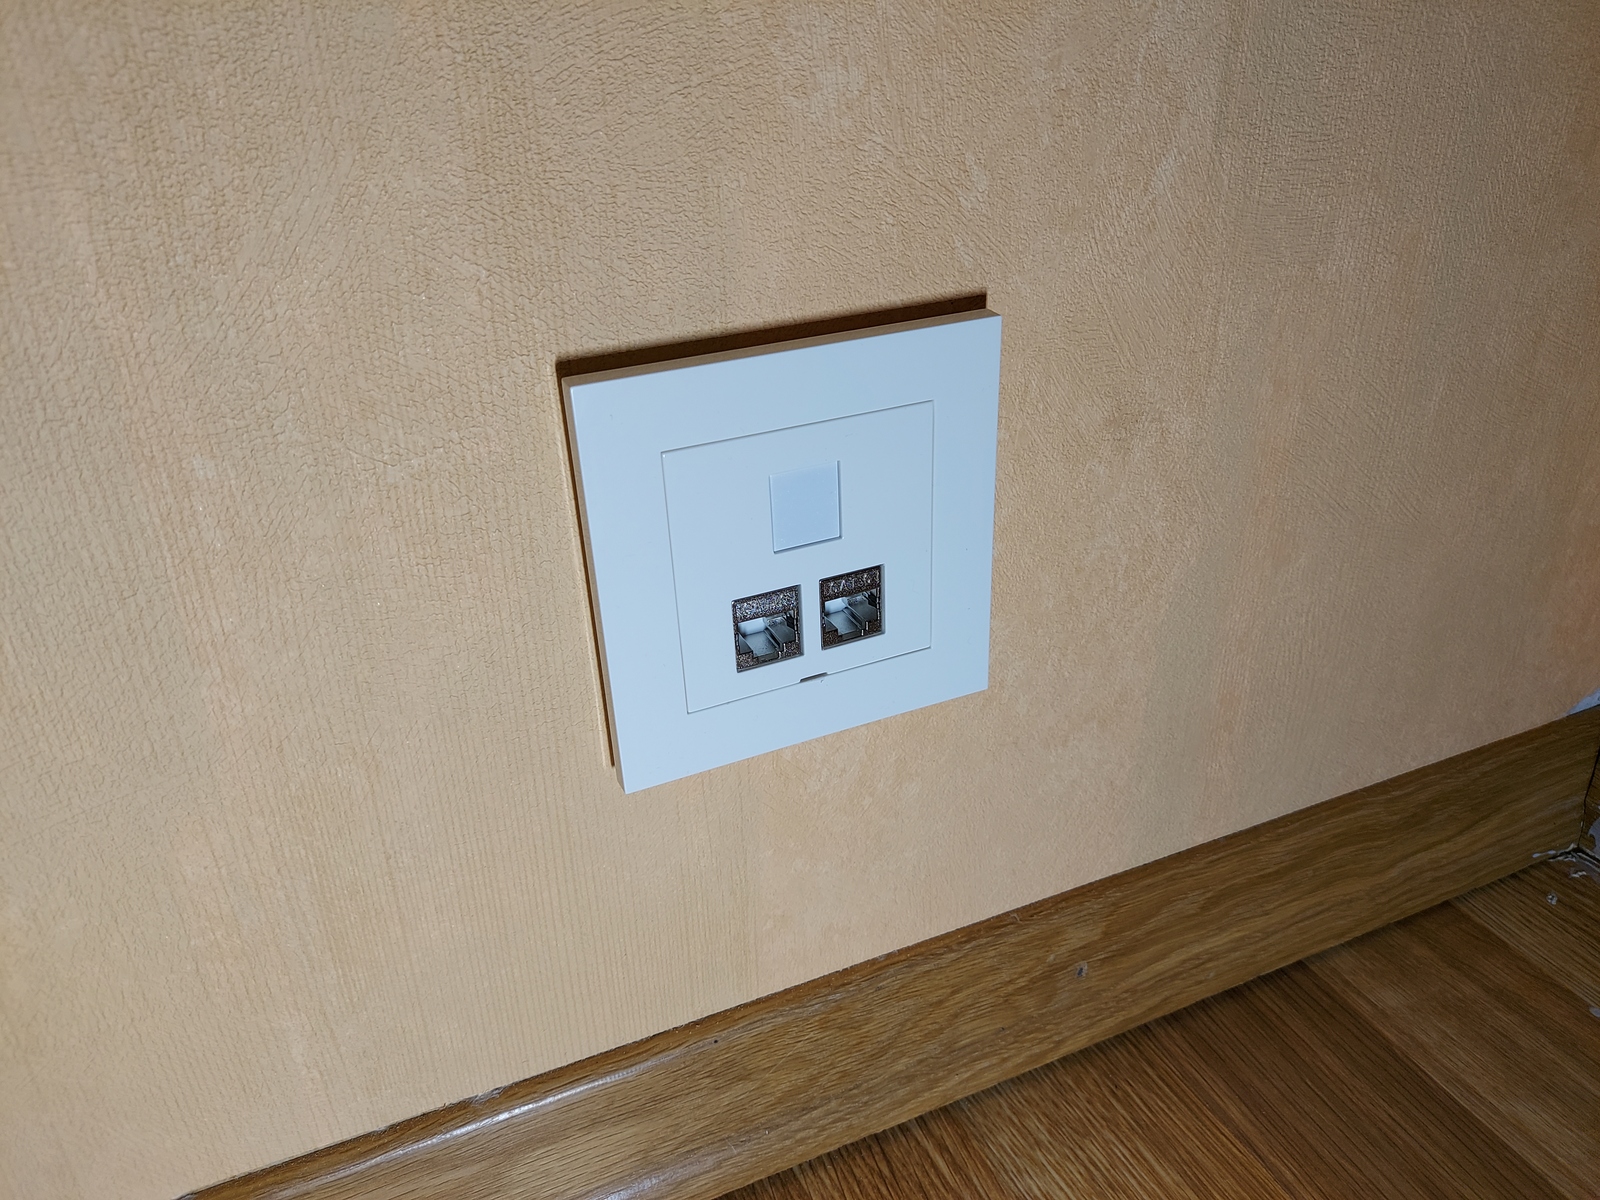
And viola! Two CAT6 network outlets complete 😃
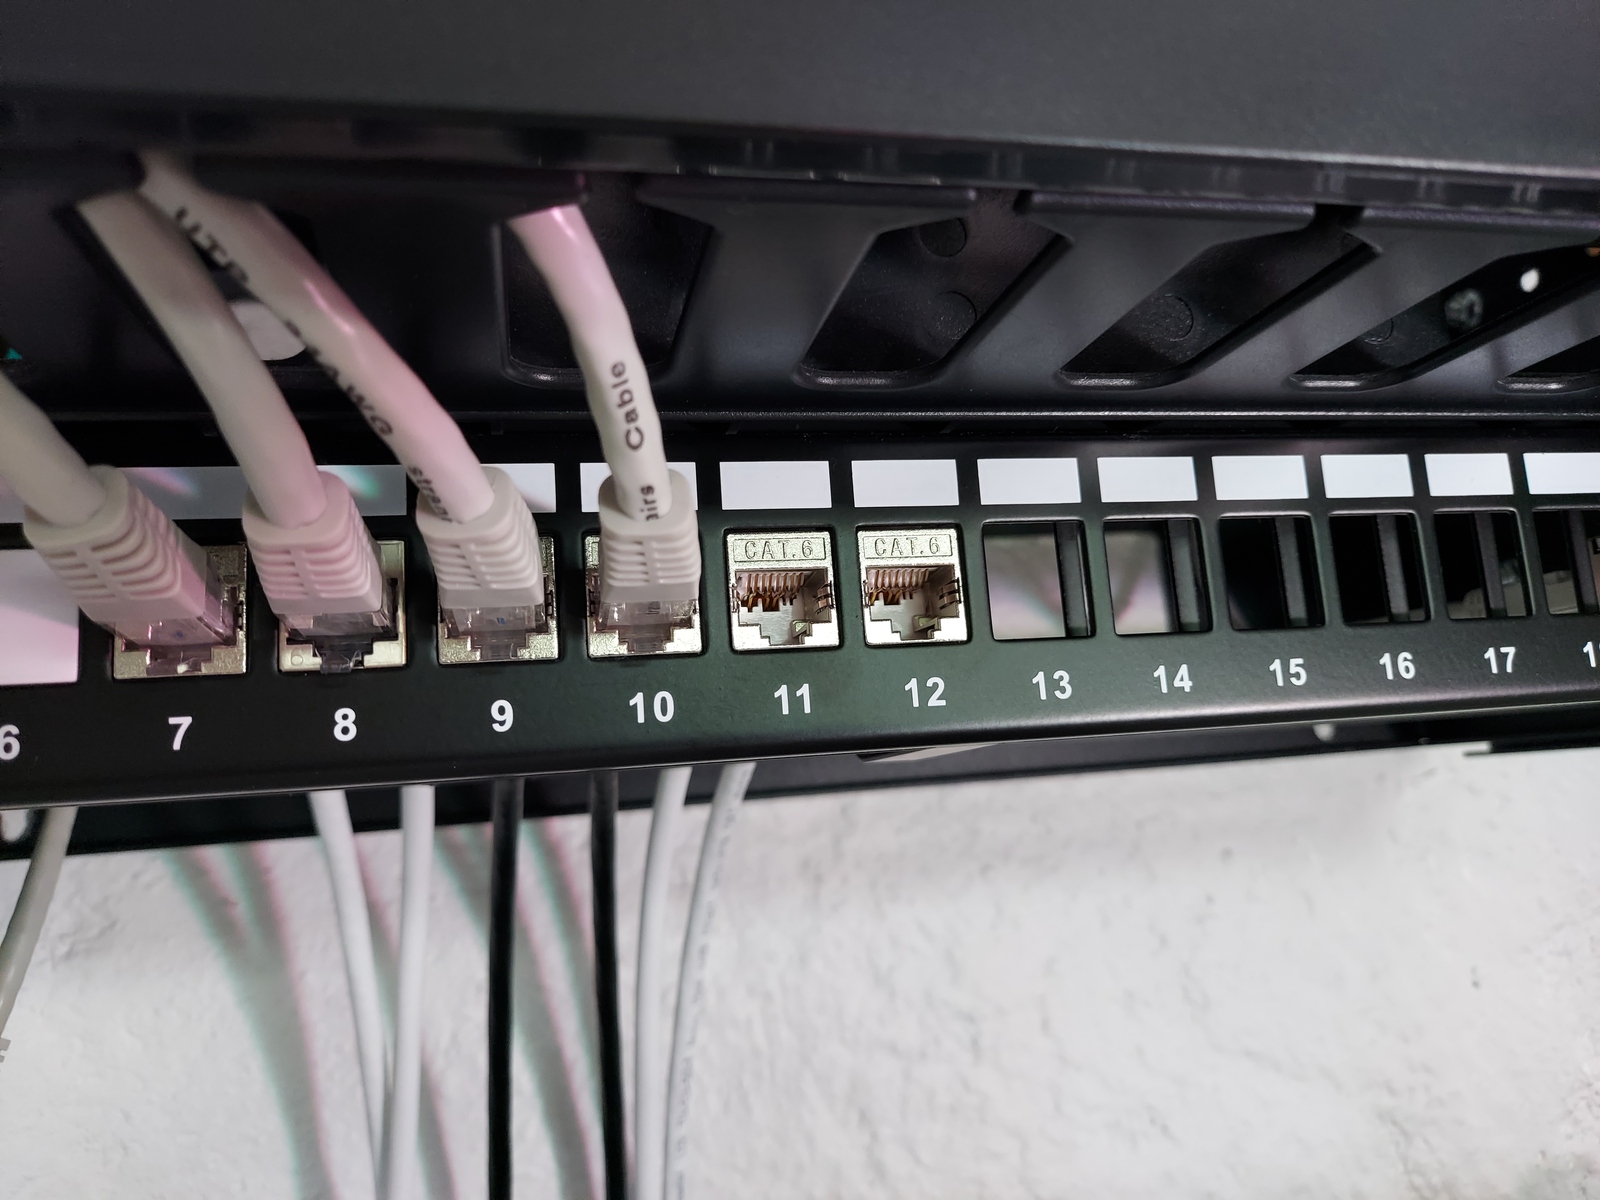
On the home office end; I clicked the keystone jacks into my patch panel.
Done!
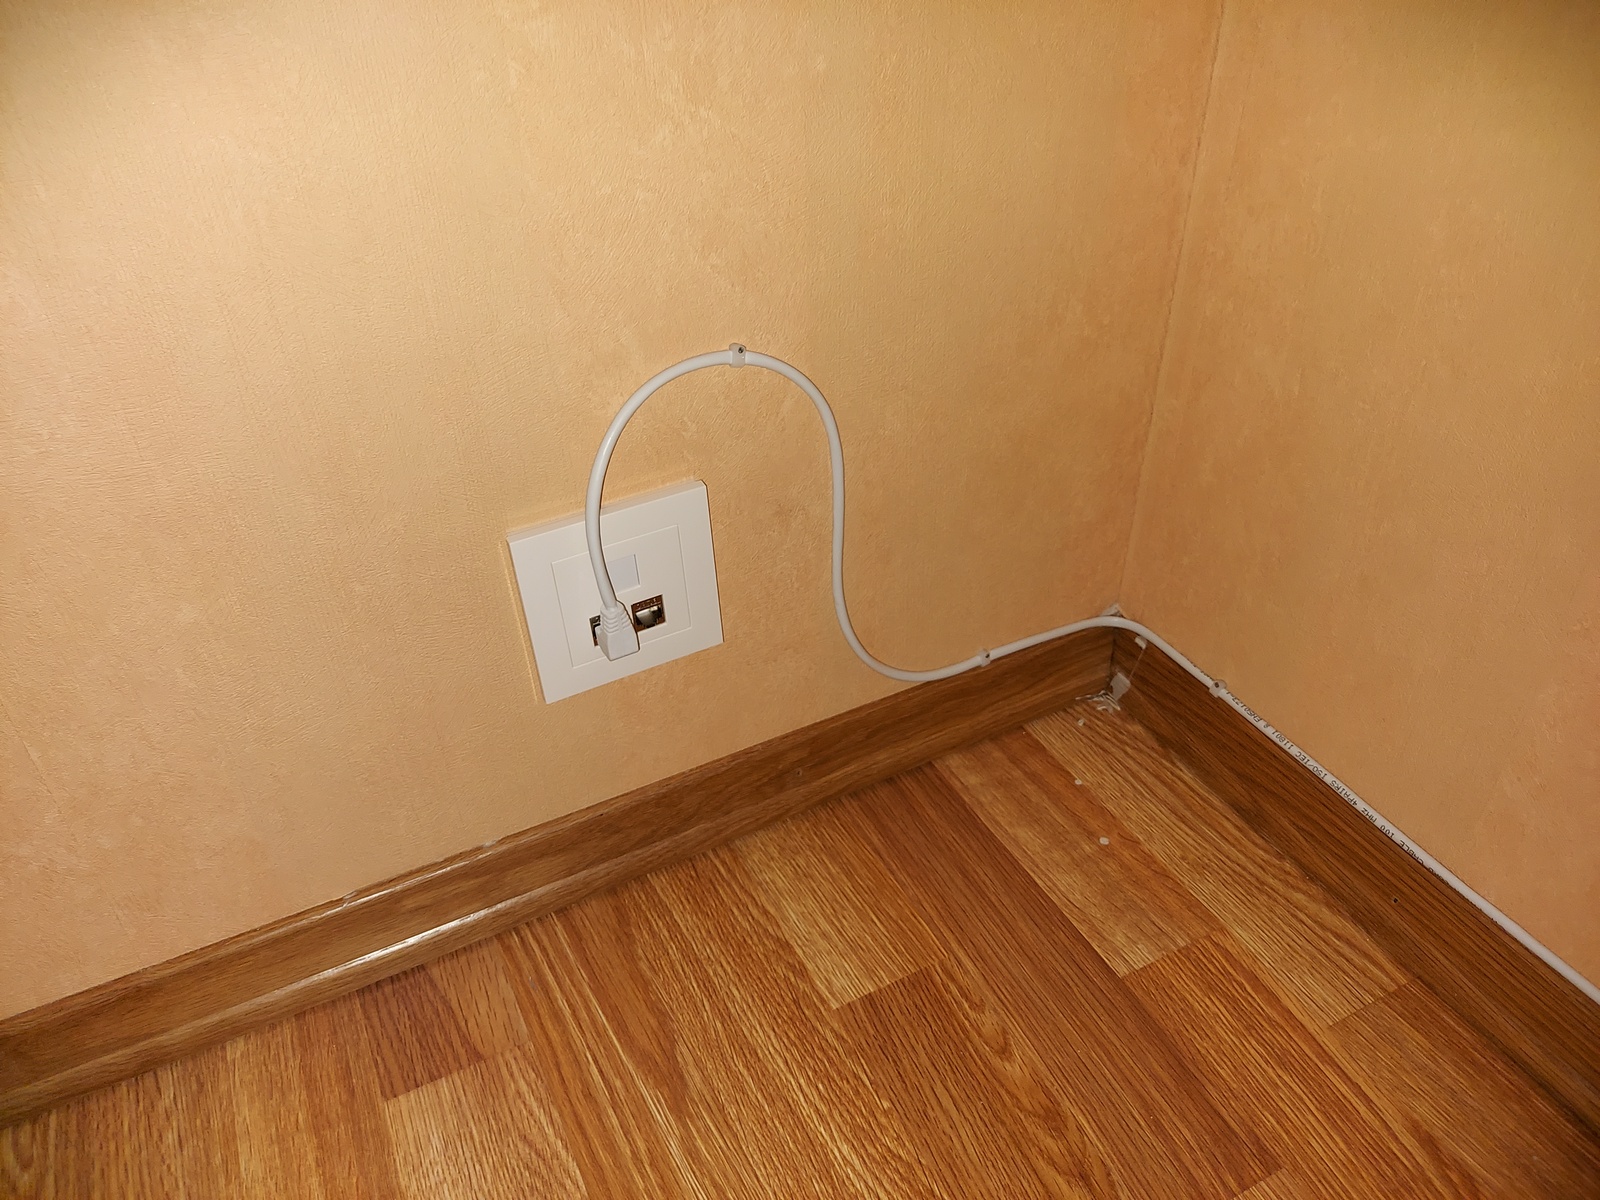
I used a patch cable with an angled RJ45 connector — it would have been ideal if it was angled the other way! Oh well, no one is going to see it inside the closet. And the low profile makes it less likely to be damaged by the jackets hanging in front of it.

While working on the network run; I used a TP-Link TL-WR802N as a wireless client. Just to get the computer up and running.
The install took three weeks from start to finish. But I took my time, measuring, planning, measuring again, and waiting for new parts and tools 🖖
Last commit 2024-11-11, with message: Add lots of tags to posts.
All posts in Home network v2 series
- Replacing Unifi switches with MikroTik
- Getting started with MikroTik CCR1009 and RouterOS
- Altibox fiber — straight into Mikrotik CCR1009
- Running underground CAT6 to detached garage
- Plans for my home network
- Running two CAT6 cables to the play room
- Running three CAT6 cables to the living room TV bench
- Moving CAT6 cable for access point; inside the wall
- Altibox fiber — straight into Ubiquiti EdgeRouter
- Two CAT6 cables and a fiber — from the basement to the attic
- A few Wi-Fi improvements
- Updated plans for my home network
- Knot Resolver — with ad blocking
- Pulling CAT6 cable in existing conduit
- Running CAT6 to the twins' rooms — inside interior wall
- Running CAT6 to the 2nd floor den — another interior wall
- Finally getting fiber between the house and garage
