This post is part of the Home network v2 series.
The first network run I did in this house — was to the hallway access point. It ran along the basement stairwell ceiling, through the basement, and into the home office.
Since I’m already running hidden network cables in the same area, I figured why not hide this one as well 🙂
Invisible cables are the best kind of cables!
Table of contents
The plan
I explained in a previous post; how there is a cavity alongside the basement stairwell, and that the wall towards the living room is hollow.
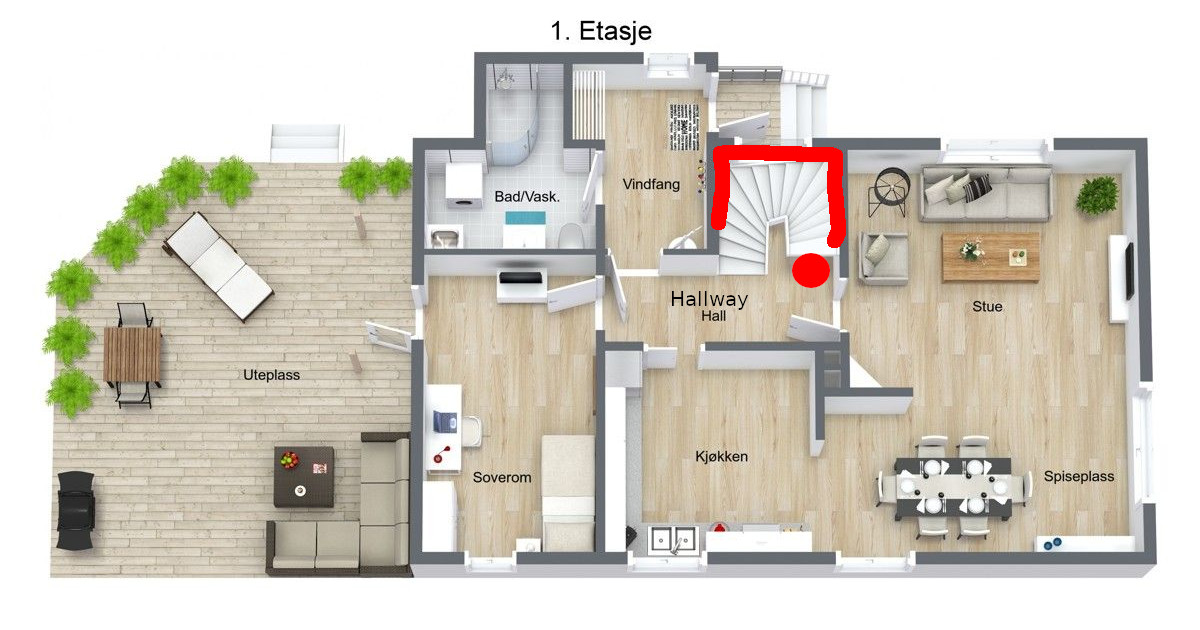
This made it very easy to hide the open CAT6 cable going to the hallway access point inside the wall, together with my other network runs 🙂
Drilling
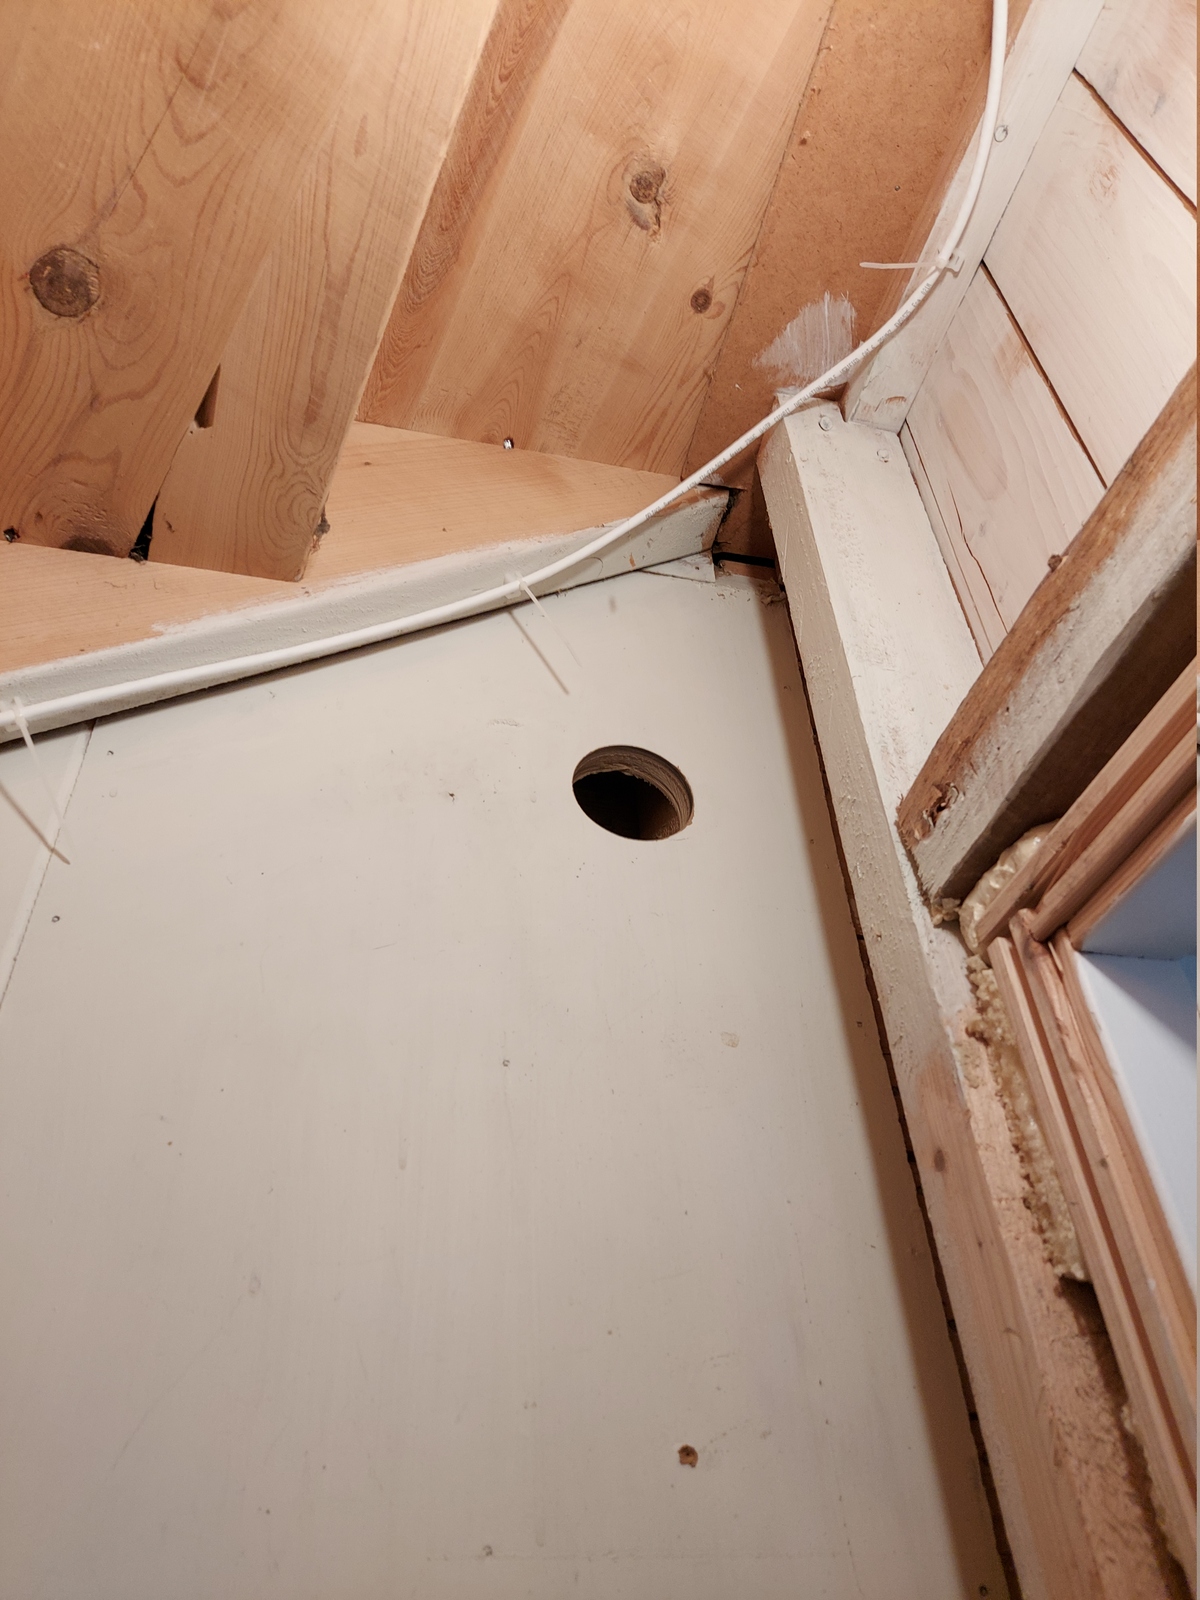
I started by making a 73 mm hole in the basement stairwell wall.
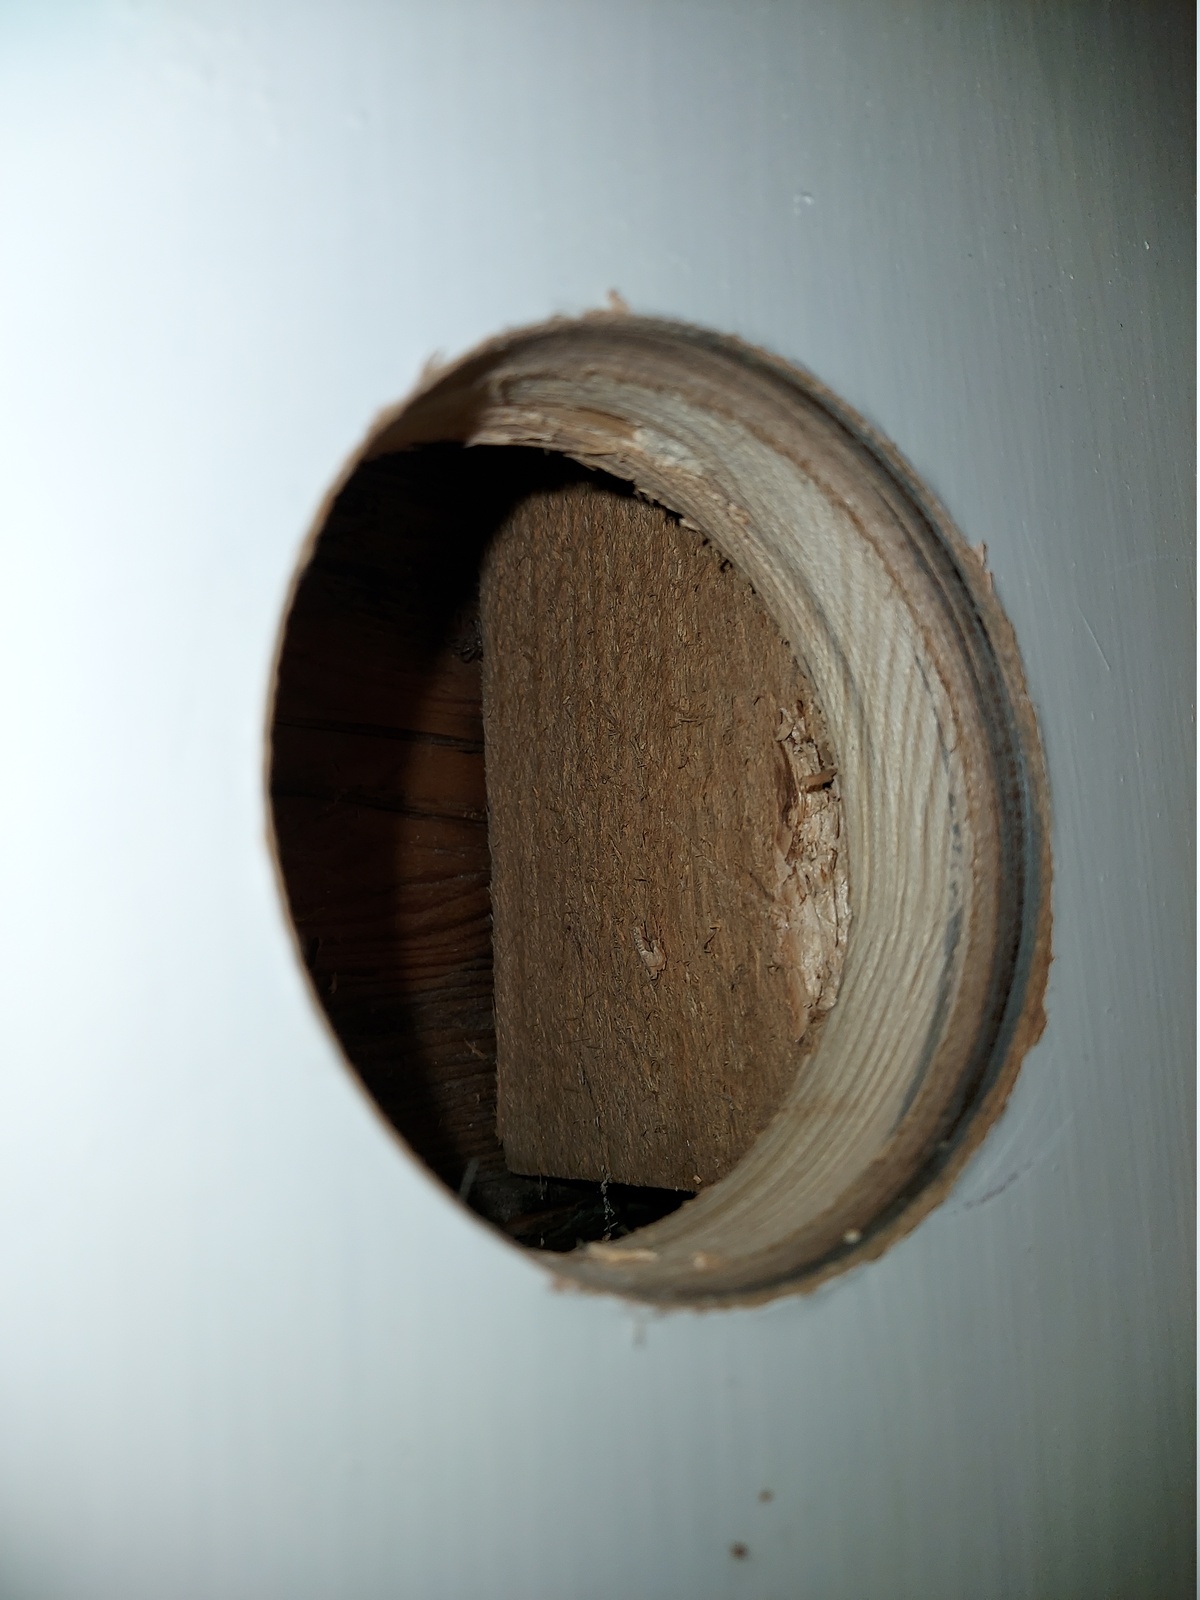
It ended up being very close to the right side stud, a bit too close. But I was able to remove some material, just enough for the metal brackets on the multi box to get a grip.
The conduit
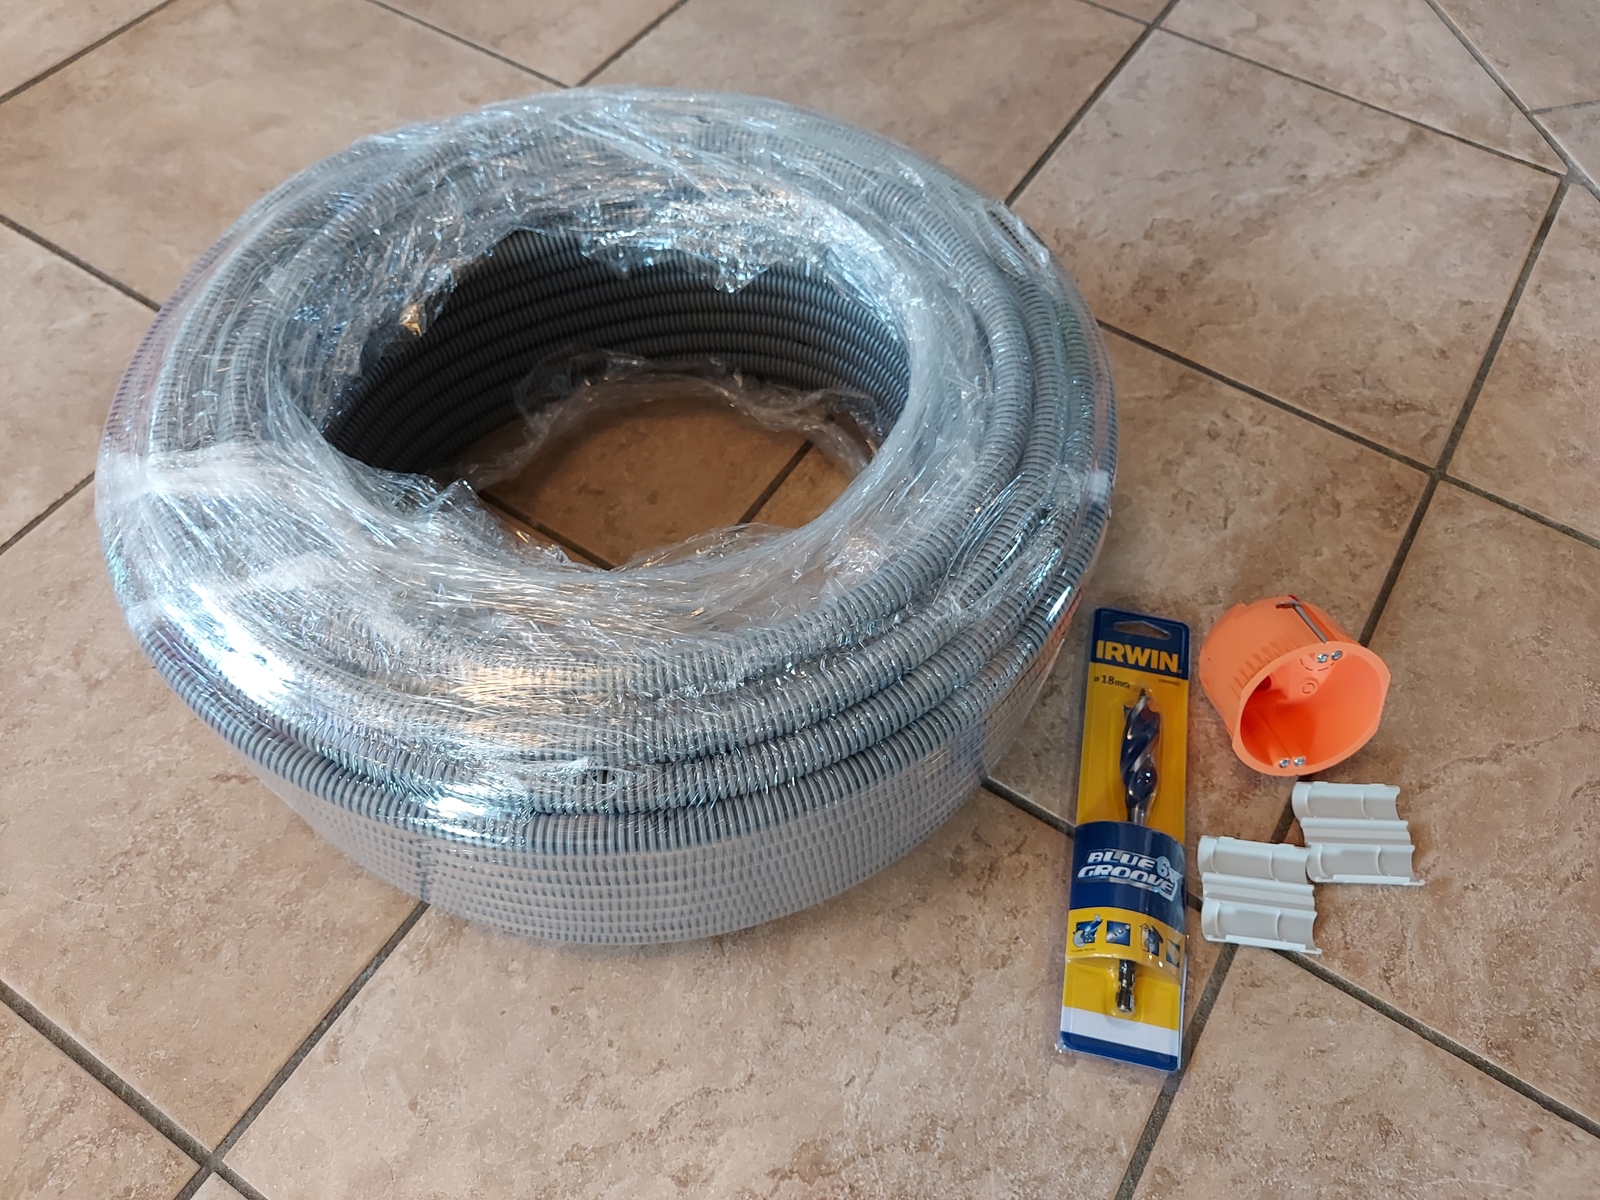
Since I was just running a single CAT6 cable, I got a spool of 16 mm flexible conduit.

I ran the conduit down the hole, inside the wall…
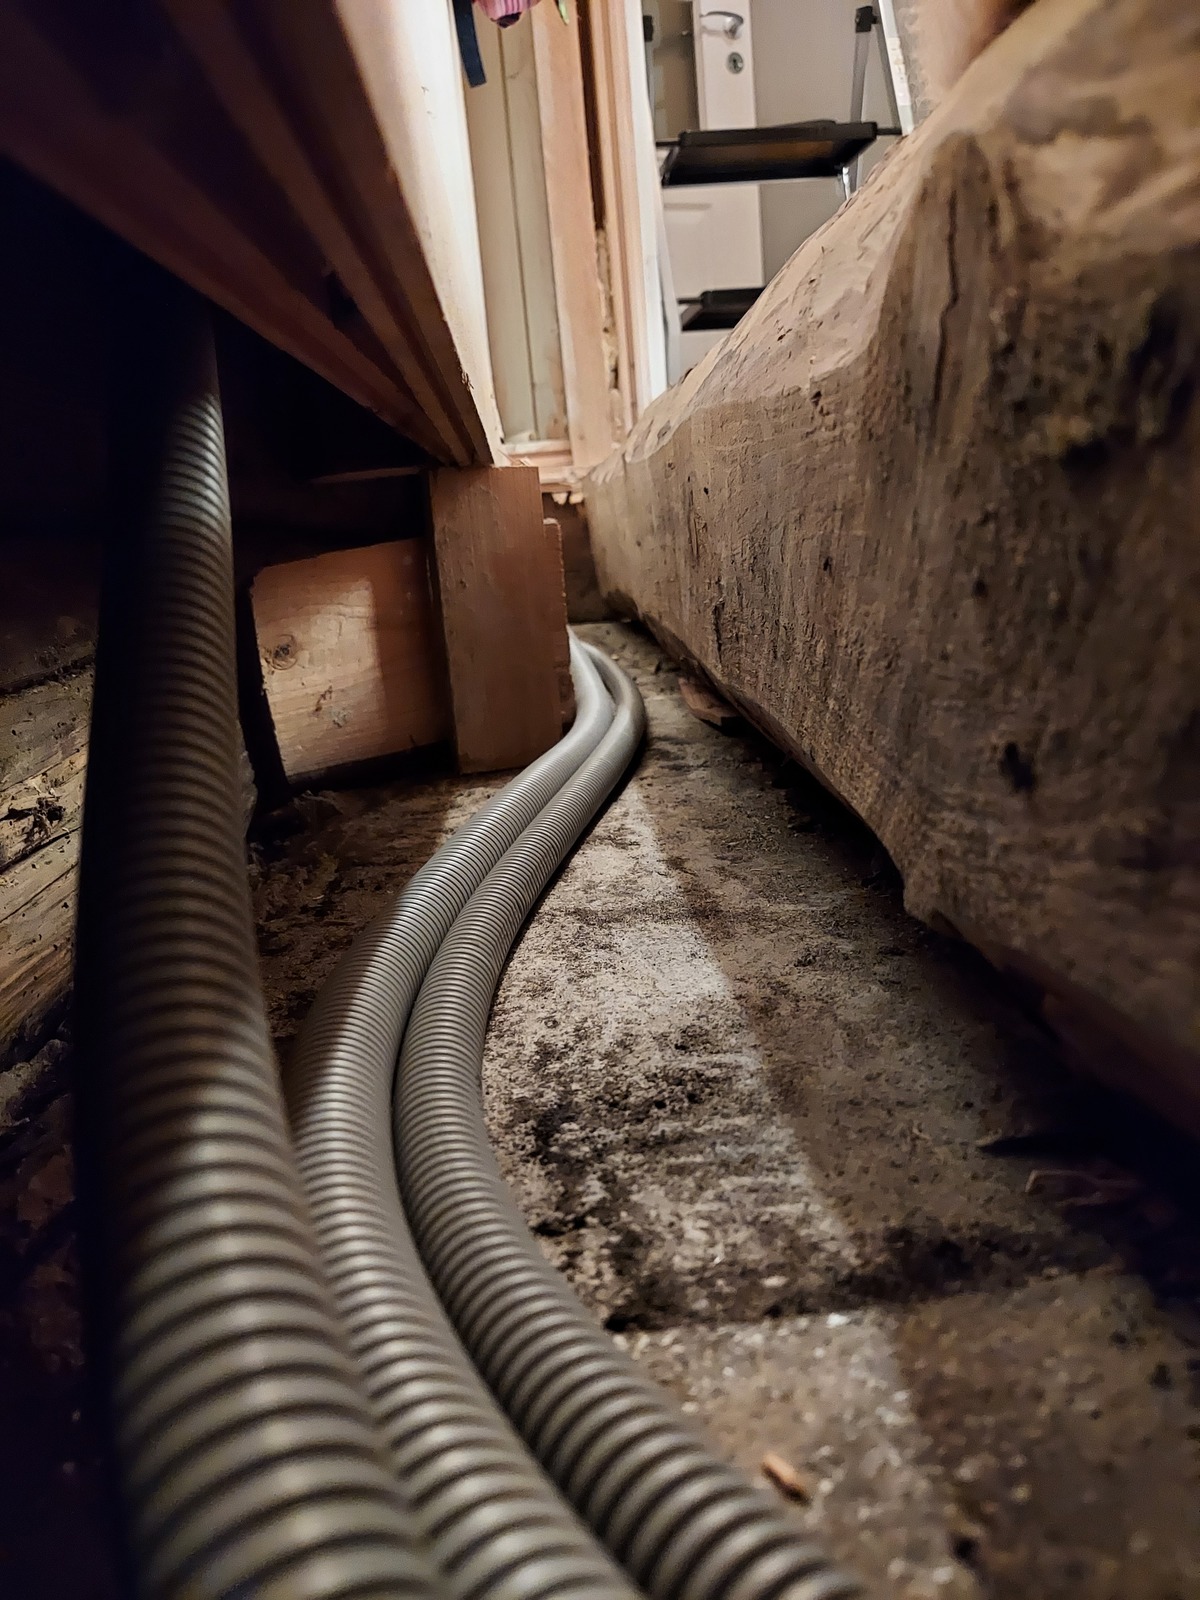
…then into the cavity that goes alongside the basement stairwell.

Joining conduits from other network runs.
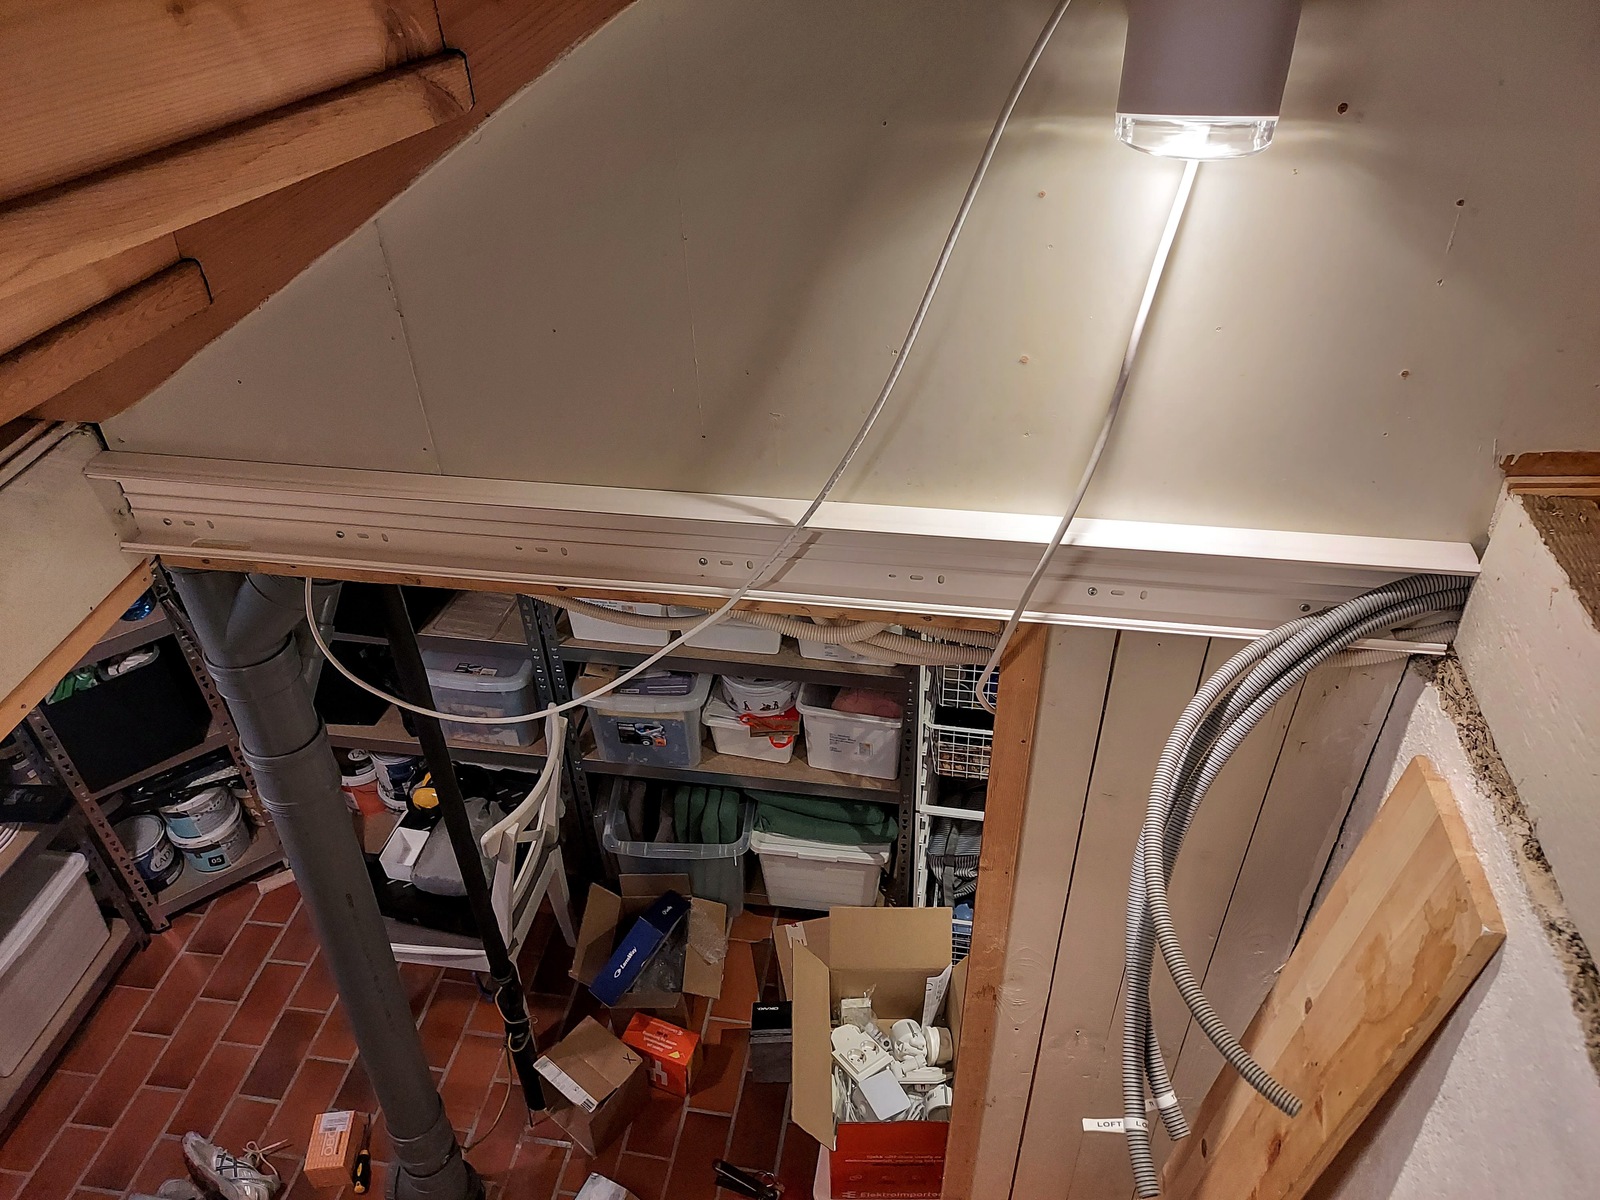
They all end up in the cable channel I installed earlier.
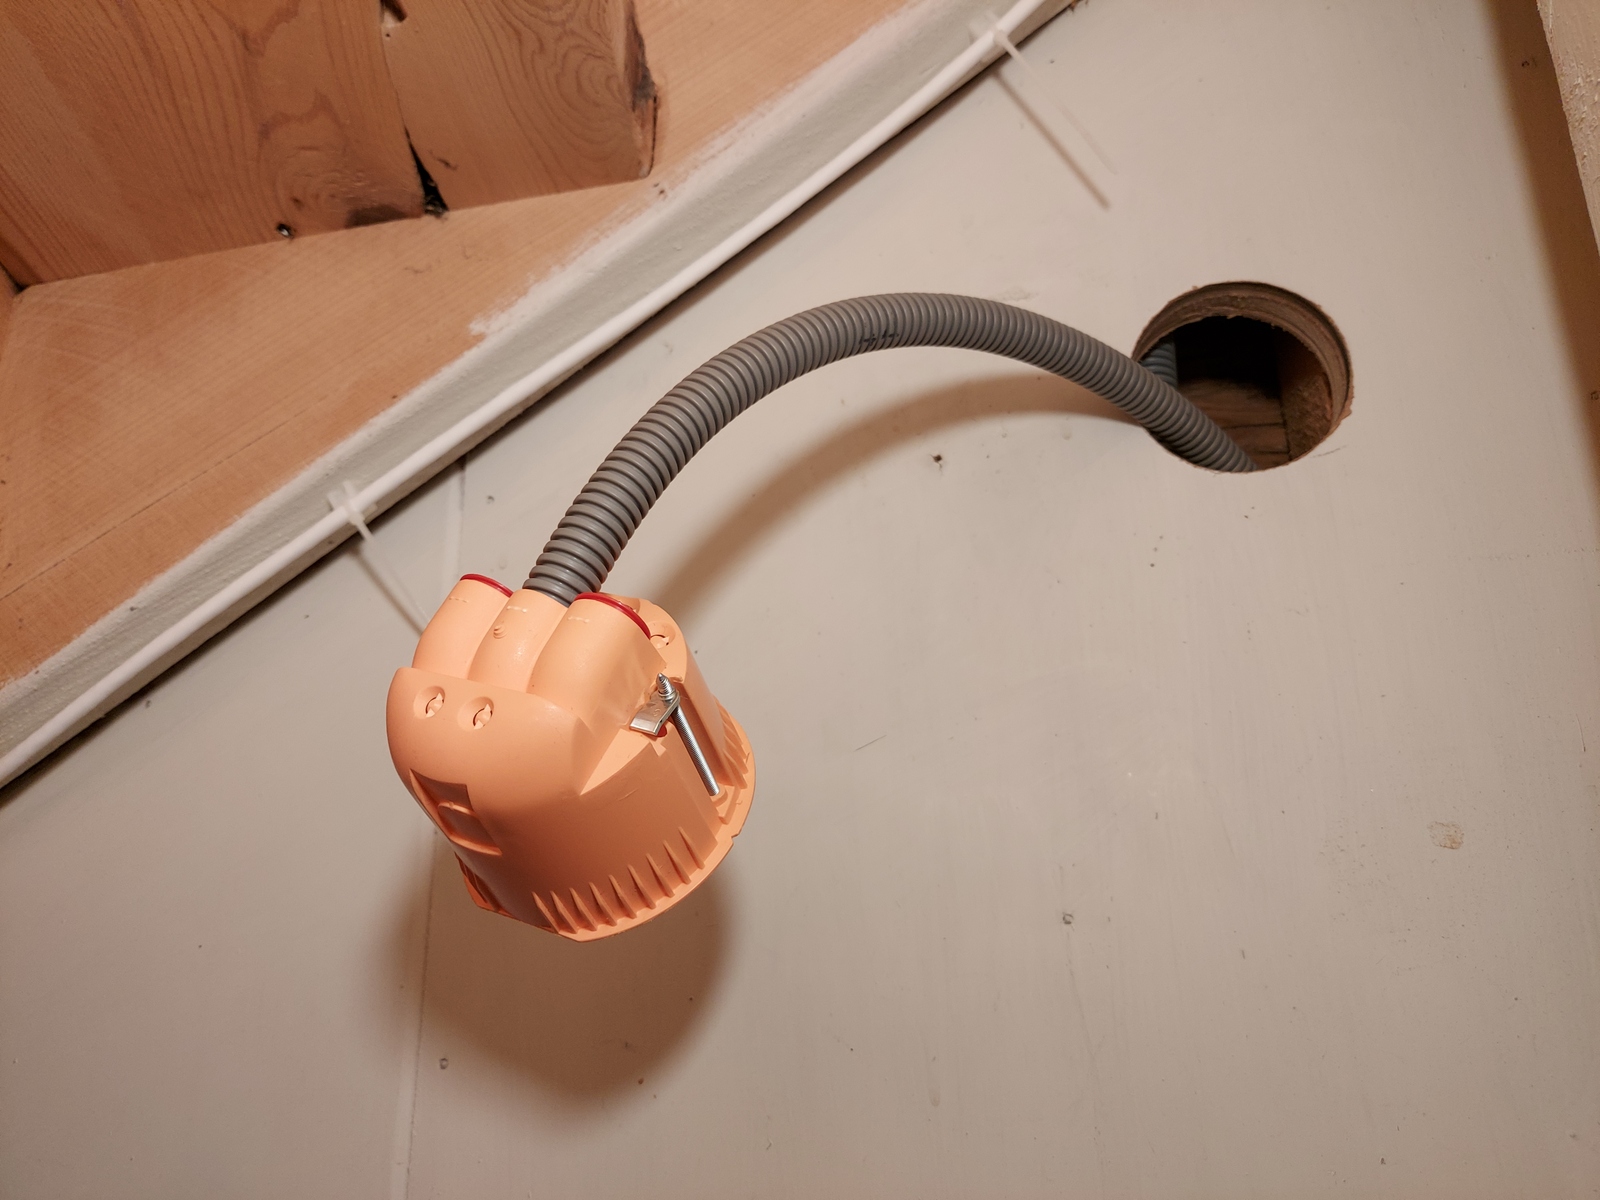
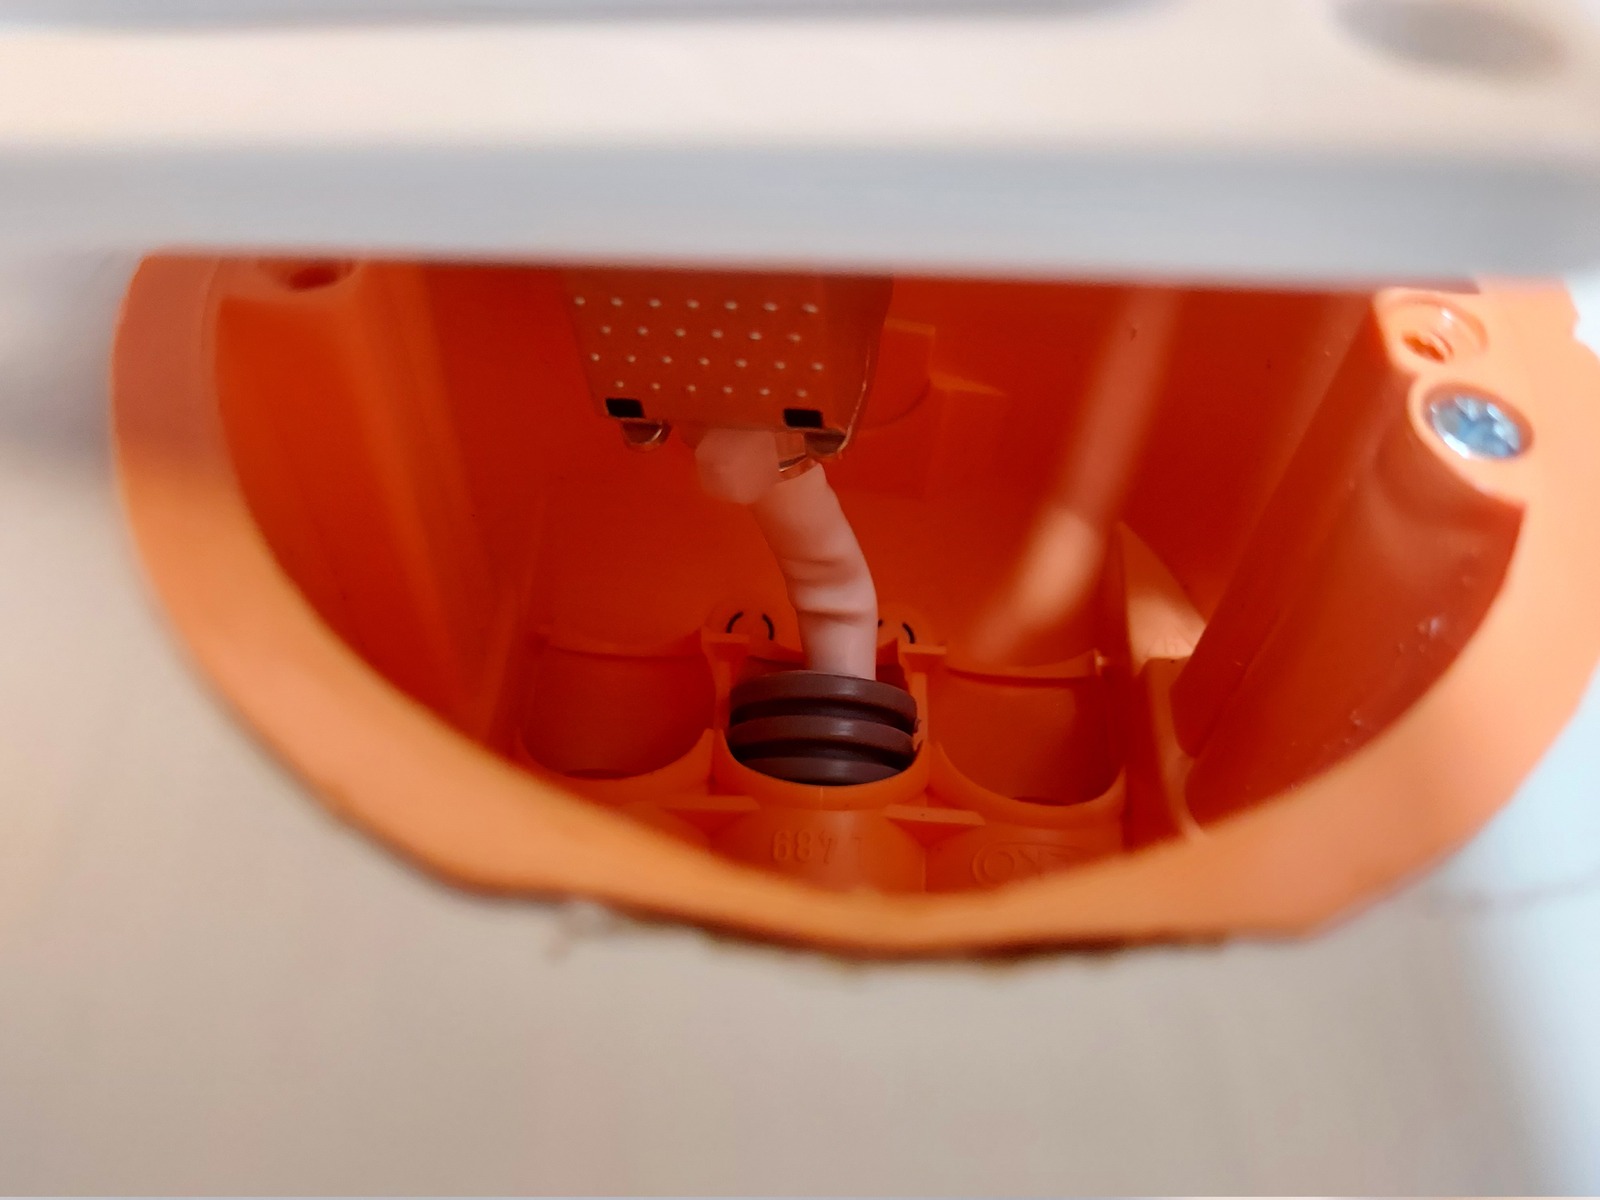
I attached the conduit in the multi box…
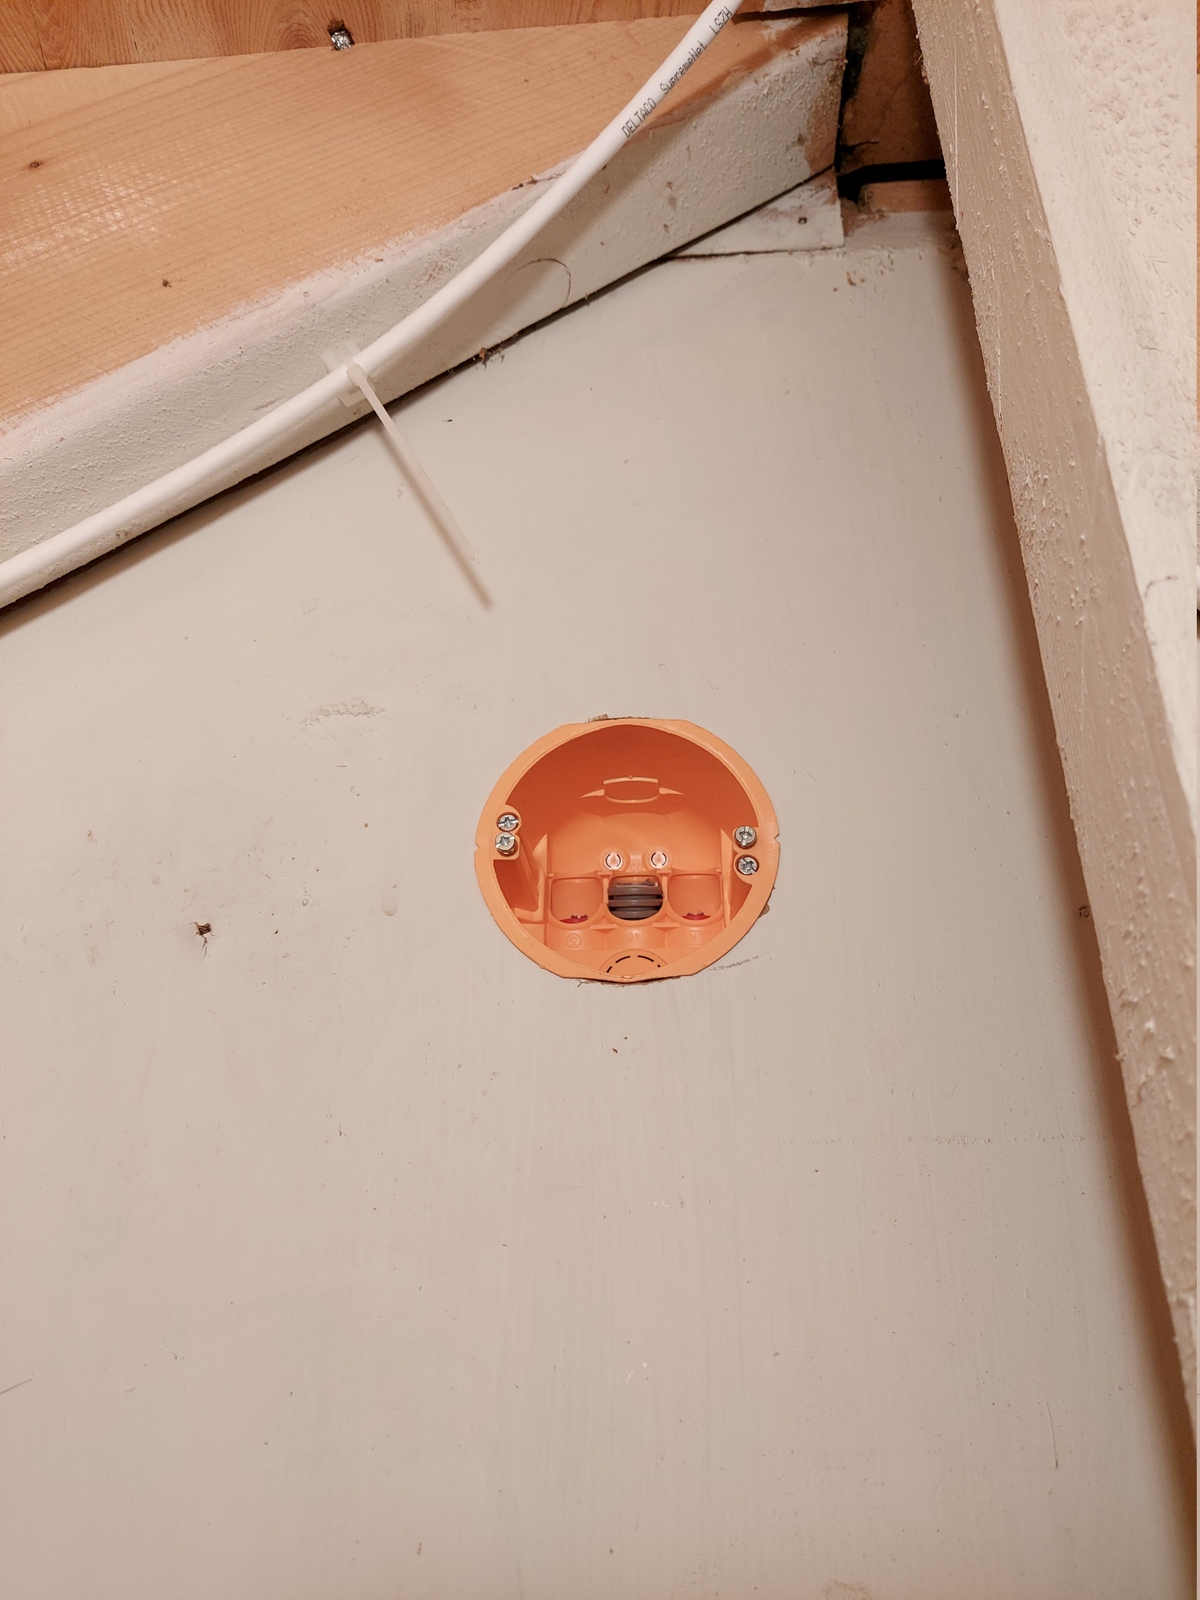
…and mounted it in the 73 mm hole.
The cable

I removed all the cable mounts, leaving the CAT6 cable hanging free.
Then I took down the access point, and cut off the RJ45 connector. Next I threaded the CAT6 cable through the opening in the cable channel, and pushed it through the conduit, until it appeared in the multi box.

On all my network runs I like to leave a decent service loop by the patch panel, and that was a good thing. The length through the conduit was about one meter longer than the previous run. But luckily; I had enough slack 🙂
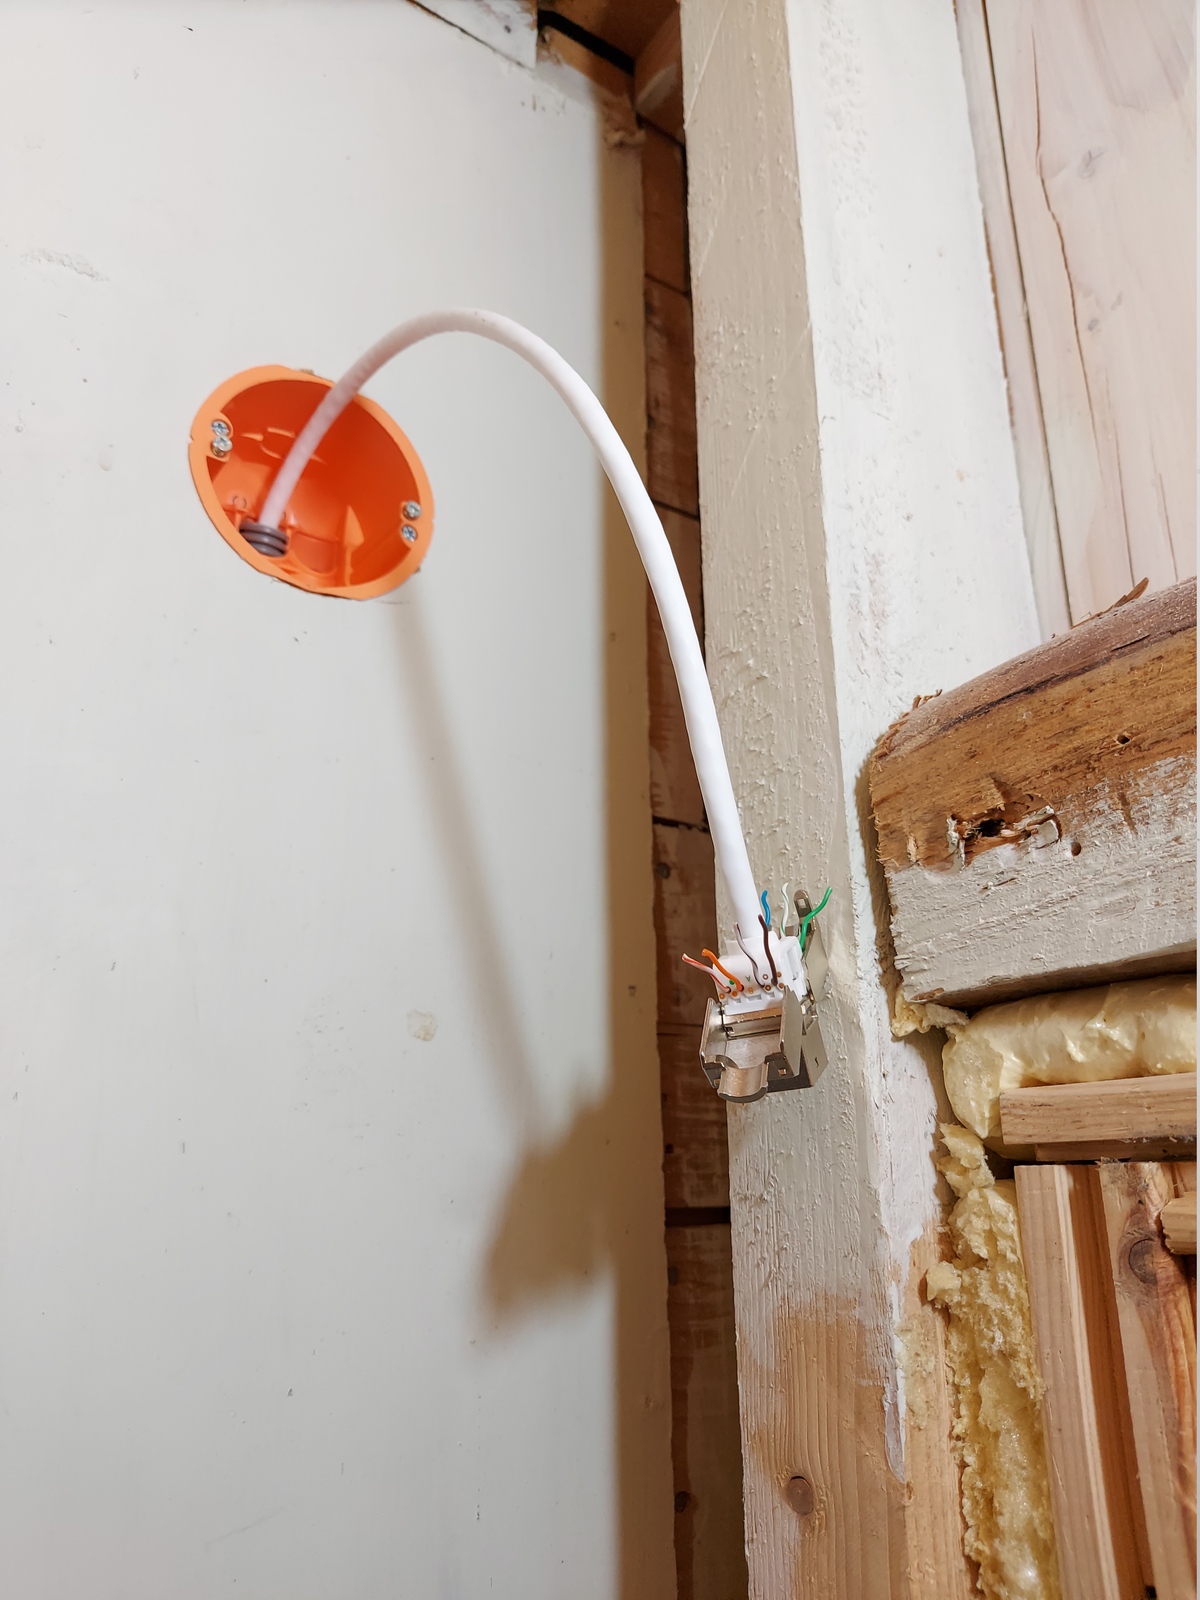
I terminated the CAT6 in the multi box, with a tool-free keystone jack — as I have in my previous network runs.
Because the CAT6 cable comes in vertically in the multi box, it got badly kinked as I was trying to mount the wall plate. My other runs have had the conduits going straight out the back.
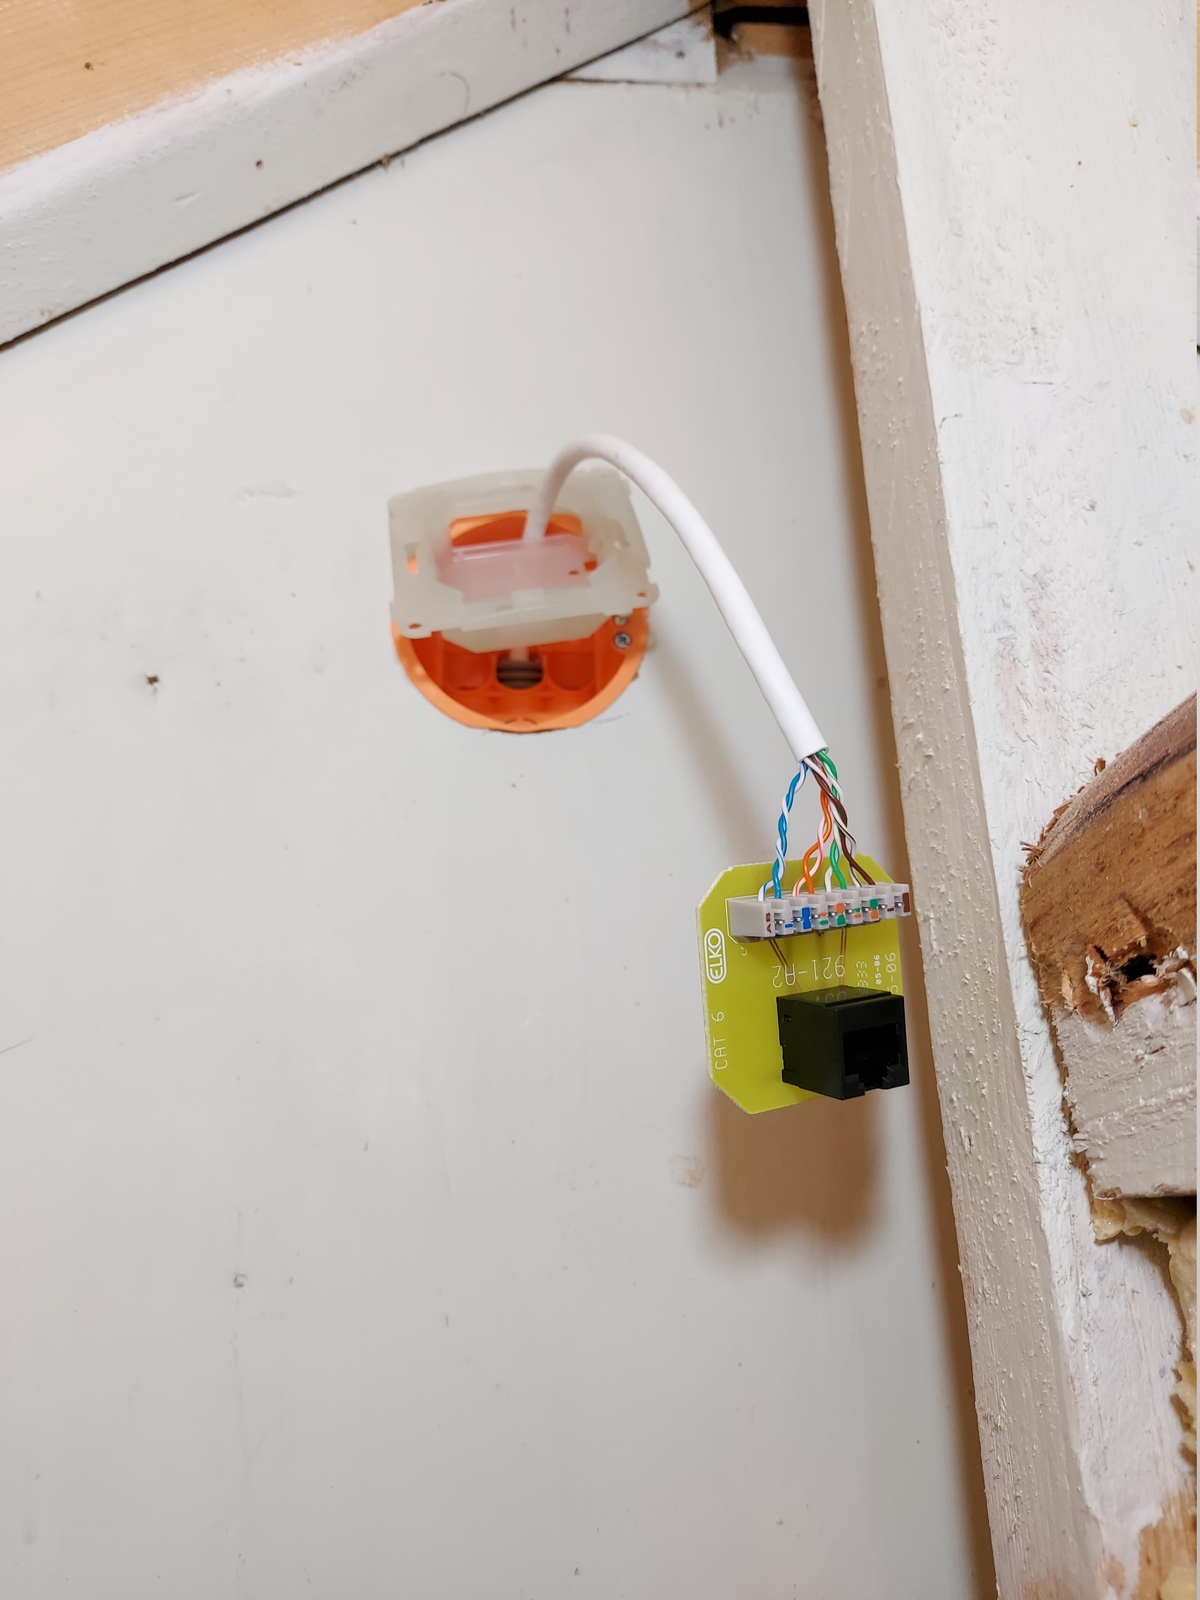
So I cut the CAT6 again, and used a wall plate with krone connectors instead. This takes up a lot less space in the multi box…
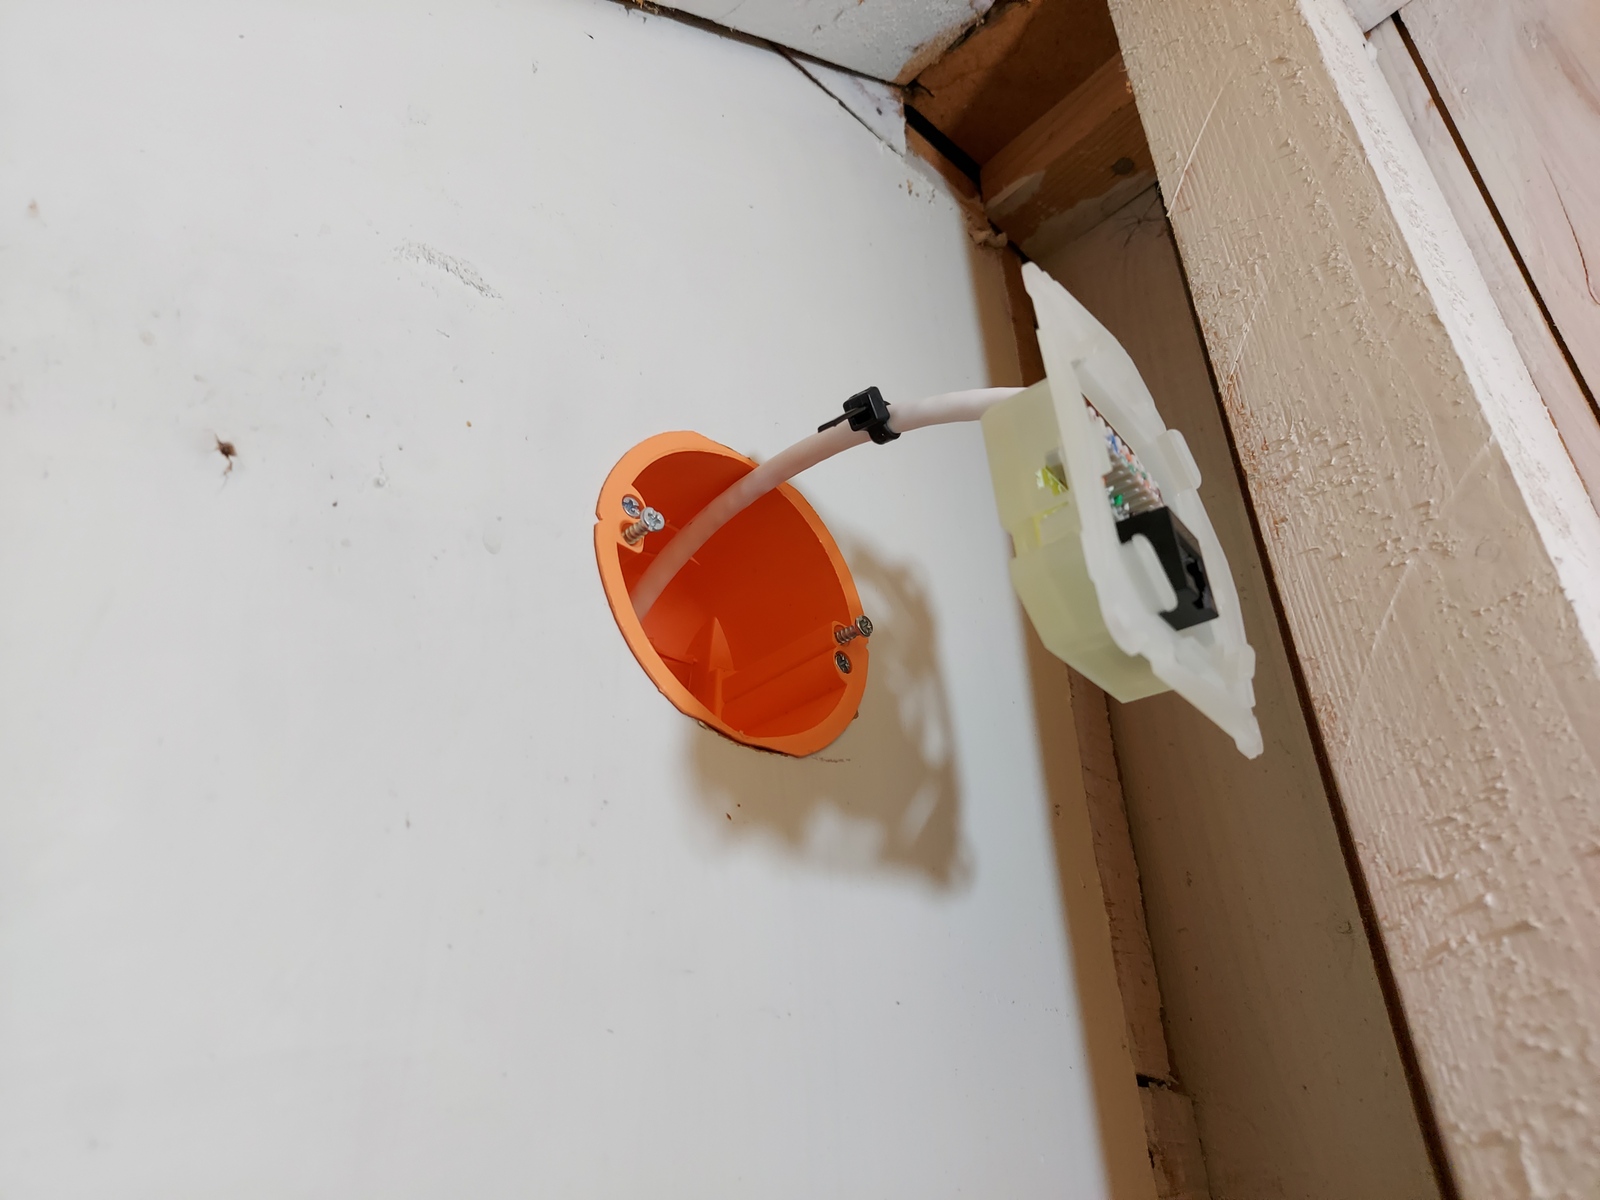
…so the cable didn’t get kinked this time 🙂 I attached a zip tie to the cable, to prevent it from pulling on the connectors.
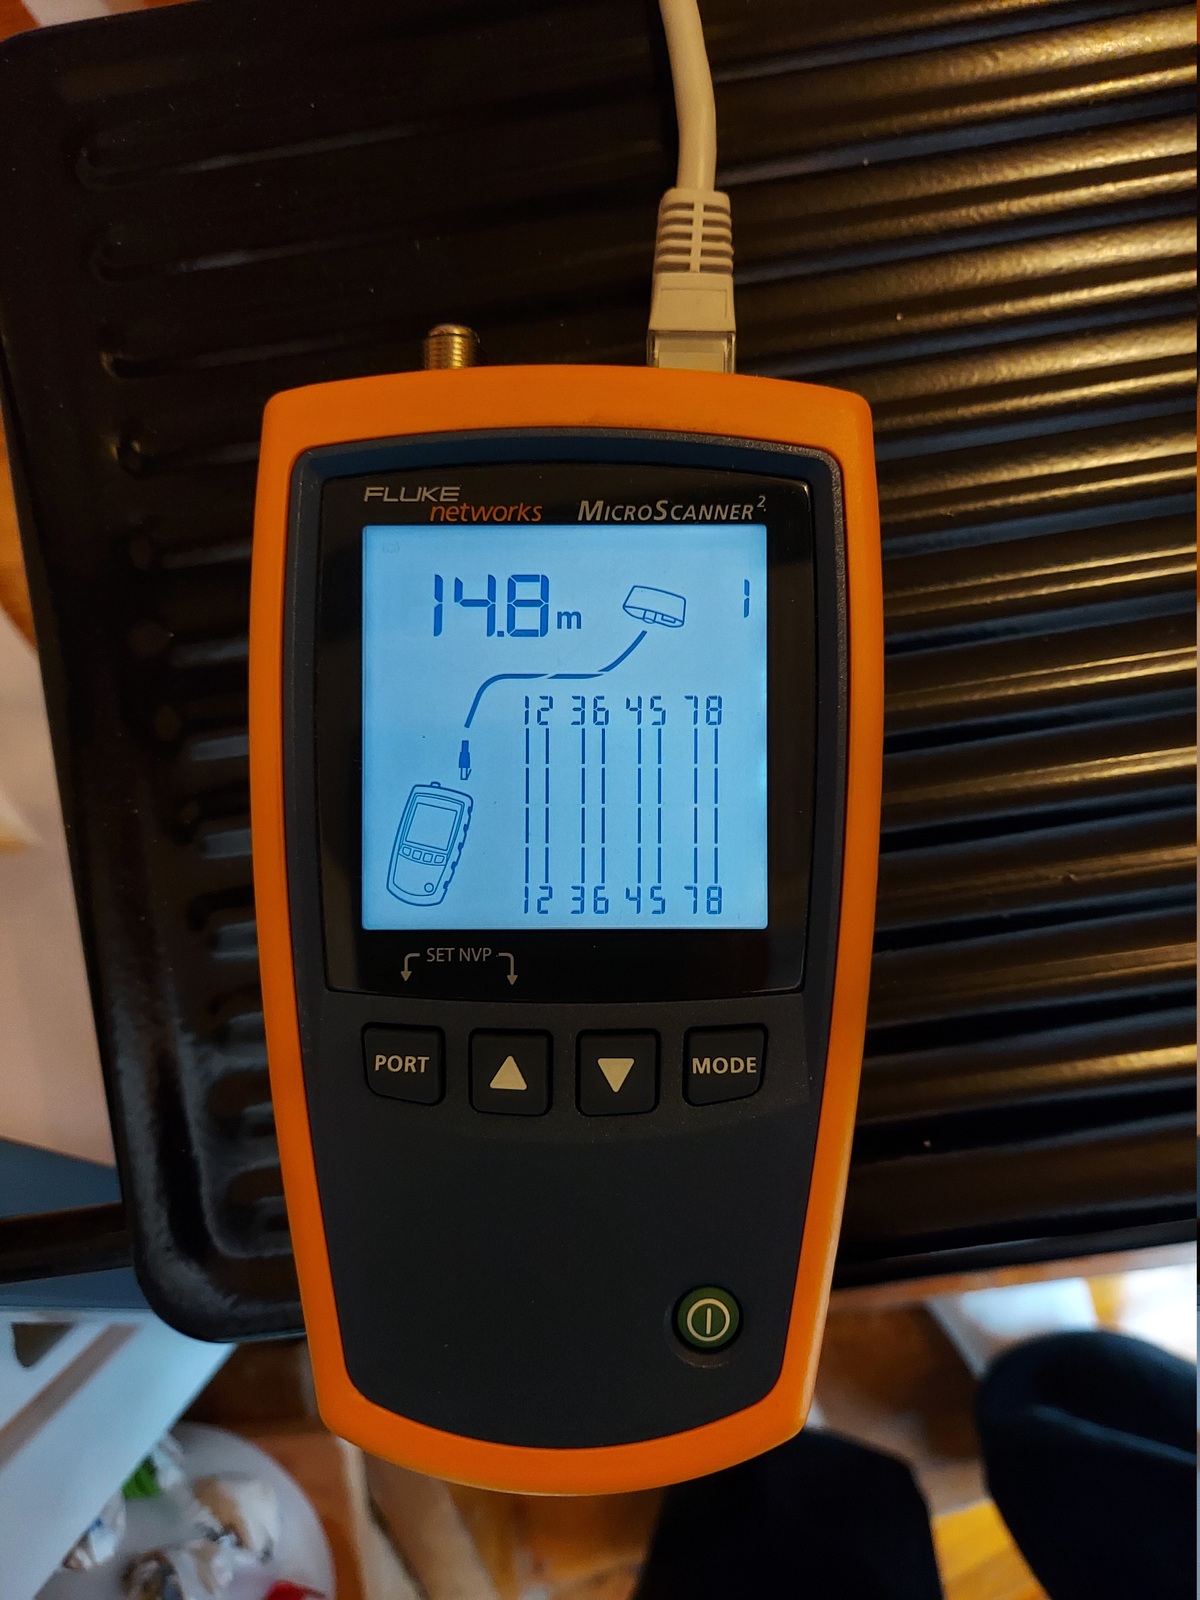
I tested the cable and terminations, all good 👍

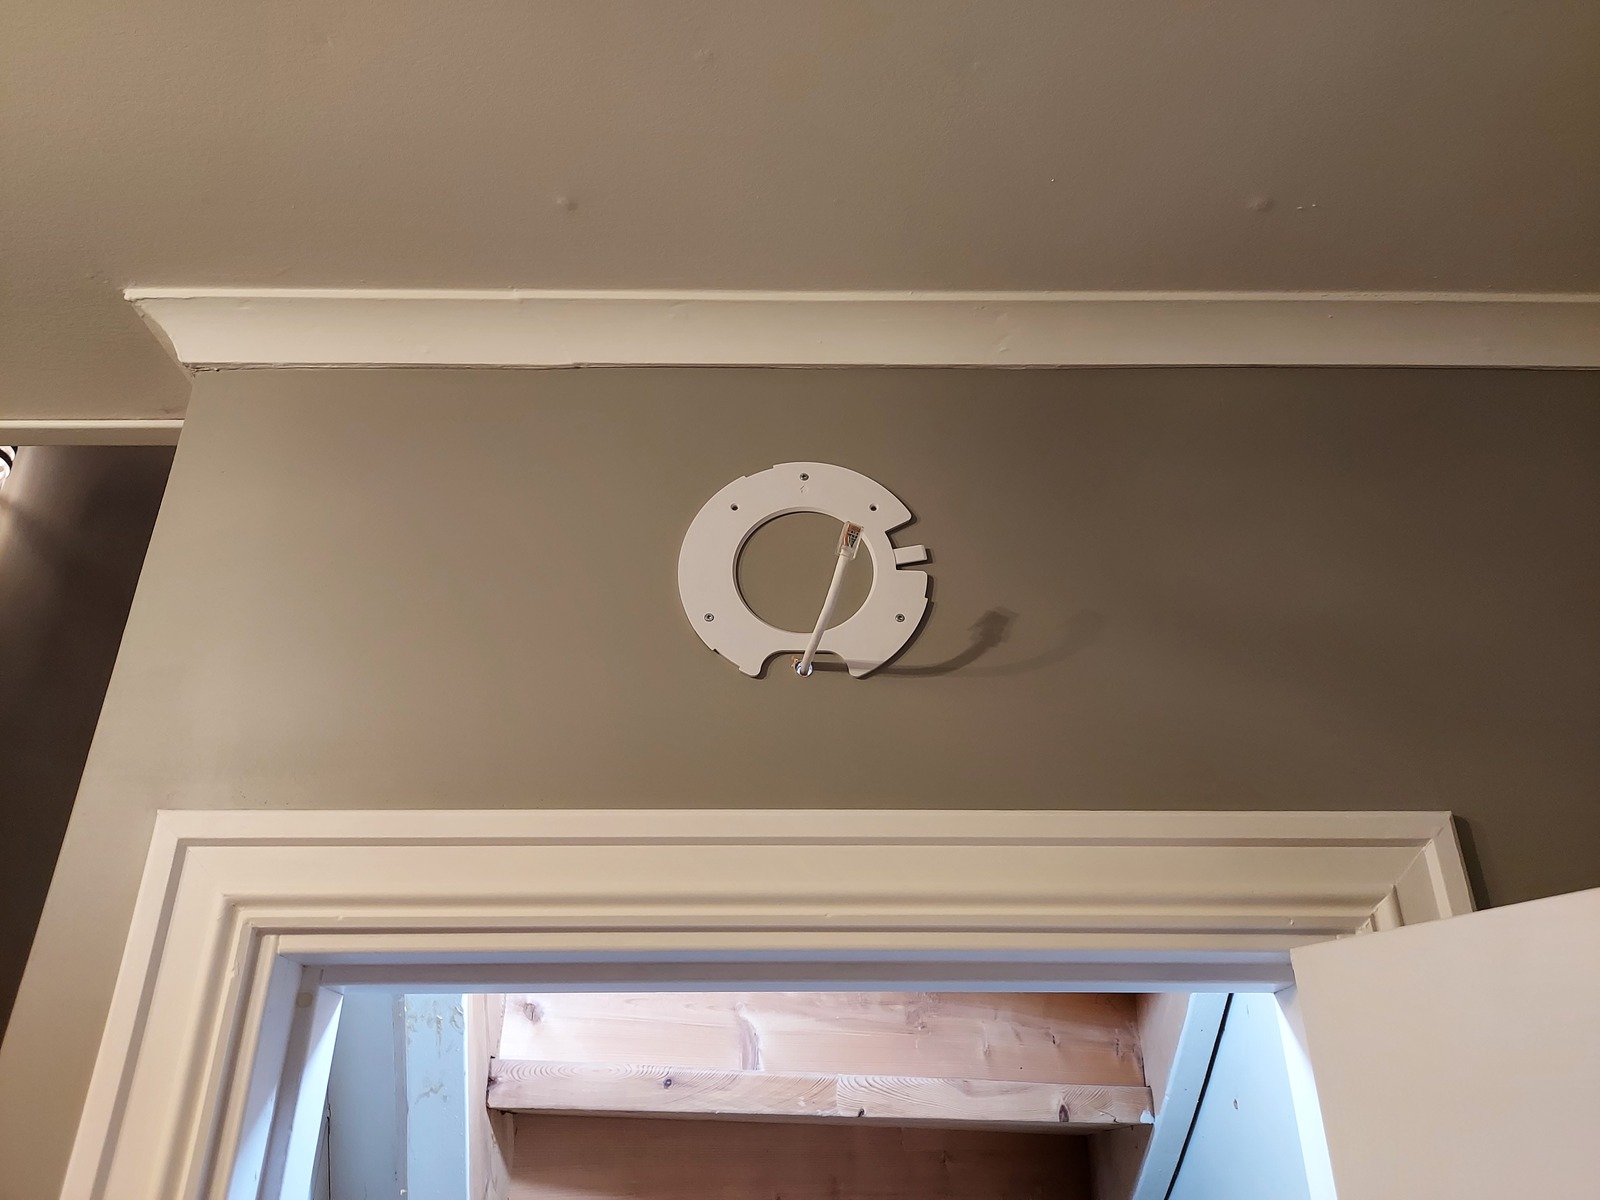
And mounted the wall plate in the multi box 🙂

I needed to move the already terminated keystone jack in the patch panel. And while doing so; I managed to break the plastic clip holding it in place. So I had to replace it 😞
Done!
With the CAT6 cable now moved, and terminated in a wall socket; I needed a short patch cable to hook up the access point.
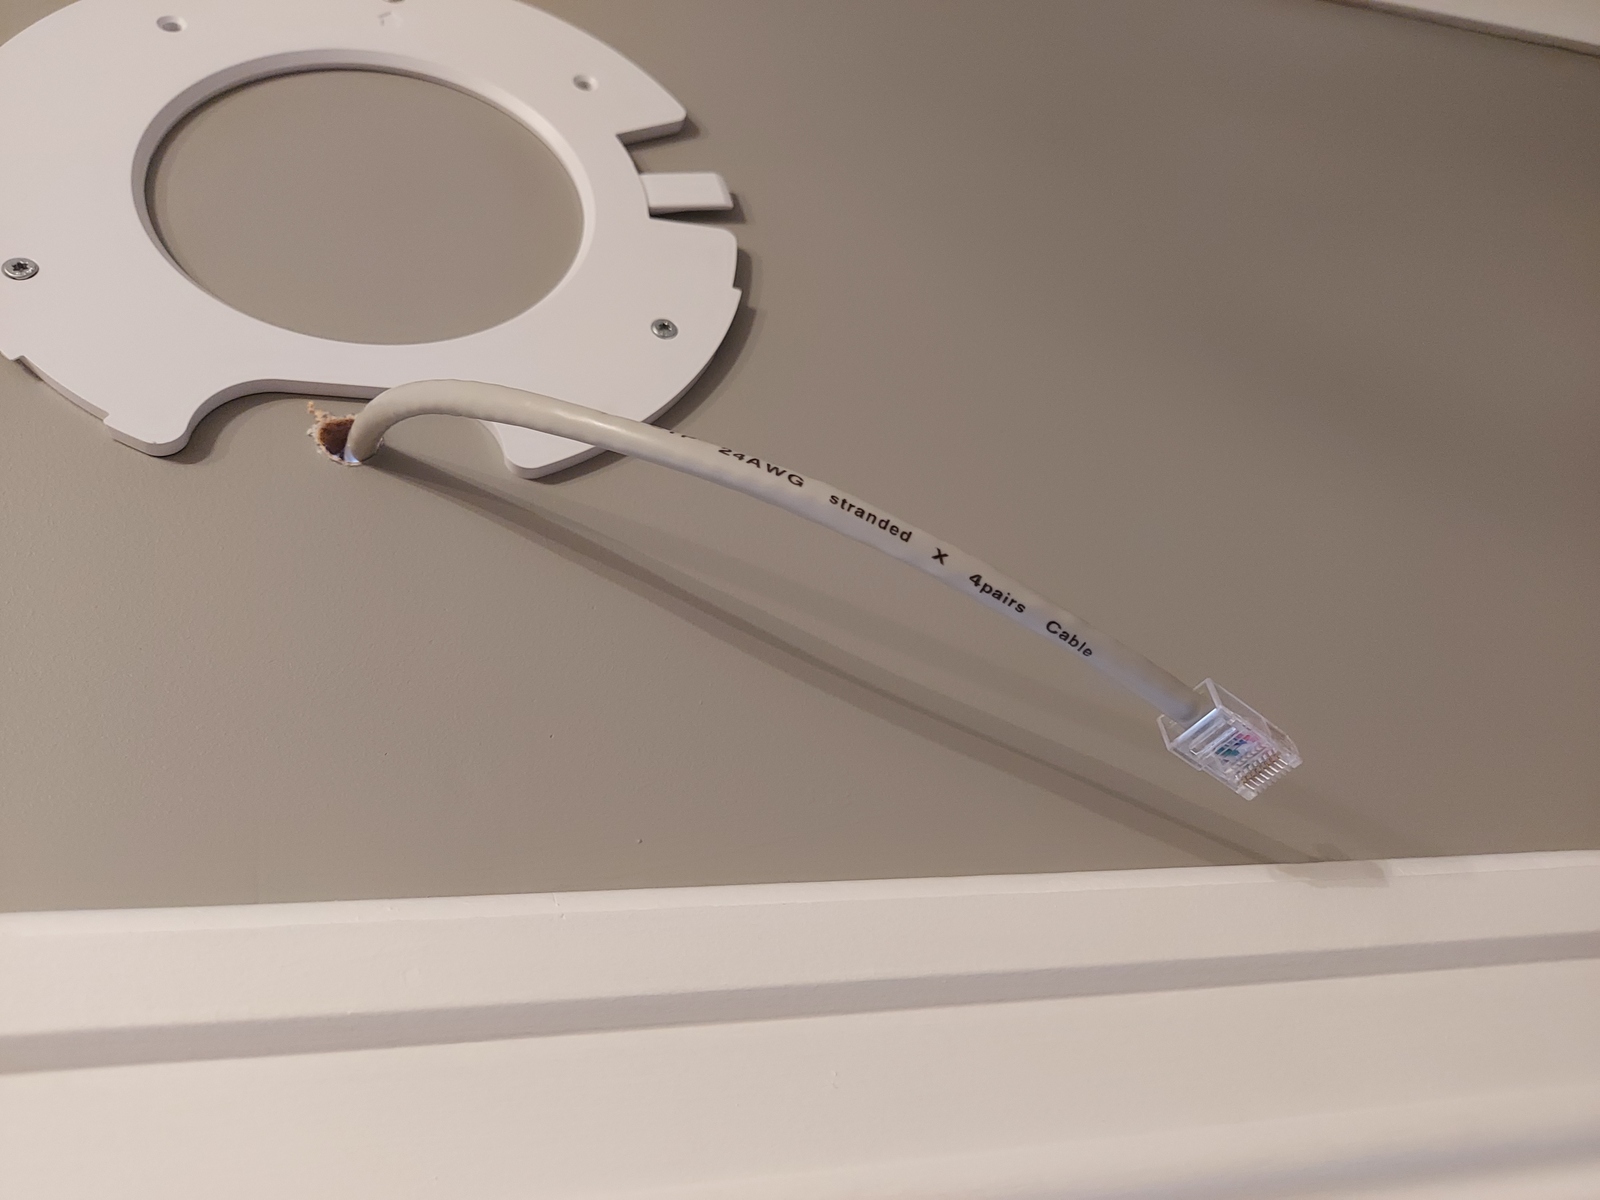
I used a ready-made patch cable, cut of one RJ45 connector, put it through the hole behind the access point, and terminated a new RJ45 plug.

Then patched up the access point, and mounted it back on the wall 🙂
Functionally; nothing changed, I already had this access point wired up. But aesthetically; it’s better, I just love hidden cable runs 🖖
Last commit 2024-11-11, with message: Add lots of tags to posts.
All posts in Home network v2 series
- Replacing Unifi switches with MikroTik
- Getting started with MikroTik CCR1009 and RouterOS
- Altibox fiber — straight into Mikrotik CCR1009
- Running underground CAT6 to detached garage
- Plans for my home network
- Running two CAT6 cables to the play room
- Running three CAT6 cables to the living room TV bench
- Moving CAT6 cable for access point; inside the wall
- Altibox fiber — straight into Ubiquiti EdgeRouter
- Two CAT6 cables and a fiber — from the basement to the attic
- A few Wi-Fi improvements
- Updated plans for my home network
- Knot Resolver — with ad blocking
- Pulling CAT6 cable in existing conduit
- Running CAT6 to the twins' rooms — inside interior wall
- Running CAT6 to the 2nd floor den — another interior wall
- Finally getting fiber between the house and garage
