This post is part of the Home network v2 series.
When I began replacing my Unifi switches with MikroTik — I was very impressed with the MikroTik devices. So when I found a CCR1009-7G-1C-1S Core router, second hand, for a reasonable price — there was no reason not to buy it.
RouterOS seemed daunting at first; so I watched a lot of YouTube videos from The Network Berg, which increased my confidence 🙂
Table of contents
Getting ready
I’m planning to do major changes to my home network, but I want to do it in steps — not all at once. So I simply placed the CCR in front of my current EdgeRouter and forwarded all ports. This meant that no changes was required on the EdgeRouter, it just got a new WAN IP 👍
Then; when I’m good and ready, I can start to build my new network, one subnet at the time, transferring them from the EdgeRouter to the CCR.

I started by resetting the current configuration on the CCR, it doesn’t have any defaults so that left me with a blank slate.
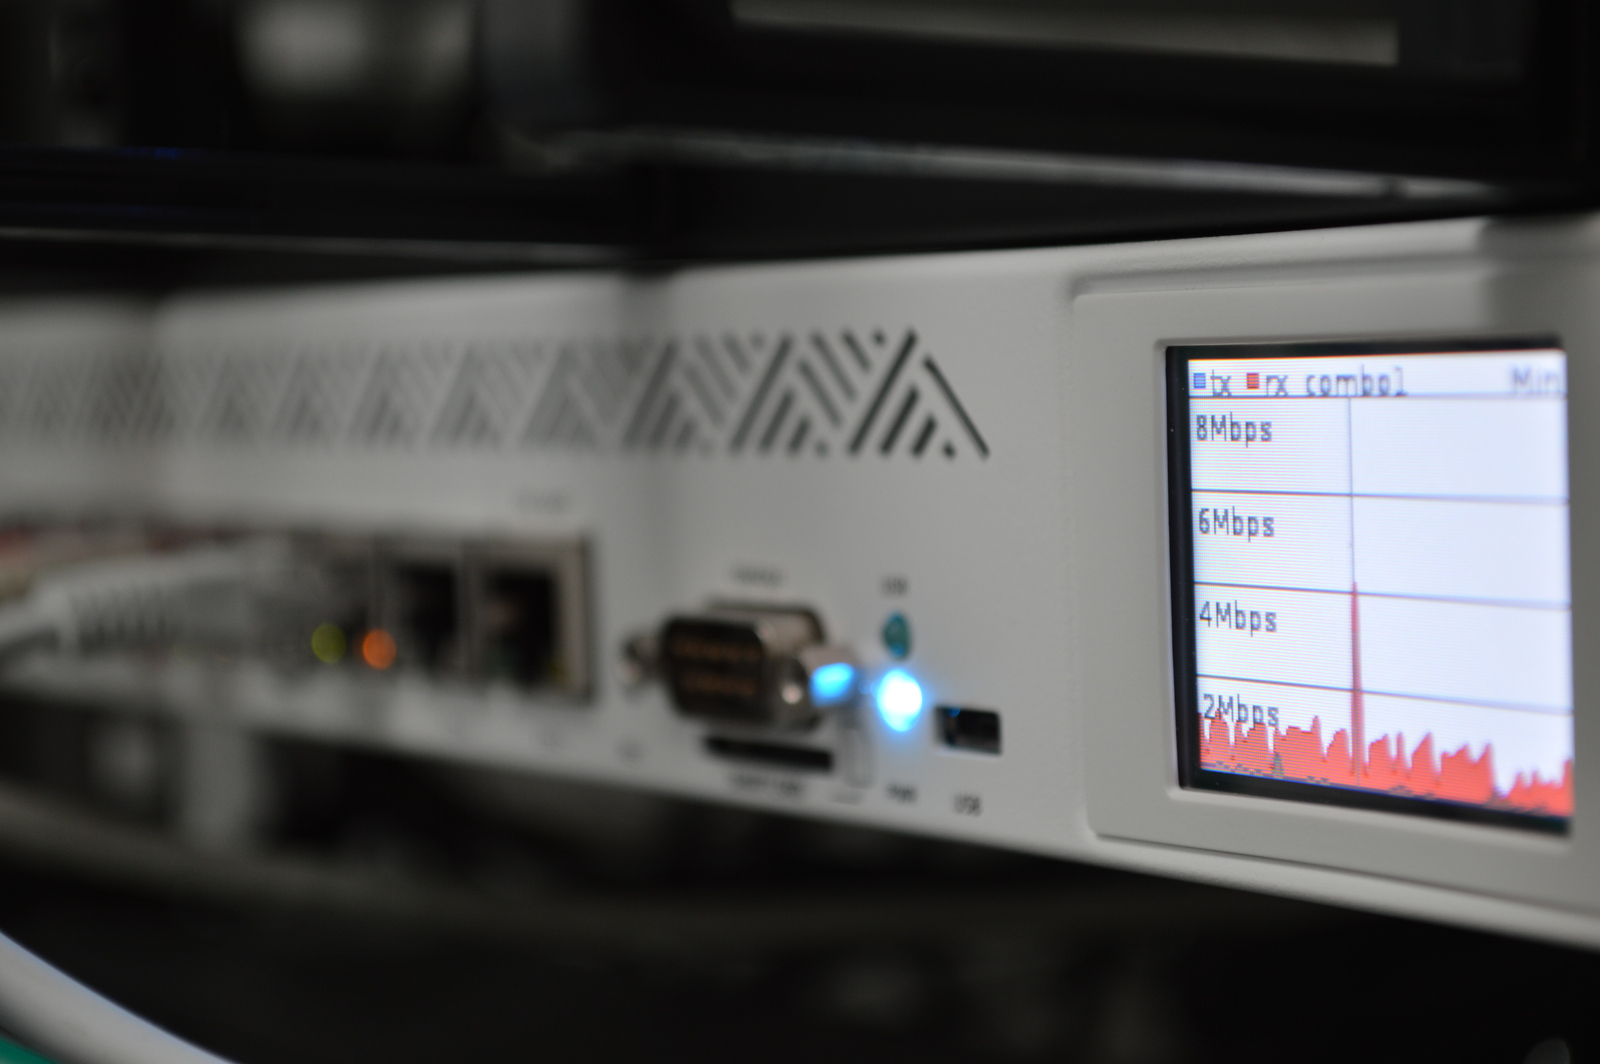
I used WinBox, in Wine, to connect using the MAC address. The IP address can be configured using the small touch screen, but using the MAC address was easier.
The configuration
I mostly used WinBox, but it can also be done in the terminal. The commands below were exported using the terminal command:
/export hide-sensitive file=initial-config
Interfaces
First I set descriptions on the interfaces I was going to use:
/interface ethernet
set [ find default-name=combo1 ] comment=WAN
set [ find default-name=ether2 ] comment=Edgerouter
Then I created a DHCP client on combo 1:
/ip dhcp-client
add disabled=no interface=combo1
And set a static LAN IP on ether2:
/ip address
add address=10.0.0.1/30 interface=ether2 network=10.0.0.0
10.0.0.0/30 only has two usable addresses, 10.0.0.1 and 10.0.0.2. Because 10.0.0.0 is the network address and 10.0.0.4 is the broadcast address.
DHCP server
Then I created a DHCP server on ether2. There is a wizard in the graphical interface, or using ip dhcp-server setup in the terminal.
This was the result of the created DHCP server:
/ip pool
add name=dhcp_pool0 ranges=10.0.0.2

/ip dhcp-server
add address-pool=dhcp_pool0 disabled=no interface=ether2 name=dhcp1

/ip dhcp-server network
add address=10.0.0.0/30 gateway=10.0.0.1
I allowed remote DNS requests, although I’m probably going to something like Pi-Hole for that:
/ip dns
set allow-remote-requests=yes
Firewall
Next I added some firewall rules, these are pretty basic:
add action=tarpit chain=input dst-port=22 in-interface=combo1 protocol=tcp \
    src-port=""
add action=tarpit chain=forward dst-port=22 in-interface=combo1 protocol=tcp
add action=accept chain=input connection-state=established,related \
    in-interface=combo1
add action=drop chain=input in-interface=combo1

add action=accept chain=forward comment="Allow established/related" \
    connection-state=established,related in-interface=combo1
add action=accept chain=forward in-interface=combo1
add action=reject chain=forward comment="Default drop" connection-state="" \
    in-interface=combo1 reject-with=icmp-network-unreachable
The firewall has three chains:
forward: traffic through the routerinput: destination is router addressoutput: traffic originating/leaving router
So what is happening here?
- Port 22/tcp is tarpitted on the input and forward chain of the
combo1interface. - Established and related connections are accepted on the input chain of the
combo1interface. - All requests on the input chain of the
combo1interface is dropped. - Established and related connections are accepted on the forward chain of the
combo1interface. - All requests are accepted on the forward chain of the
combo1interface. - The default rule is to reject on the forward chain of the
combo1interface.
NAT
Next I added NAT rules:
/ip firewall nat
add action=masquerade chain=srcnat comment=Hairpin/reflection dst-address=\
    10.0.0.0/30 src-address=10.0.0.0/30
add action=masquerade chain=srcnat out-interface=combo1

add action=dst-nat chain=dstnat in-interface=combo1 to-addresses=10.0.0.2
add action=dst-nat chain=dstnat dst-address=MY.WAN.IP.ADR to-addresses=\
    10.0.0.2
So what is happening here?
- Traffic from the LAN, going to the LAN, is masqueraded. This is NAT hairpinning, reflection, or loopback. This rule needs to be first.
- Masquerade traffic leaving the
combo1interface. We need this for our private IPs to be replaced with the WAN IP when leaving the router, so that a response can be routed back to us. - All traffic received on the
combo1interface is forwarded to10.0.0.2, which is the EdgeRouter. - All traffic going to my WAN IP is forwarded to
10.0.0.2, which again is the EdgeRouter. This makes it possible to use the WAN IP locally — part of NAT hairpinning.
Finishing up
I then plugged internet in combo 1 and the WAN port on my EdgeRouter in ether2.
The CCR got an IP from my ISP, and the EdgeRouter got an IP from the CCR. I was in business! 😃
Future plans
Next I’m planning to ditch the ISP fiber box, plugging the fiber straight into the CCR. And start creating and migrating subnets. Once it’s all been moved off the EdgeRouter; it can be retired.
Last commit 2024-11-11, with message: Add lots of tags to posts.
All posts in Home network v2 series
- Replacing Unifi switches with MikroTik
- Getting started with MikroTik CCR1009 and RouterOS
- Altibox fiber — straight into Mikrotik CCR1009
- Running underground CAT6 to detached garage
- Plans for my home network
- Running two CAT6 cables to the play room
- Running three CAT6 cables to the living room TV bench
- Moving CAT6 cable for access point; inside the wall
- Altibox fiber — straight into Ubiquiti EdgeRouter
- Two CAT6 cables and a fiber — from the basement to the attic
- A few Wi-Fi improvements
- Updated plans for my home network
- Knot Resolver — with ad blocking
- Pulling CAT6 cable in existing conduit
- Running CAT6 to the twins' rooms — inside interior wall
- Running CAT6 to the 2nd floor den — another interior wall
- Finally getting fiber between the house and garage
