This post is part of the Home network v2 series.
Ever since I got the fiber installed last year, the plan has been to drop the ISP box and plug it straight into my router. That’s why I had the fiber terminated in my patch panel.
I’ve been reluctant to do it, since messing with the internet needs to be done while the rest of the house is sleeping. And I was unsure what SFP module to use. I did buy the Ubiquiti UF-SM-1G-S pair, planning to use it with my EdgeRouter.
But I ended up using the SFP module that came with the ISP box, and my new MikroTik CCR1009.
The swap was super easy and only took a few minutes 😃
Table of contents
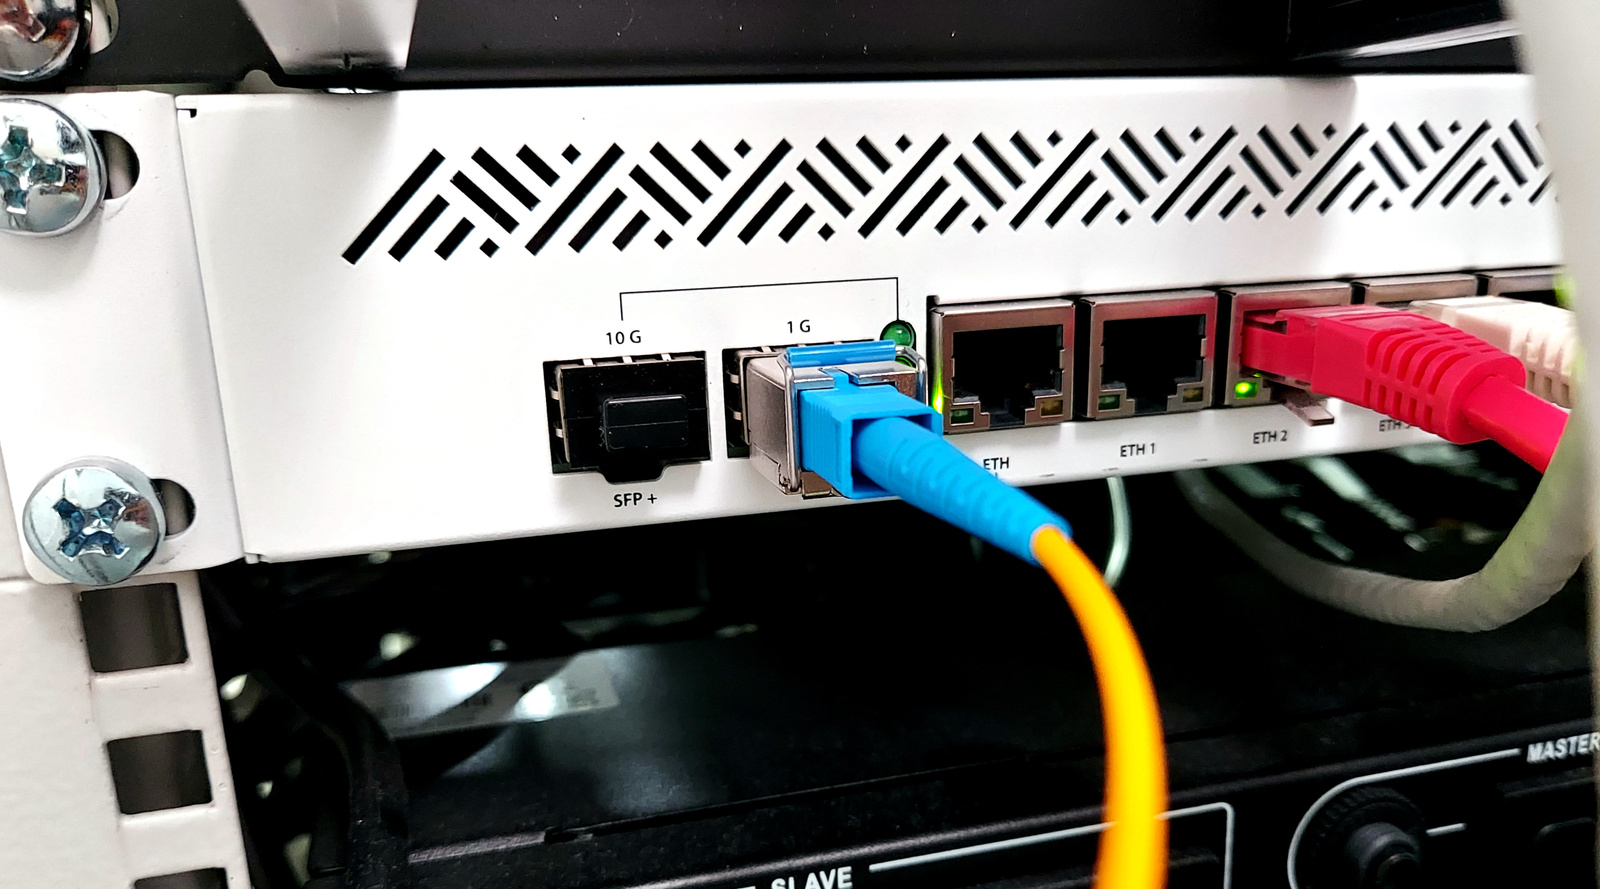
SFP module
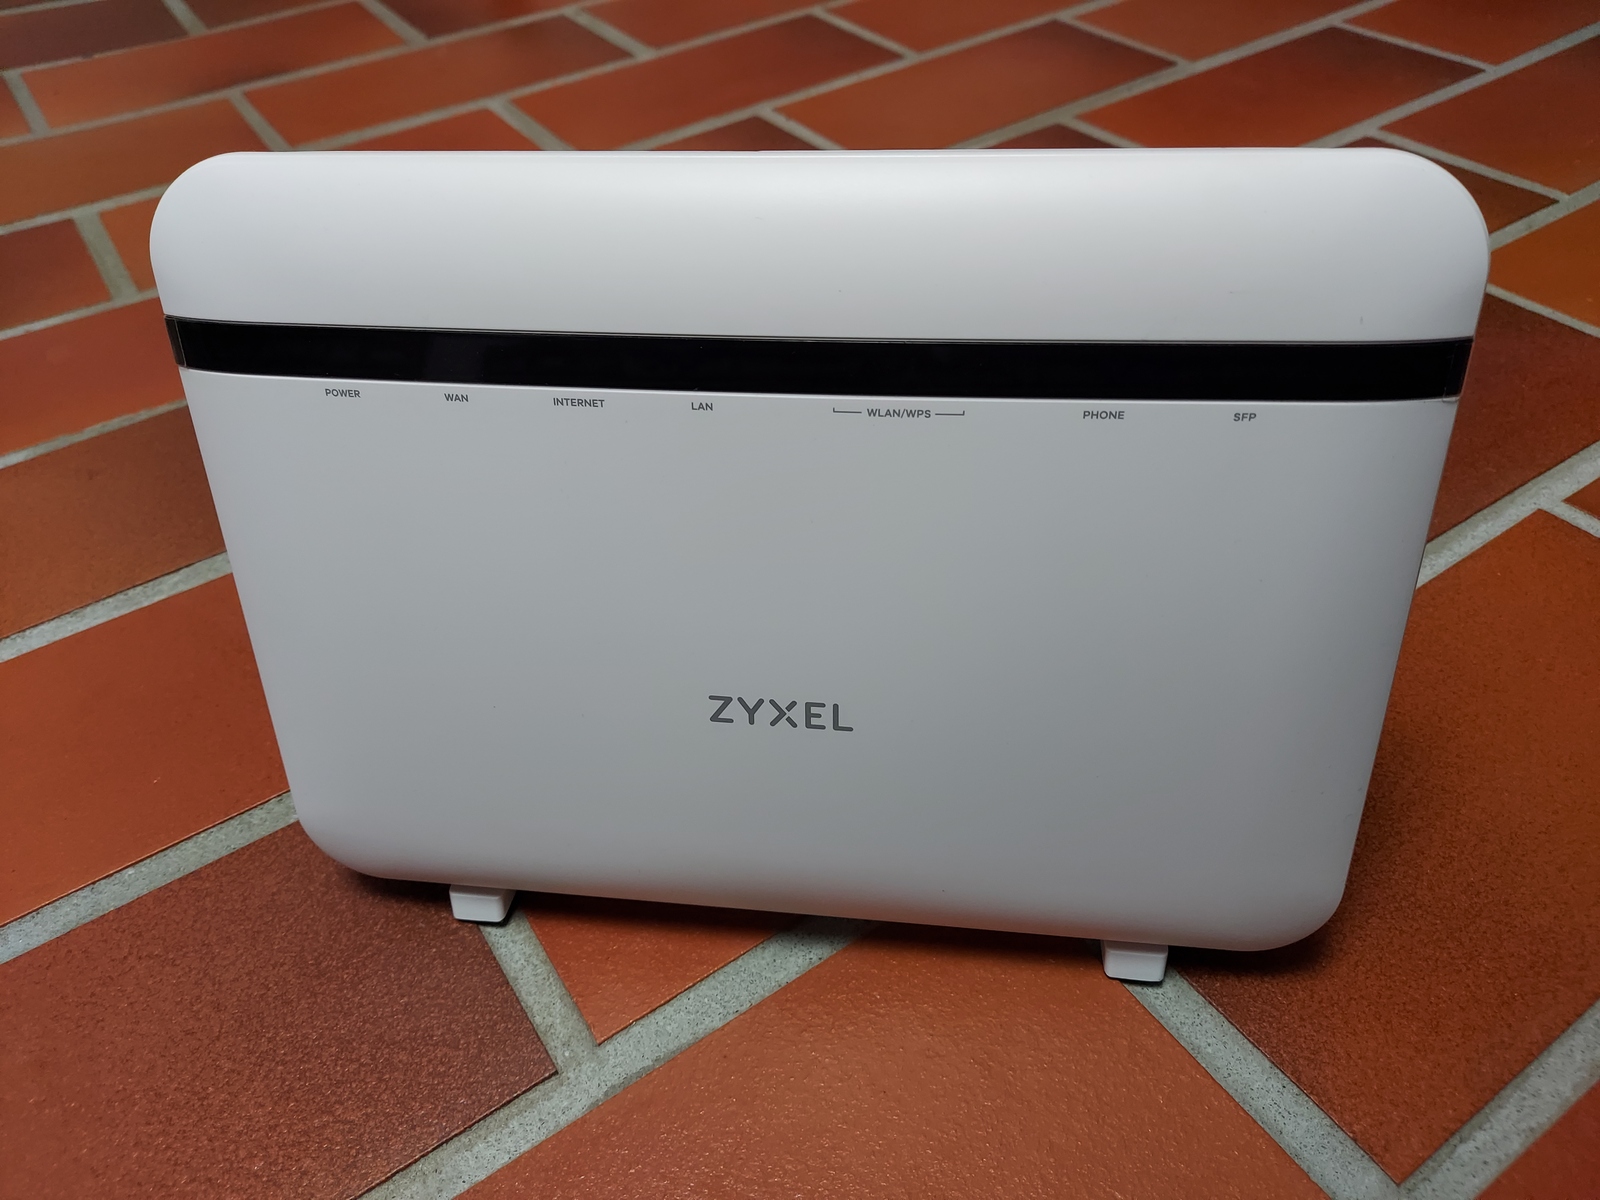
This is the SFP module that came with the Altibox VMG8825-B60C router/home central, it worked perfectly in the CCR 🙂
- Vendor: Tsuhan
- Part no.: THMPRS-3511-10A
- Connector type: SC
- Wavelength: Tx 1310 nm / Rx 1550 nm
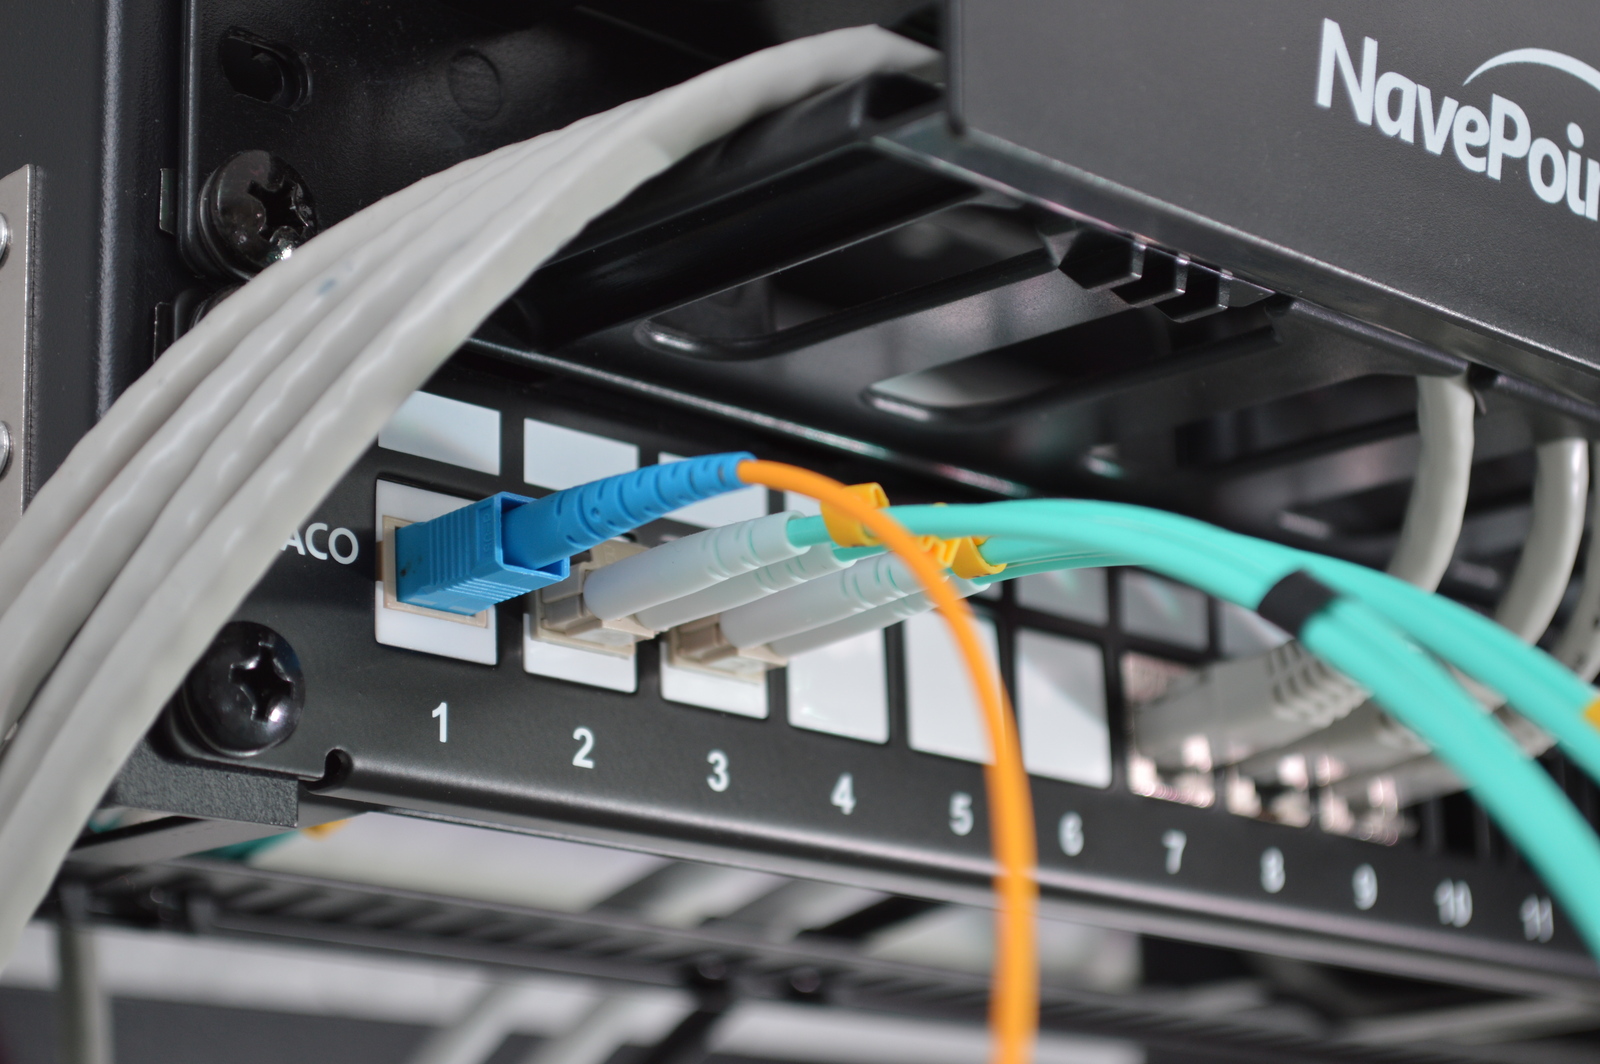
Fiber patch
I have a 1 meter fiber patch cable between the patch panel and the SFP module — with the following specifications:
- SC to SC (UPC)
- Single mode 9/125
- OS2
- Simplex
- Outer diameter 2.0mm
- LSZH (low smoke zero halogen)
CCR configuration changes
We need to make a few configuration changes on the CCR:
- Change MAC address on the WAN interface
- Create a VLAN on the WAN interface
- Change the DHCP client interface
- Update firewall and NAT rules
combo1 interface is a combined SFP and Ethernet interface. It needs to have combo mode auto or sfp, and we can no longer use the Ethernet port.
MAC address
First we need to change the MAC address on our combo1 interface. This can not be done from WinBox, but is easy in the terminal:
/interface ethernet
set combo1 mac-address=xxxxxxxxxxxx
It will probably work without changing the MAC address, but I’ve heard people having problems retaining their static IP. Which might be explained by Altibox thinking the router is offline.
If you need to reset the MAC address, here is the command for that:
/interface ethernet
reset-mac-address combo1
VLAN
Next we need to create VLAN 102 on the combo1 interface:
/interface vlan
add interface=combo1 name=altibox_wan vlan-id=102
DHCP client
And change the interface on our DHCP client, from combo1 to altibox_wan:
/ip dhcp-client
edit number=0 value-name=interface
Firewall and NAT
Last, but not least, we need to update all the firewall and NAT rules. Replacing combo1 with altibox_wan, wherever present.
Winning!
And that’s it, I got my static IP back within a few seconds after changing the DHCP client interface. And it’s been working great since 🙂
So nice to remove the Altibox home central, it doesn’t really have that homelab look and feel 😛
Last commit 2024-11-11, with message: Add lots of tags to posts.
All posts in Home network v2 series
- Replacing Unifi switches with MikroTik
- Getting started with MikroTik CCR1009 and RouterOS
- Altibox fiber — straight into Mikrotik CCR1009
- Running underground CAT6 to detached garage
- Plans for my home network
- Running two CAT6 cables to the play room
- Running three CAT6 cables to the living room TV bench
- Moving CAT6 cable for access point; inside the wall
- Altibox fiber — straight into Ubiquiti EdgeRouter
- Two CAT6 cables and a fiber — from the basement to the attic
- A few Wi-Fi improvements
- Updated plans for my home network
- Knot Resolver — with ad blocking
- Pulling CAT6 cable in existing conduit
- Running CAT6 to the twins' rooms — inside interior wall
- Running CAT6 to the 2nd floor den — another interior wall
- Finally getting fiber between the house and garage
