This post is part of the Network to detached garage and Home network v2 series.
I dug a 10 meter trench to get wired network to my detached garage. Then installed a rack cabinet and PoE switch. Here is the build log 👇
Table of contents
The initial plan
My initial plan was to set up a wireless 60 GHz link between the house and the garage, using a pair of MikroTik wAP 60G or Cube 60G ac.

I still had to pull about 20-30 meters of CAT6 cable to get to a good location on the house, with a clear view of the garage. And my wife didn’t want any “ugly antennas” (her words), so I figured I’d just dig a trench across the 10 meters between the house and the garage.
The new plan
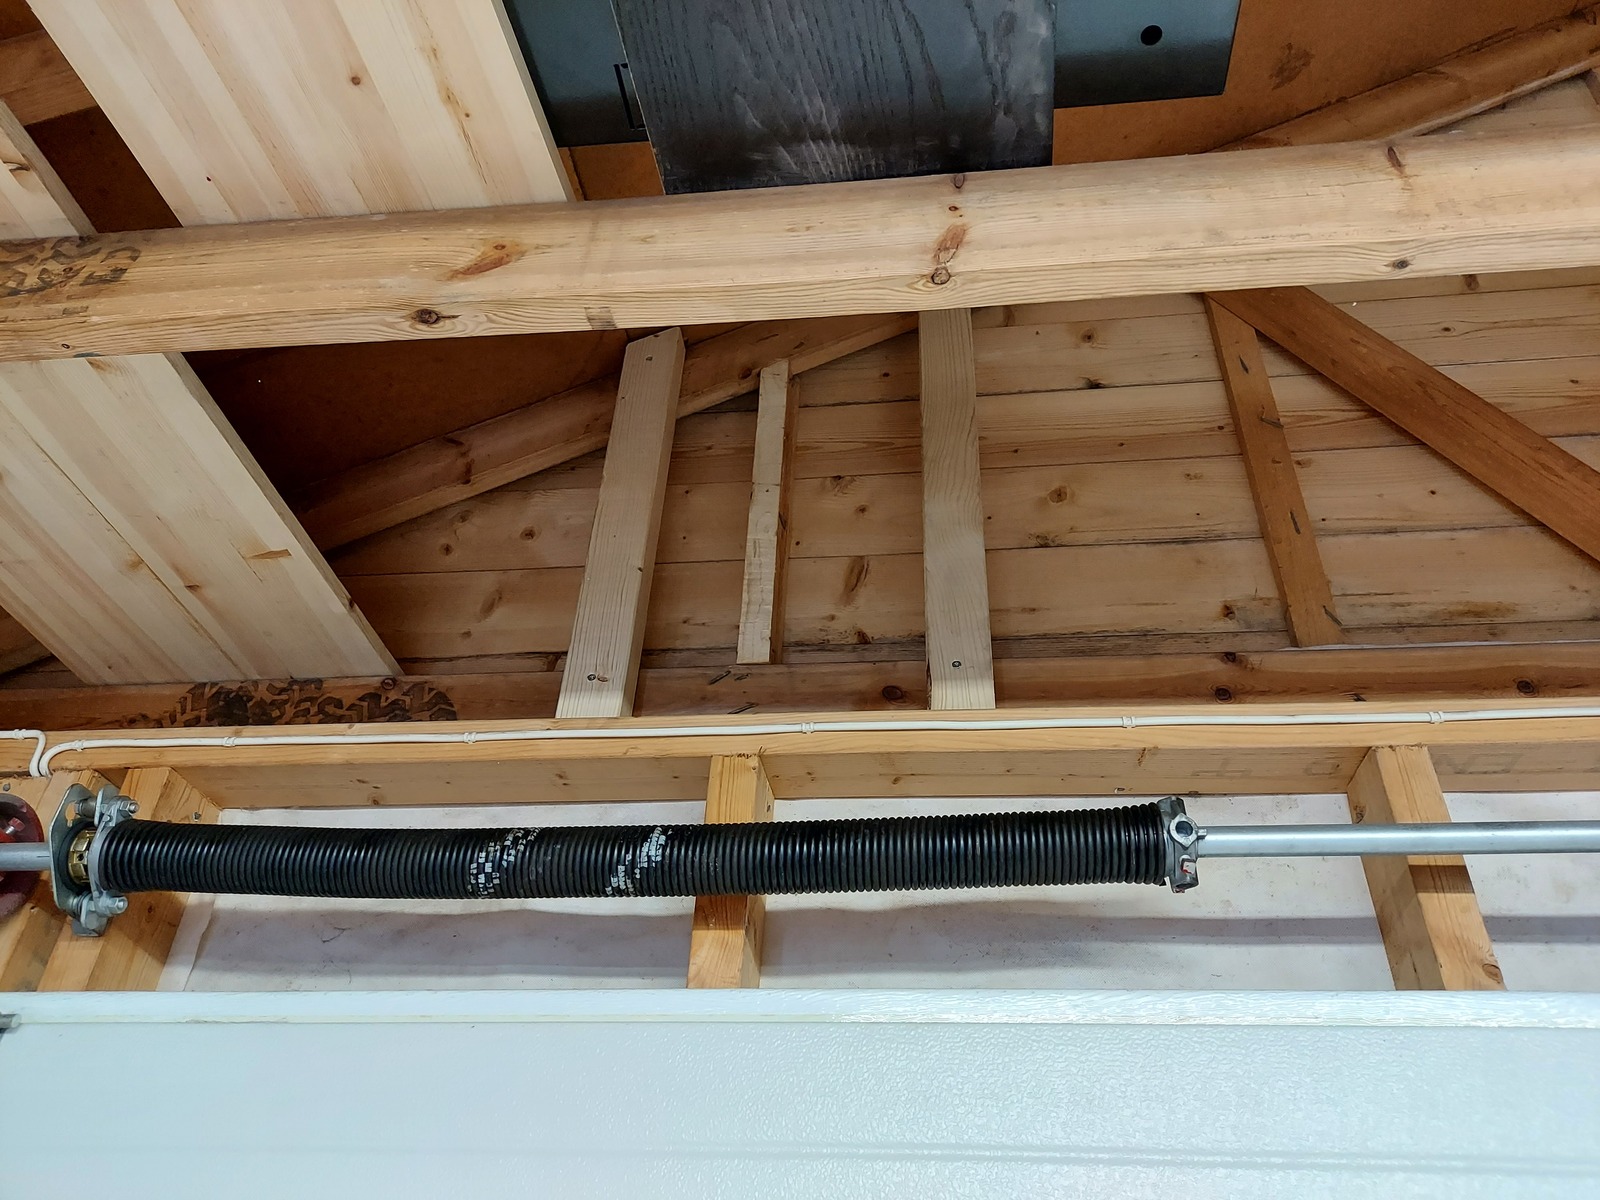
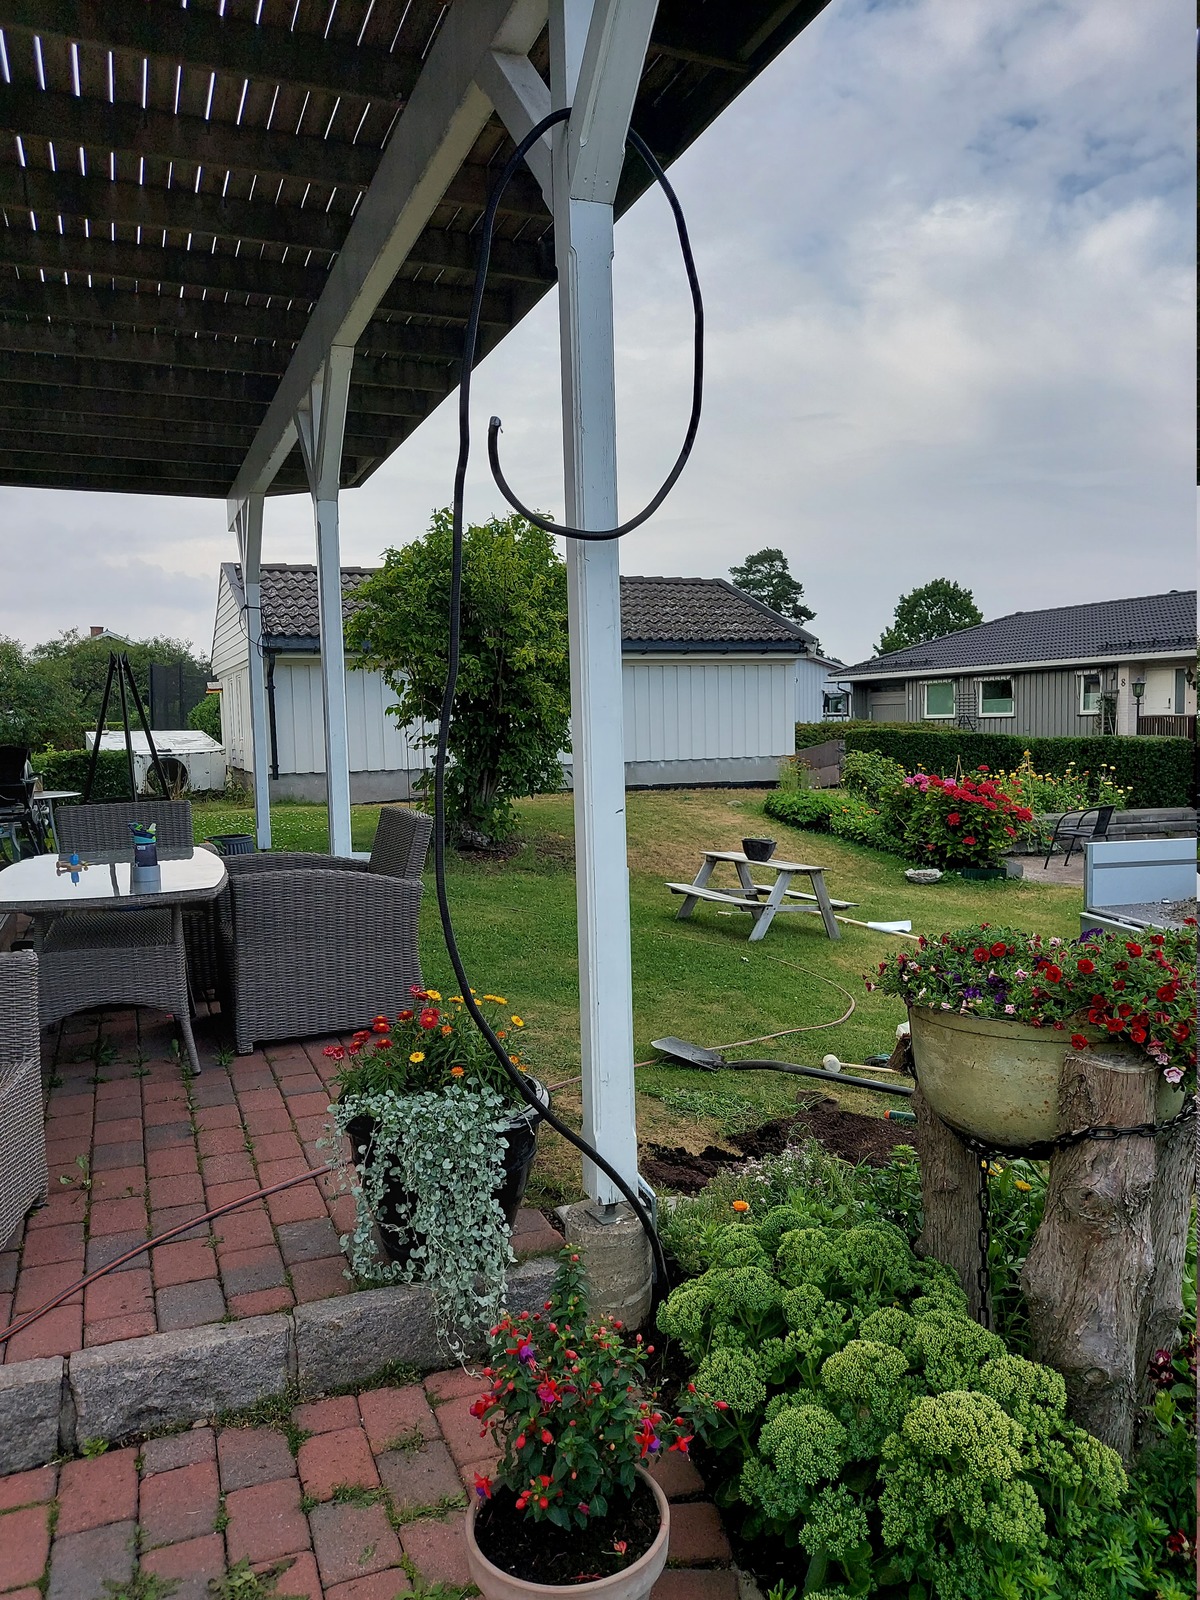
The new plan was to trench the shortest distance between the house and garage. From a support beam for the terrace, across the lawn, to the garage side wall — a distance of about 10 meters.

The power cable for the garage also starts at this support beam, but goes towards the rear of the garage, while I was going straight across — so there shouldn’t be any conflicts.
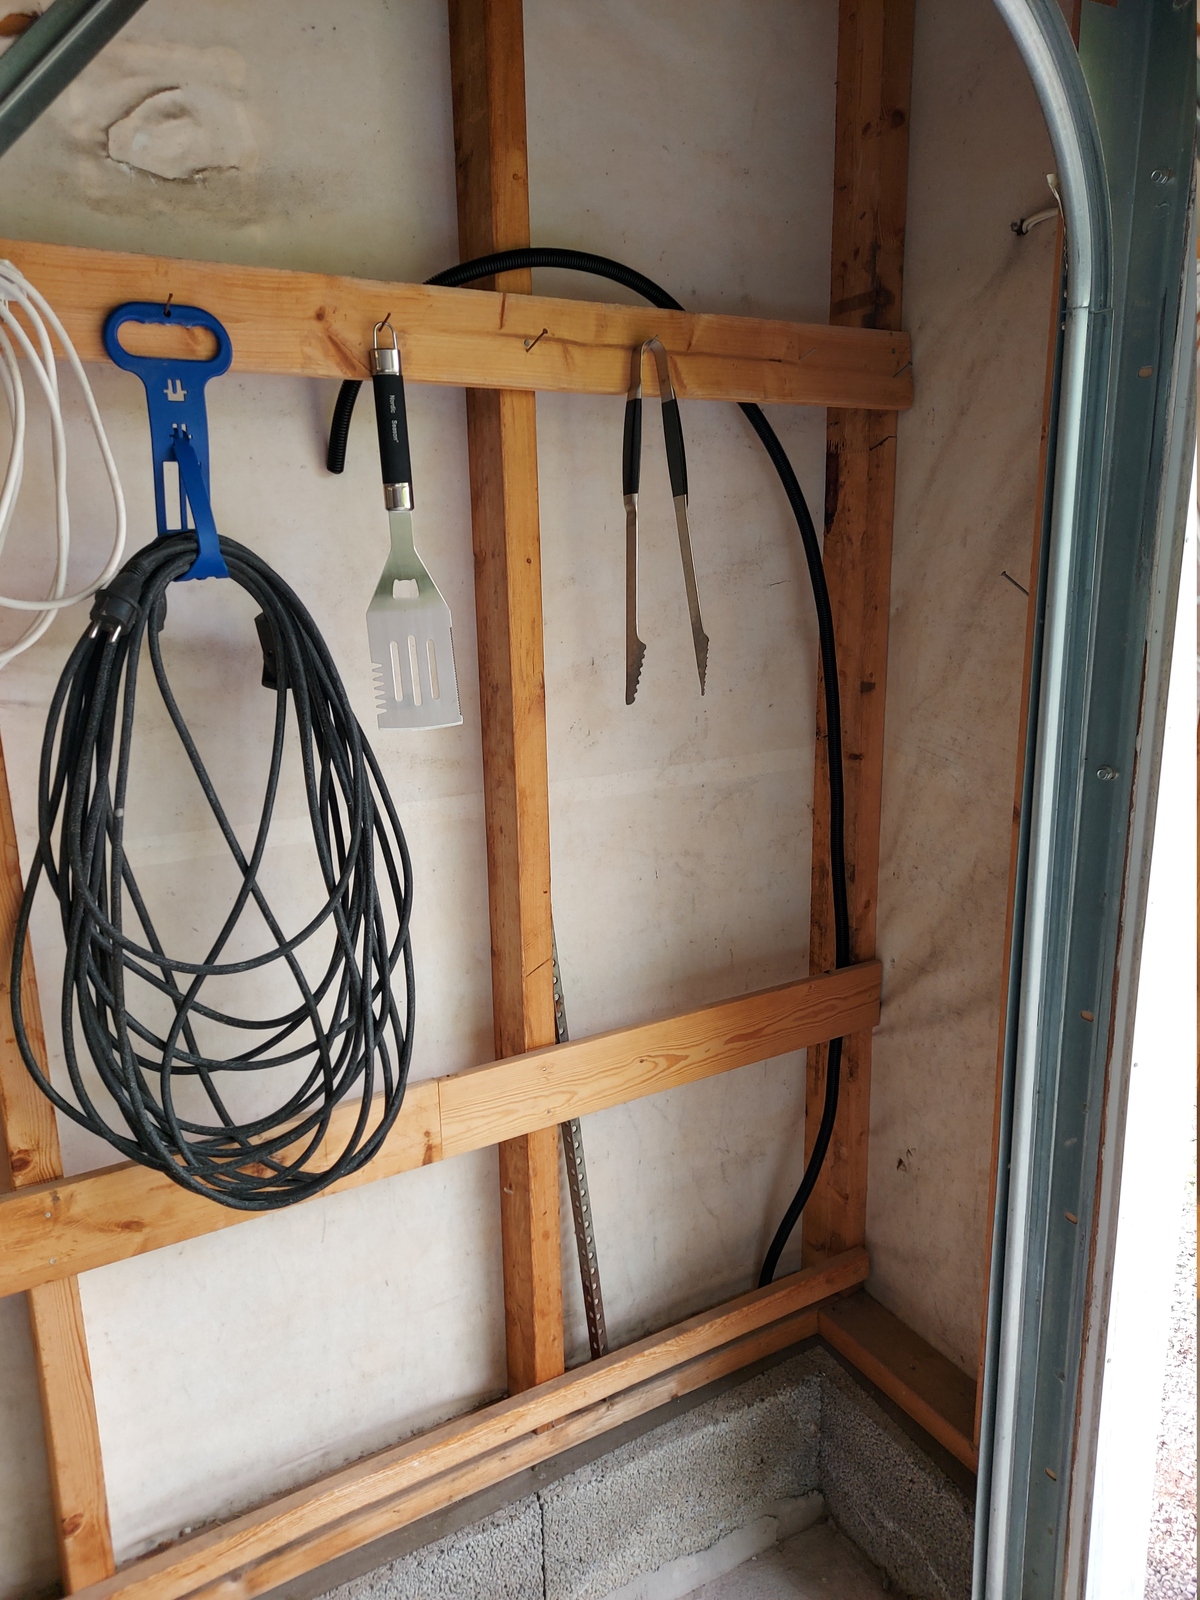
Getting the gear up
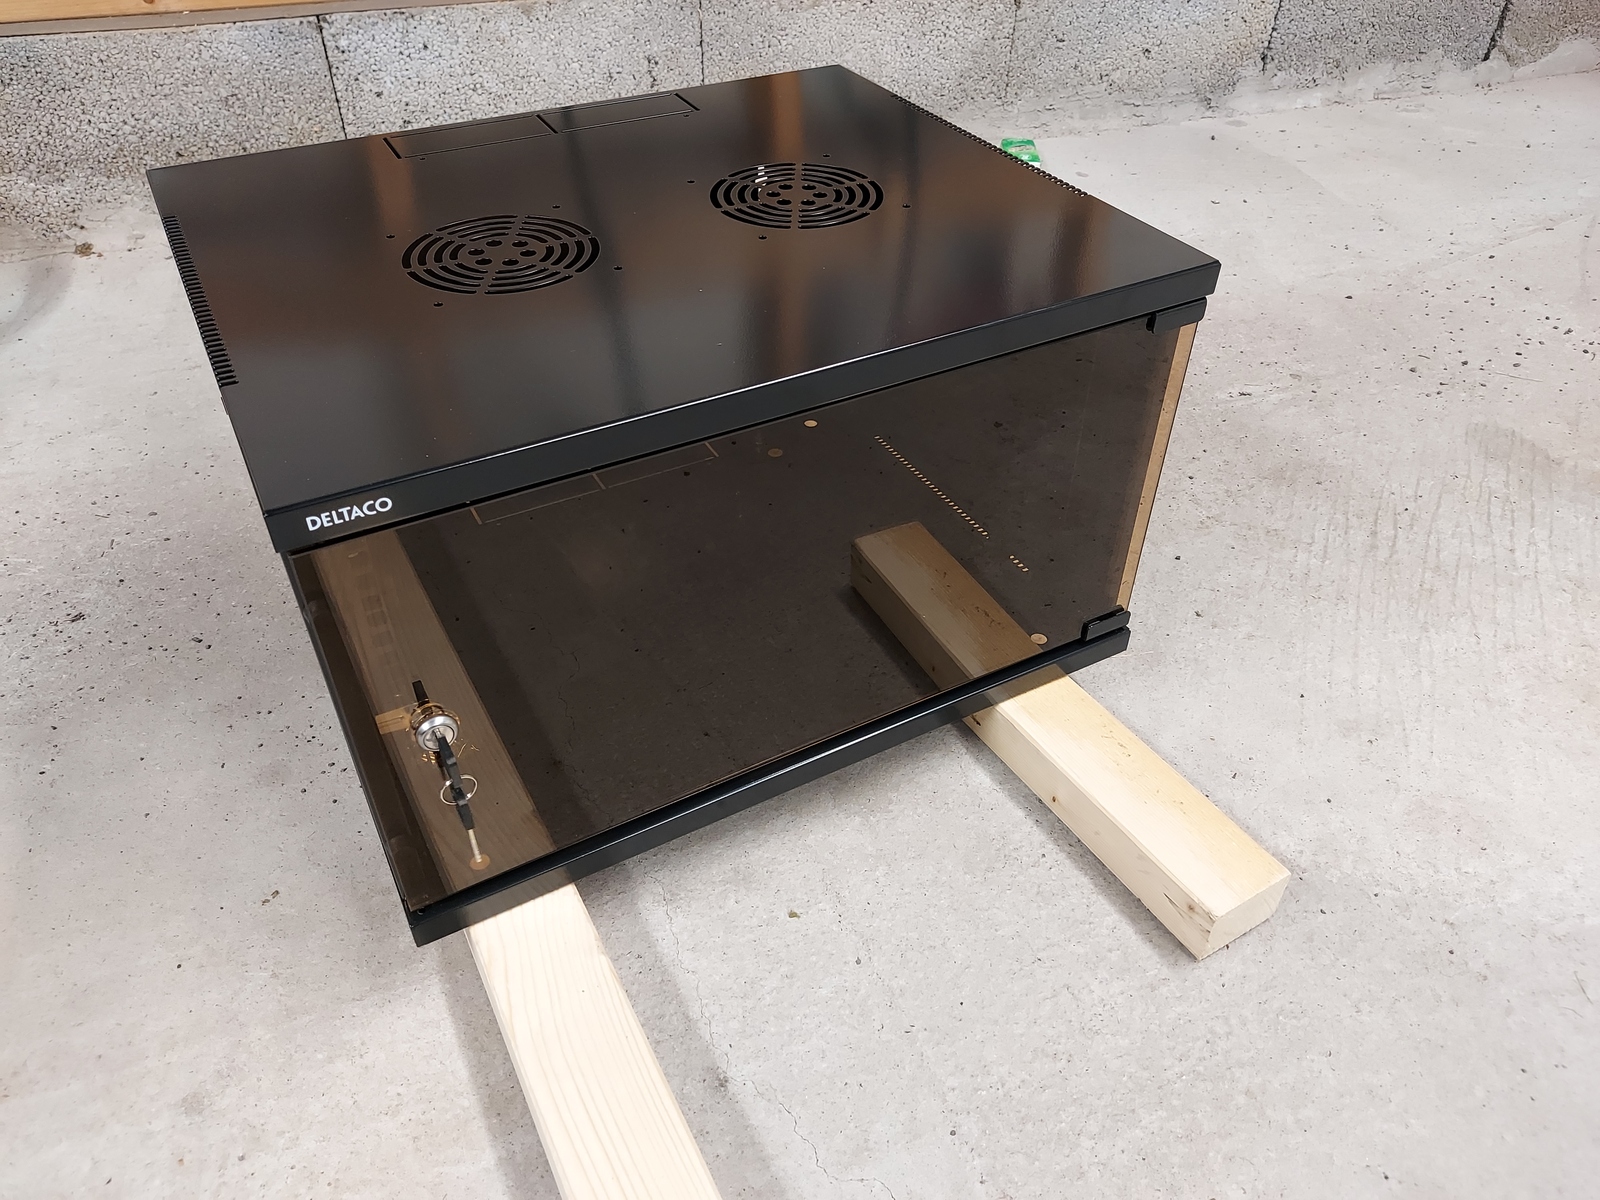
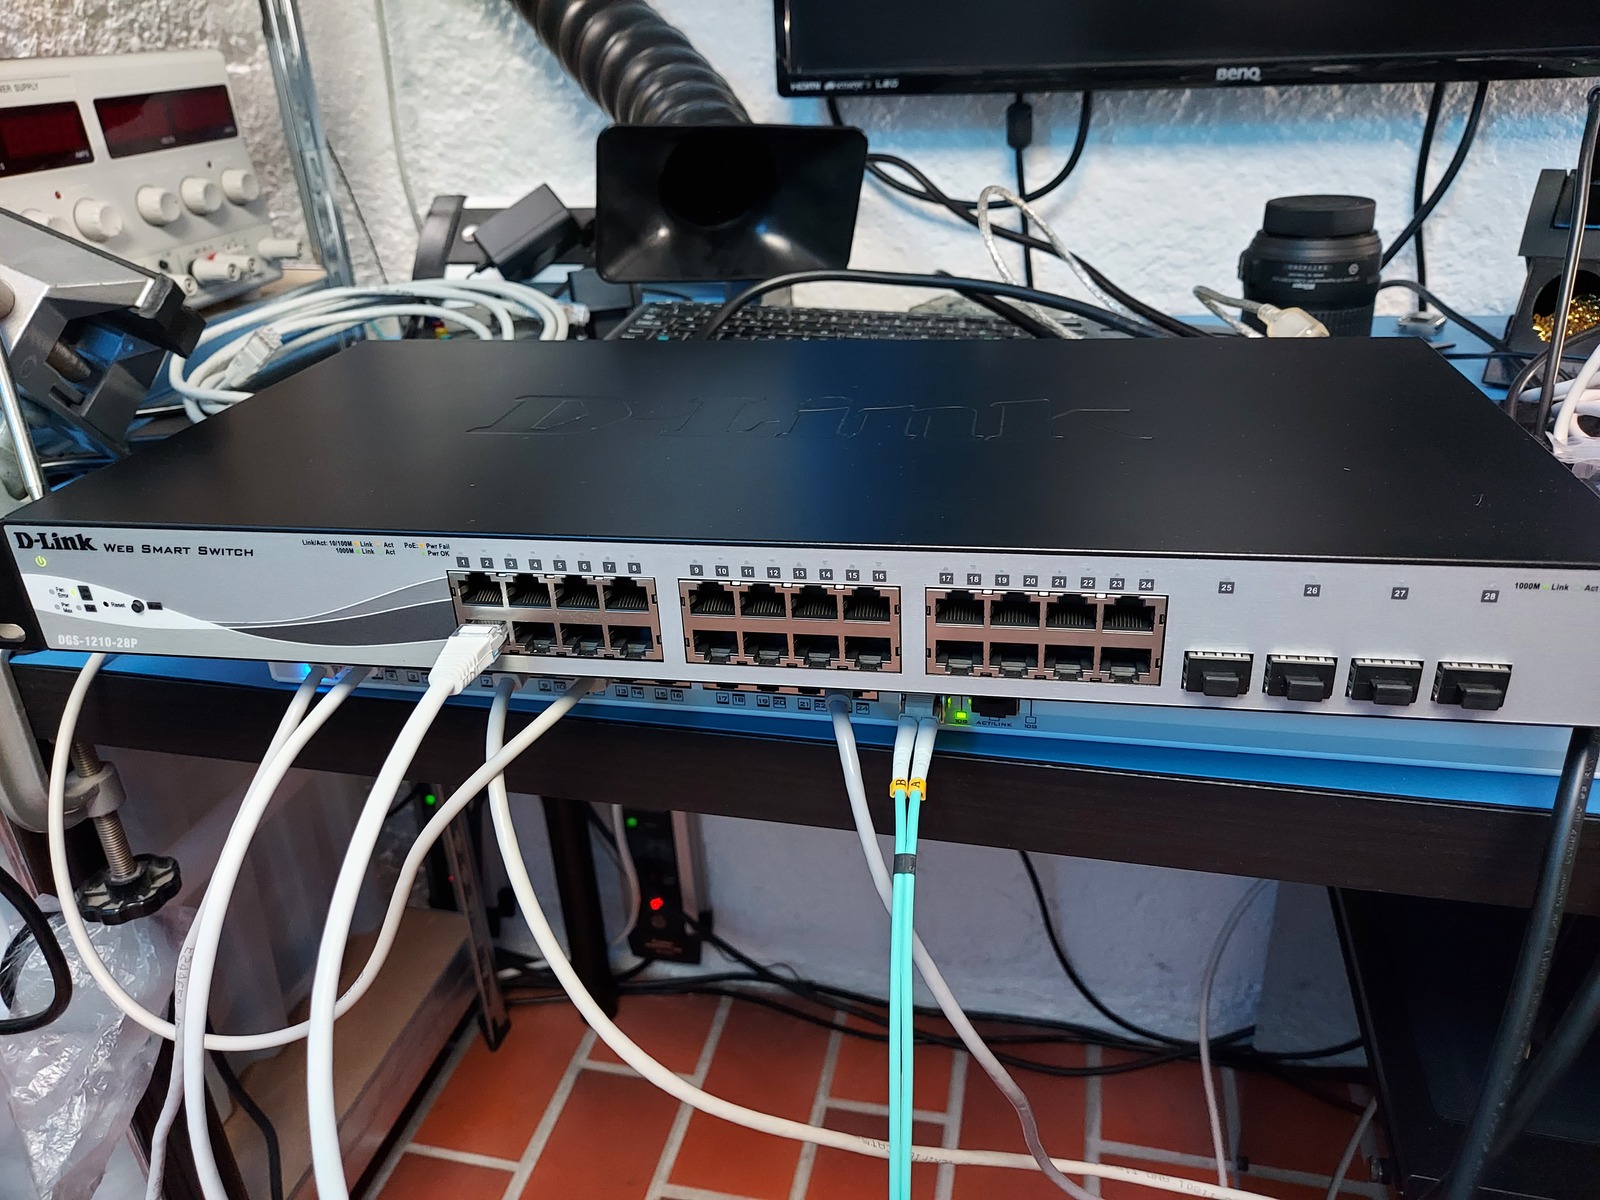
The first thing I did; was get the networking gear for the garage in place, I bought a 6U wall mounted cabinet, and a used D-LINK PoE switch.
I wanted the cabinet on the north facing wall, as the south wall gets a lot of sun during the day. And I wanted it out of the way — I decided that above the garage door was a nice location.
I mounted two 2×3" planks, spaced so they matched the mounting holes on the cabinet.

Using two boards to support the cabinet while I secured it to the 2×3’s.
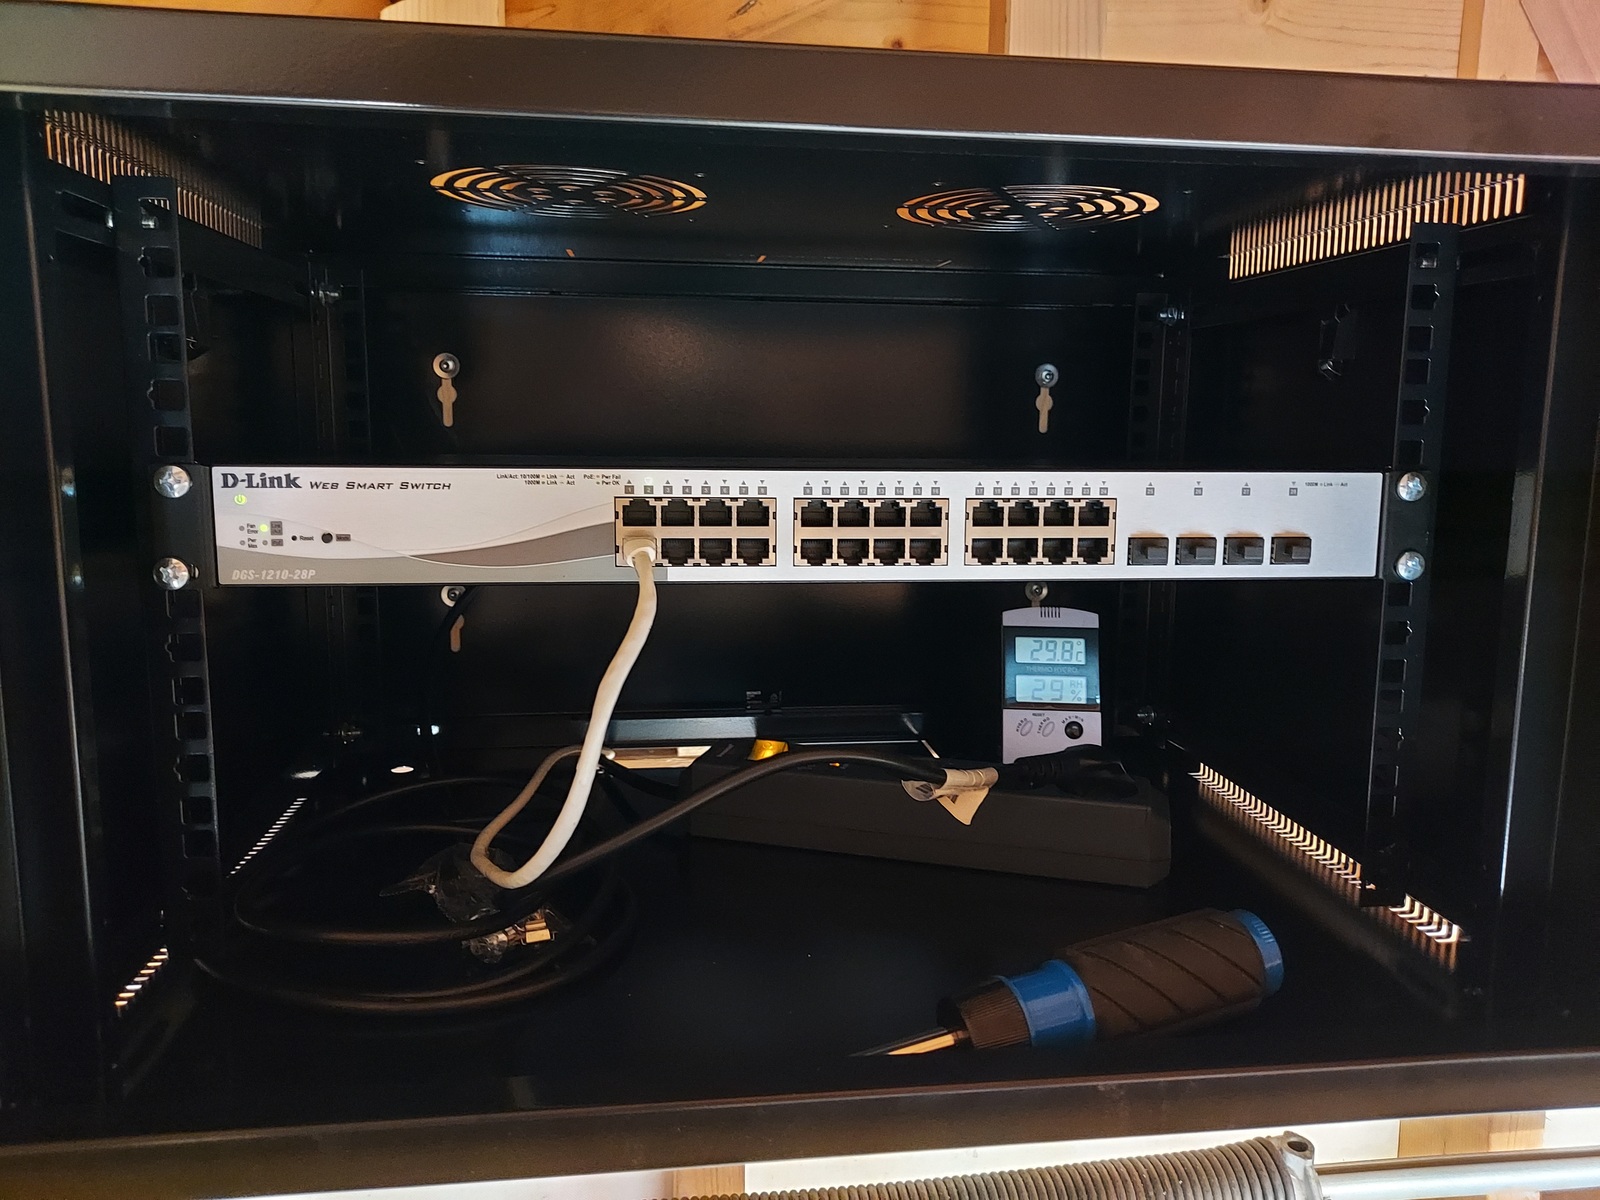
I installed the PoE switch, and used it to power the Unifi UAP-AC-M I have in the garage. This access points has a wireless uplink, for now — but that will change once the new cable is in place 🙂

Digging the trench
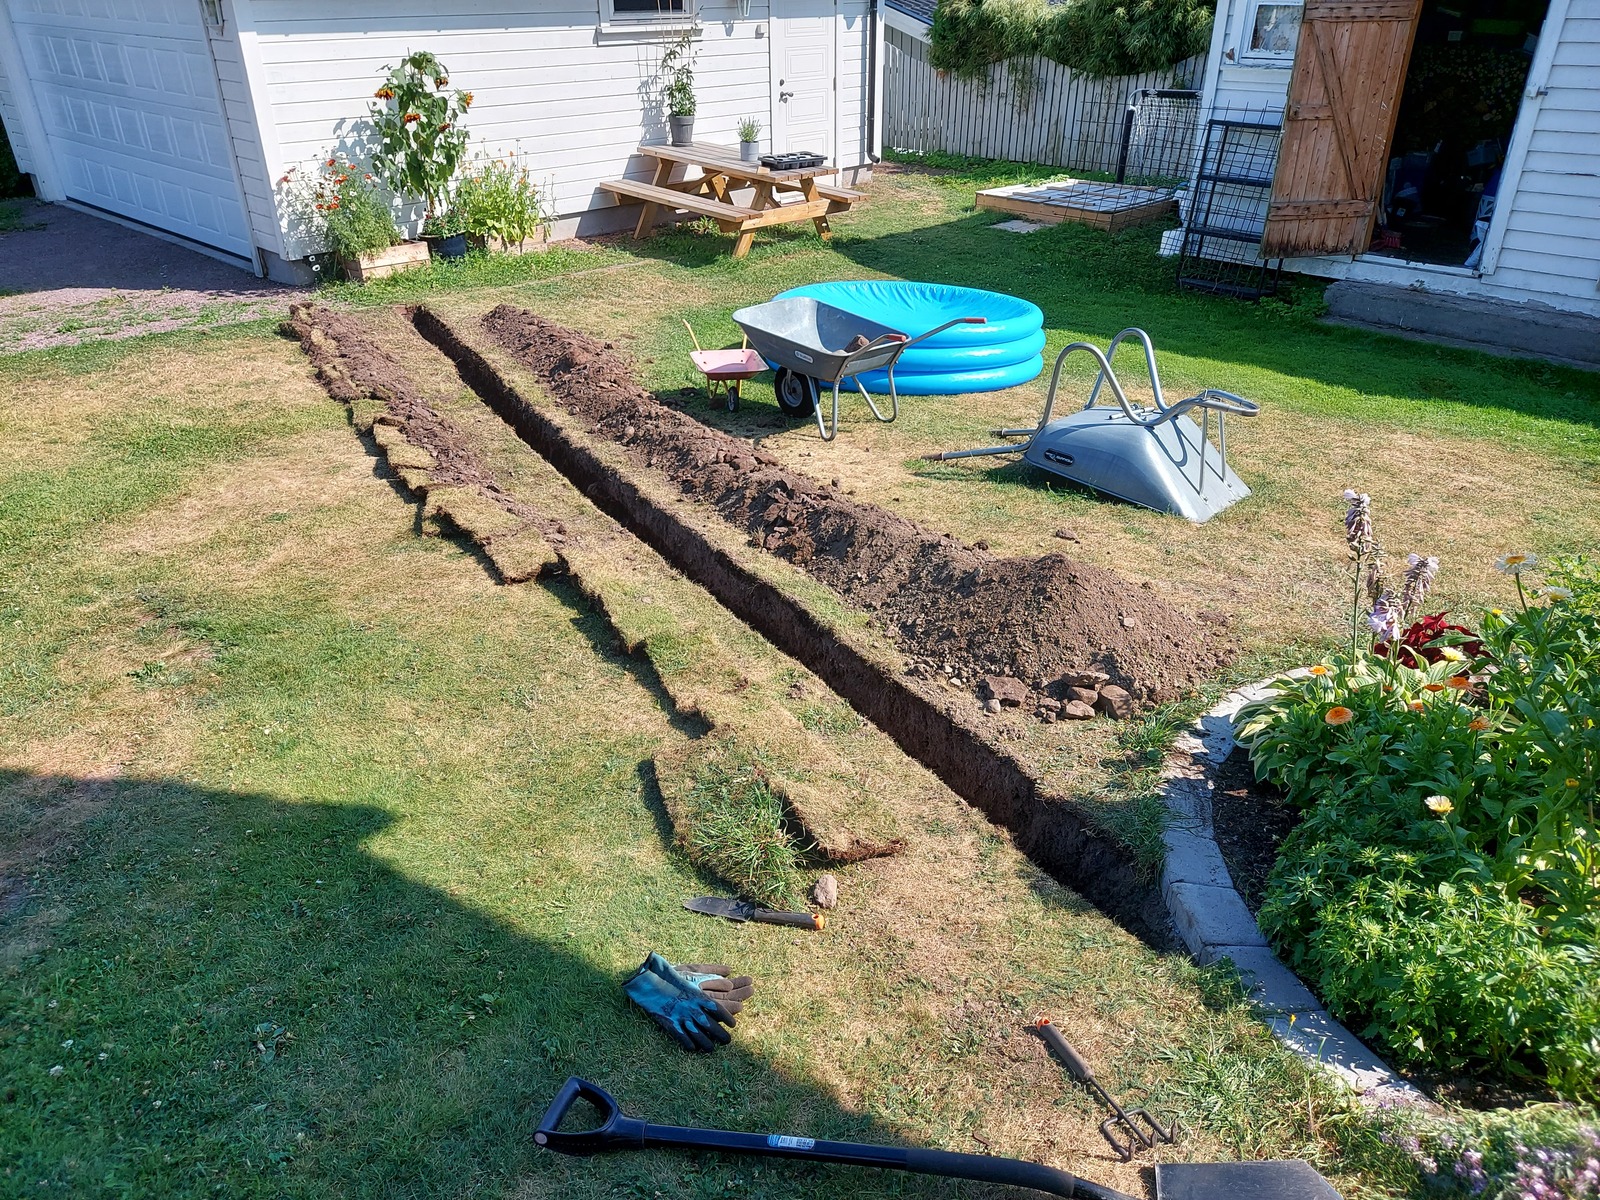
Right — on to the trenching…
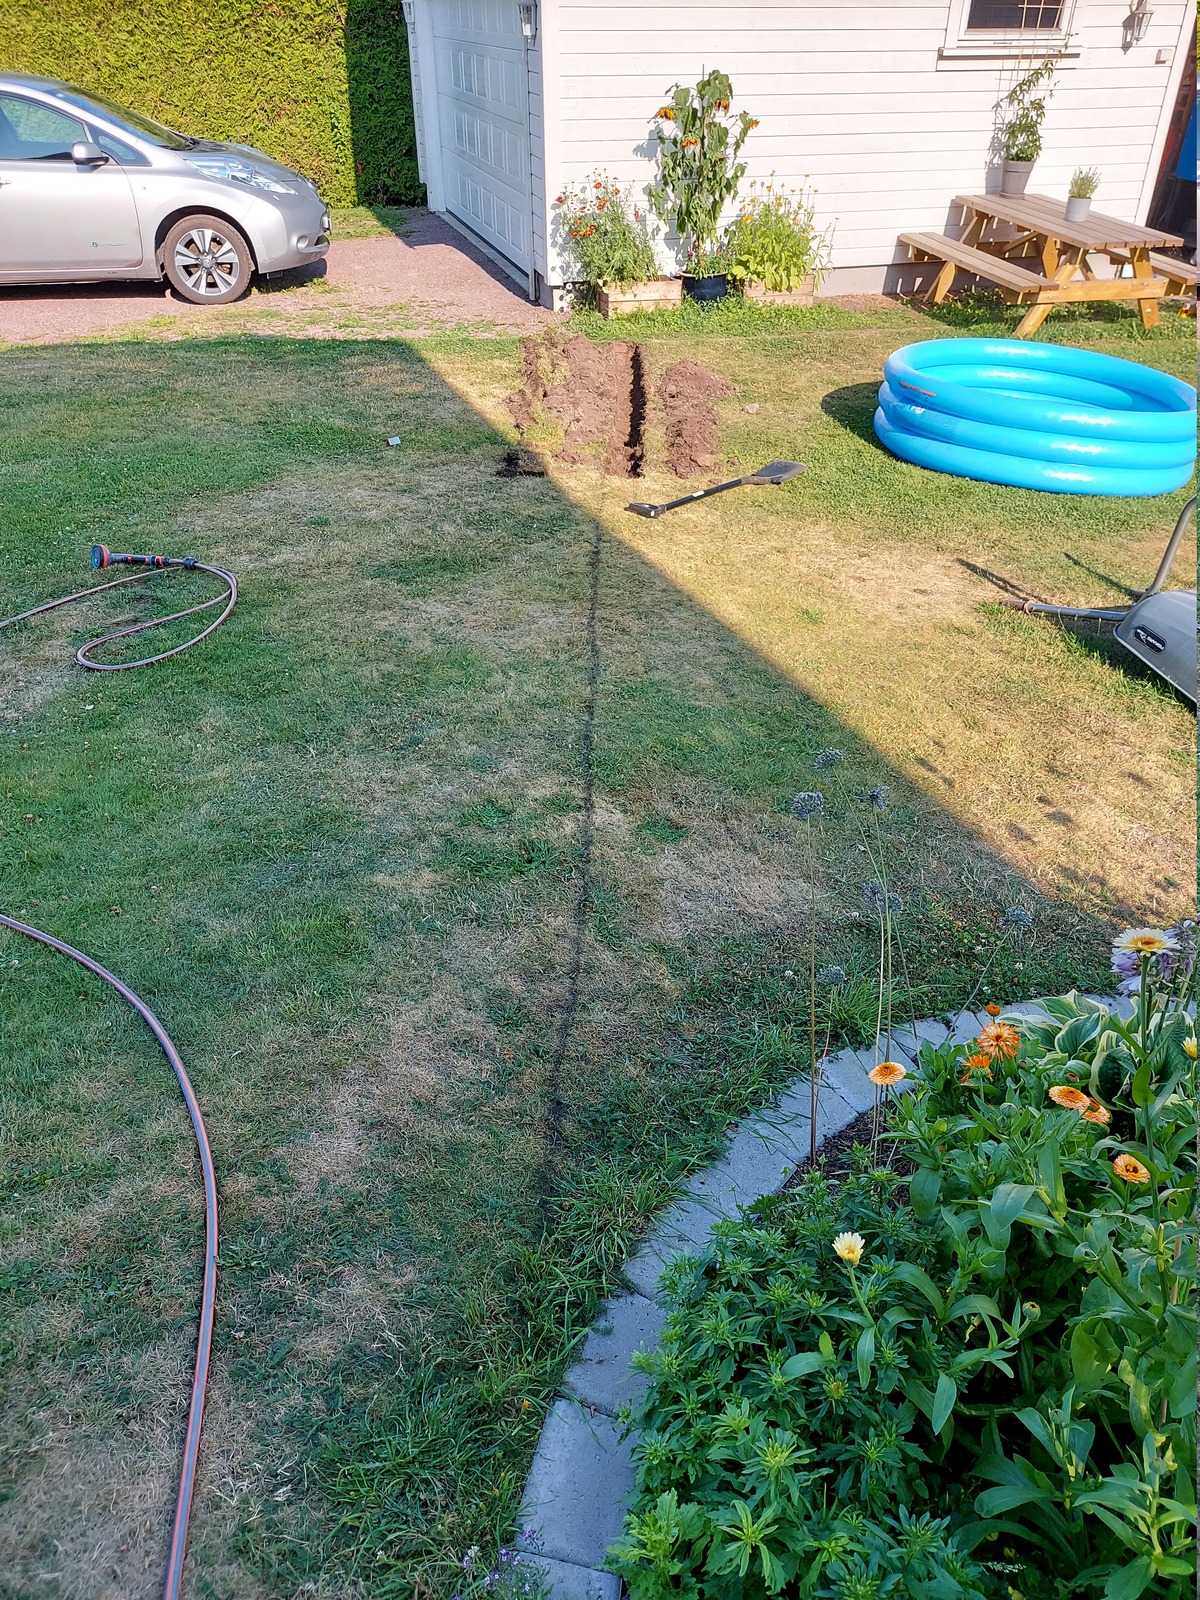
I used some spray paint to make a straight line from the garage to the house. Then started digging.
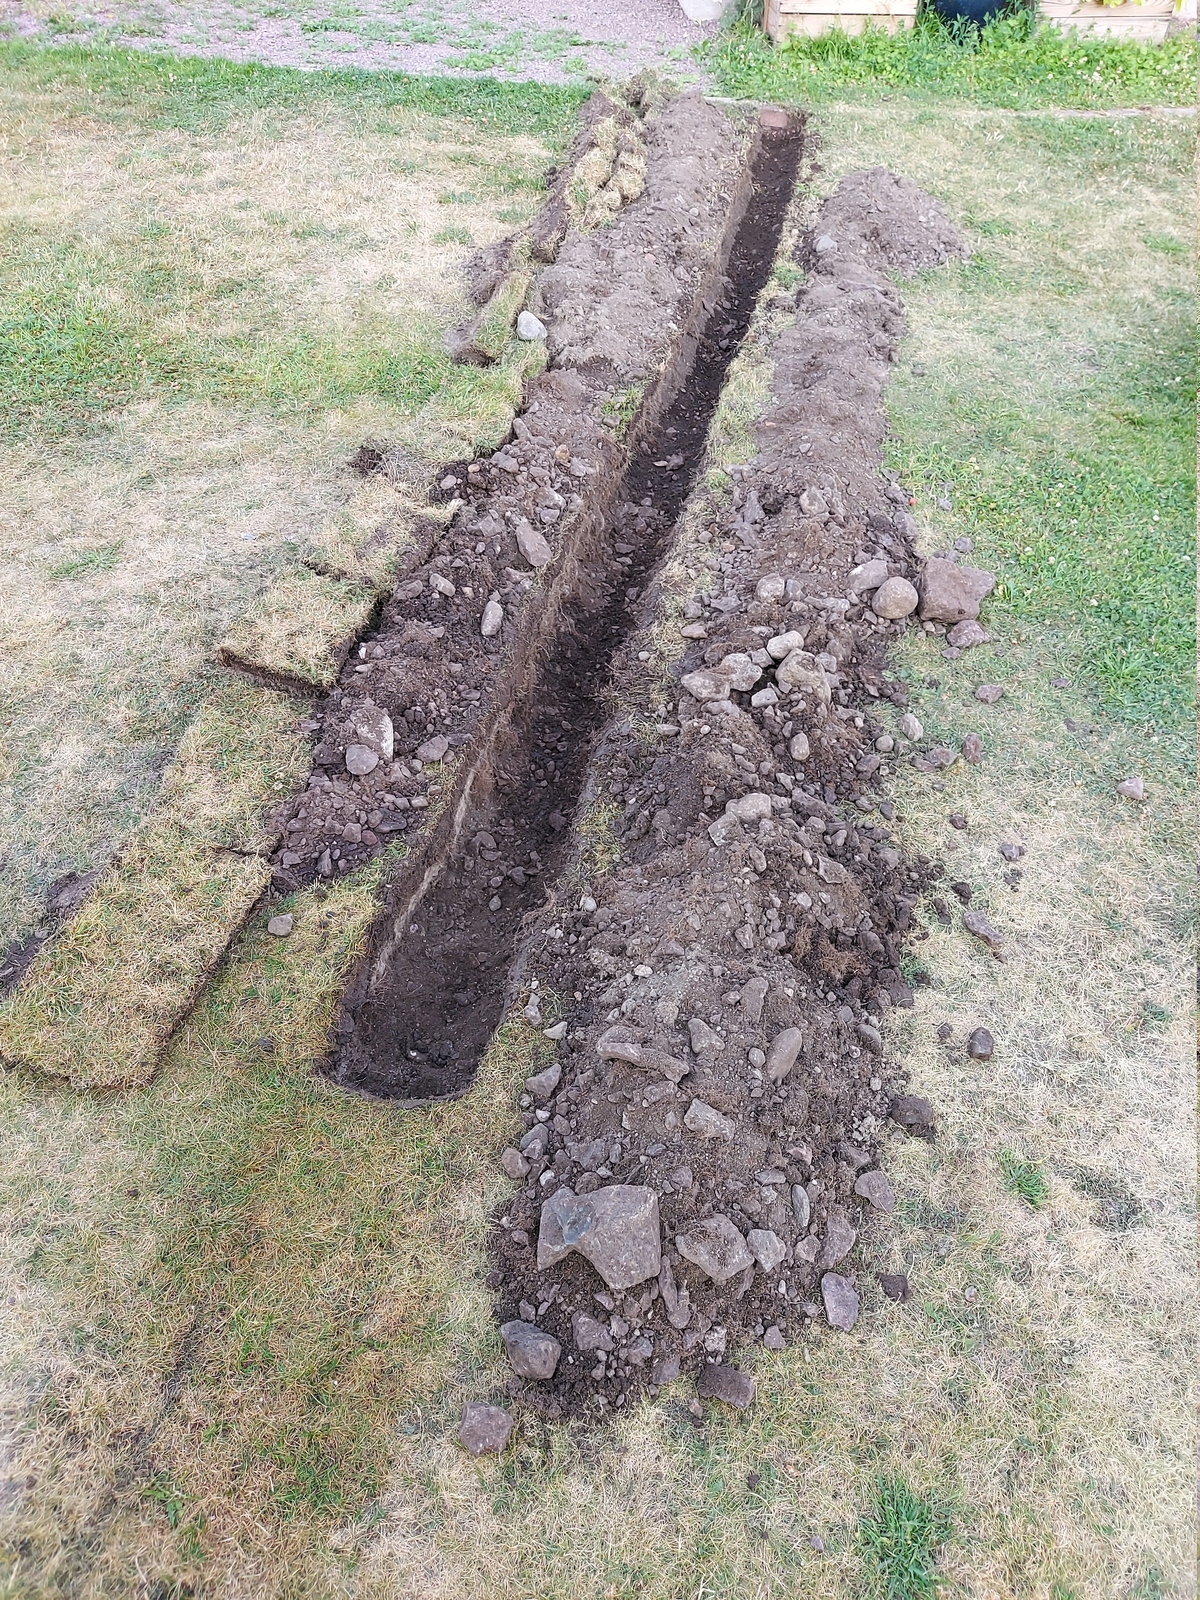
So many rocks — and the soil was hard as hell. I spent a few hours contemplating my decision at this point, but chose to push on.

After the first day; I was about half way across, but the trench wasn’t deep enough.
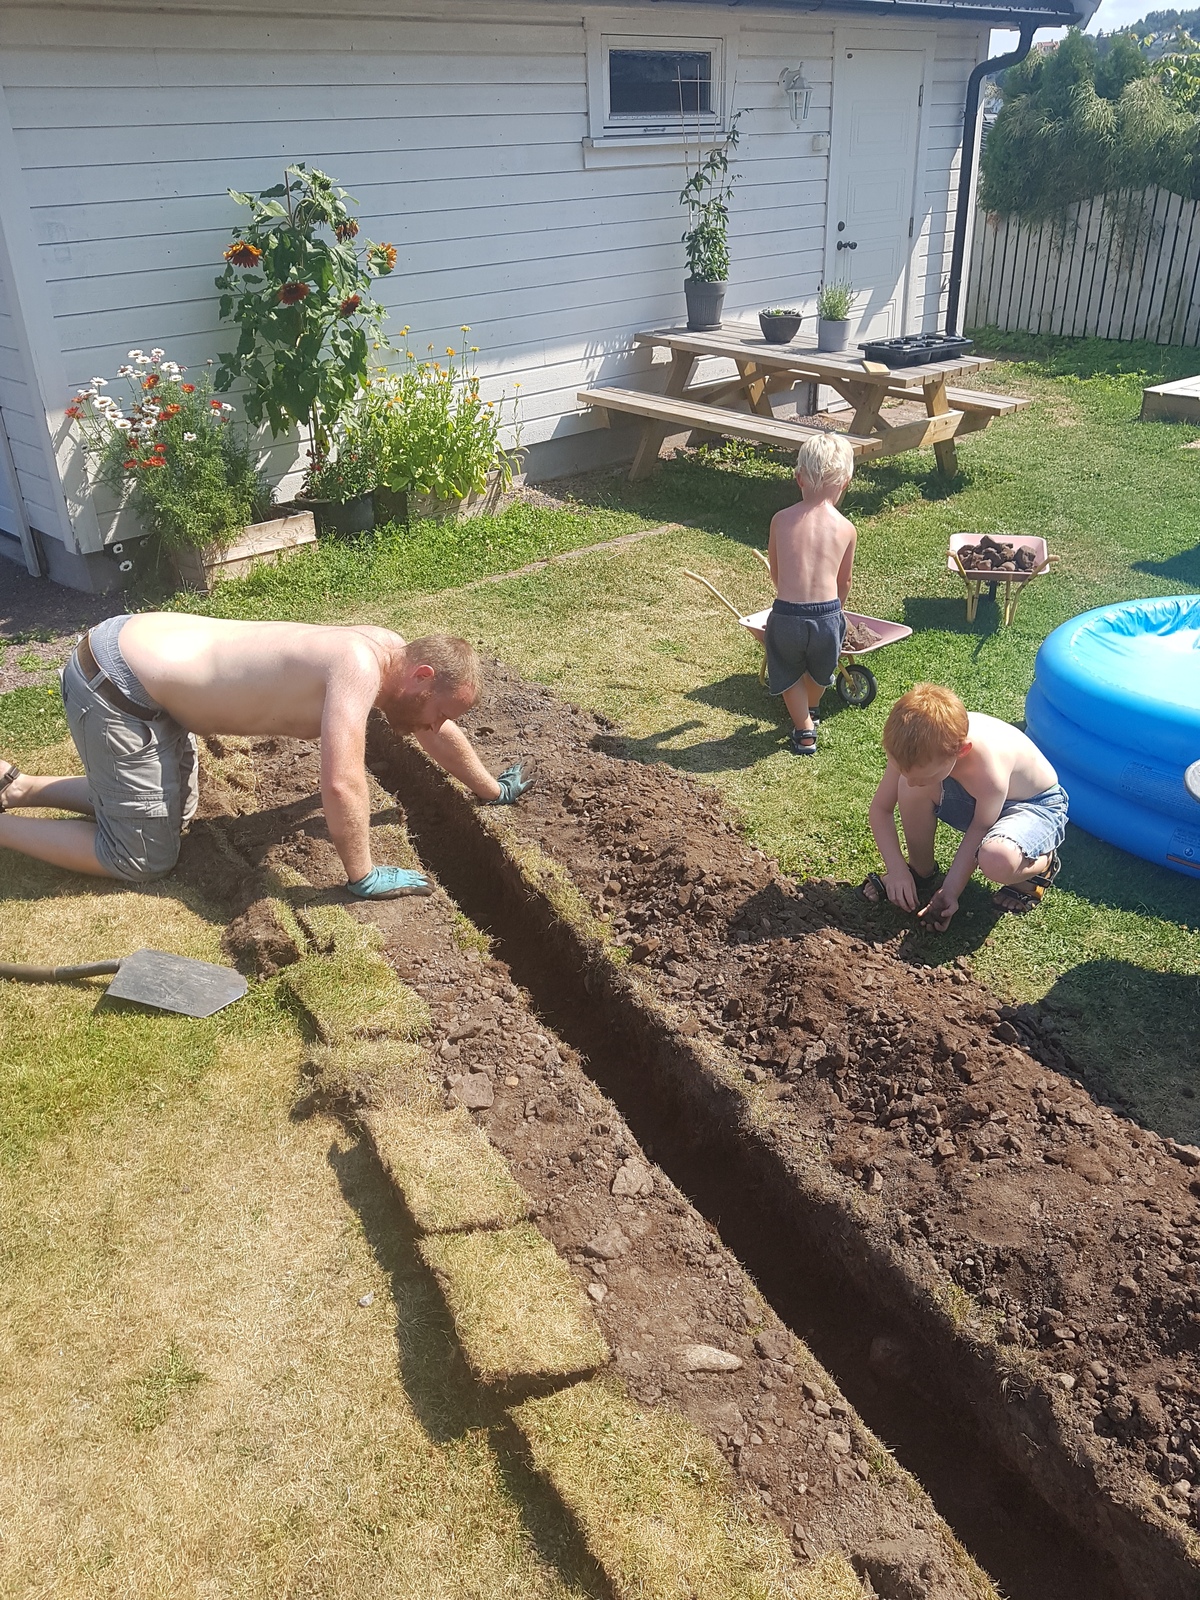
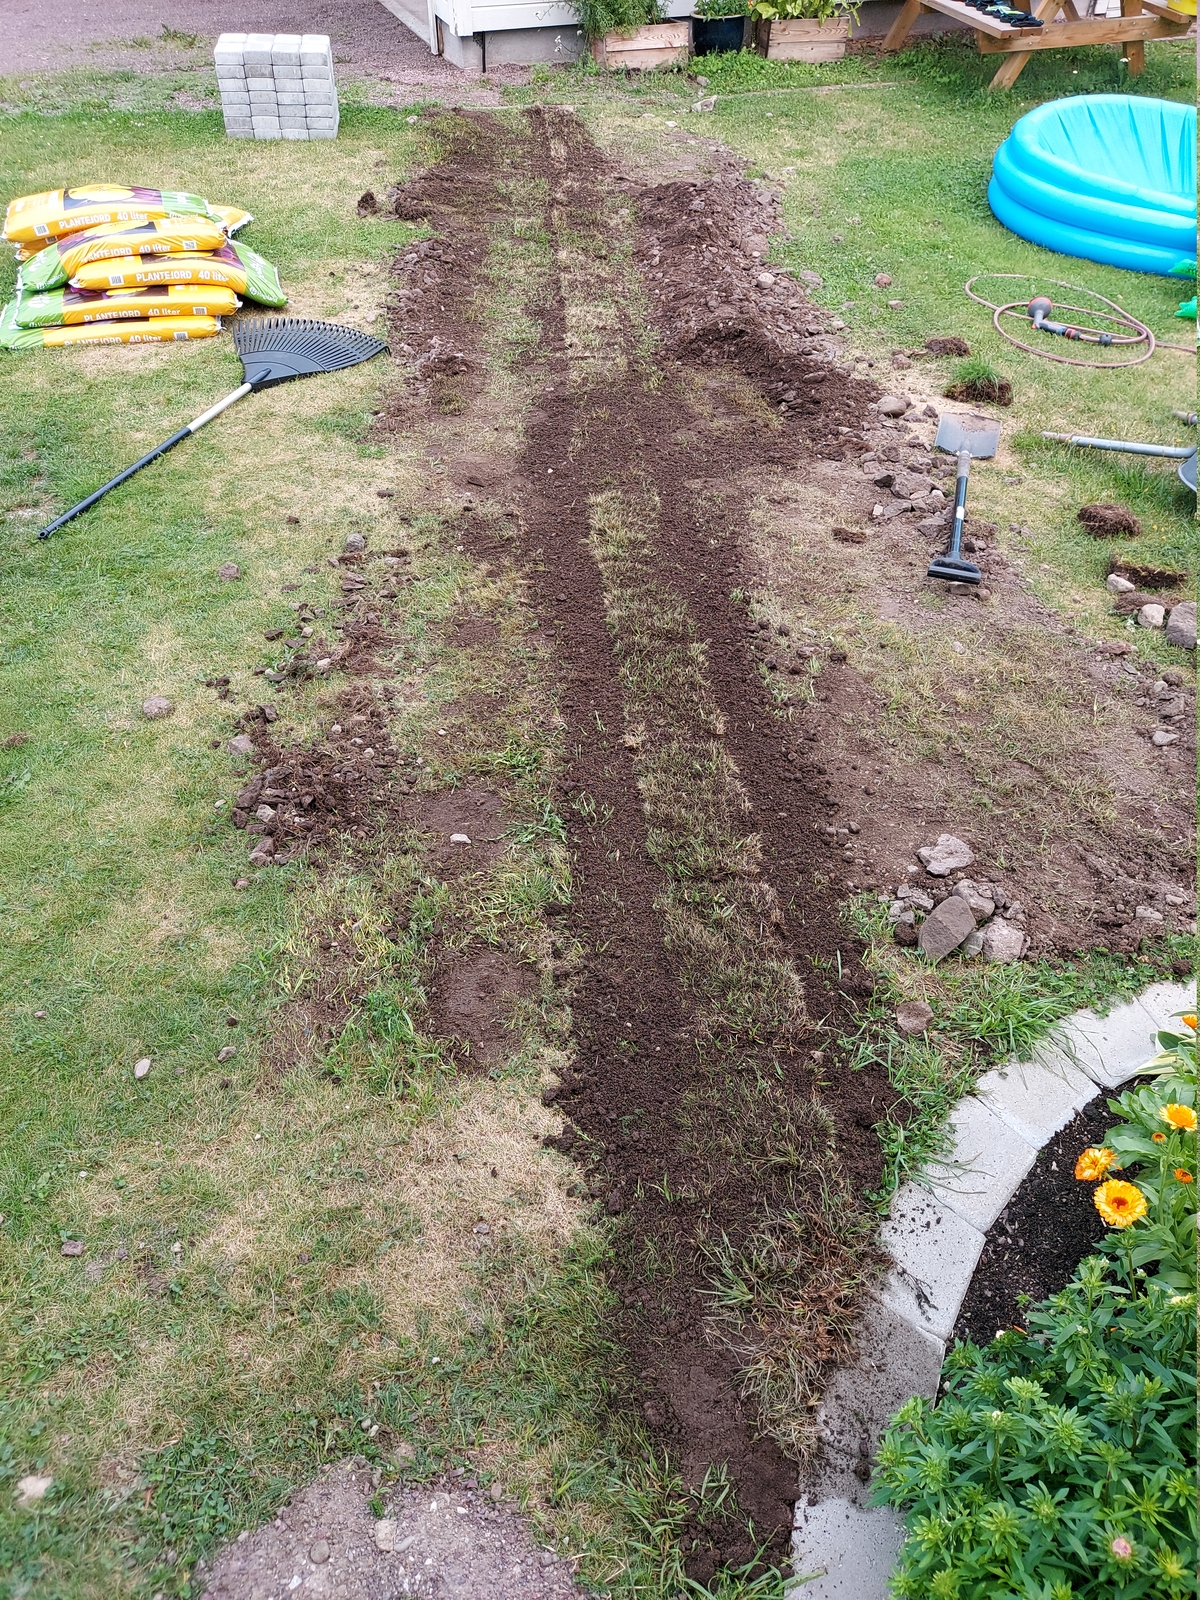
So the next day I enlisted the help of some additional workers — making the trench deeper and hauling the rocks away 👷
By the end of that day we got the trench all the way across the lawn.
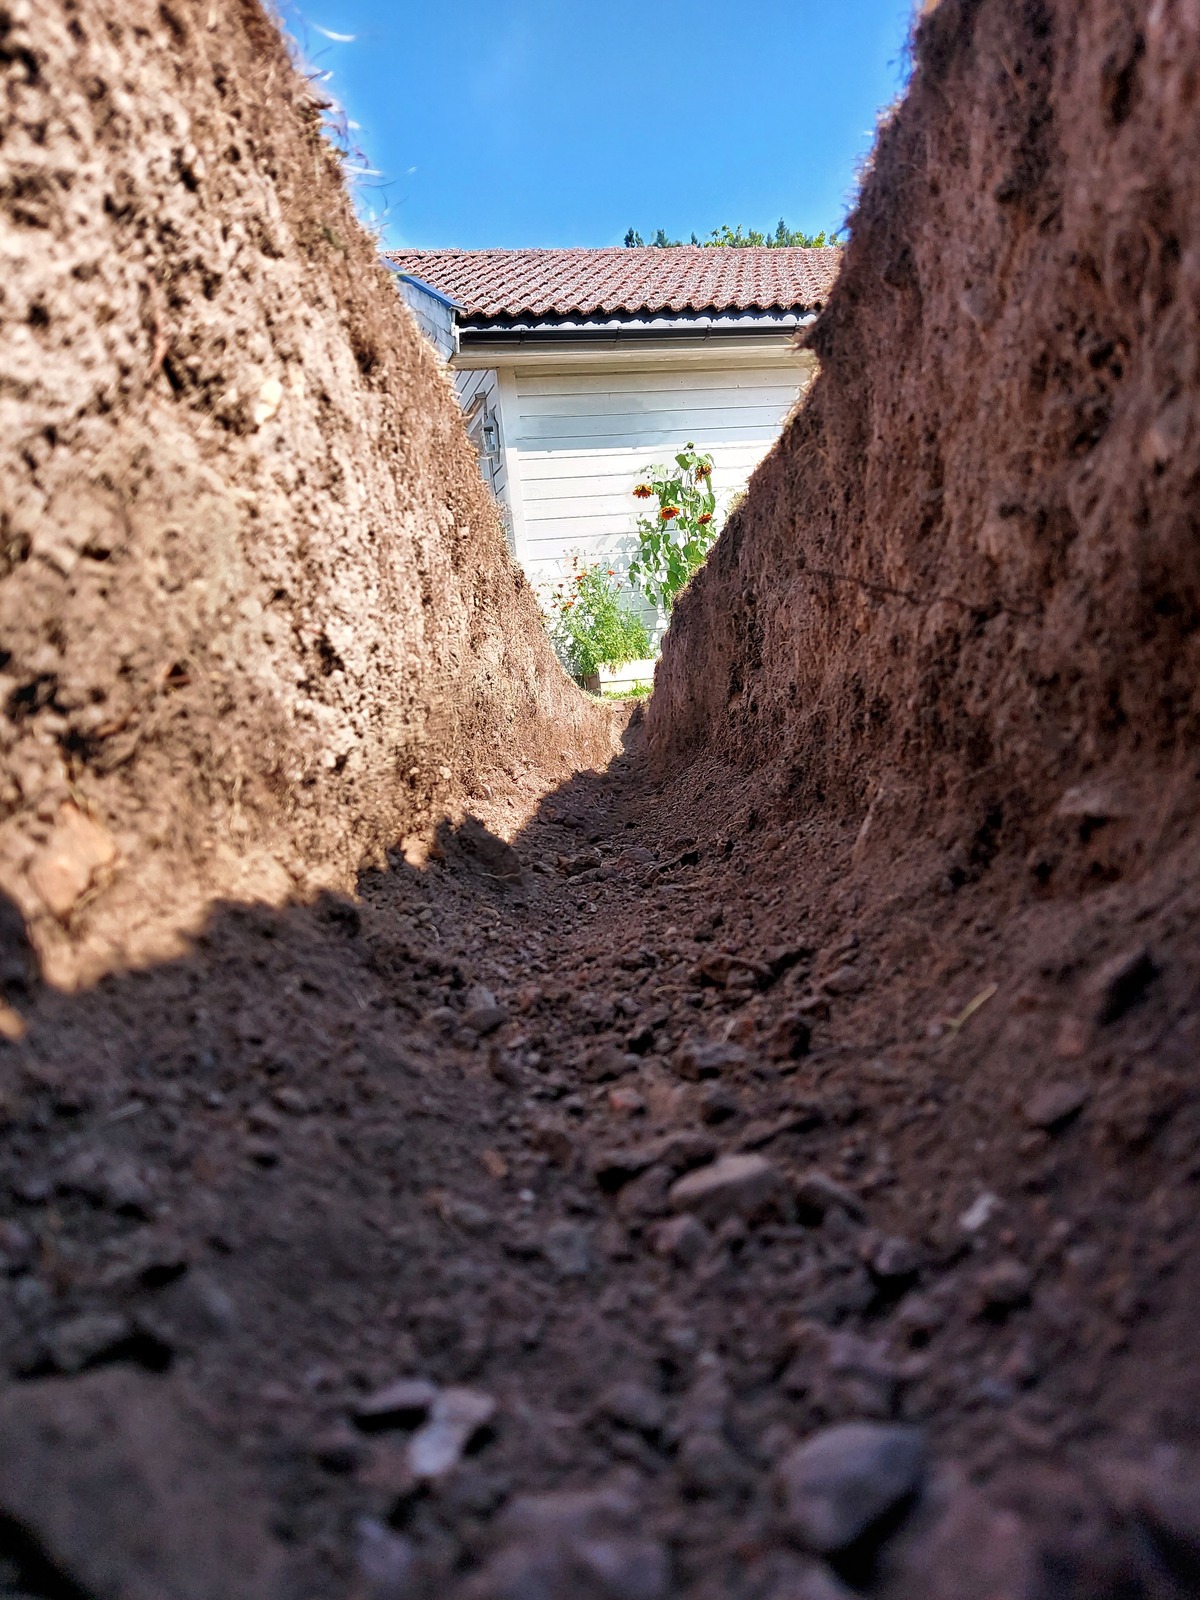
And we got it deep enough, about 25-30 cm.
Laying the conduit
Time to get the conduit in the ground!

I purchased 25 meters outdoor rated flexible conduit 20mm, crushed rock, and some bags of sand.

The first thing I had to do; was dig the last meter to the garage, lifting up some cobble stones.
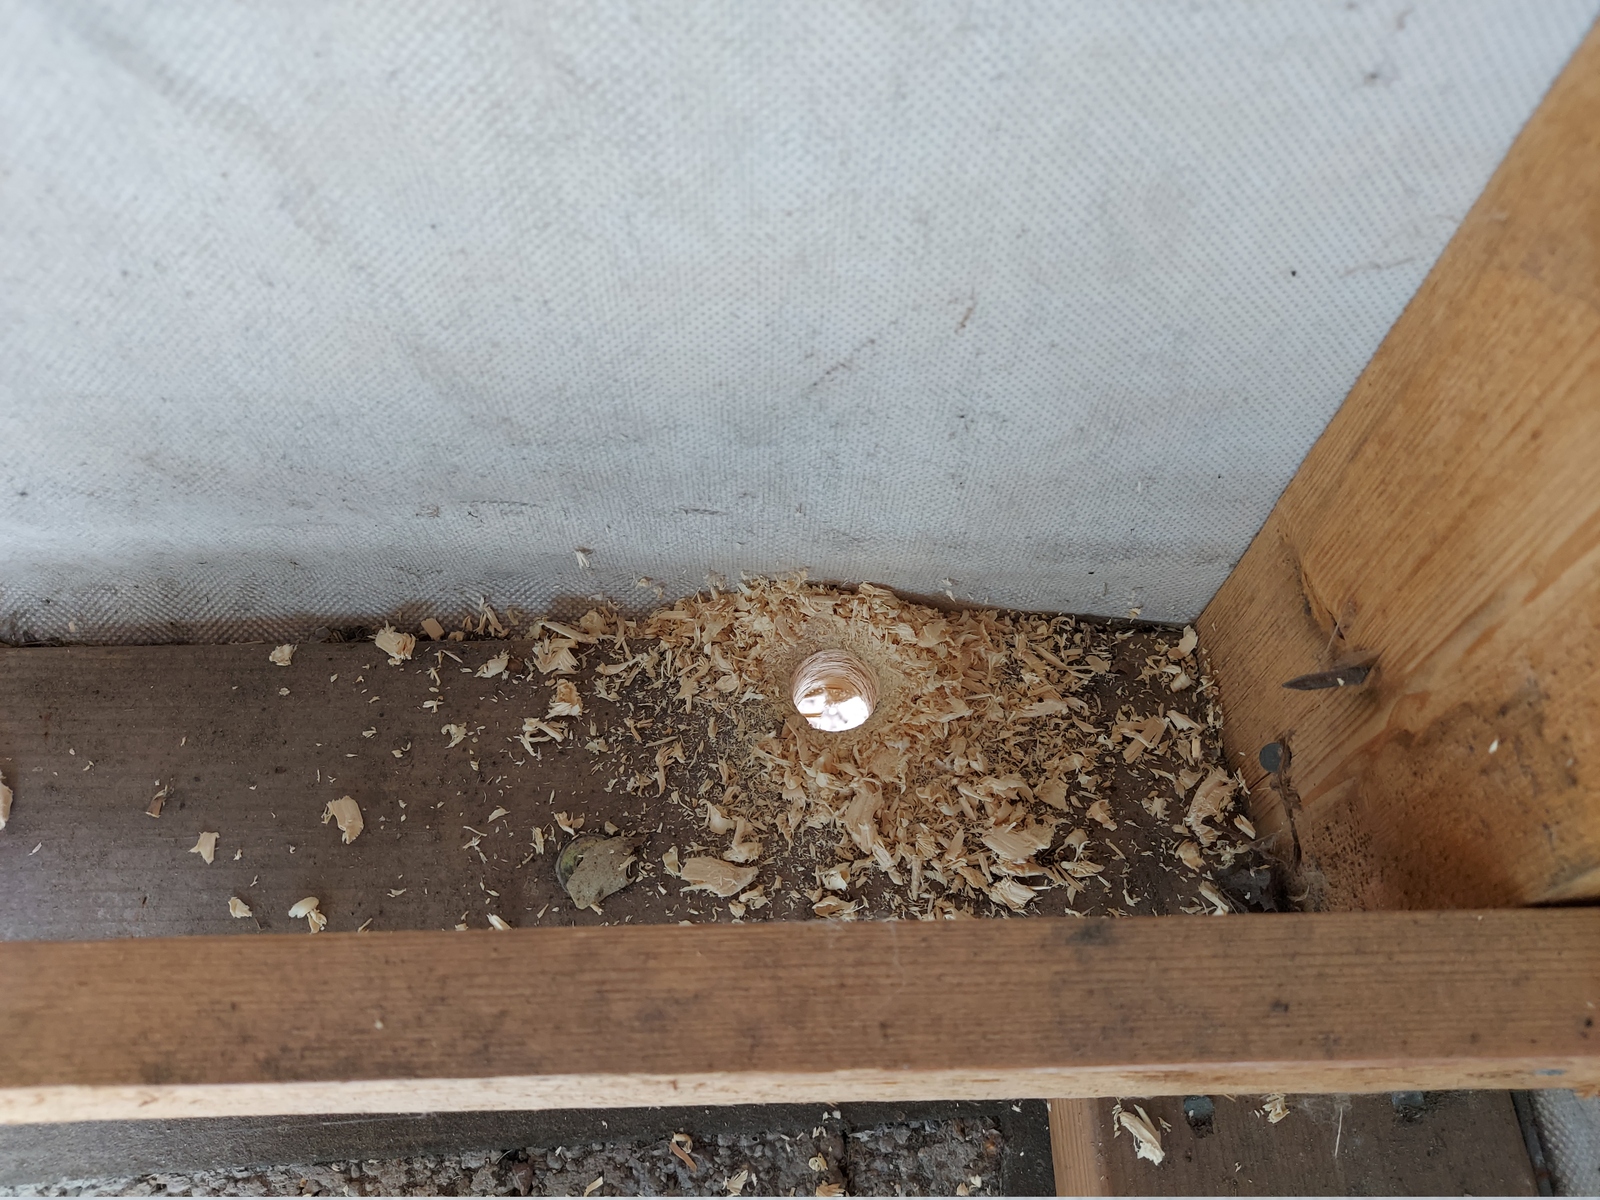
And drill a 22mm hole into the garage.
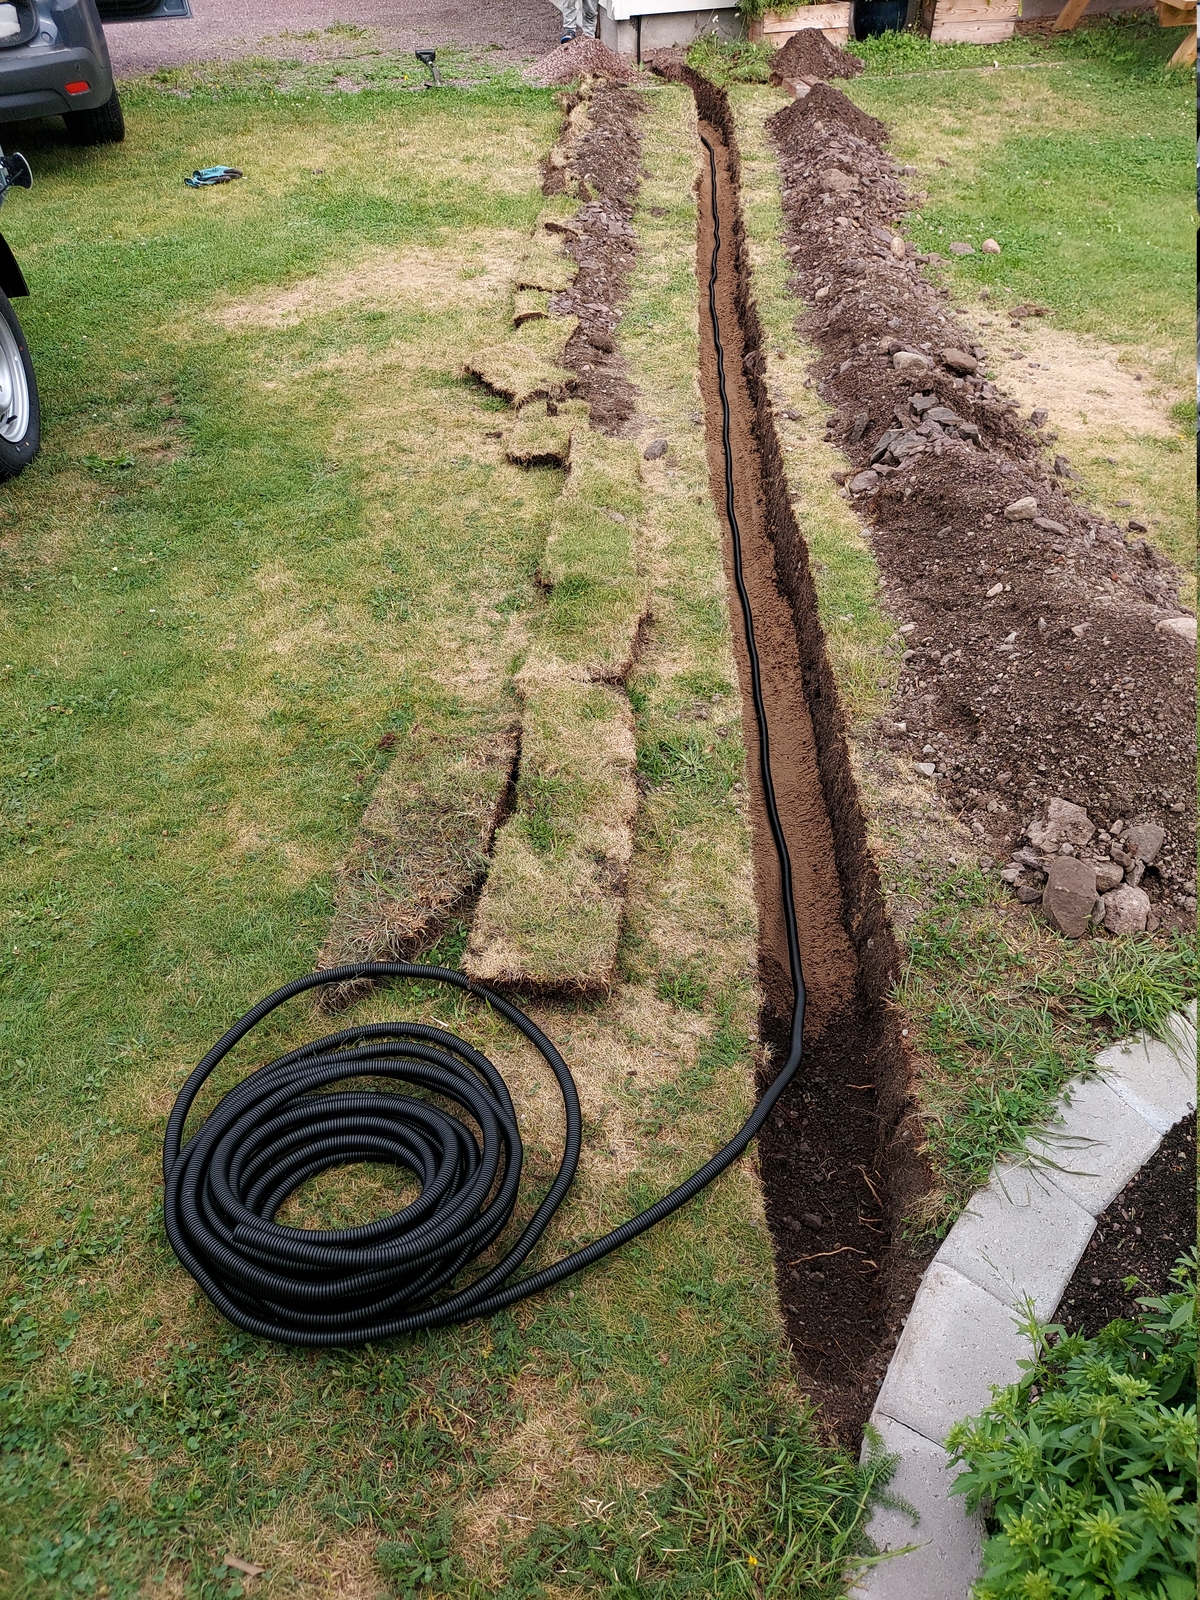
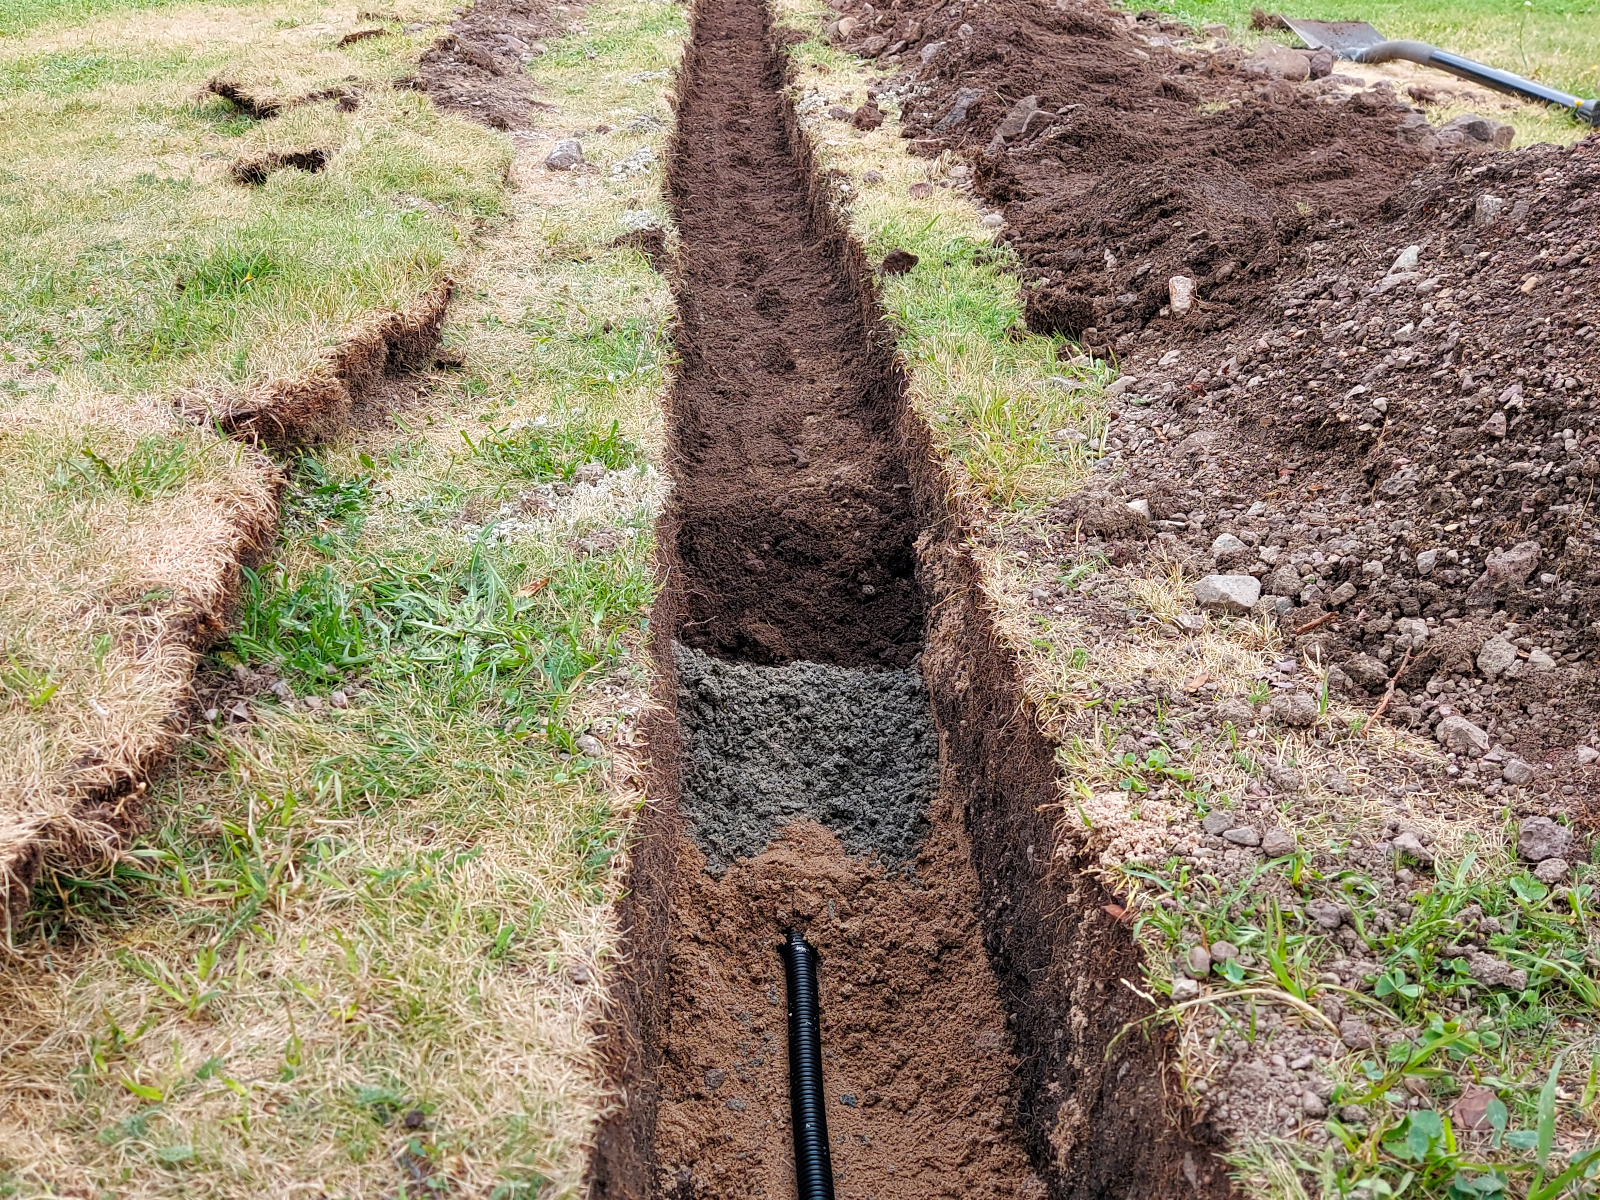
Then I laid down a layer of sand, and placed the conduit.

I put another layer of sand on top of the conduit, then crushed rock, then put the soil back.
The conduit was in the garage, and halfway across the lawn. Time to tackle the other end…
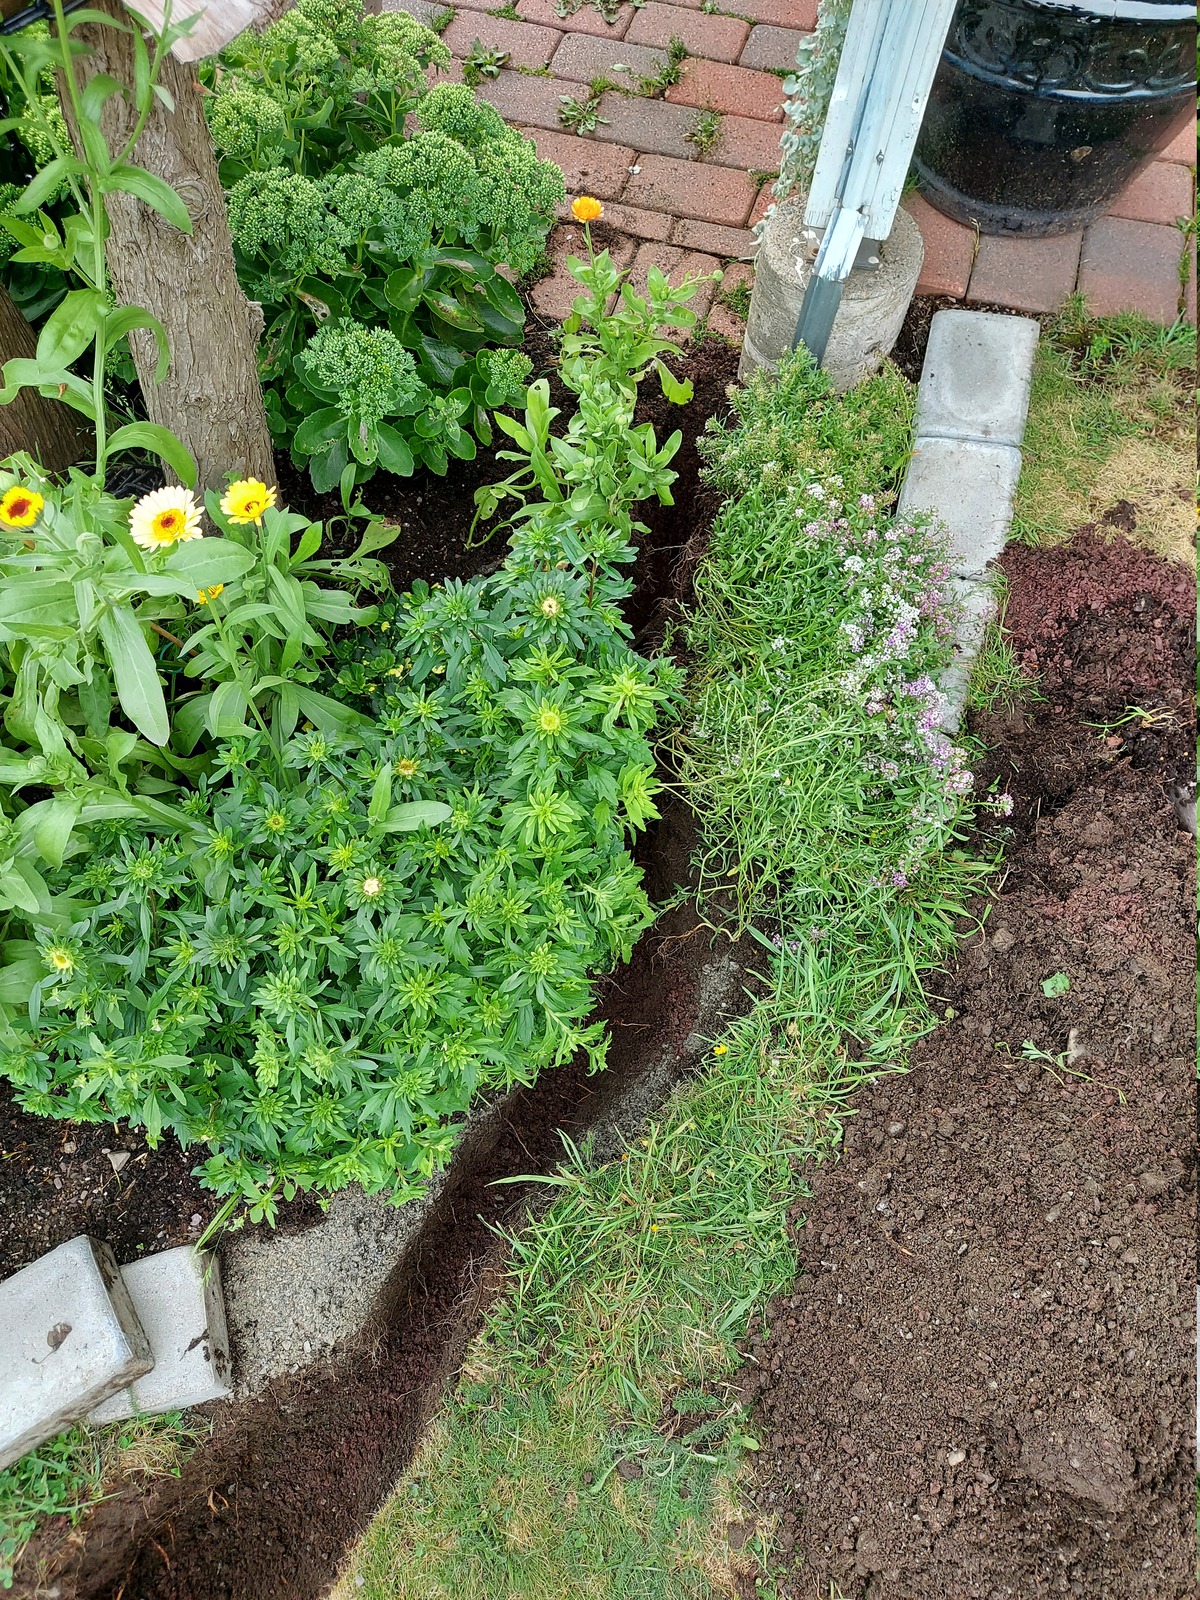
This end went straight though my wife’s flower bed. She wasn’t thrilled, but I promised to be careful 🌼
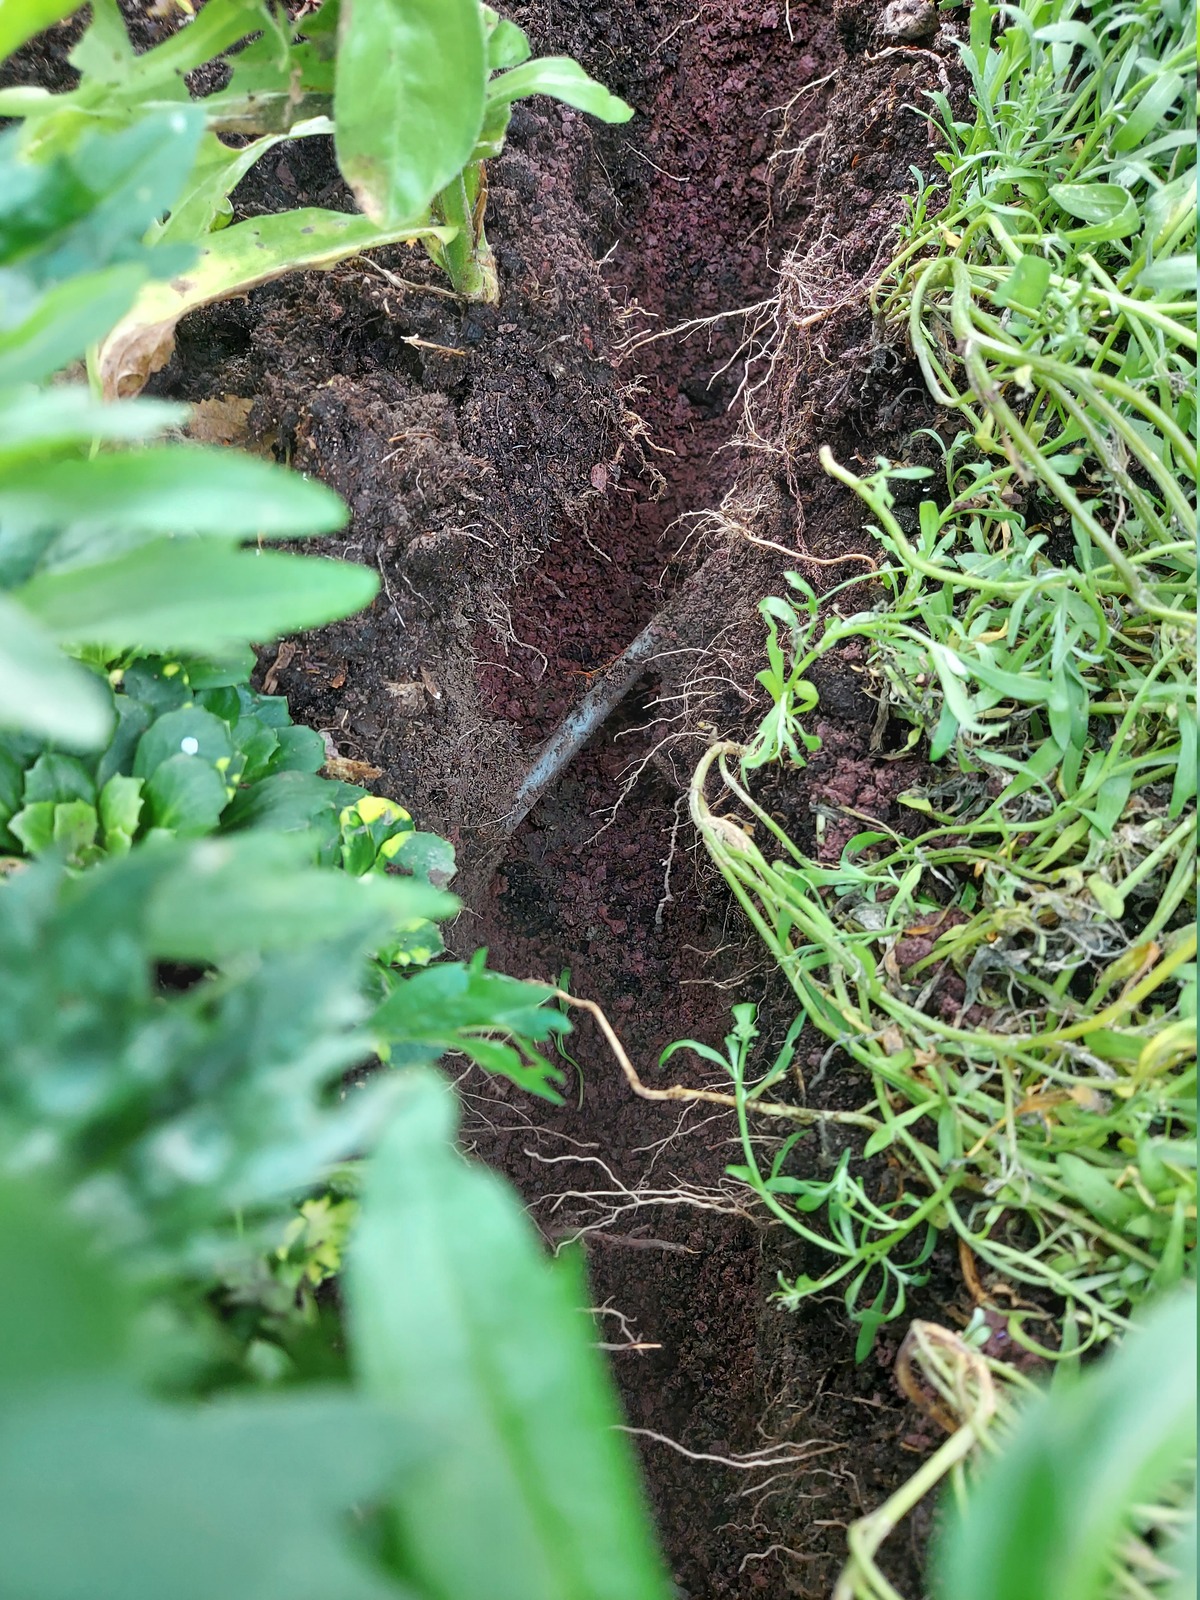
Here I came across the power cable going to the garage, I carefully dug below it.
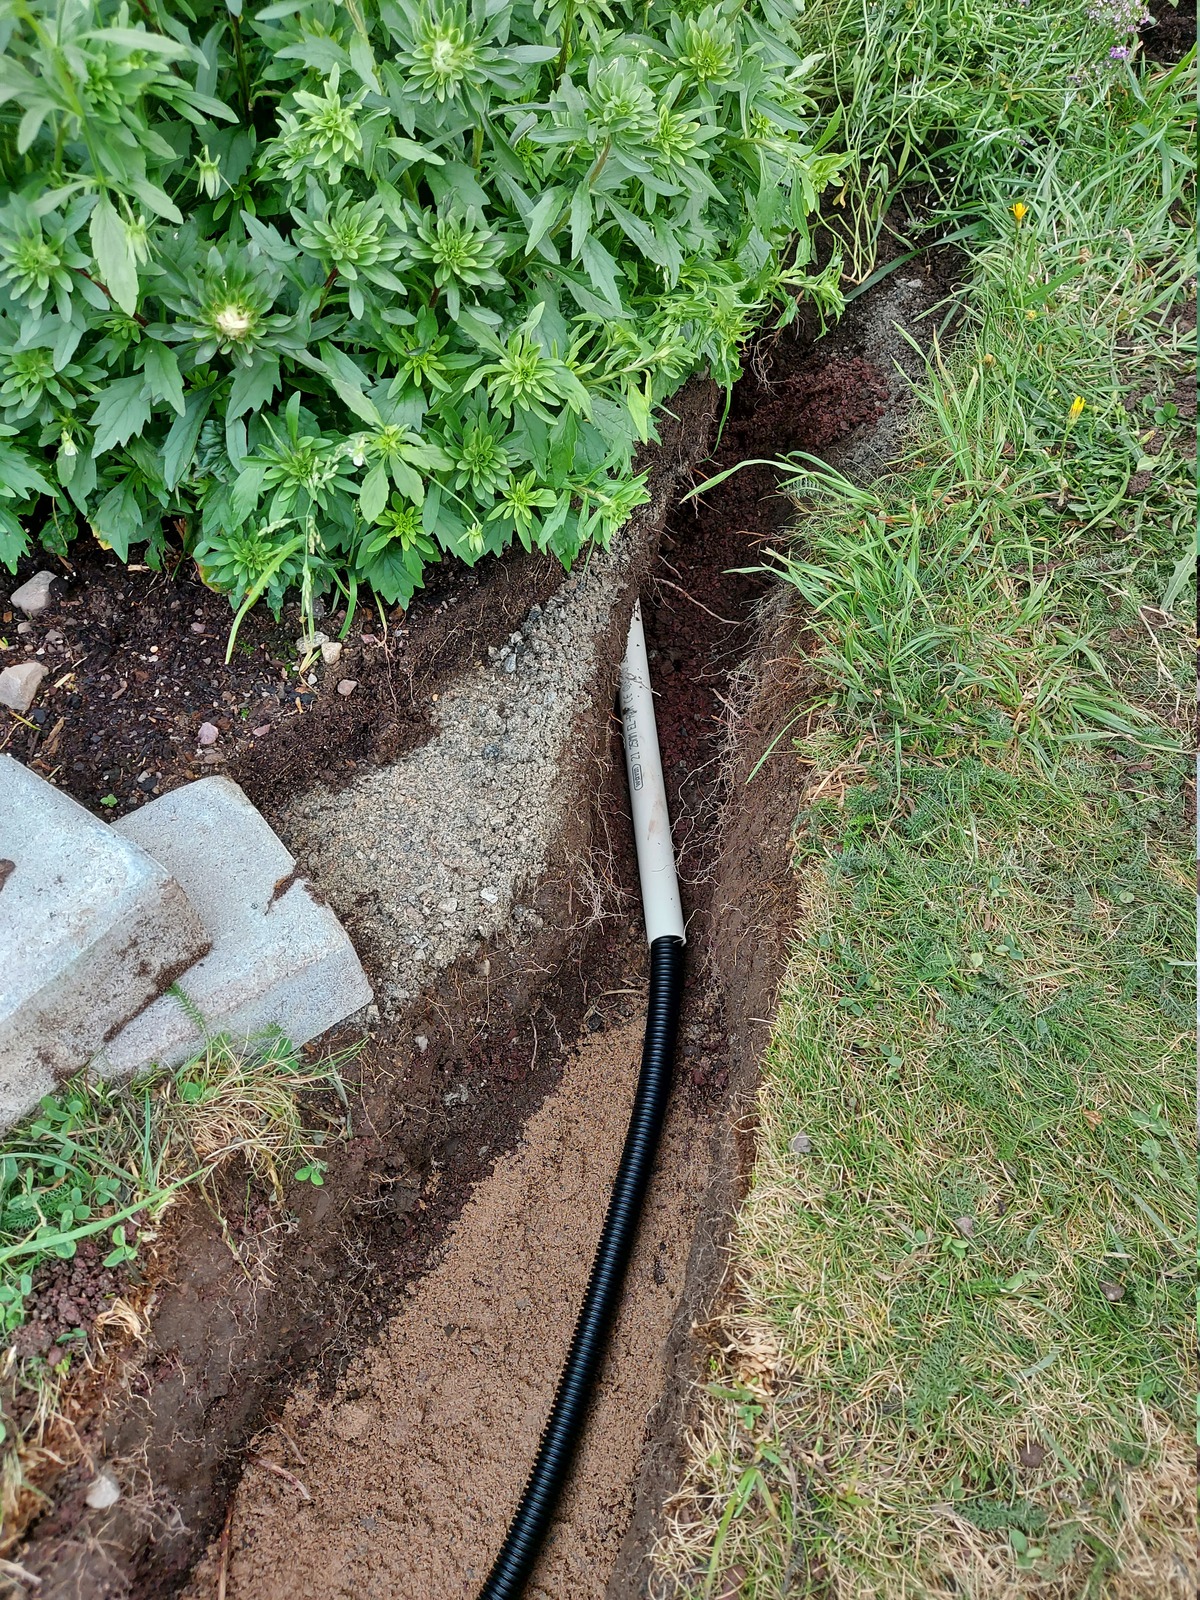
Worried that my wife would accidentally put her garden trowel through the flexible conduit, I put it inside a 25mm plastic pipe.
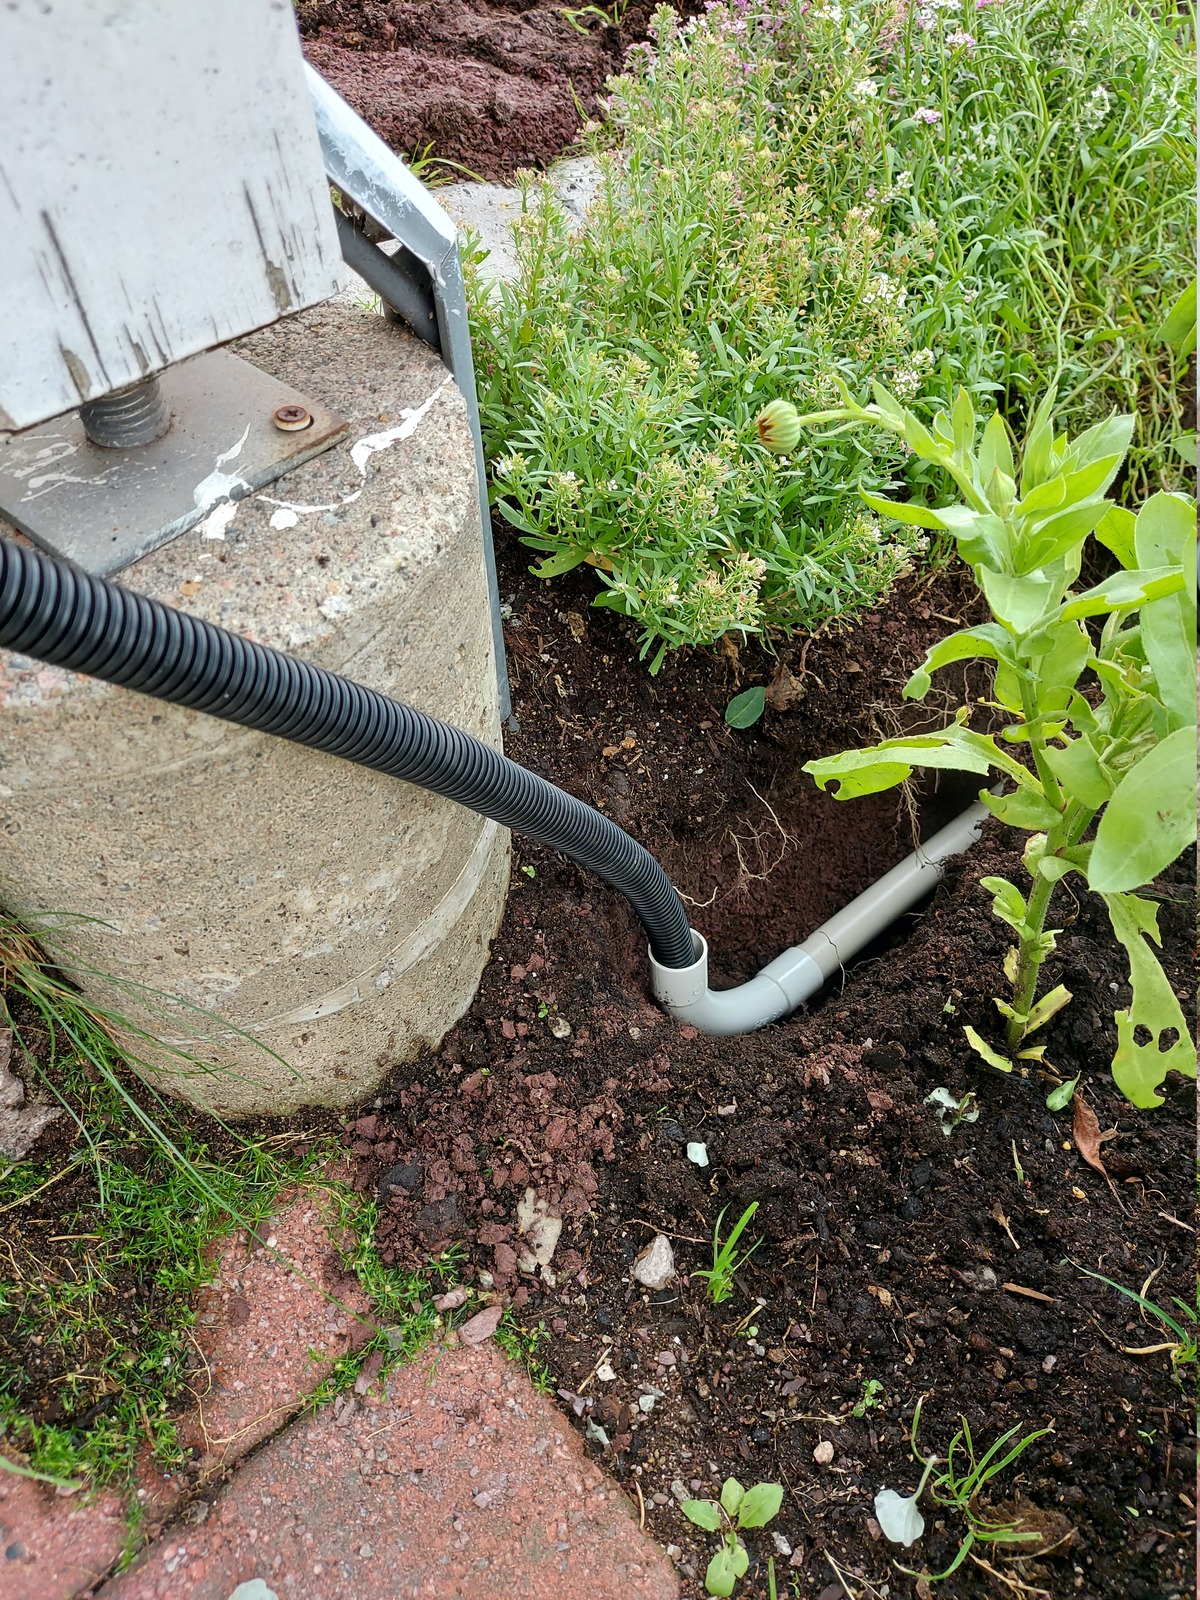
With a 90° bend next to the concrete pier.
The plastic pipe is not visible once the soil was put back.
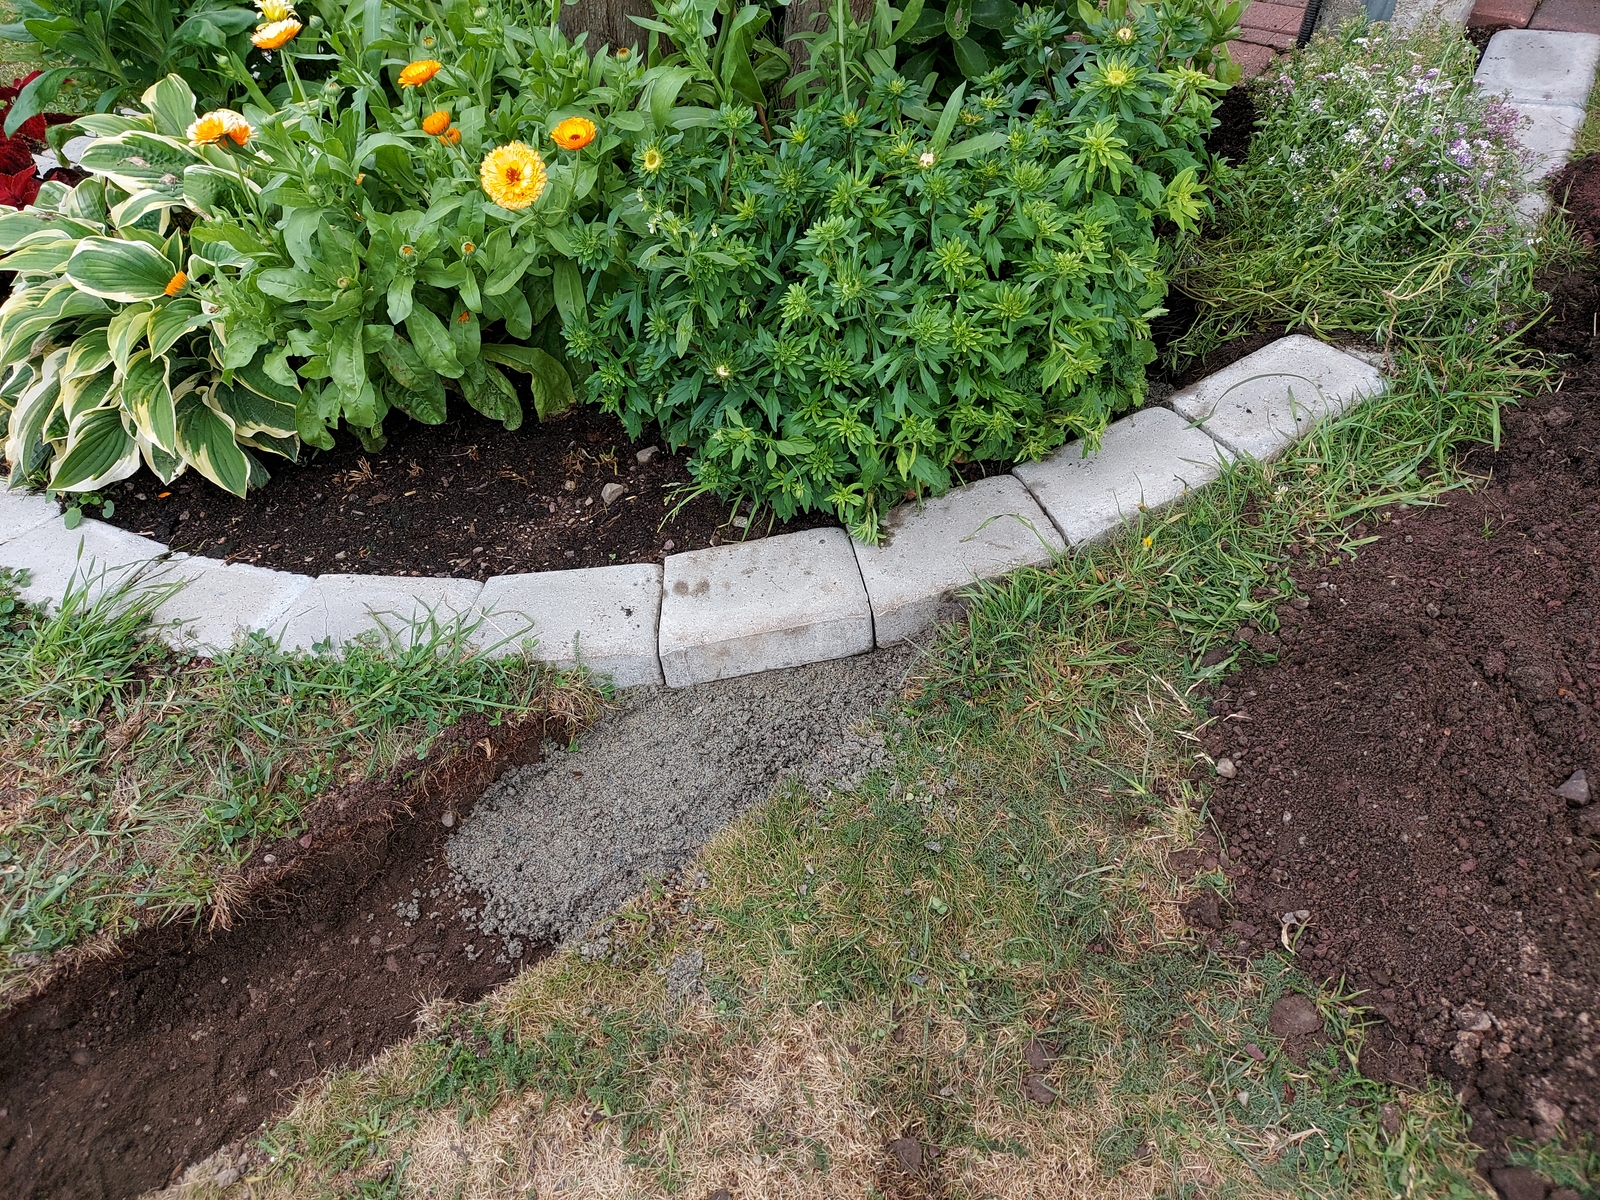
Once done; I put the soil and cobble stone back. It’s like nothing ever happened 🙂
The pieces of grass I dug up earlier was put back, and I raked soil over it. Filling any holes, and removing rocks.
For now the conduit was left dangling in both ends, but at least it was in the ground 🙂
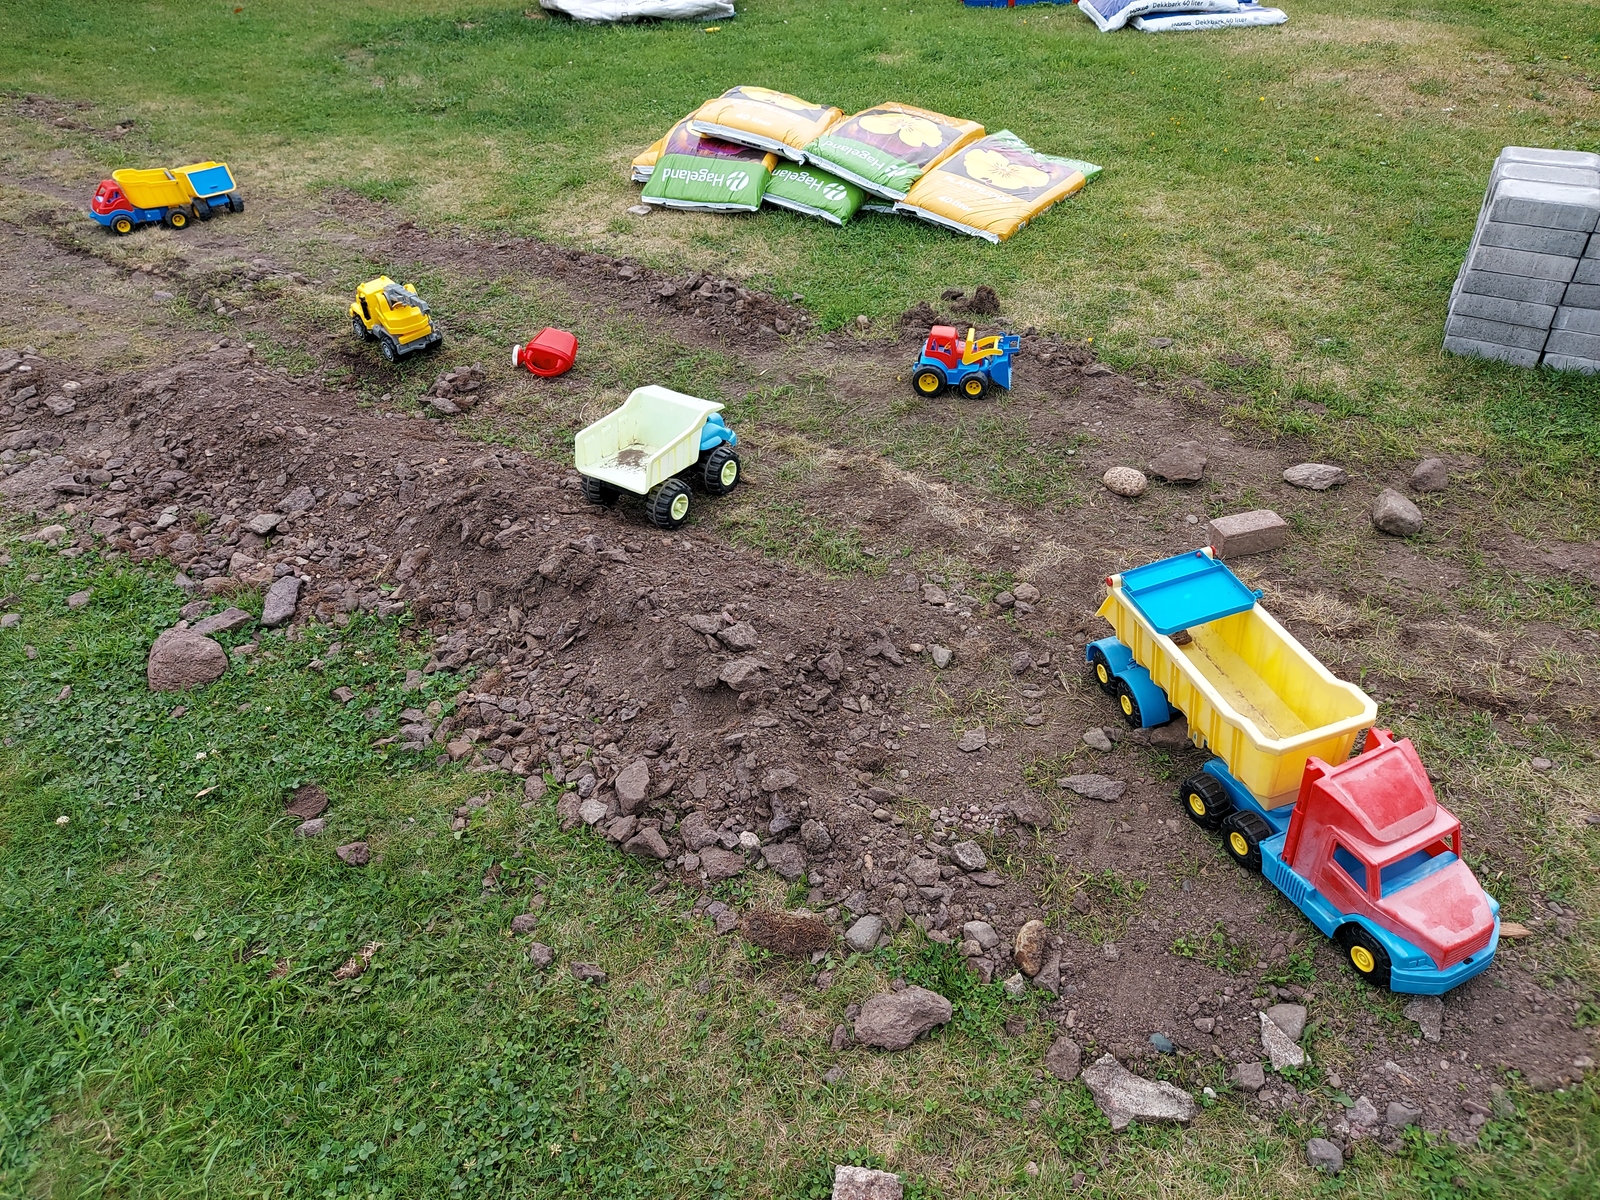
The kids had a lot of fun with the leftover soil and rocks, before it got cleaned up.
Securing the conduit
It took me about a week to get the parts I needed to secure the conduit, and find time to get it done.
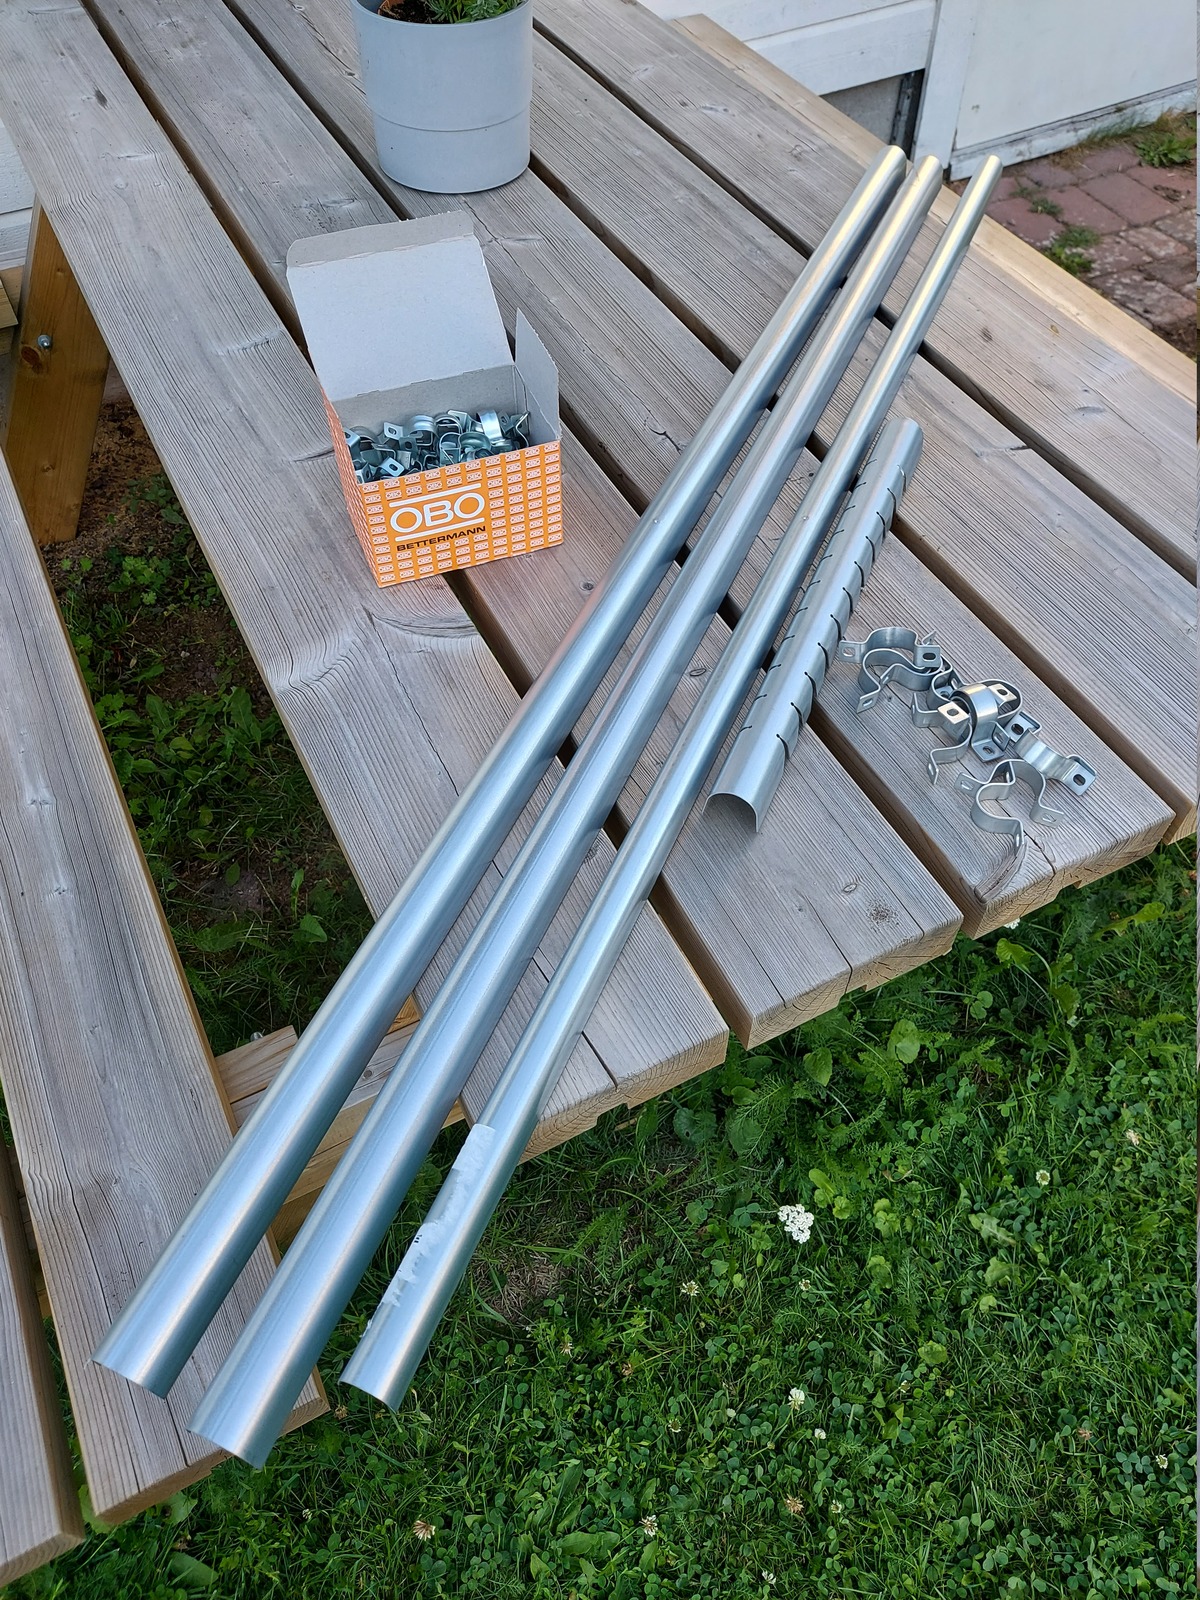
The parts I got:
- Metal cable guard 22×1200mm
- Metal cable guard 28×1200mm × 2
- Metal cable guard, flexible 28mm
- Conduit fasteners 20mm
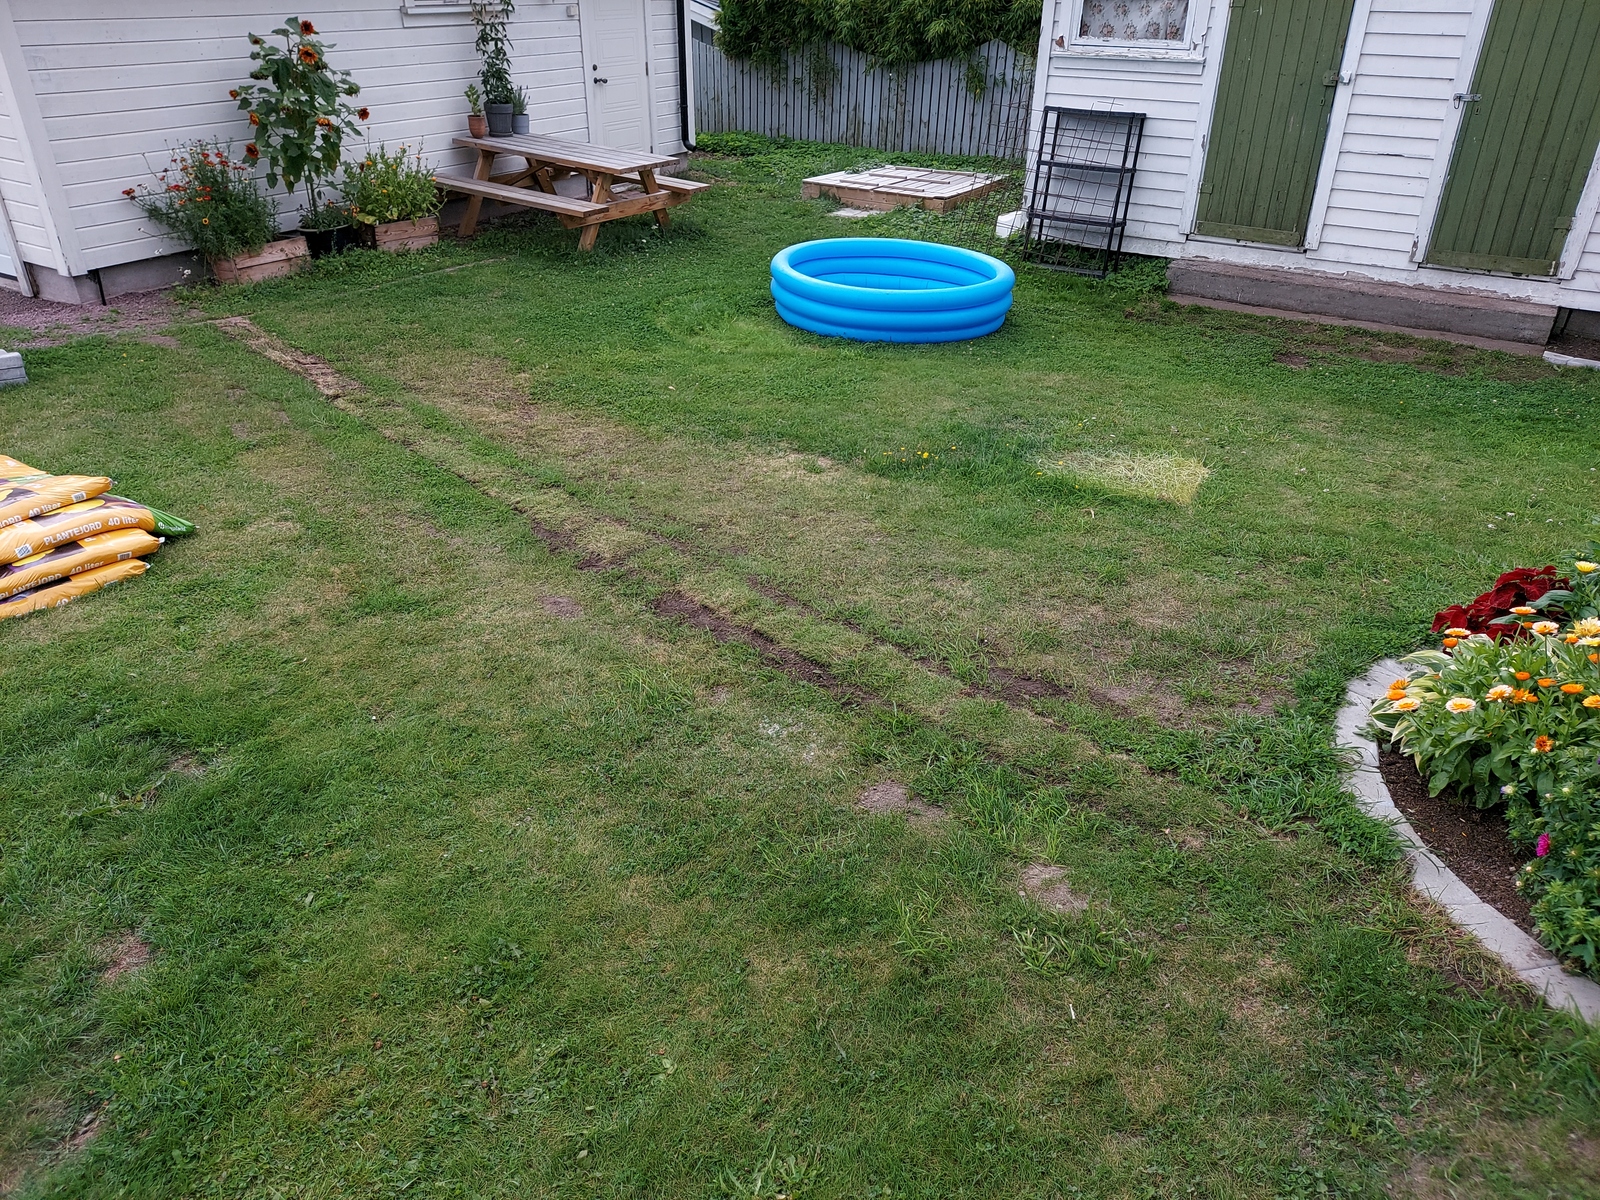
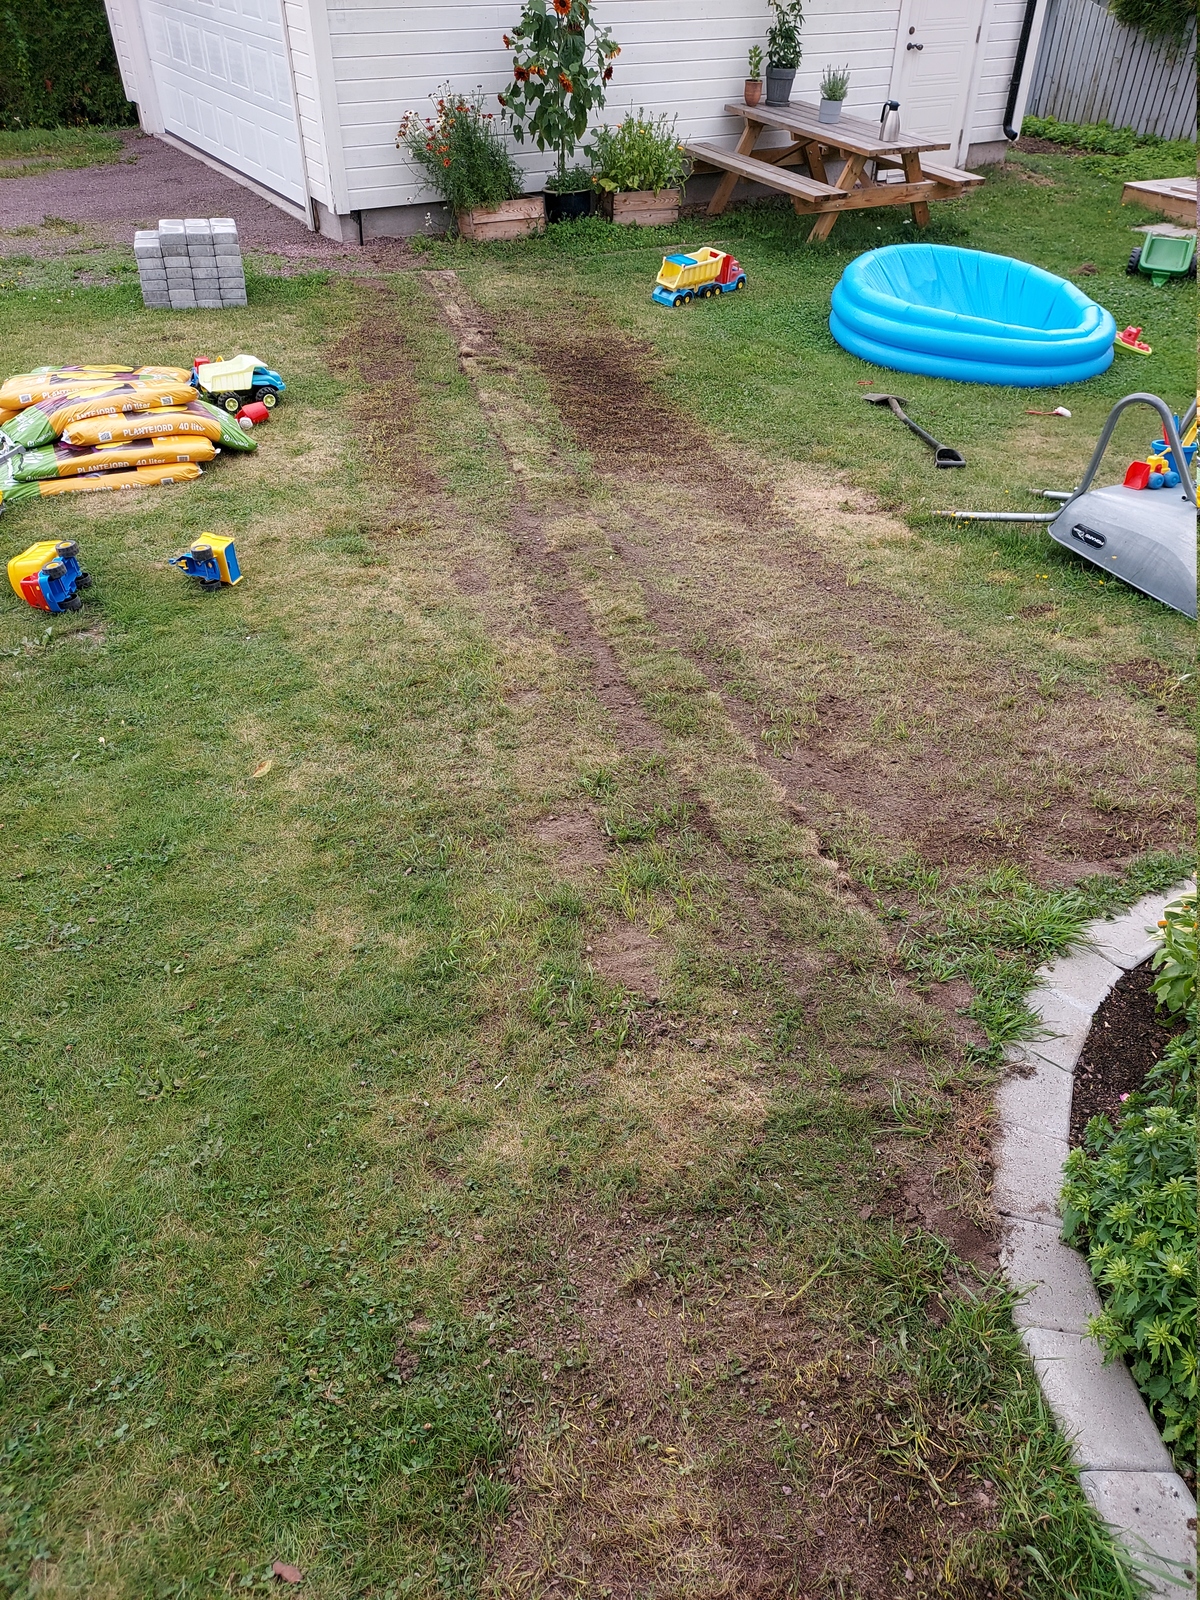
By then; the lawn had started to clear up nicely 🙂
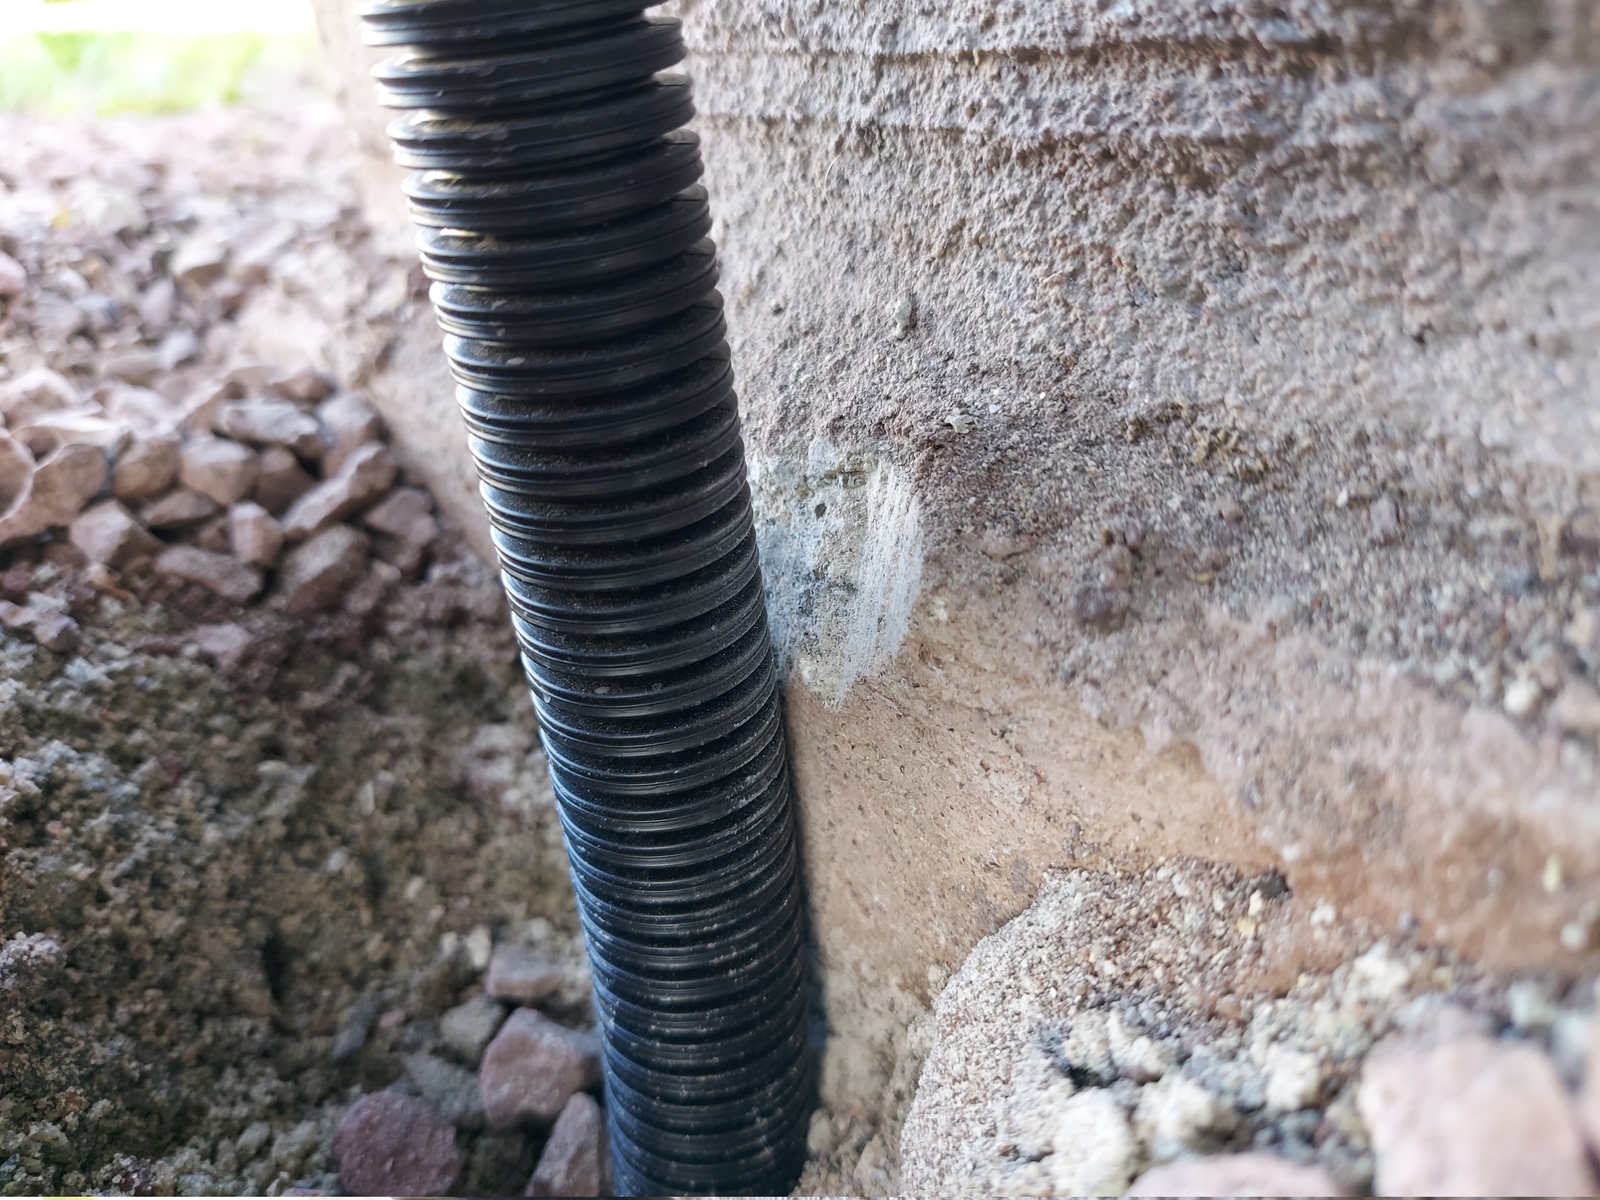
I got started on the garage side. I had to chip away a bit at the base of the concrete slab, to prevent the conduit from kinking.
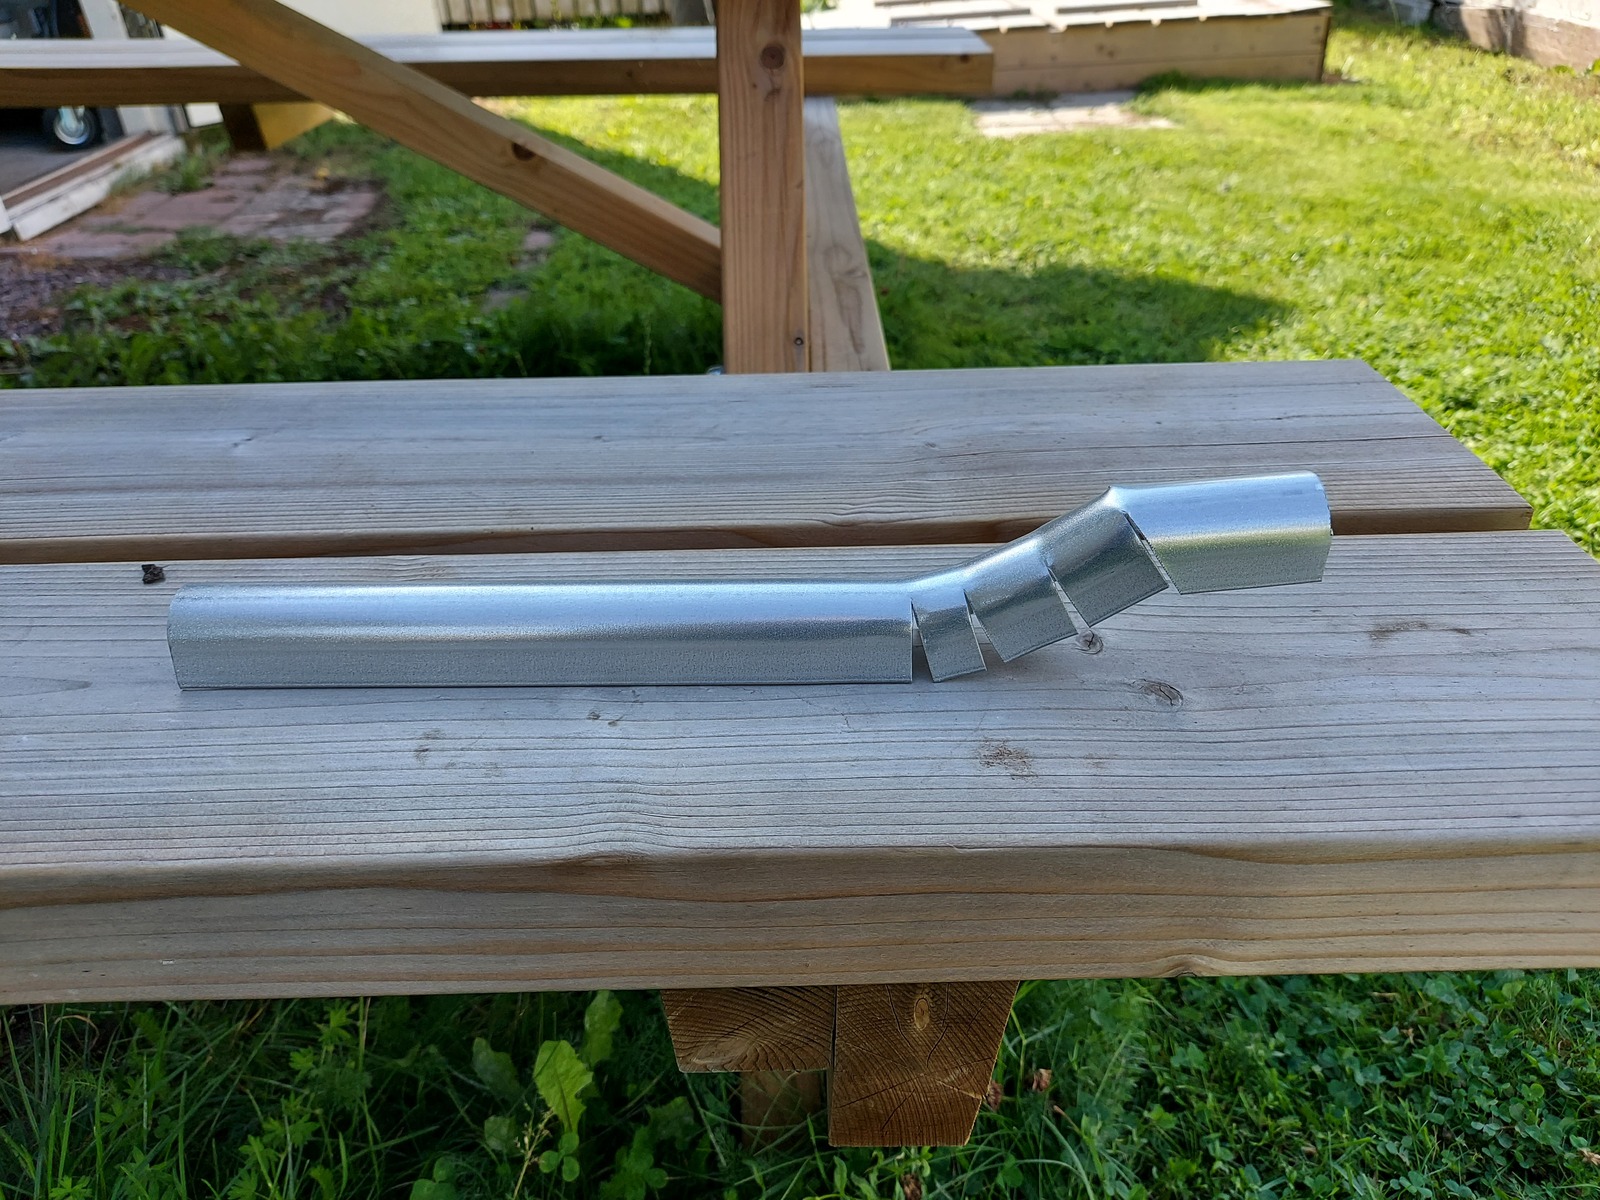
Then I cut and formed the metal cable guard, to make it fit around the base of the concrete slab.
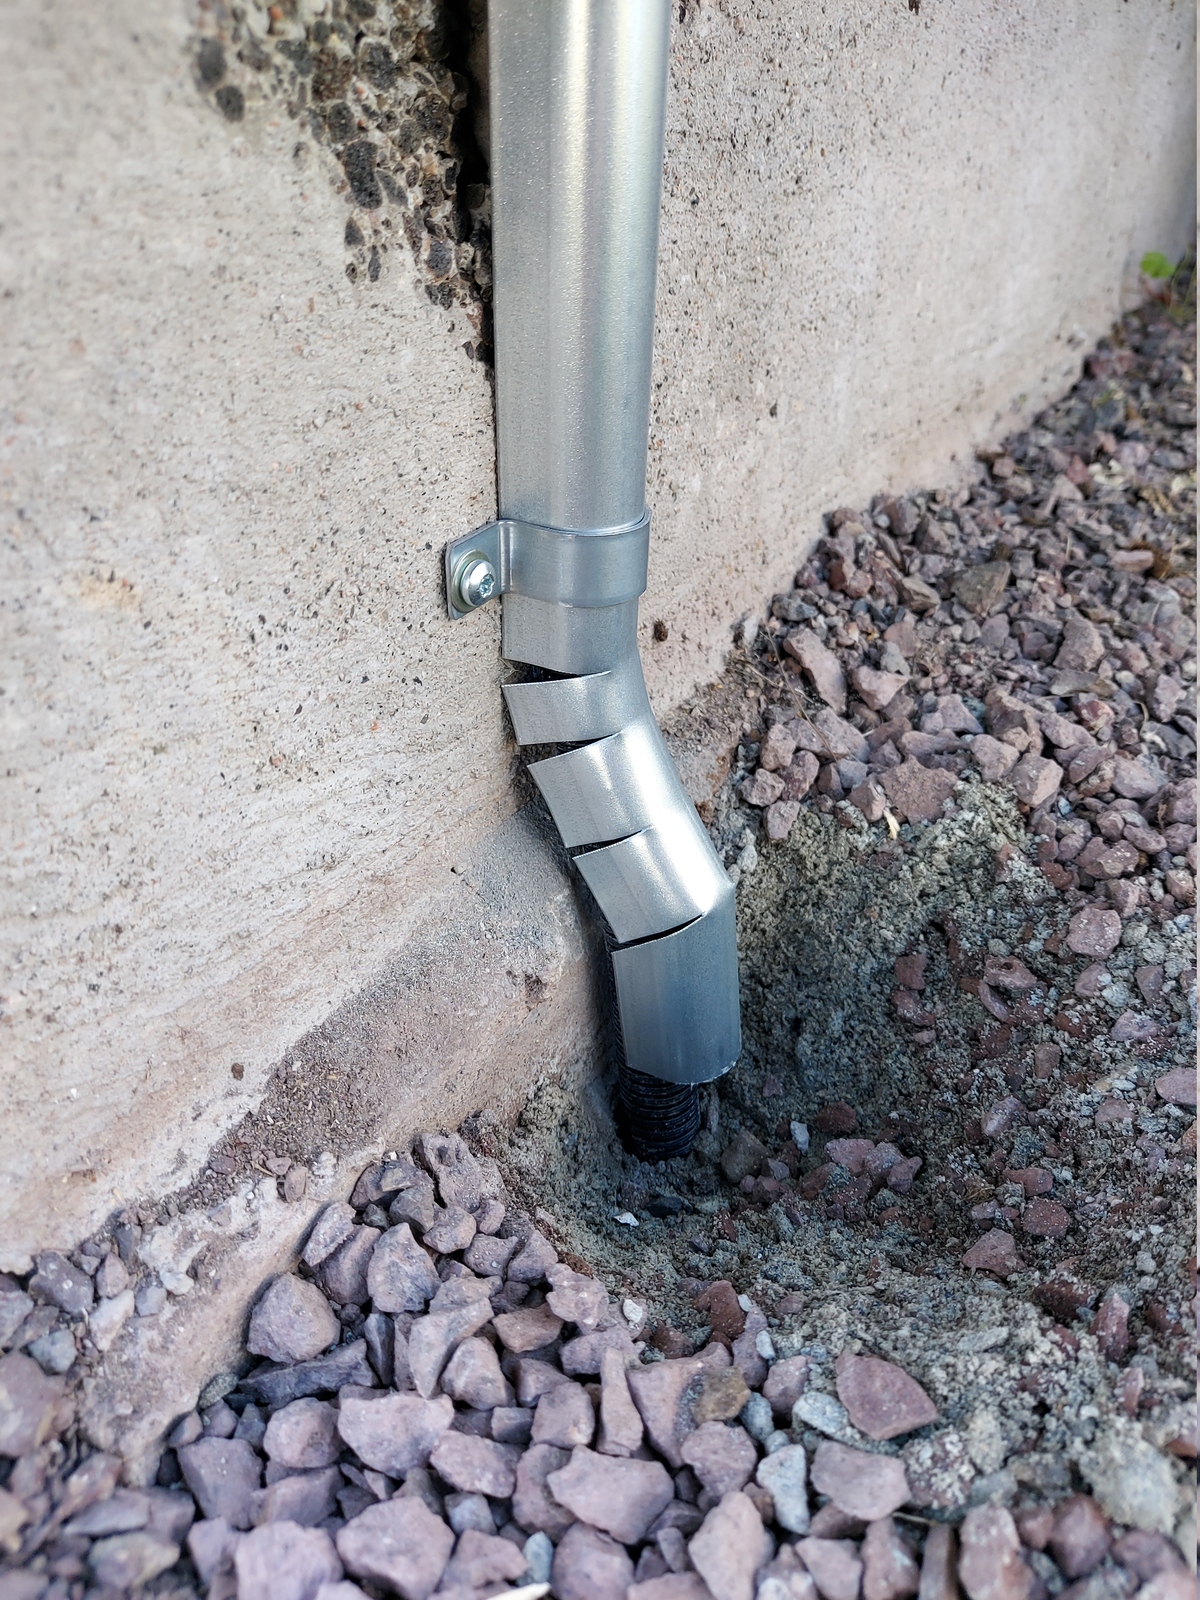
I secured it to the slab with a single fastener.
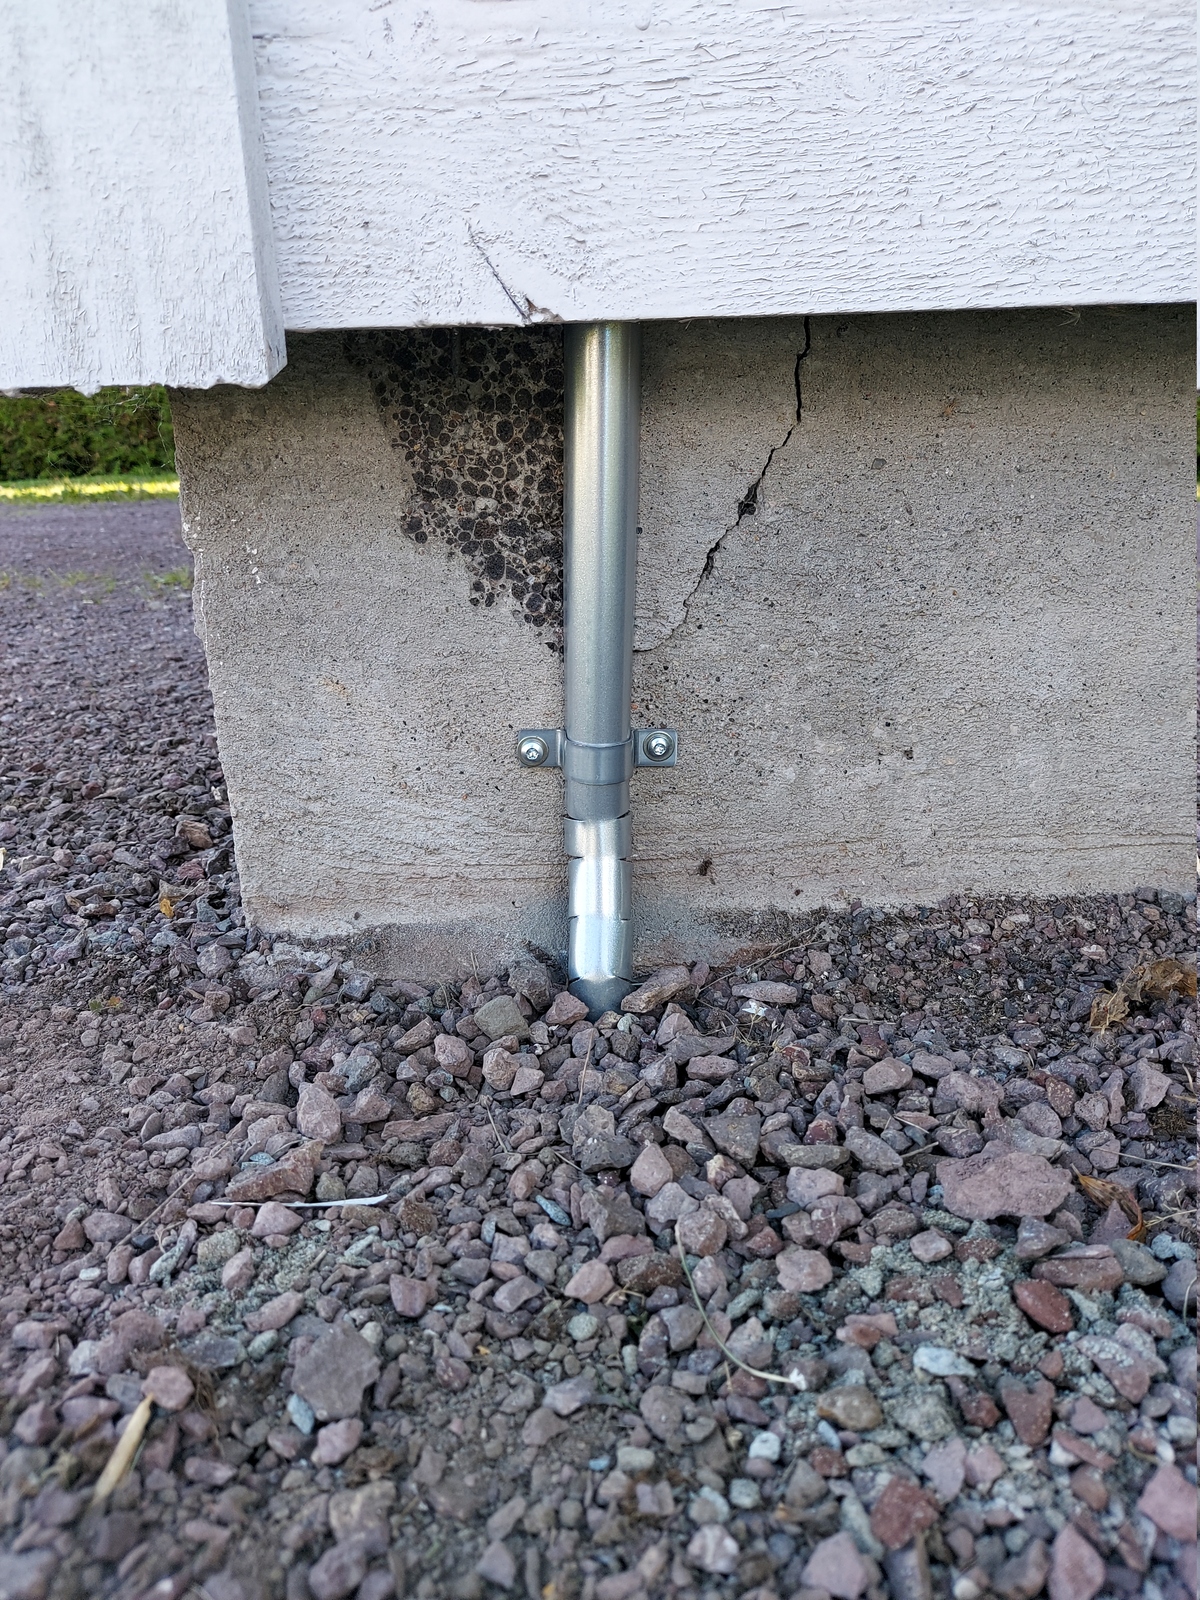
It turned out pretty good 🙂
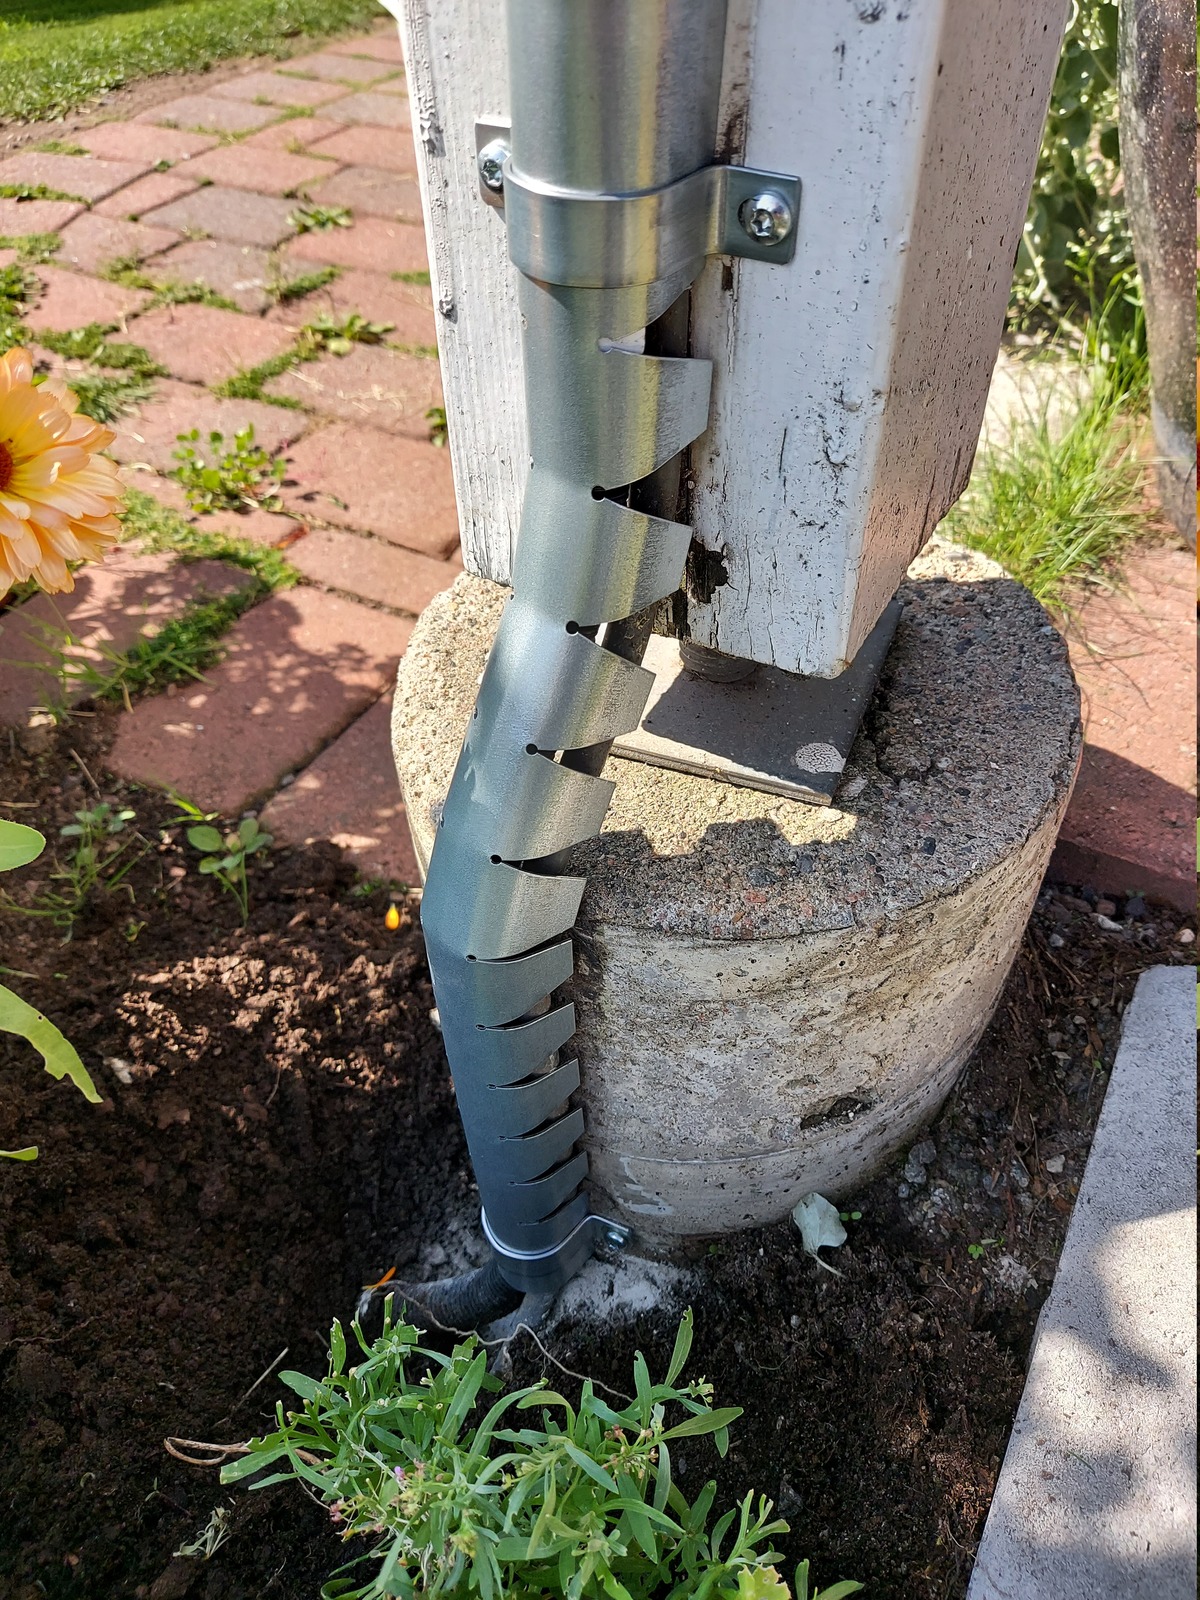
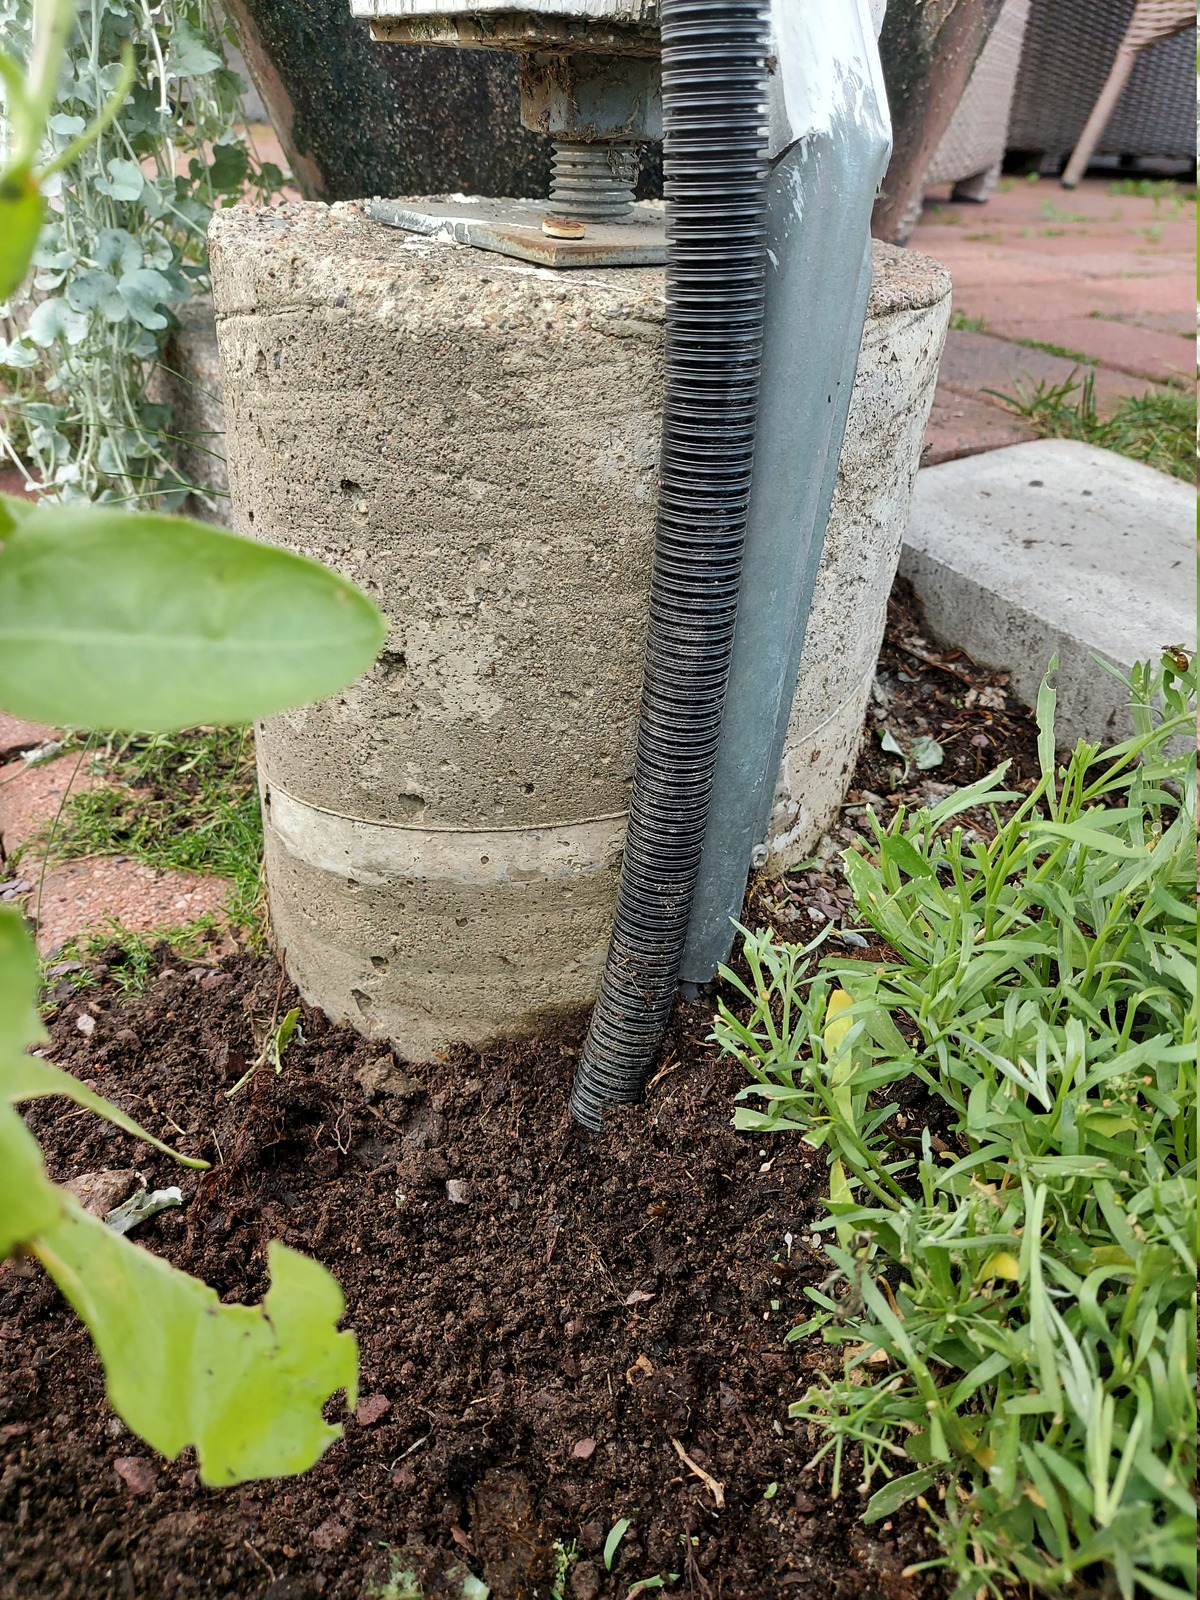
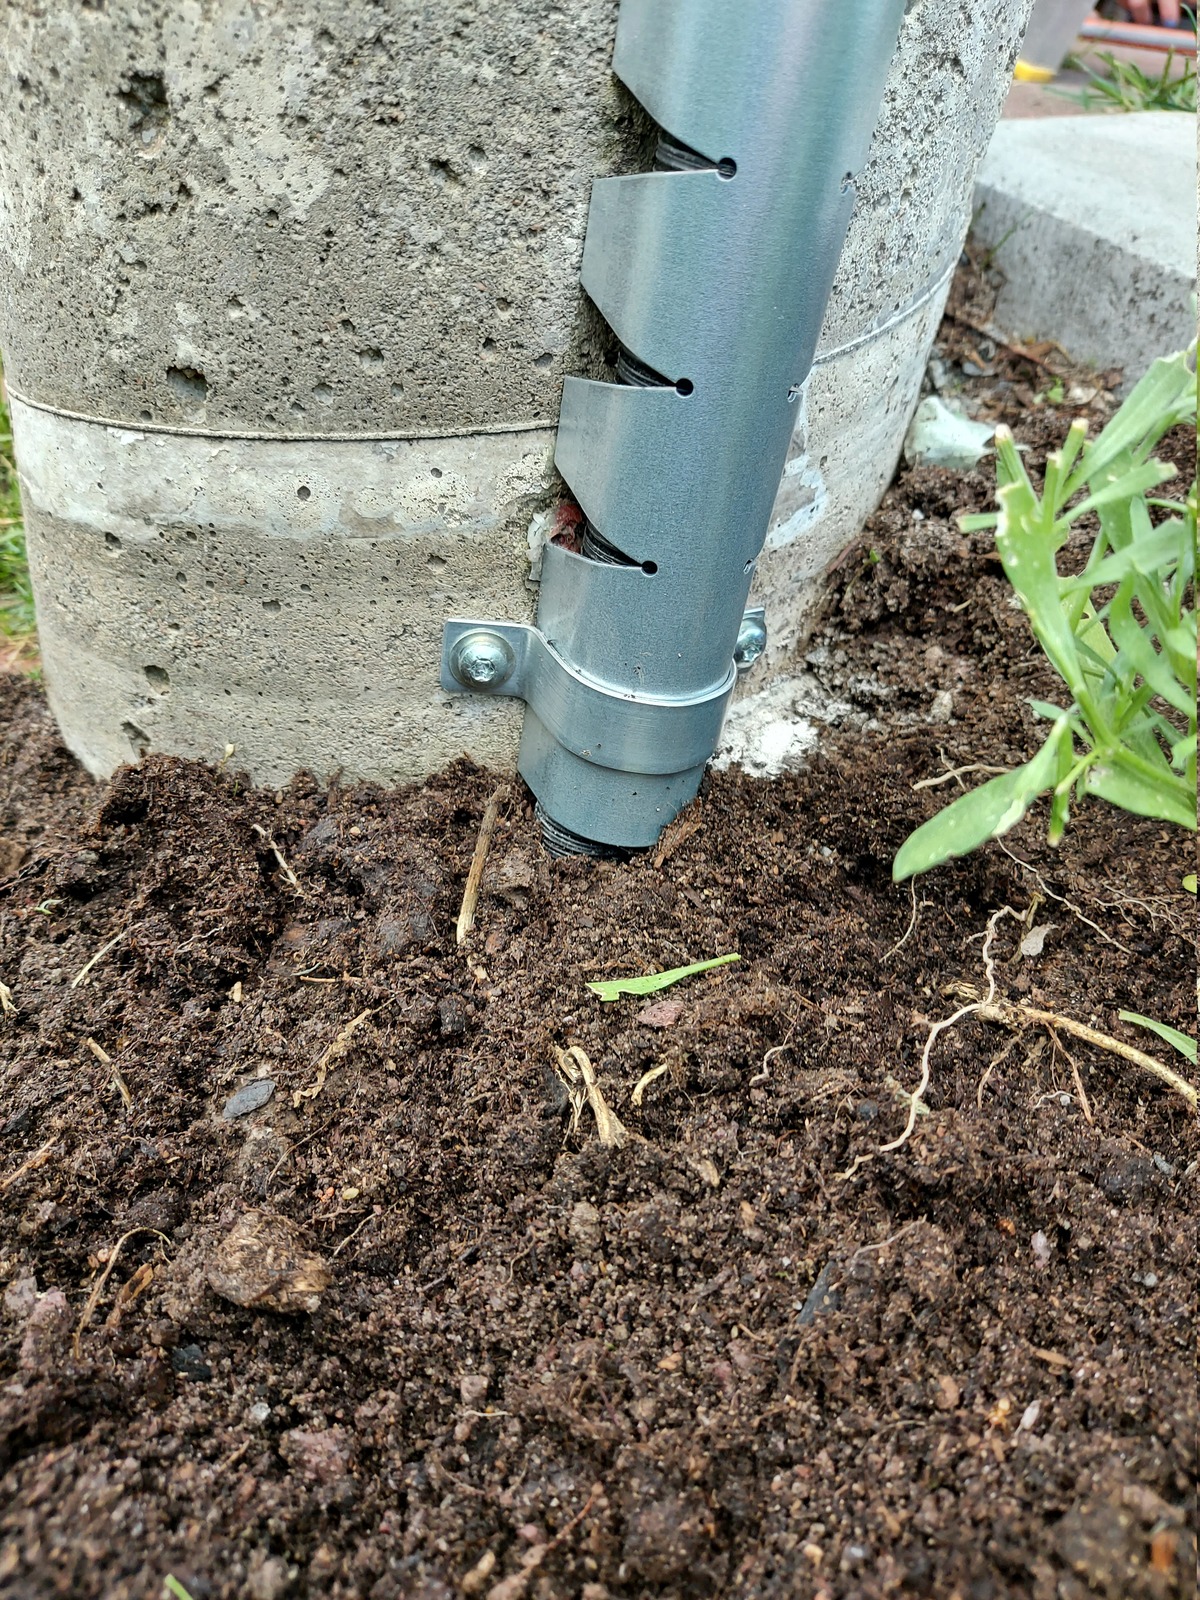
On the other end I used a piece of flexible metal cable guard, as it had to twist and turn to get from the concrete pier to the support beam.

Then two lengths of metal cable guard going up the beam, totalling 2.4 meters. The guards covers both the new conduit and the existing power cable for the garage.
It’s like I was never there 🙂
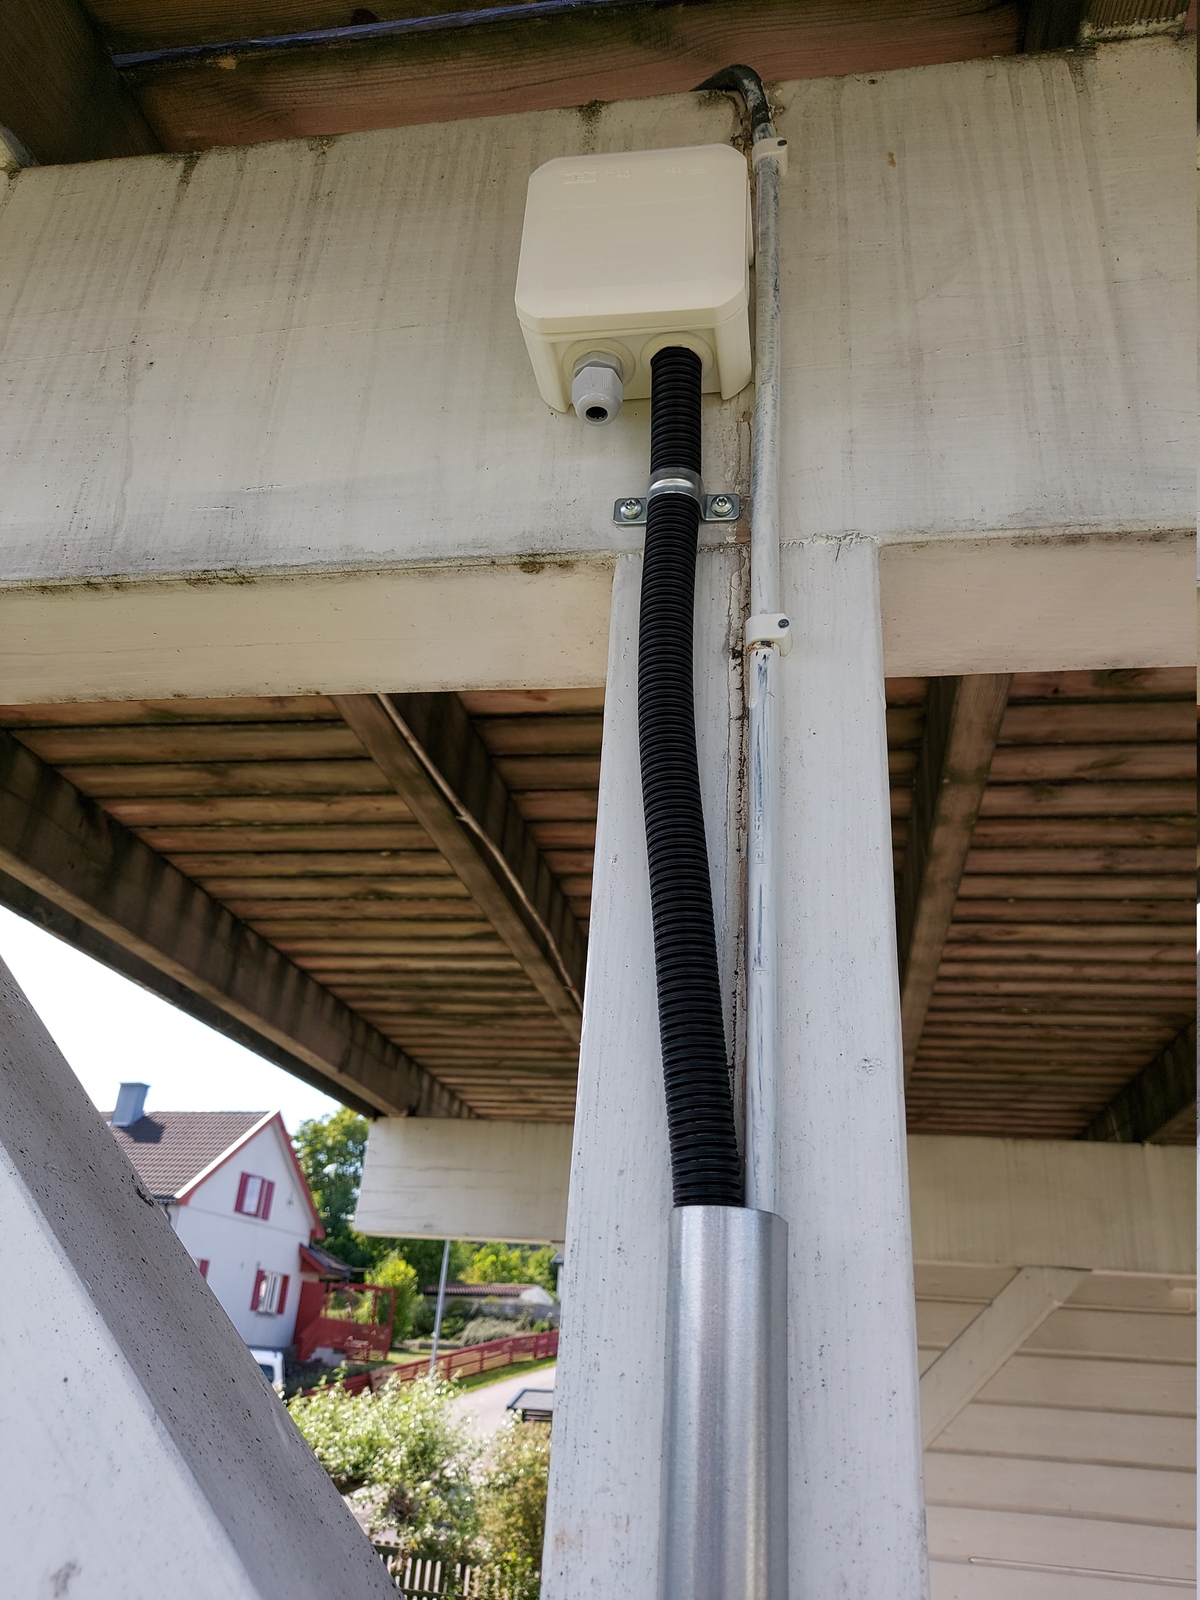
At the top of the beam; I put a IP55 rated junction box, to end the conduit and keep the water out. I installed a M16 cable gland, to get the CAT6 cable back out of the box.
Pulling the cable
I purchased a new fish tape for the occasion, it’s stiff — yet flexible.
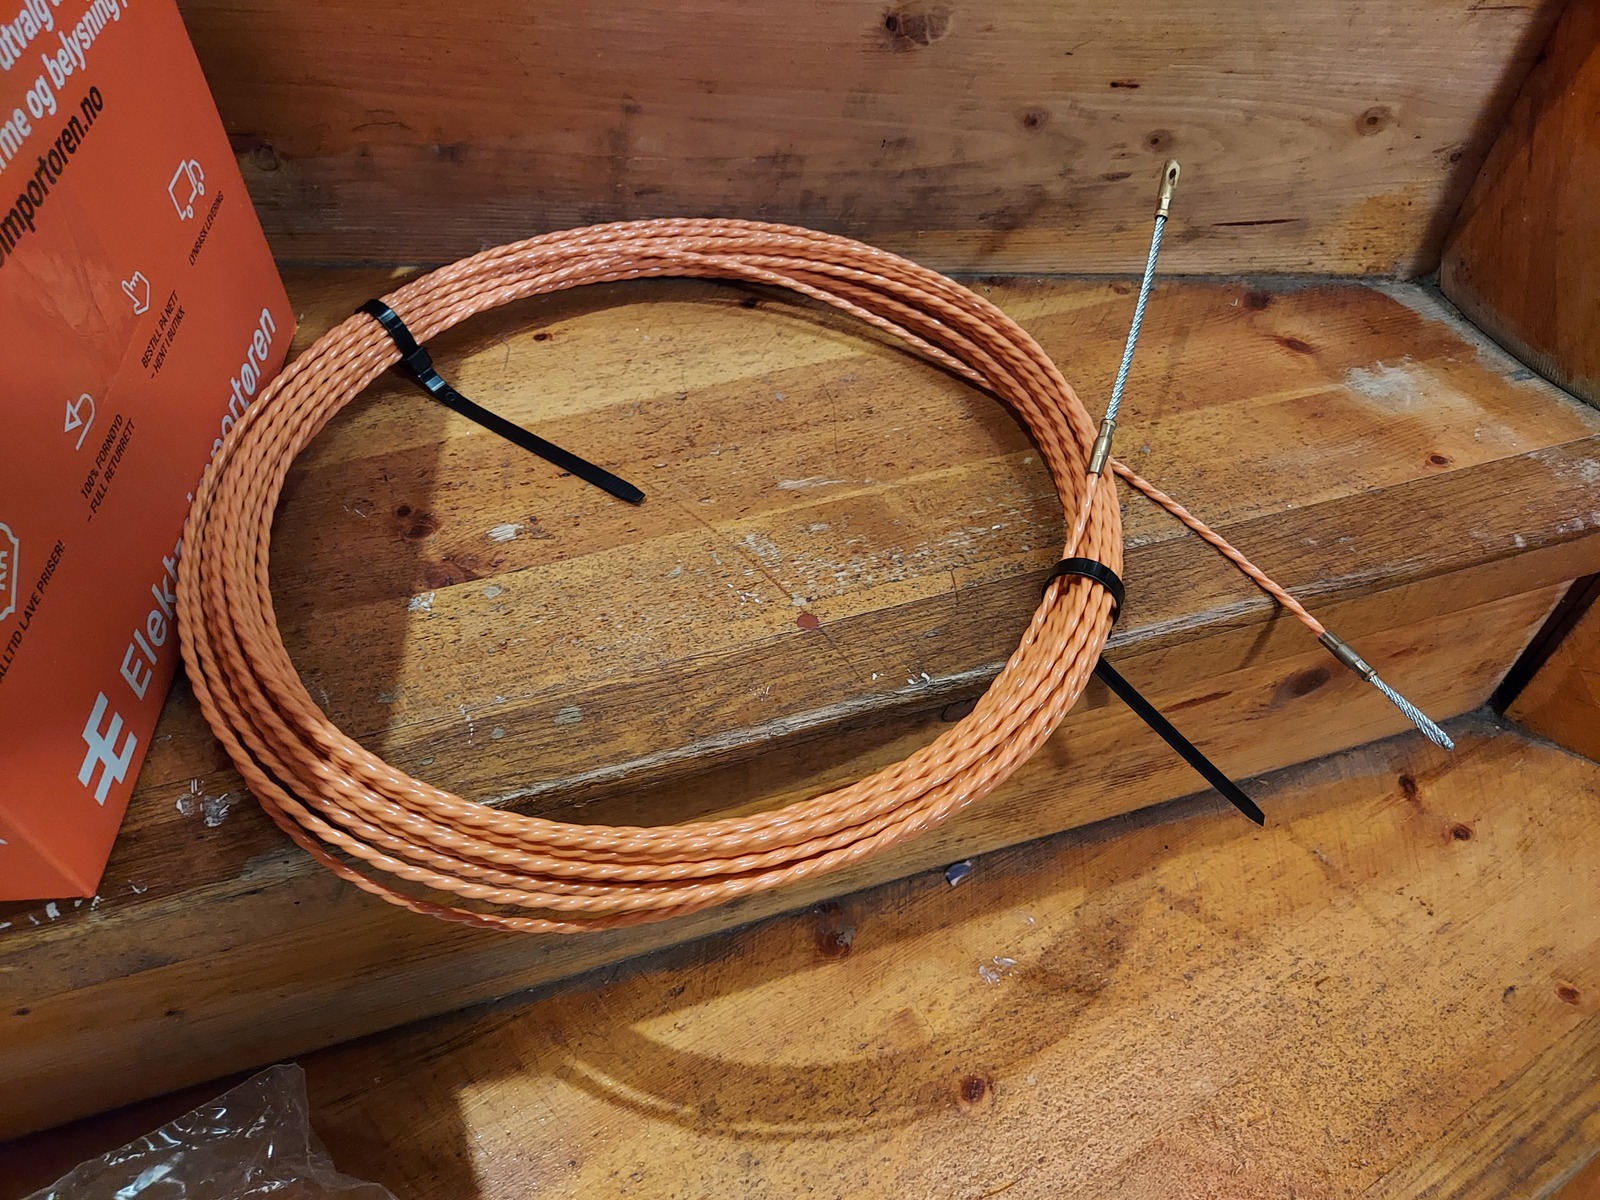
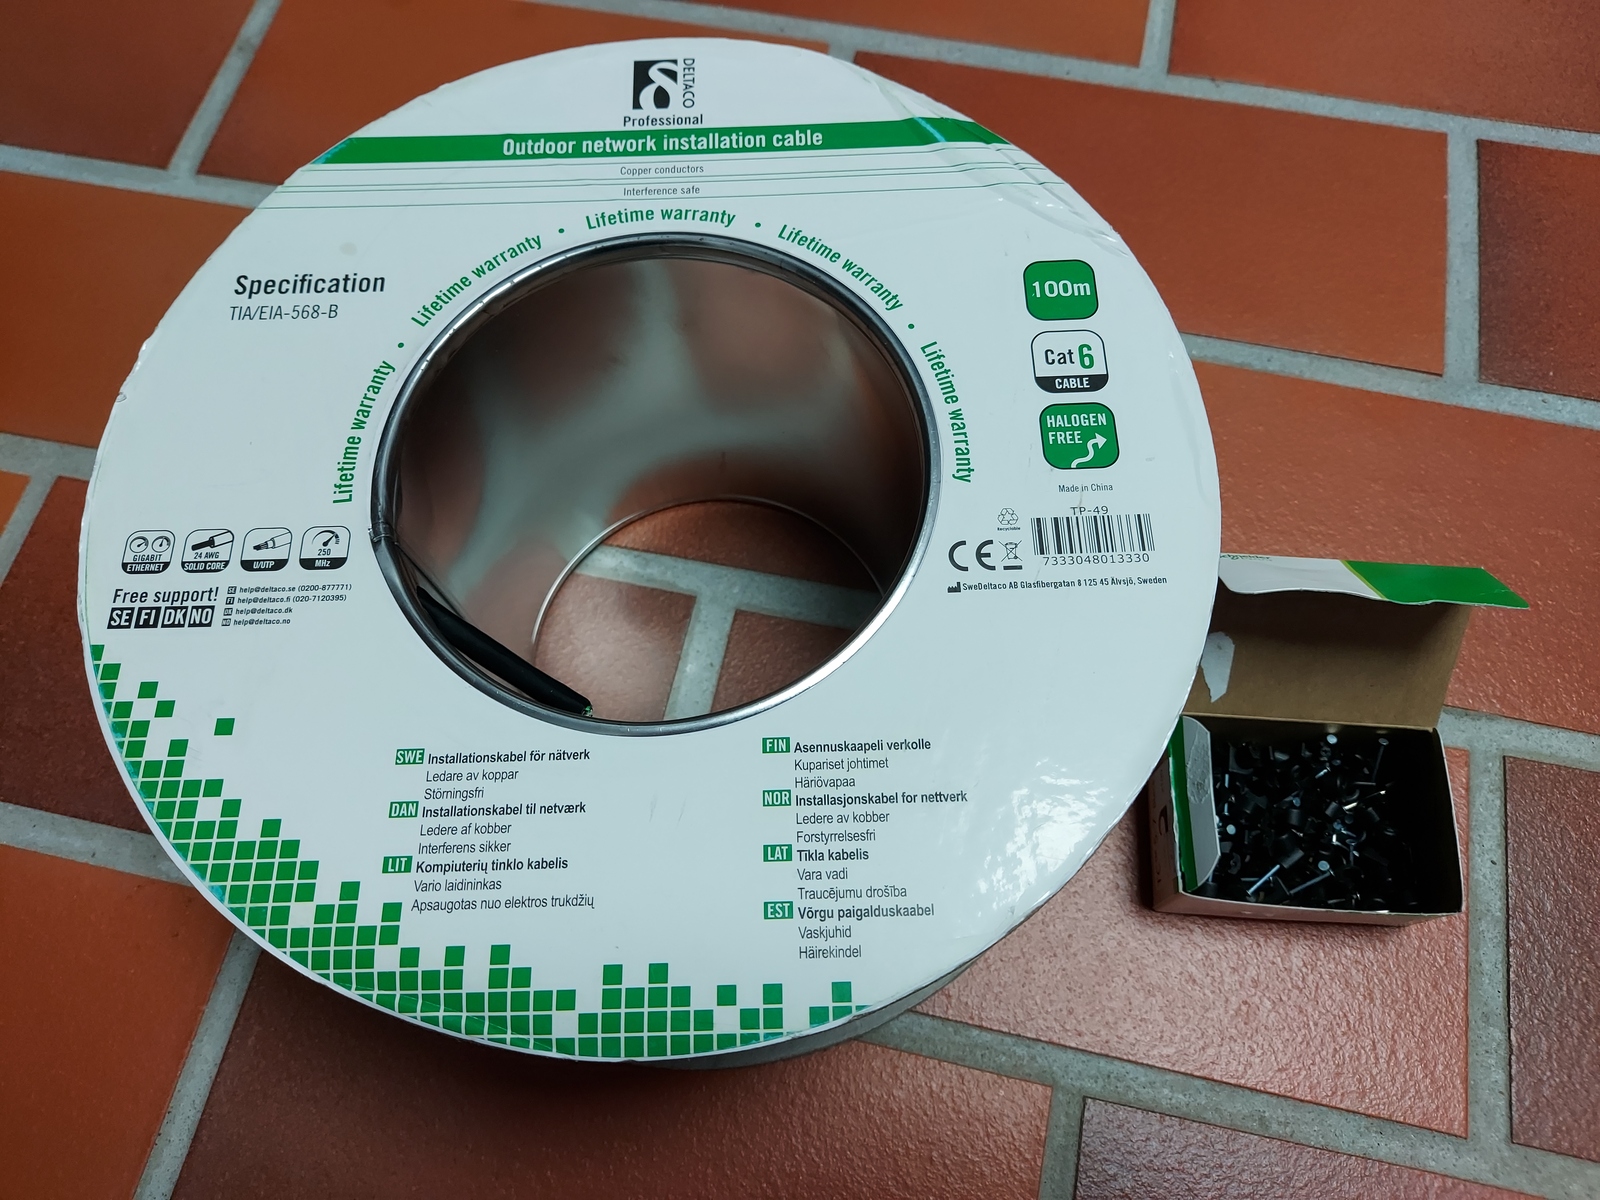
I had outdoor rated CAT6 cable left over from installing my outdoor access point.
I was a bit worried that I wouldn’t be able to push the fish tape through, that it would get stuck in a 90° bend, or because of friction.
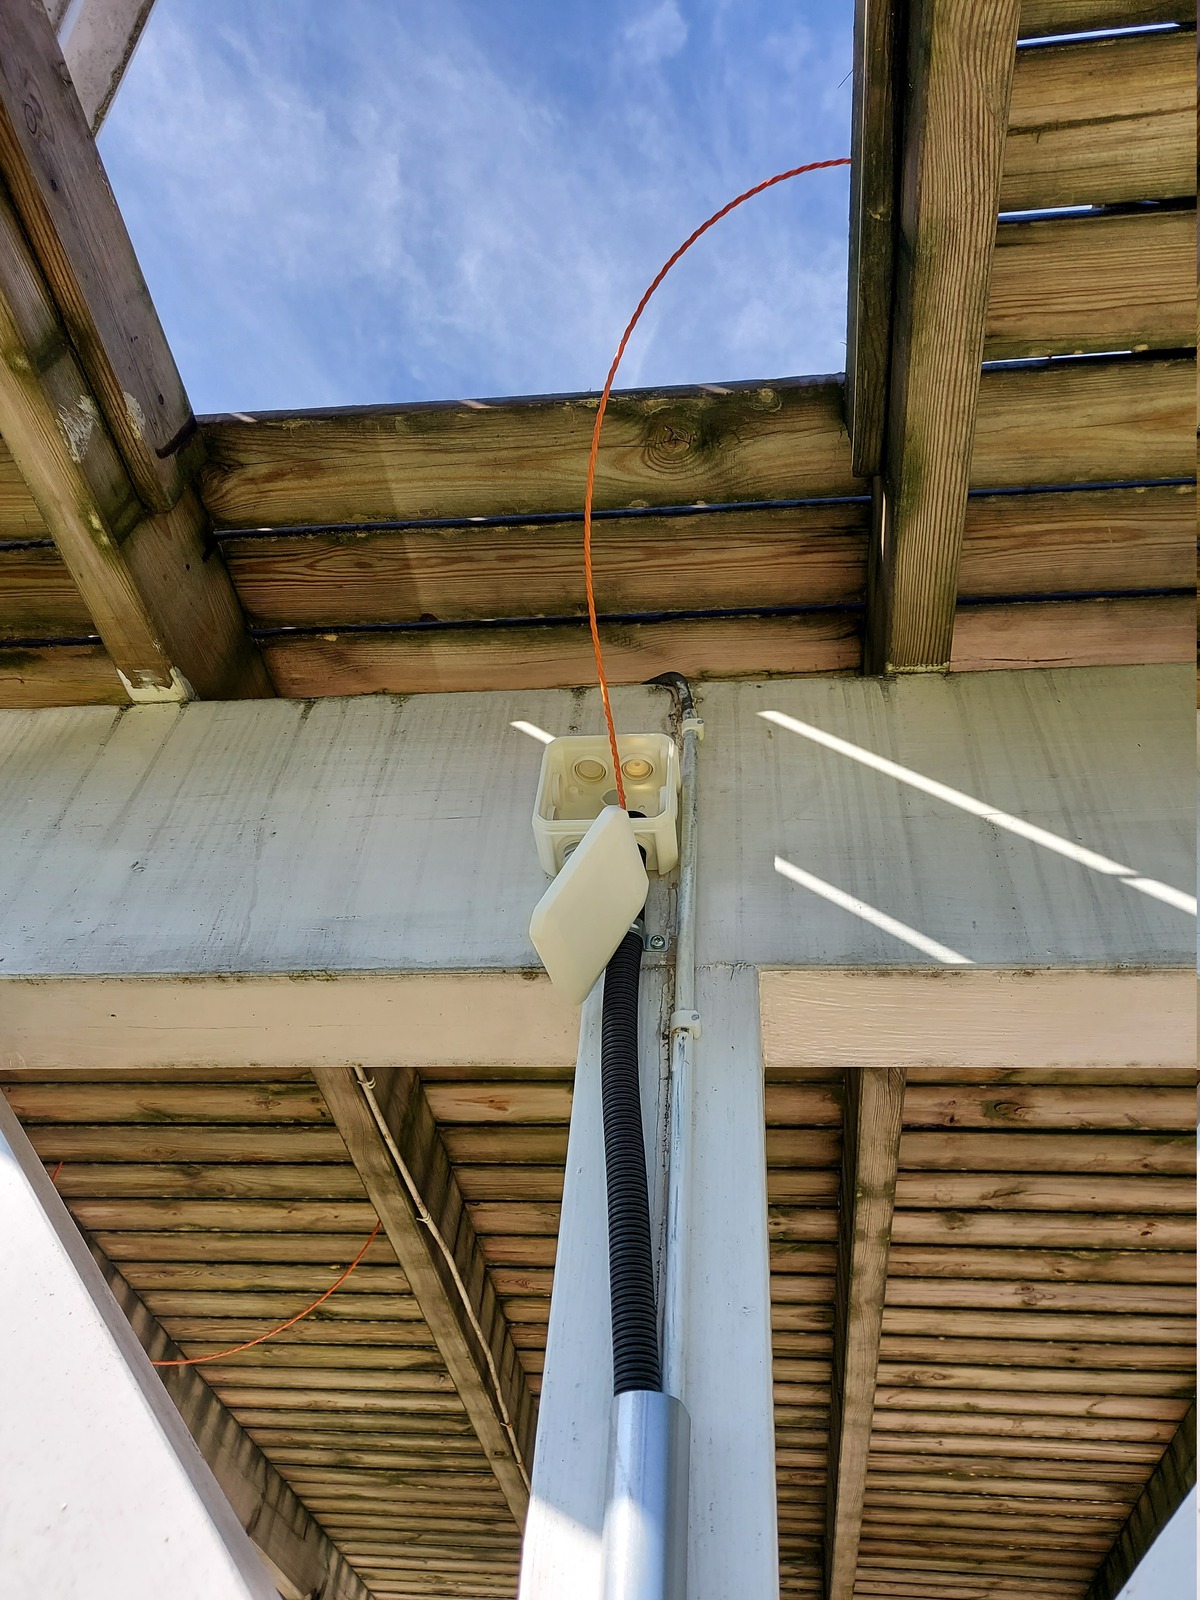
There is a hatch in the terrace floor, for removing snow in the winter. It’s located above the junction box where the conduit ends. This made it a lot easier to work with the fish tape.
Much to my surprise, I effortlessly pushed the tape all the way through the conduit and out the other side. I didn’t even feel it going through the 90° bend. A good fish tape is key!
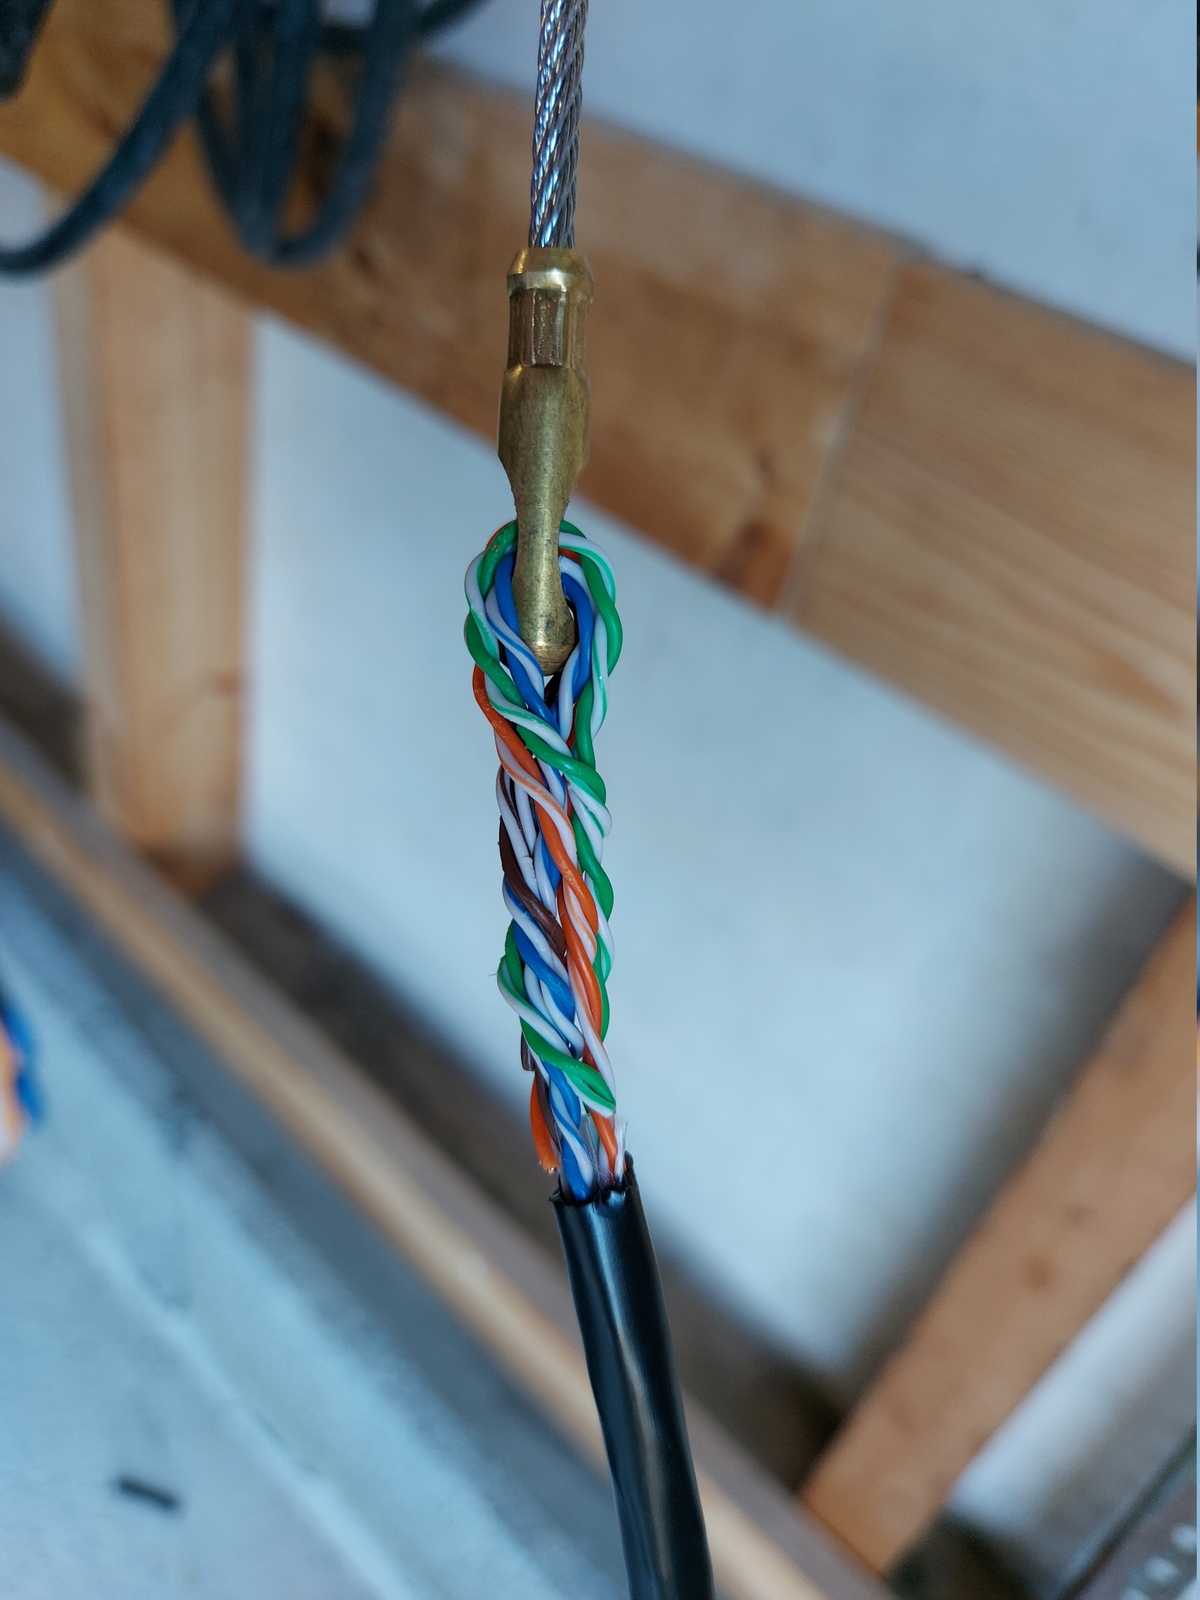
Then I threaded the wires through the pulling eye, making sure they were secure.
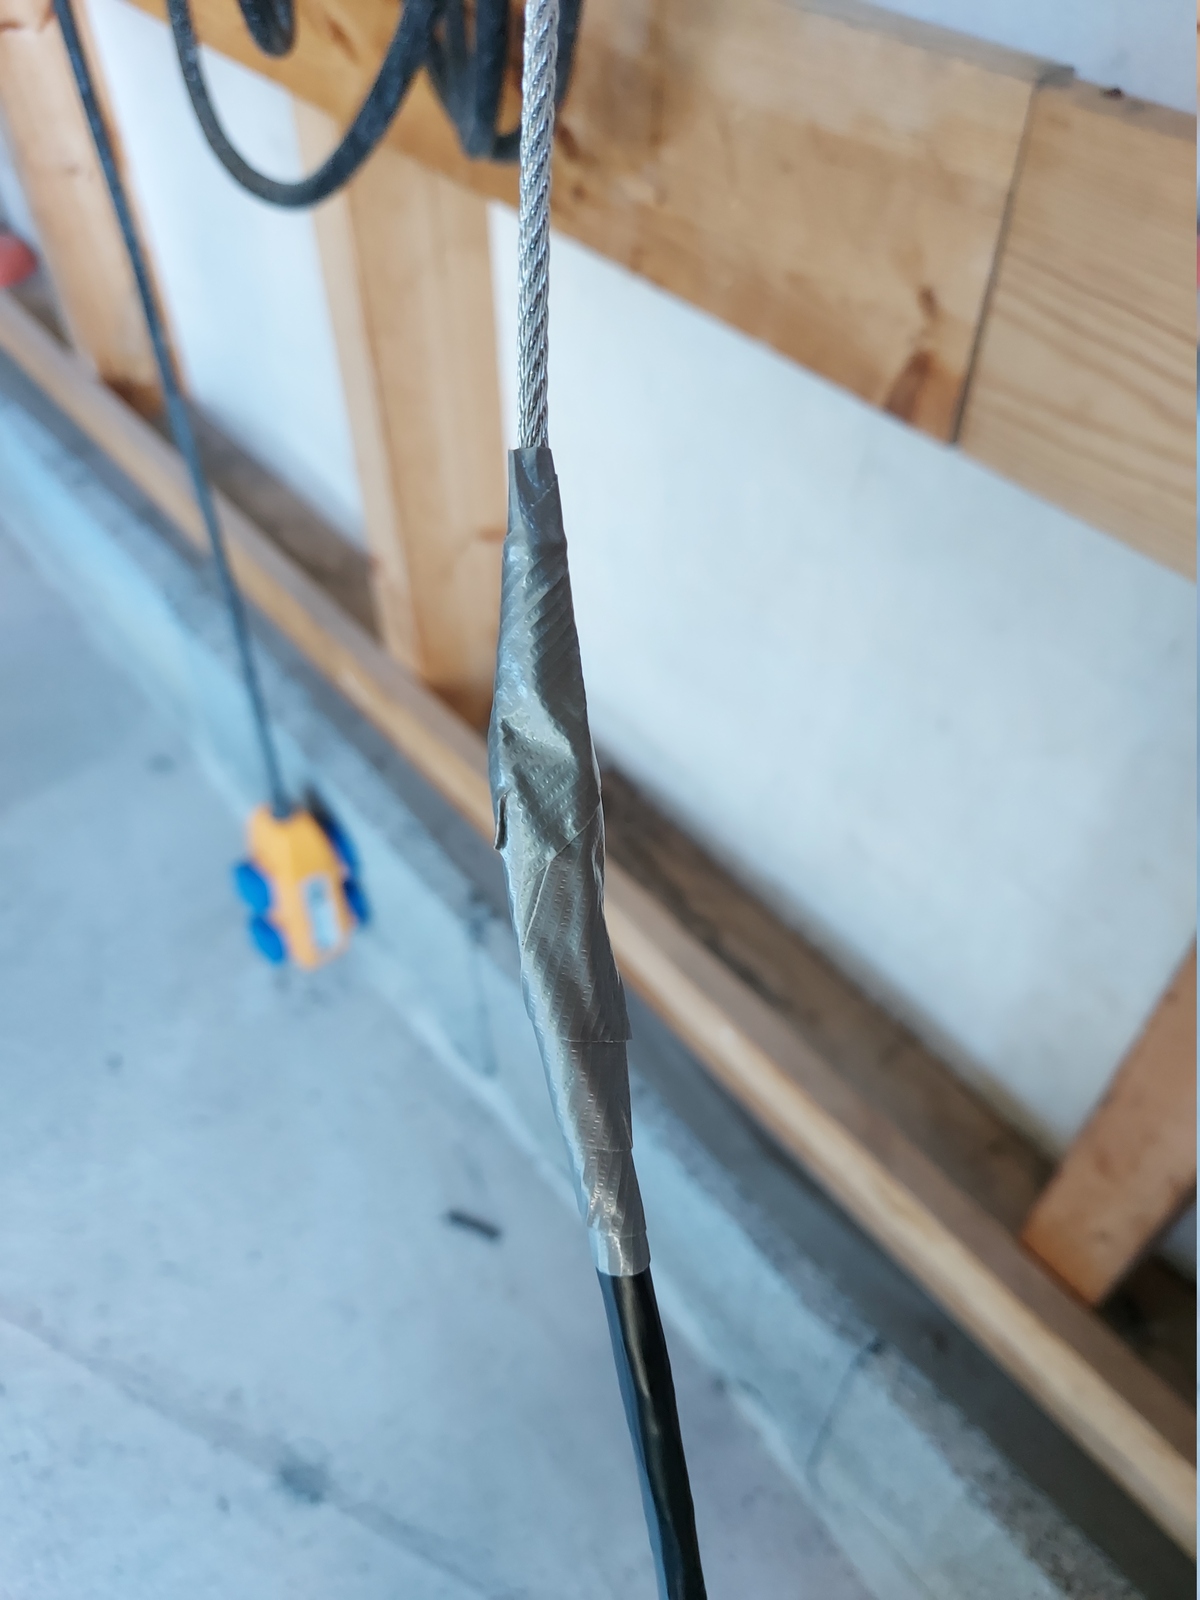
And duct-taped it, so it wouldn’t come loose or get hung up on something.
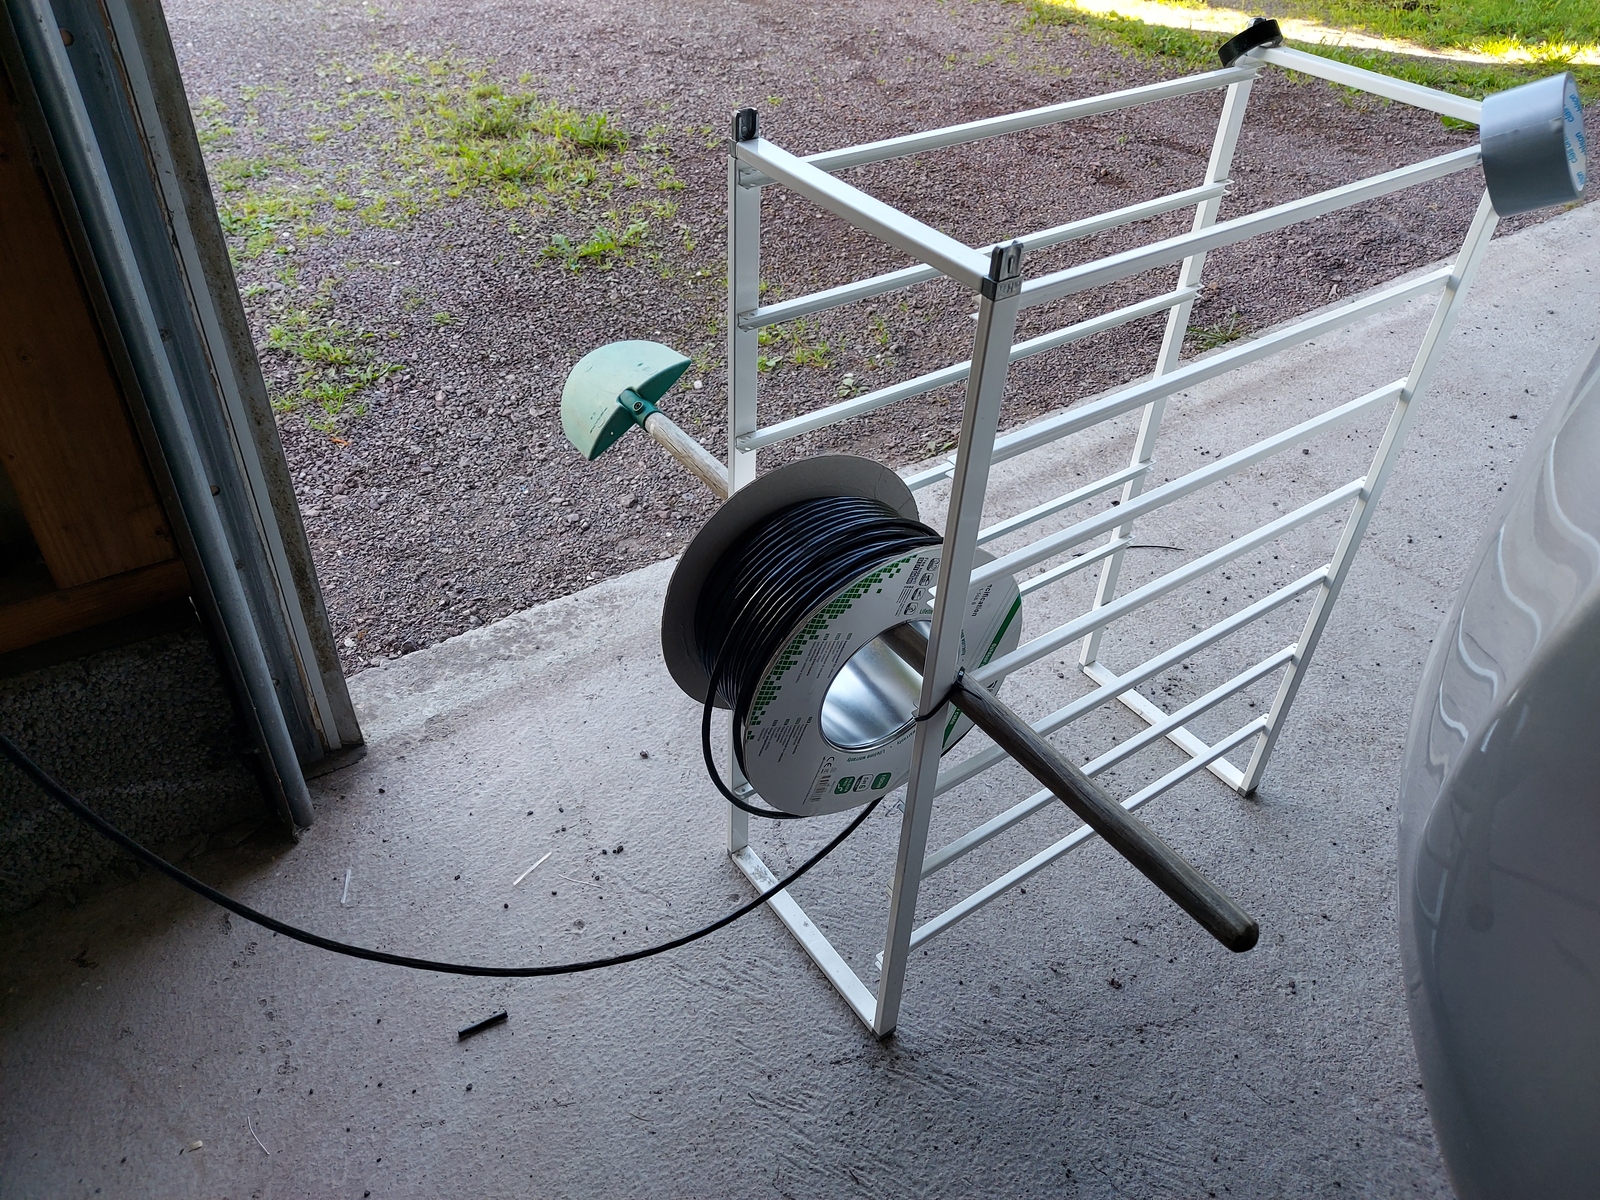
I secured the CAT6 spool to a wire basket stand. My wife helped feed the cable as I pulled, and we got started 🙂

We pulled the cable though without any problems. I didn’t need to use any lubricant on the cable — the conduit does have a “smooth inside” so maybe that helped.
After the cable was through, we needed to pull another 25 meters for the cable to reach all the way to my home office.
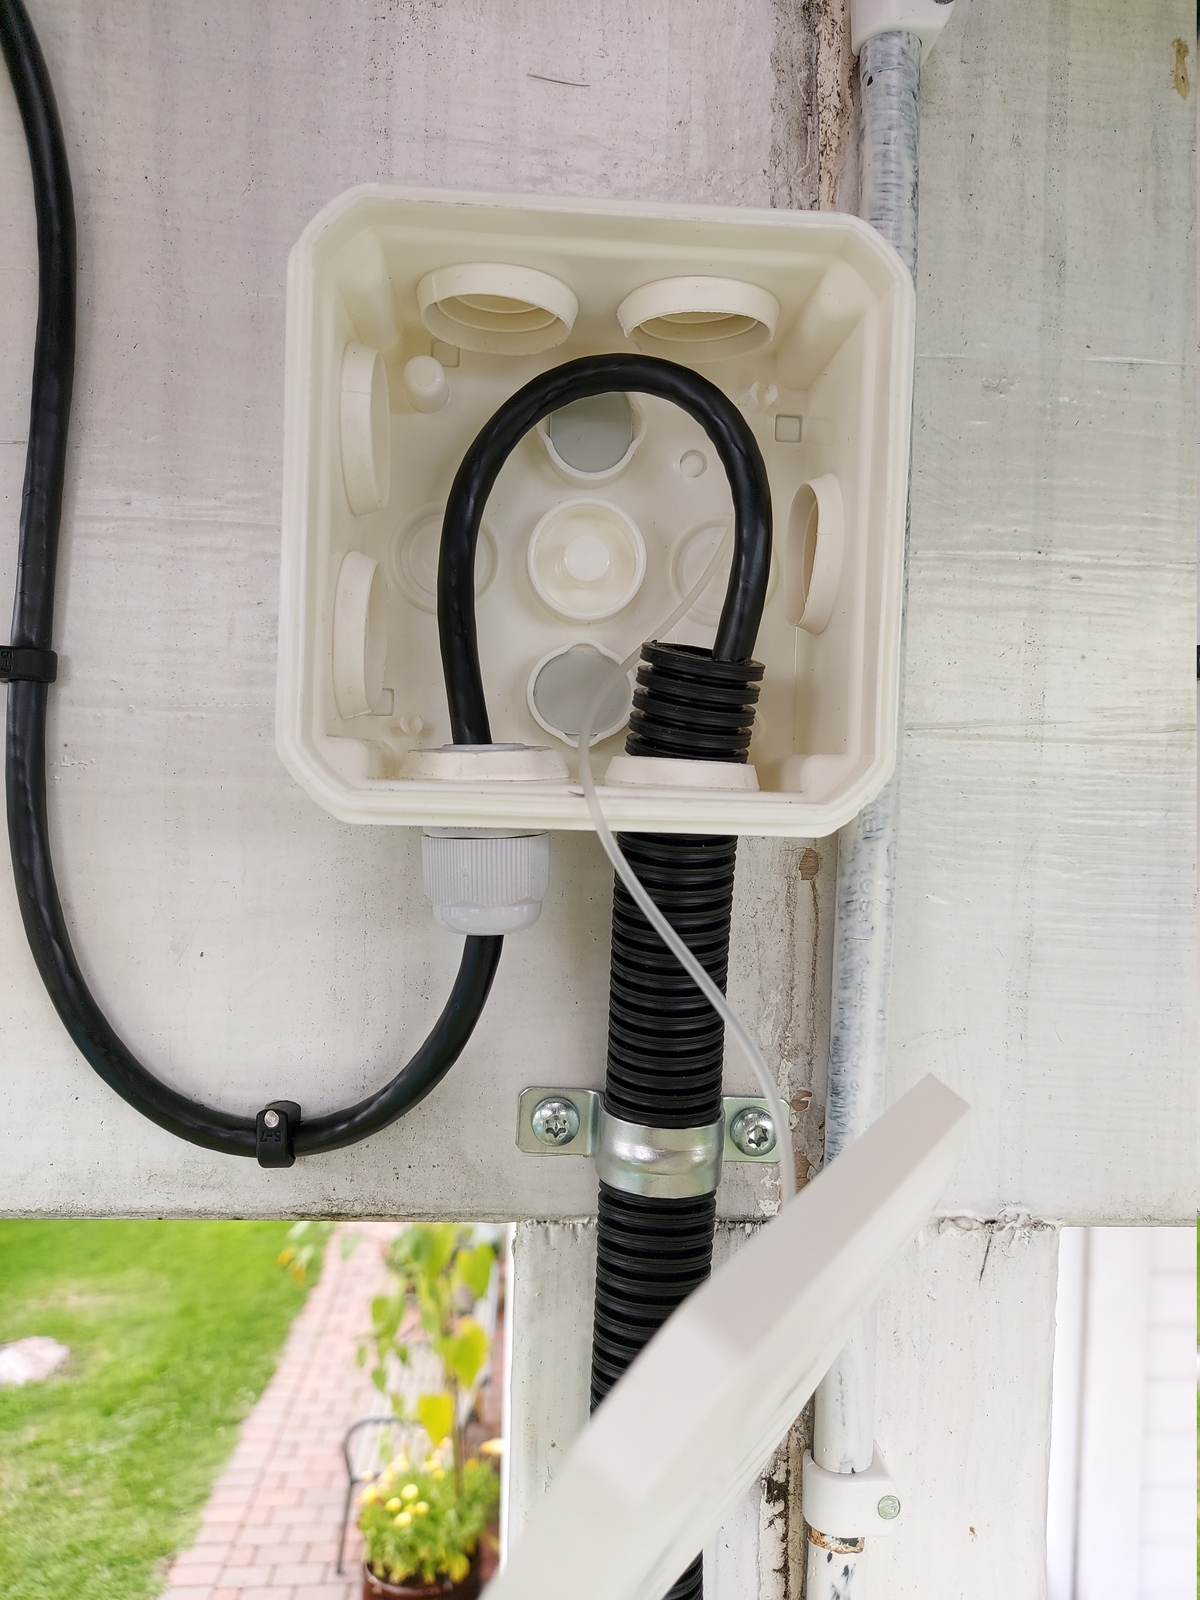
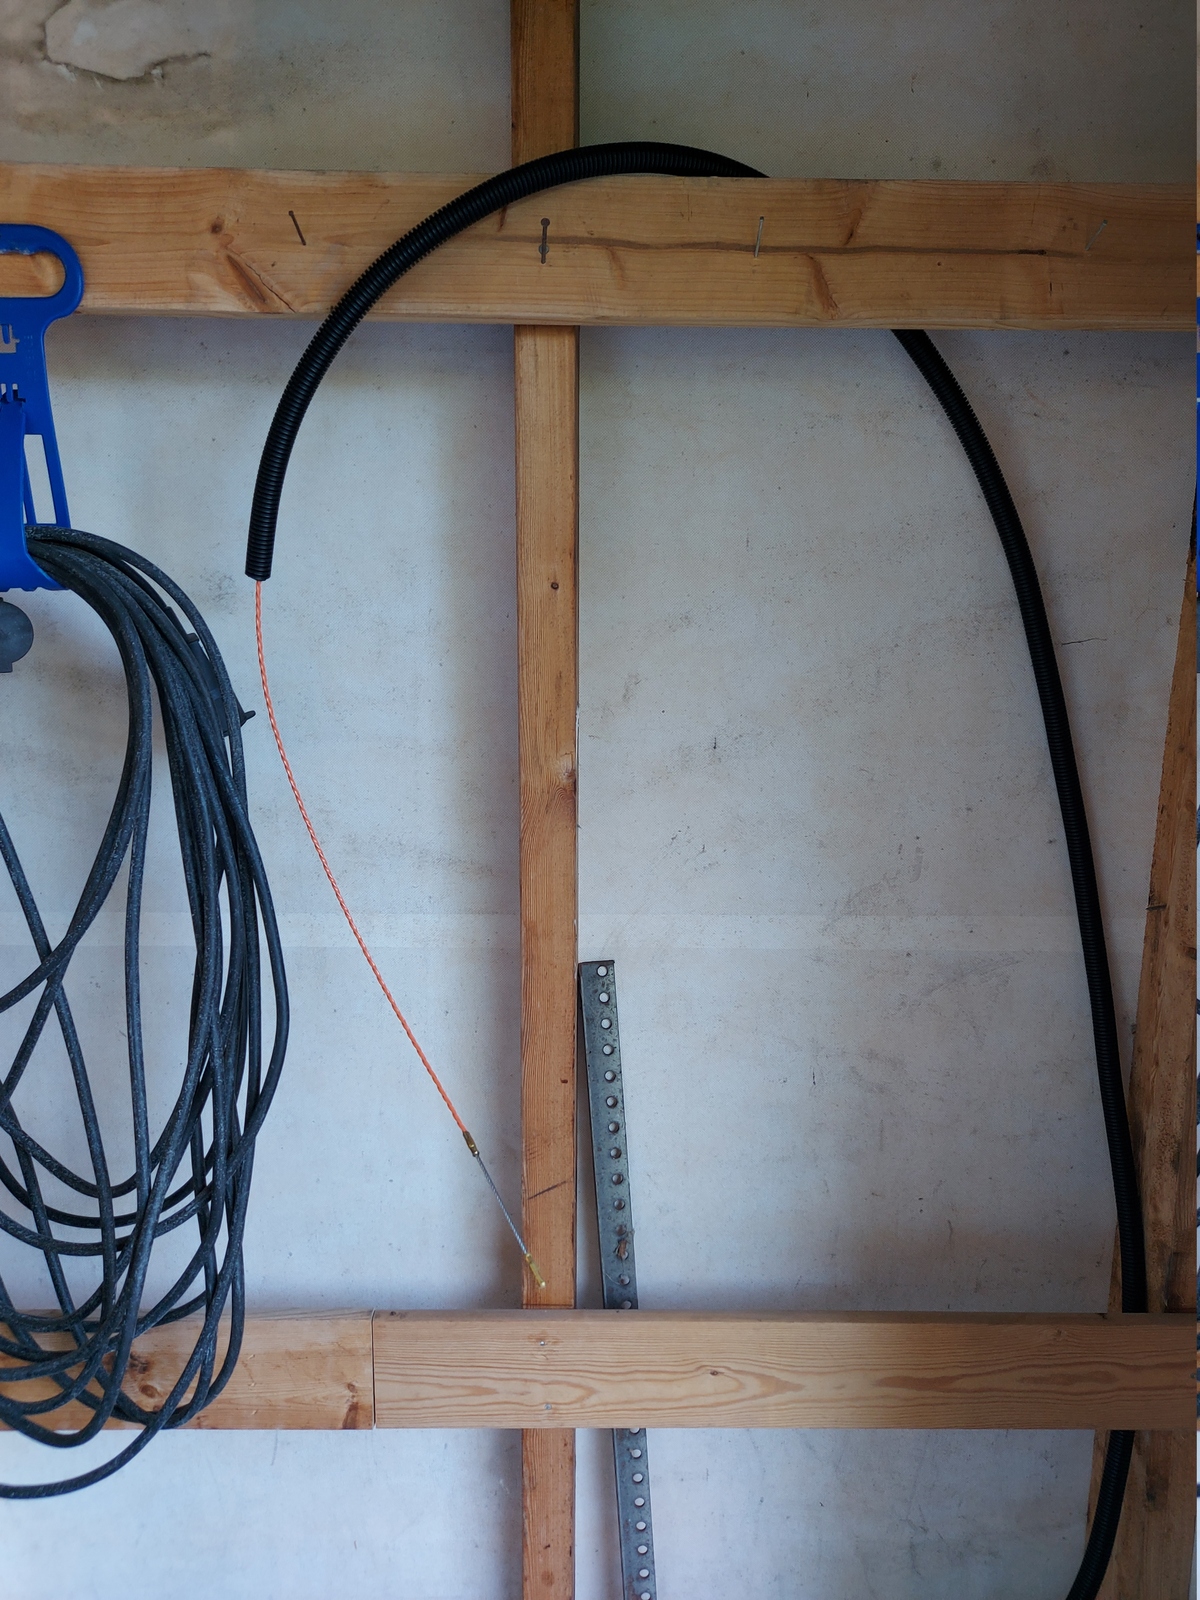
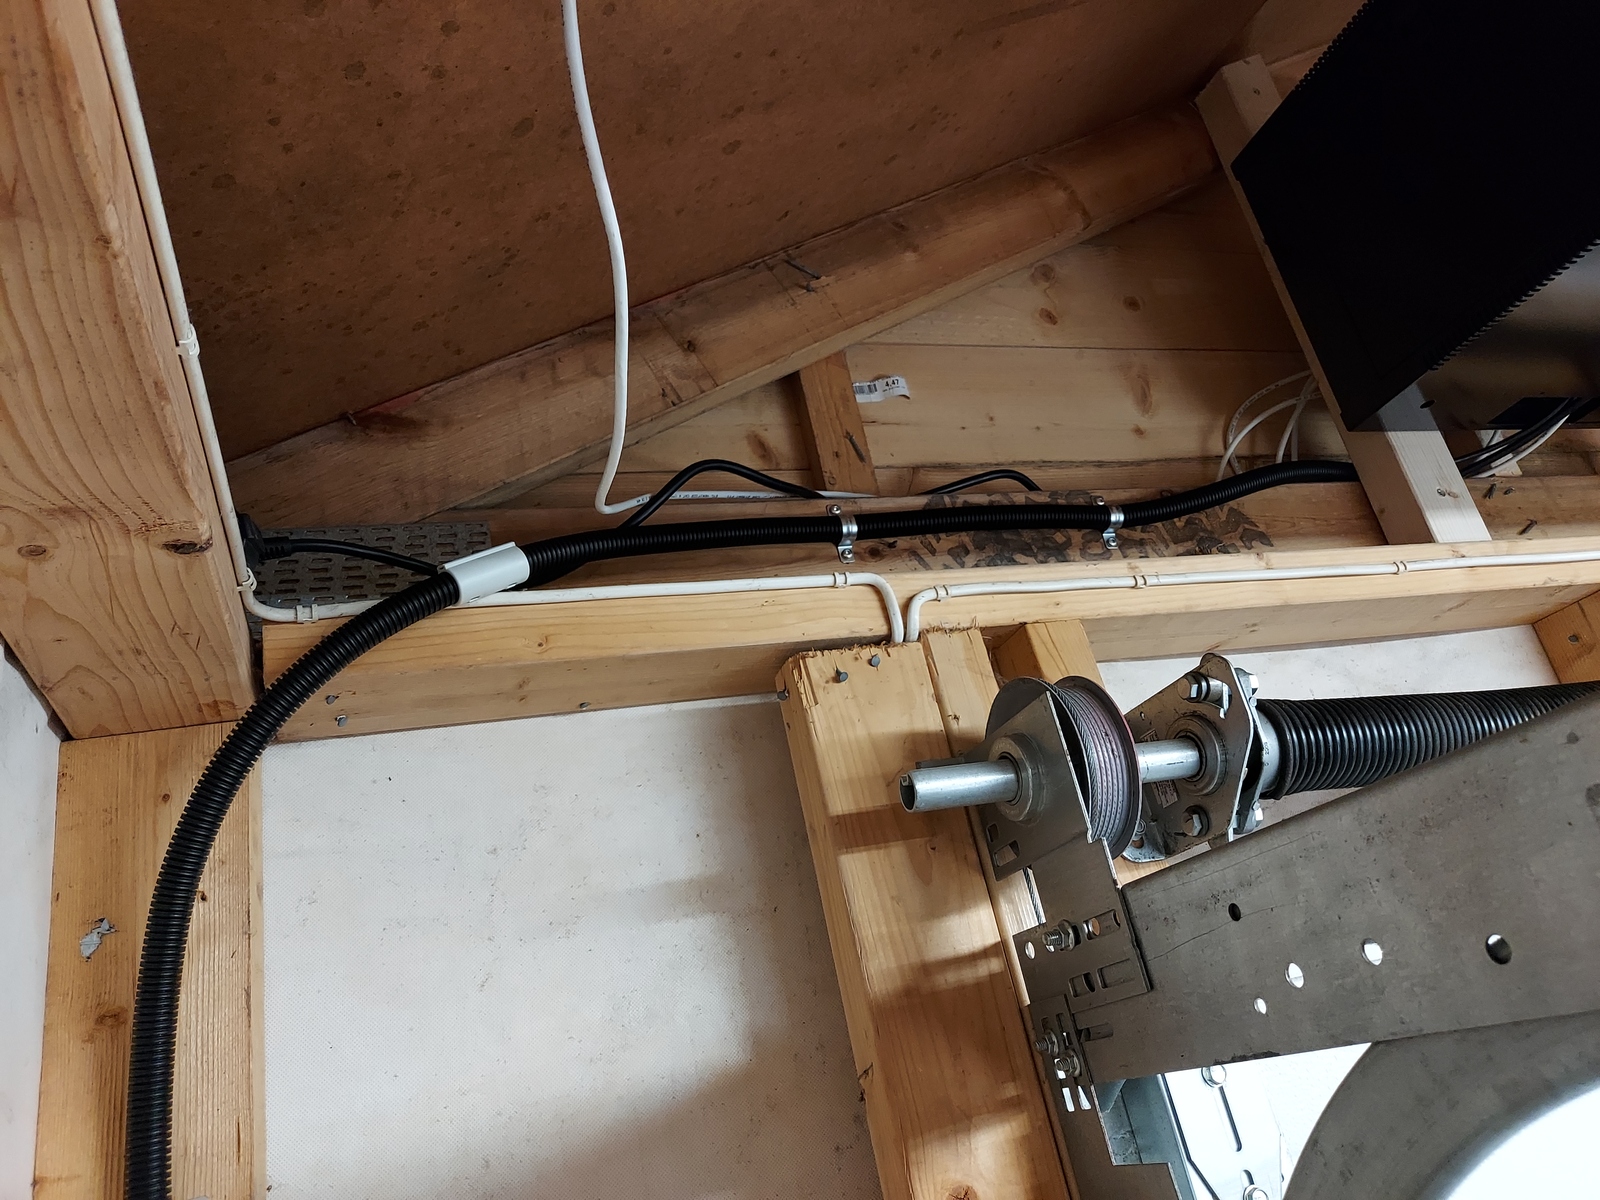
Then I started threading and fastening the cable. The junction box is just used to end the conduit, keeping the water out.

Cable leaving the junction box, going up under the terrace.
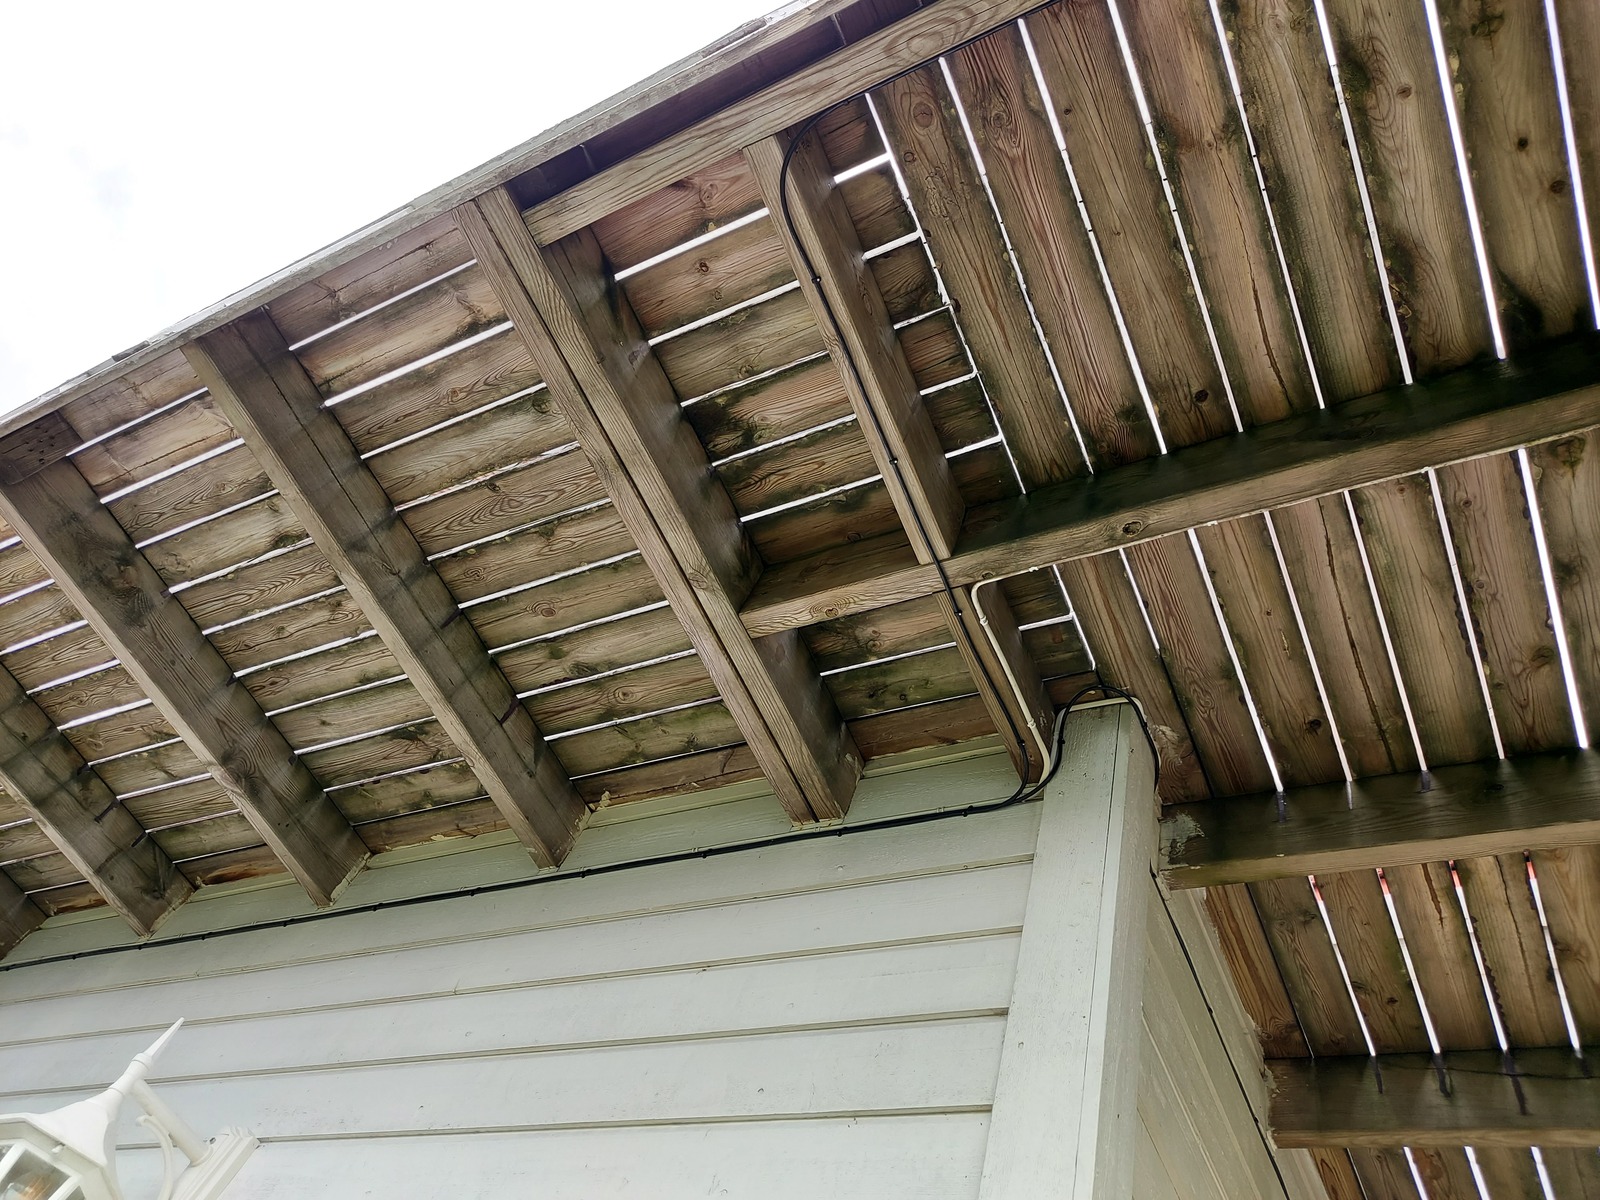
Continuing along the underside of the terrace, where it meets the cable from the outdoor access point. Then onto the wall of the house…
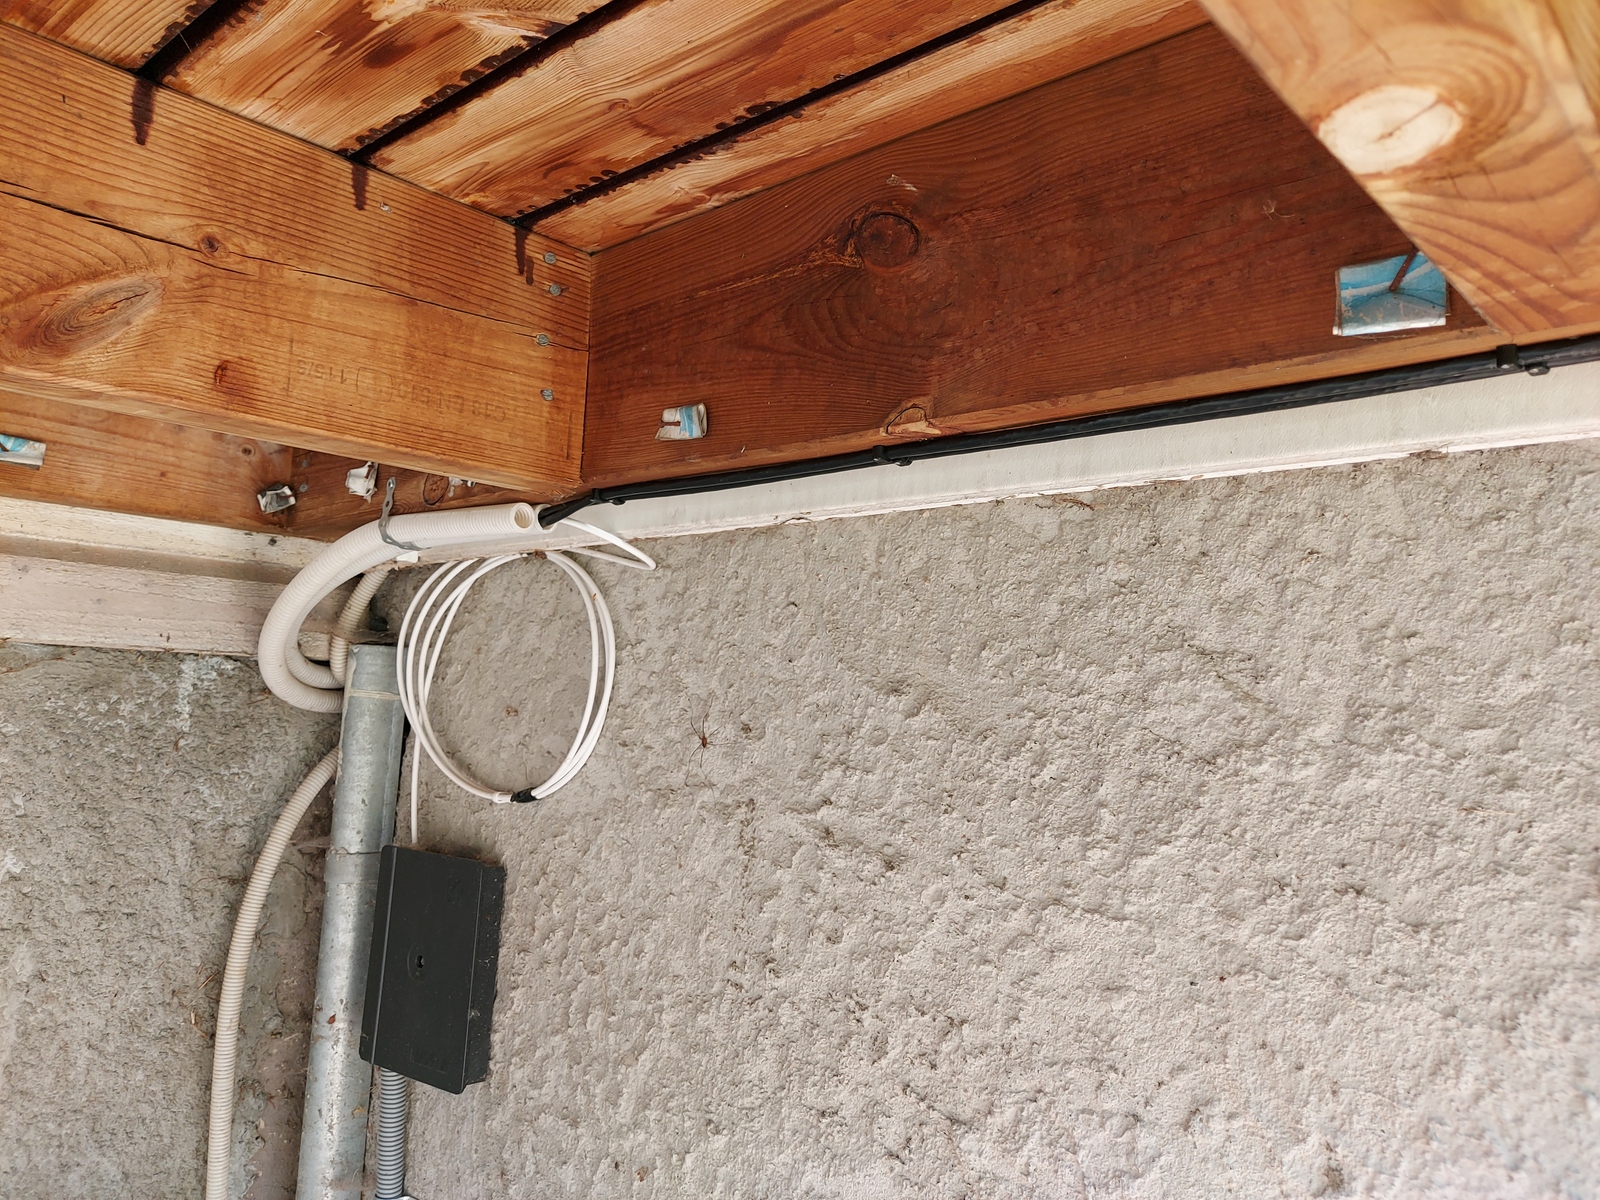
…going down and into a conduit leading to the basement. Together with another CAT6 cable and my ISP fiber.
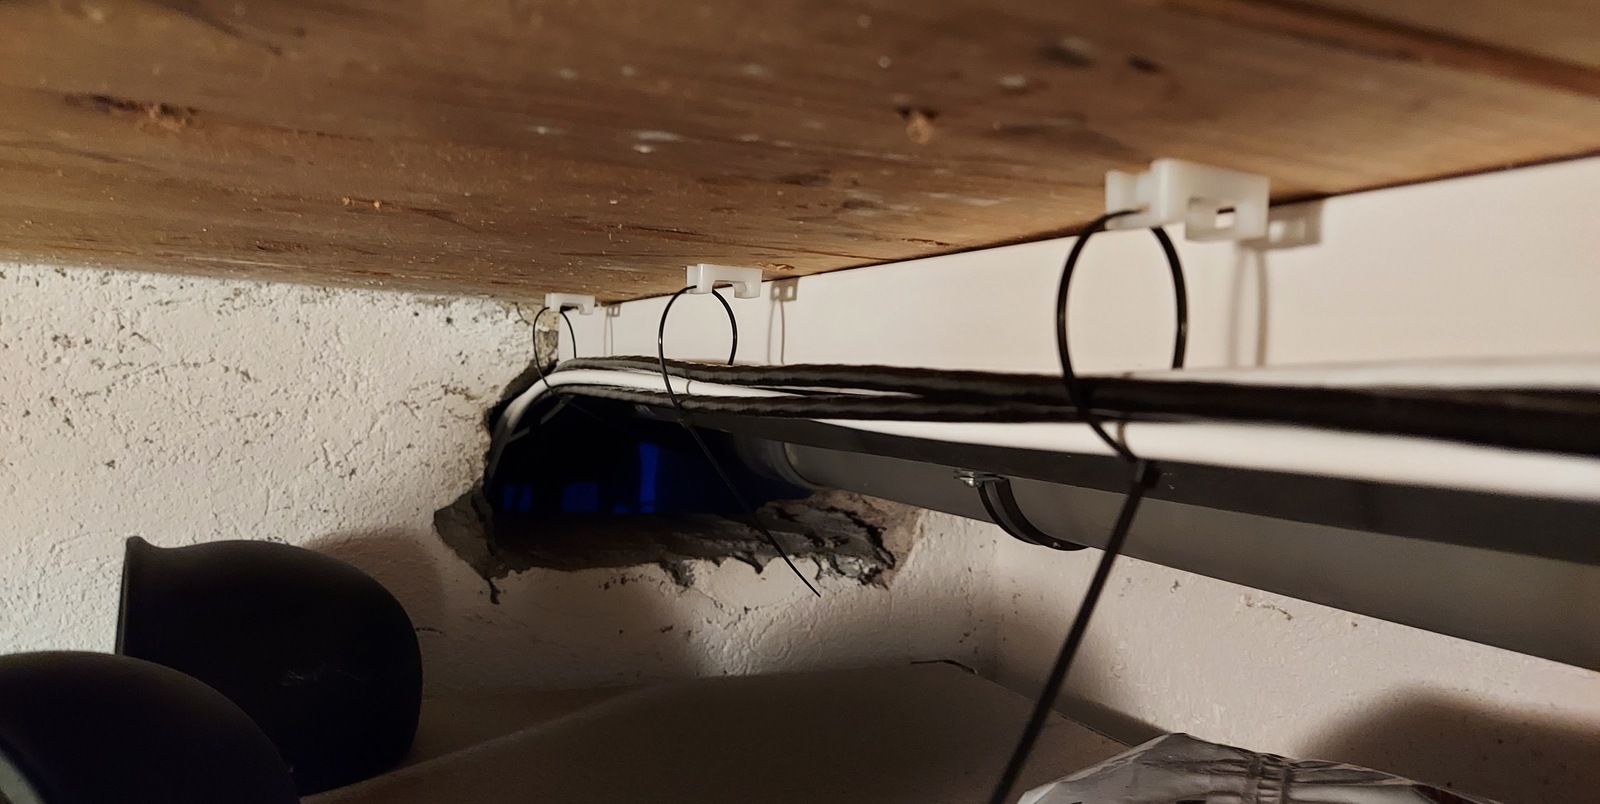
Then through the basement, and into my home office.
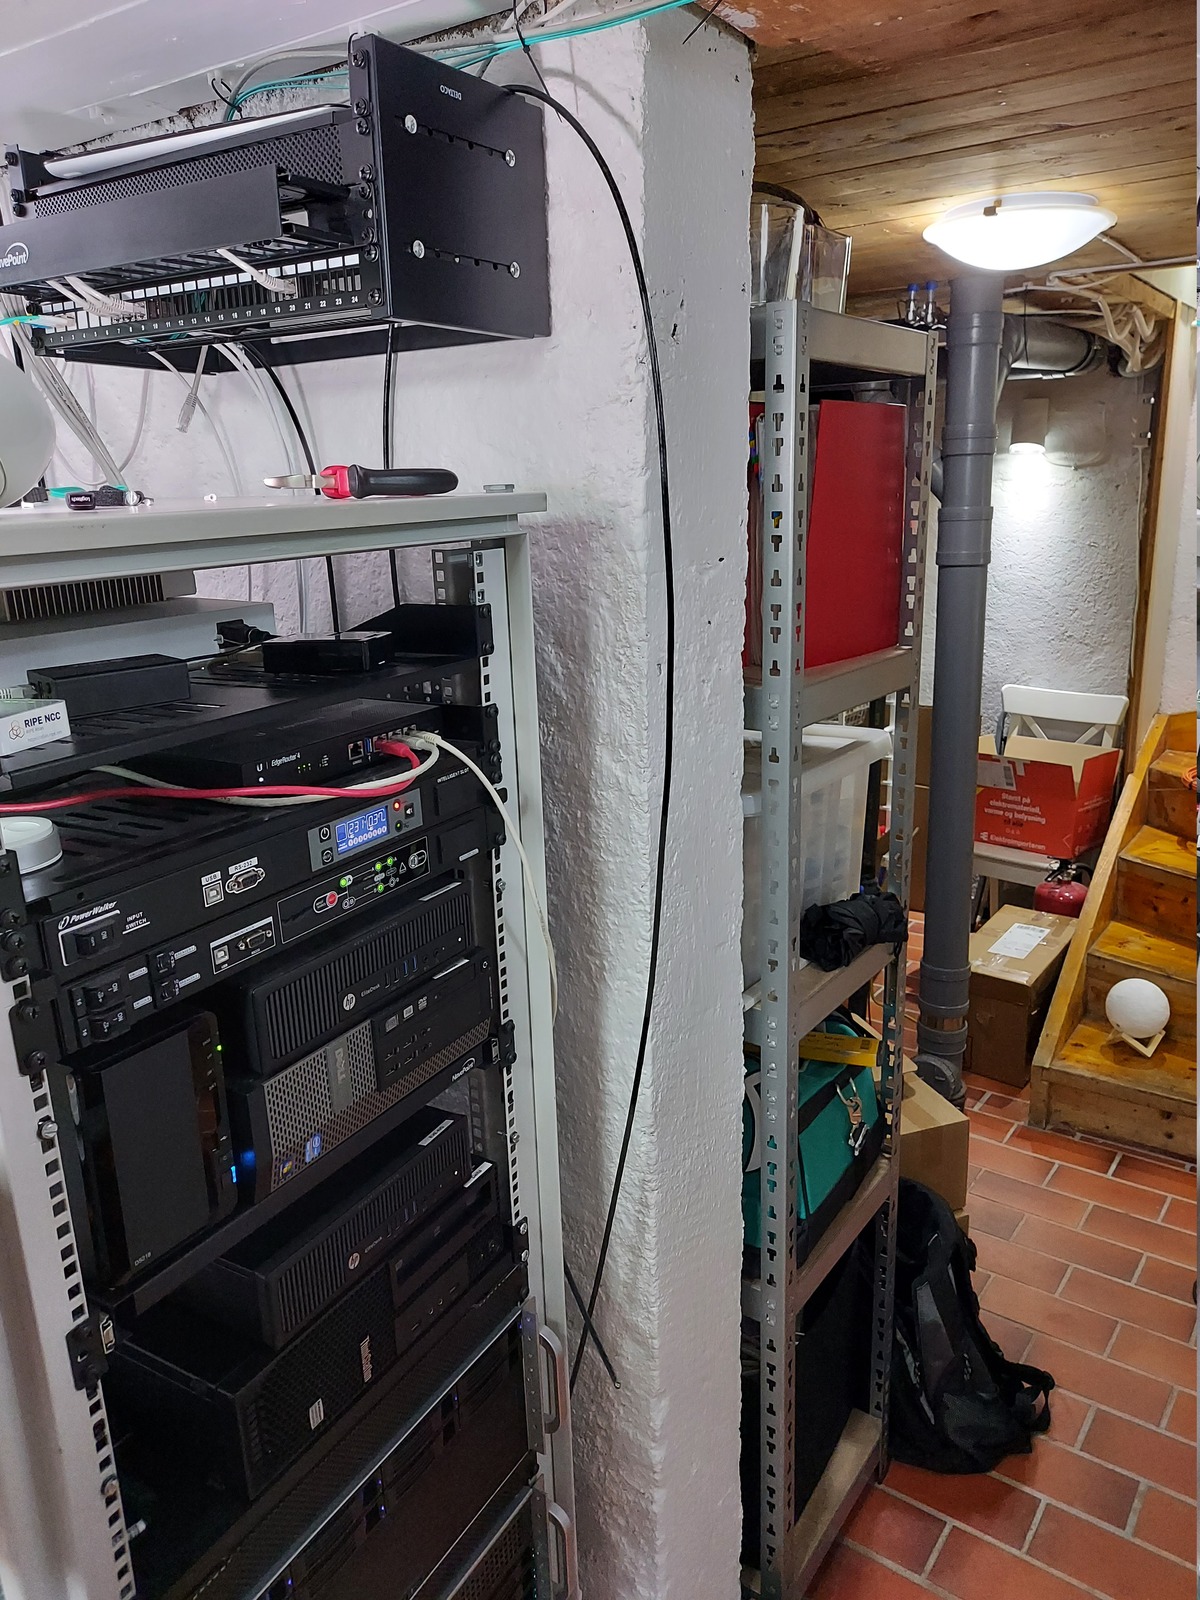
And finally; to the patch panel 🙂

I used the rest of the 22mm metal cable guard to secure the conduit in the garage. My initial plan was to end the conduit after the guard ended…
…but instead I figured I might as well use it all the way to the rack cabinet. So I extended the conduit with a coupling, and secured it with some fasteners.
The cable now goes from the rack cabinet in the garage, all the way to the patch panel in my home office. With a total cable length of 40 meters — 15 of those in the conduit.
Now it just needs to be terminated 🥳
Terminating the cable
The last step is to terminate both ends of the CAT6 cable.
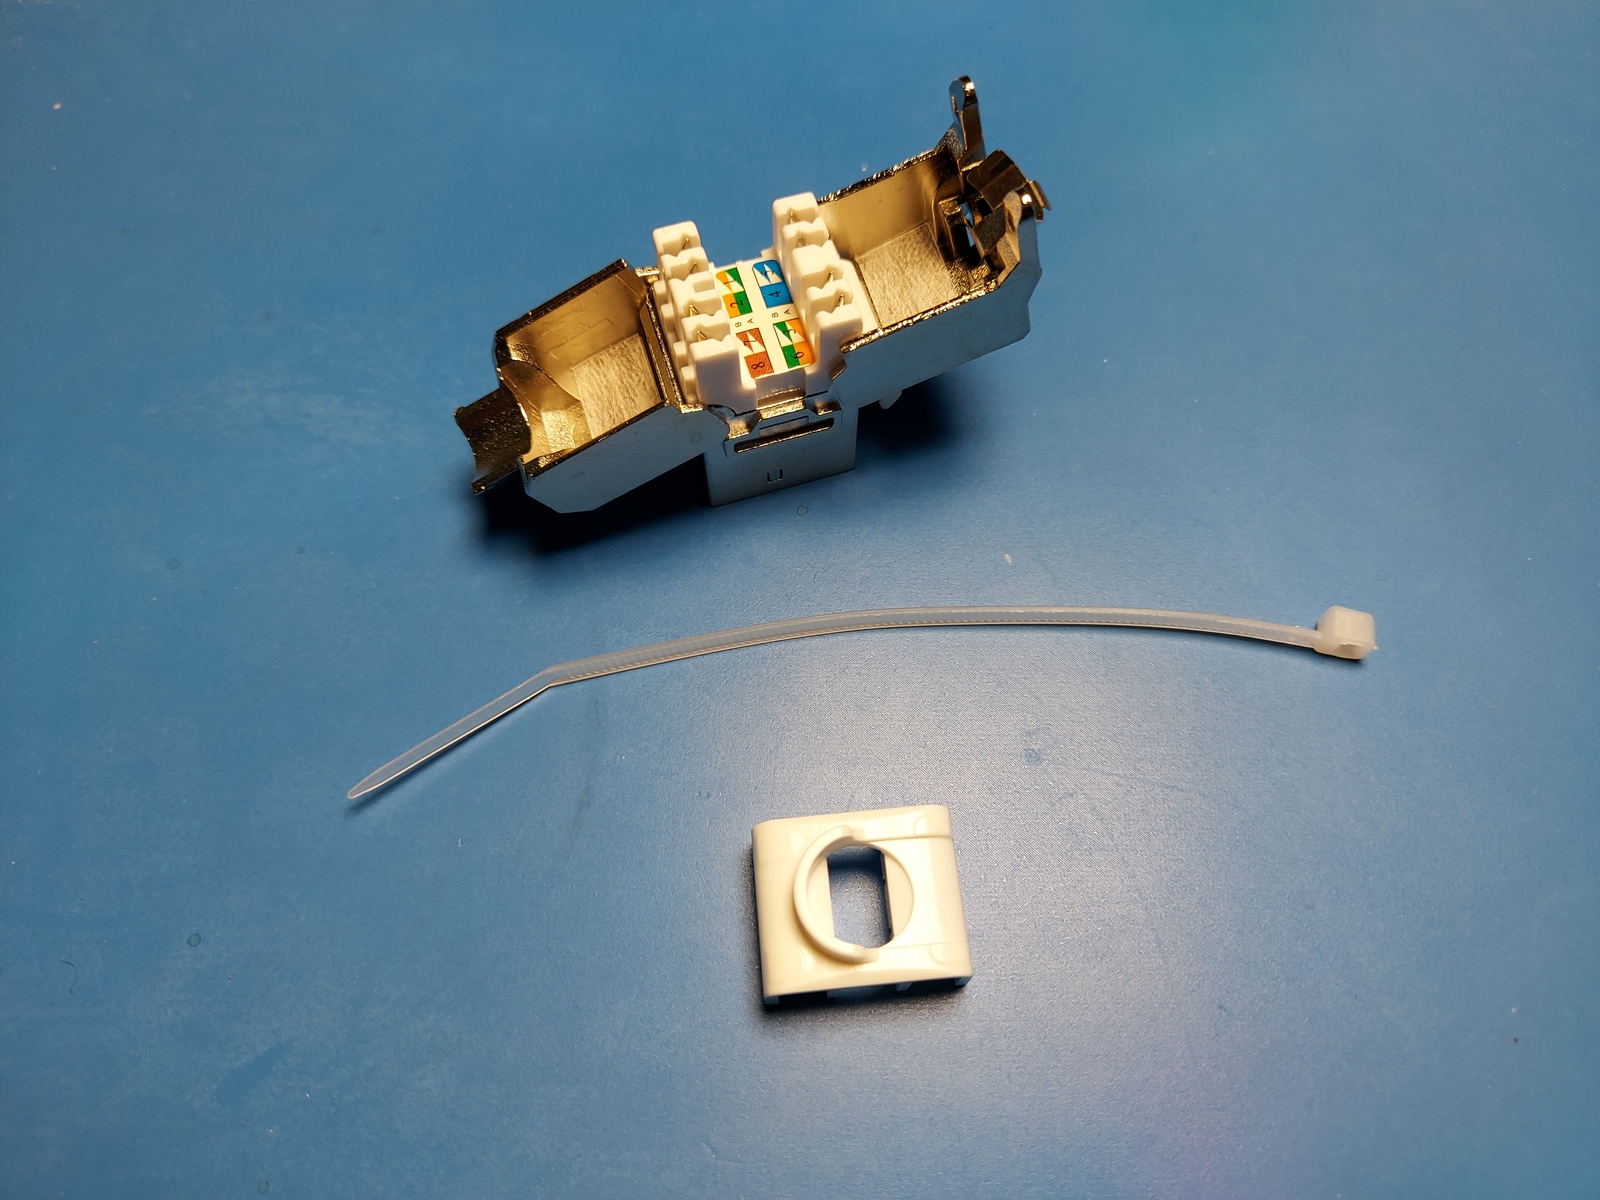
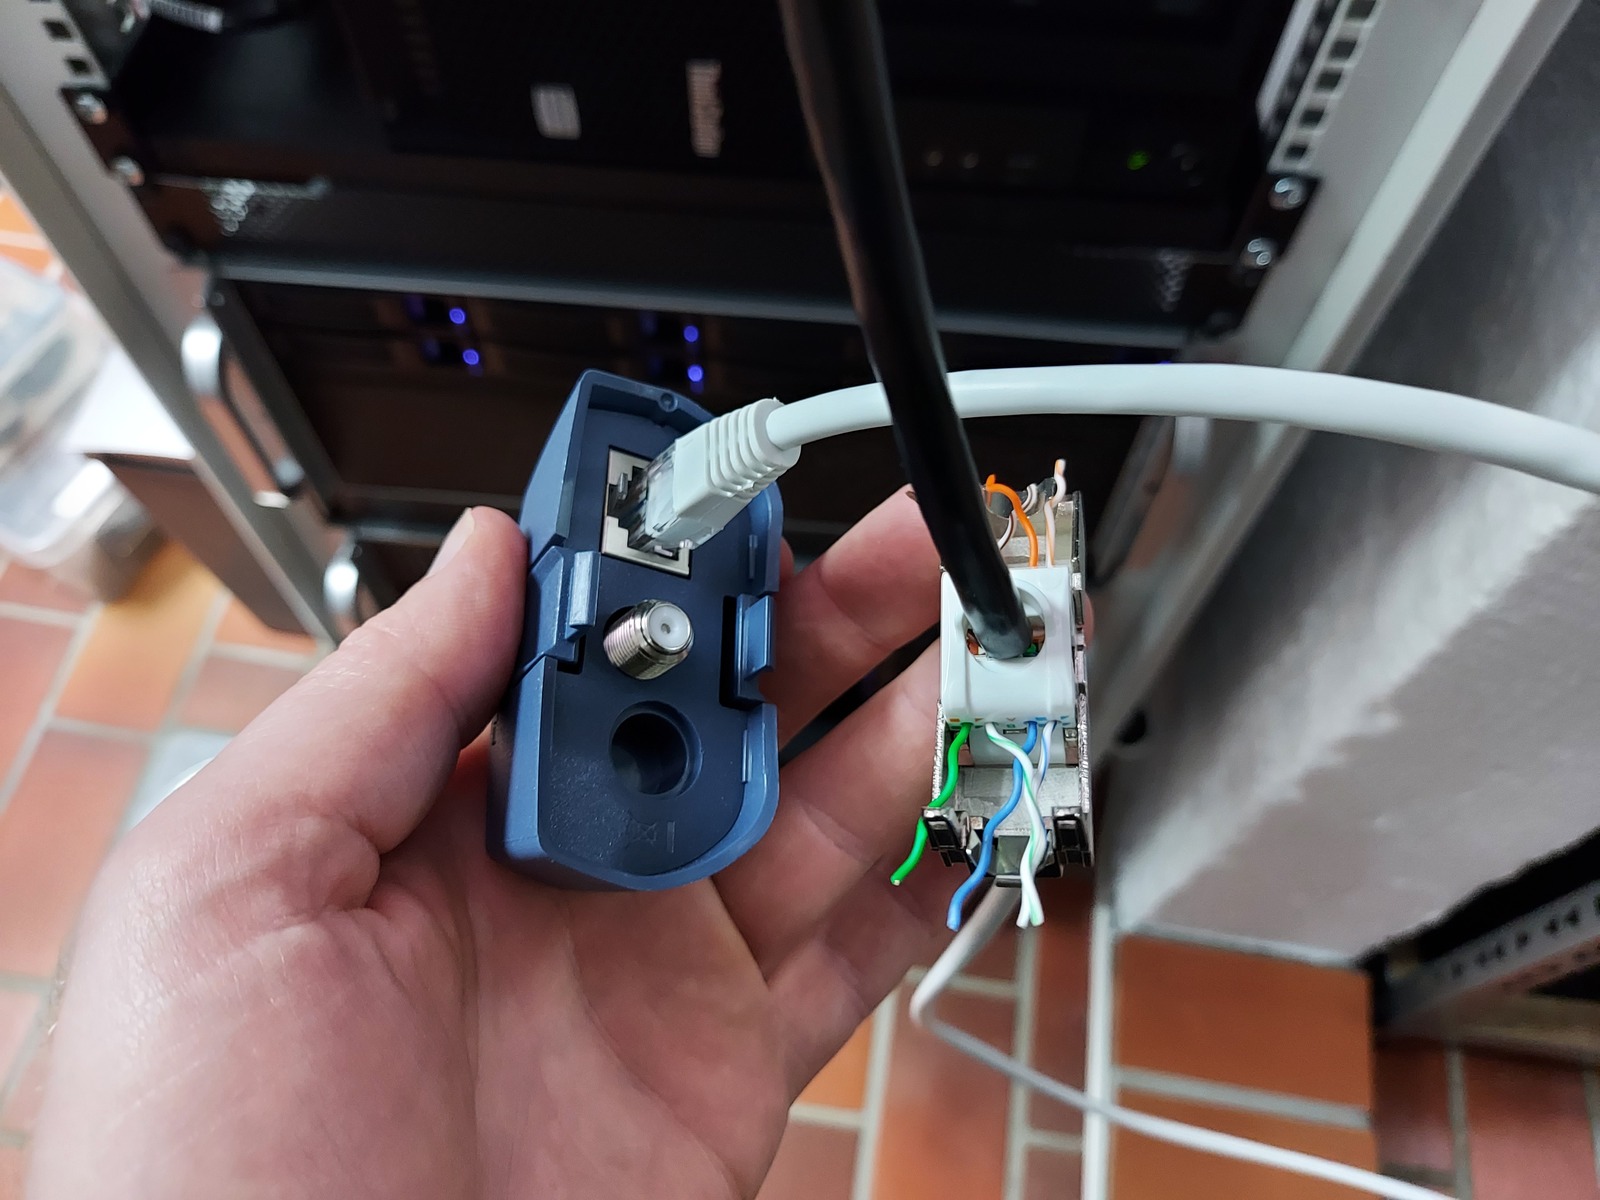
I’m using tool-free keystone jacks, which are really easy to install.
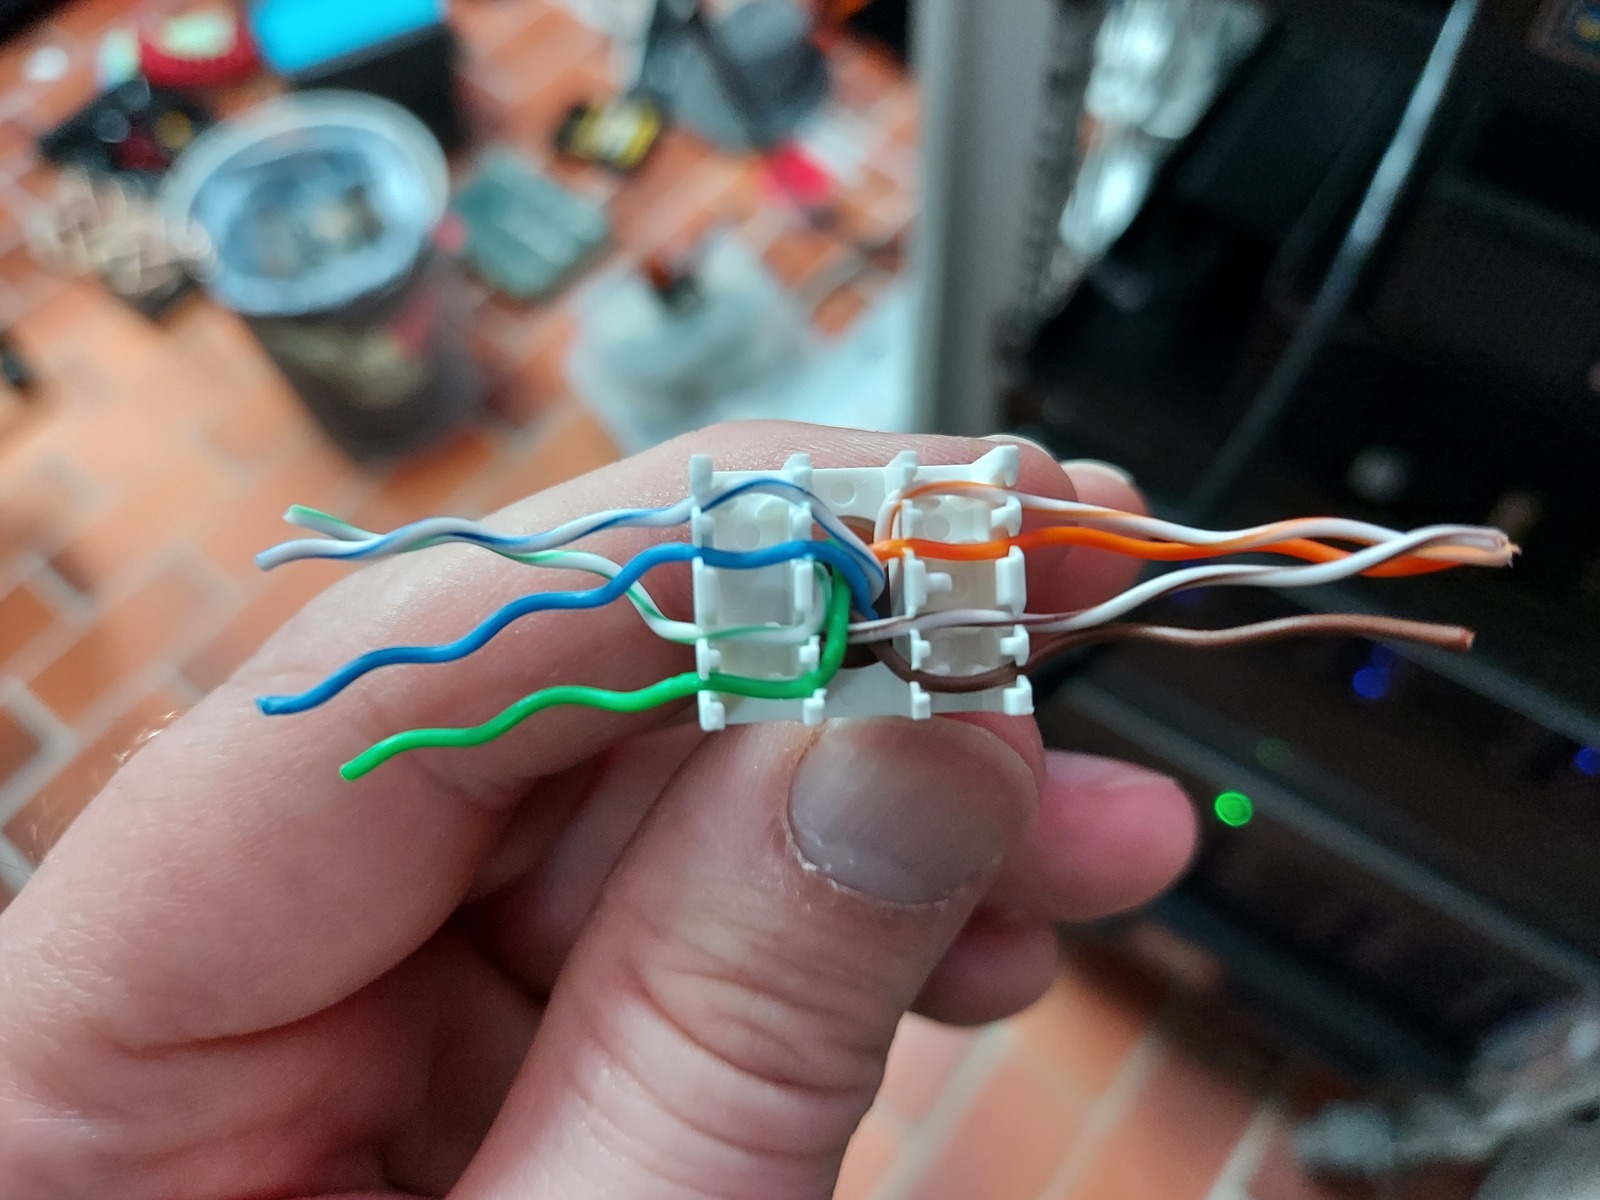
The wires goes though and are fastened in the top plastic piece.
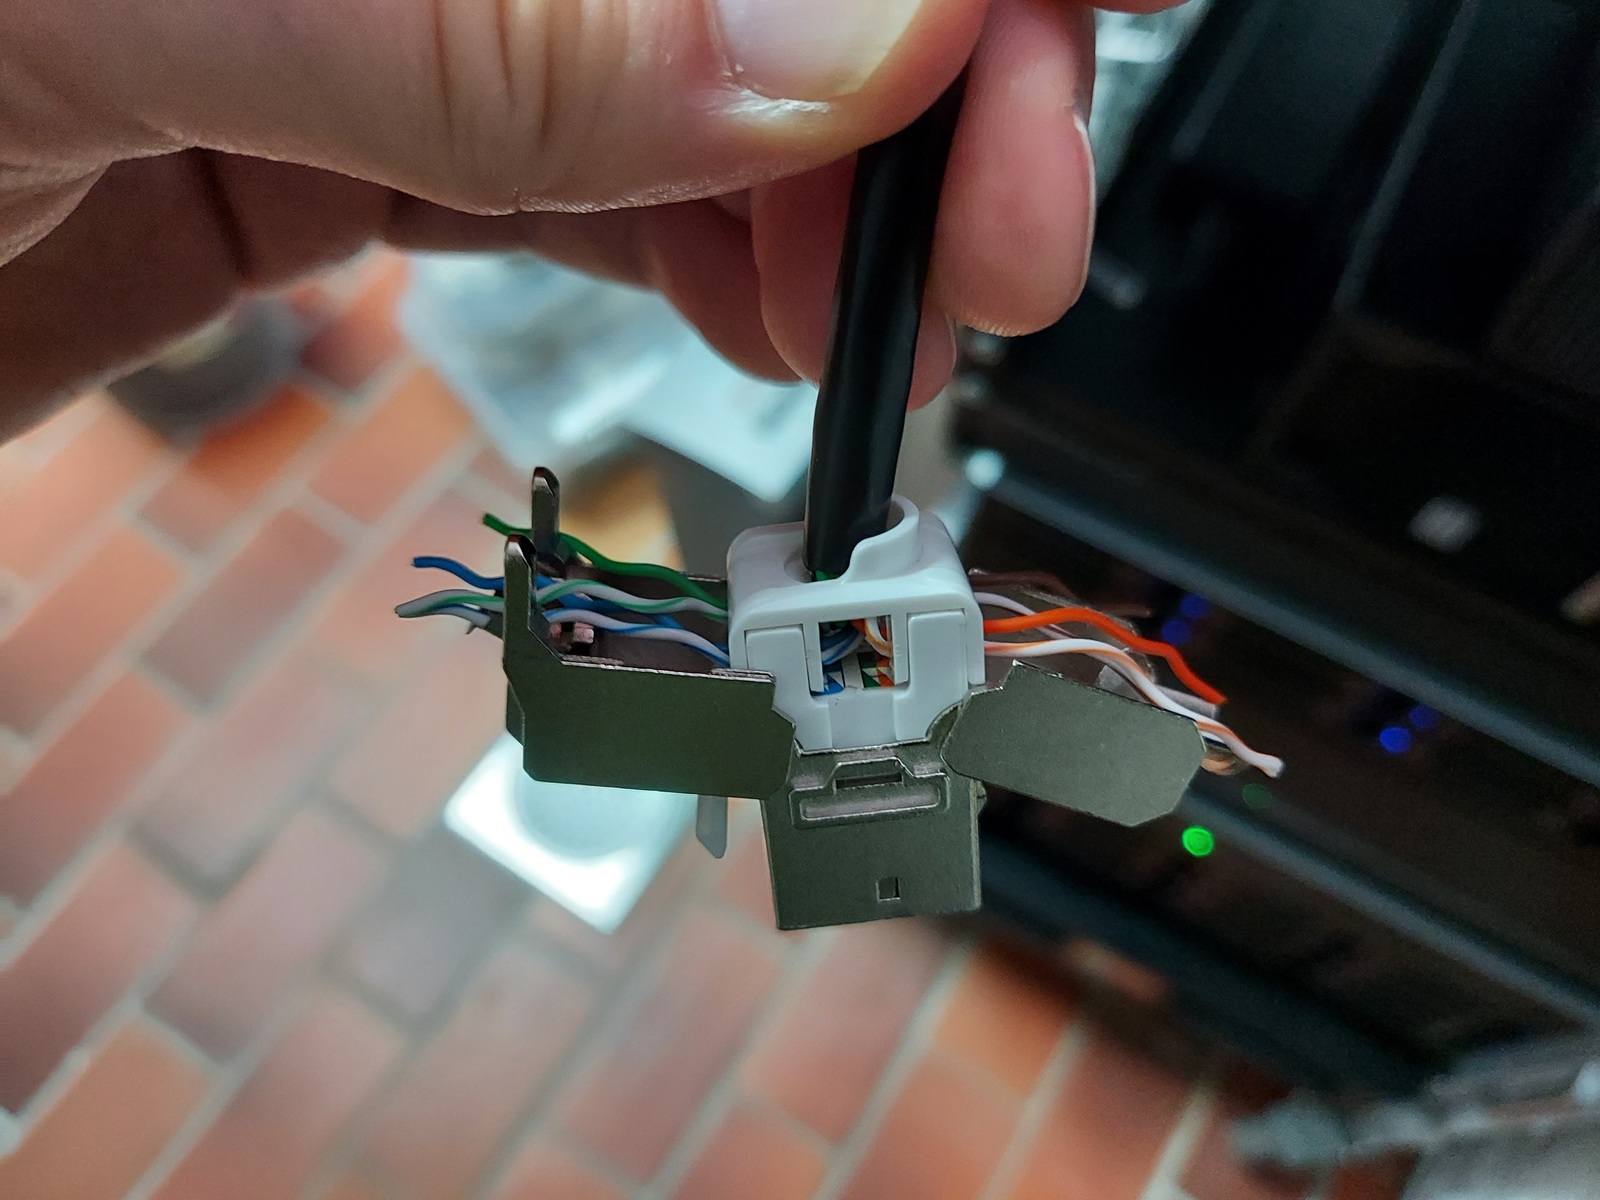
This piece is then pushed onto the keystone jack itself, and done 🙂
Before I cut the wires and closed the keystone jack; I tested the continuity and pairing using a Fluke network tester.
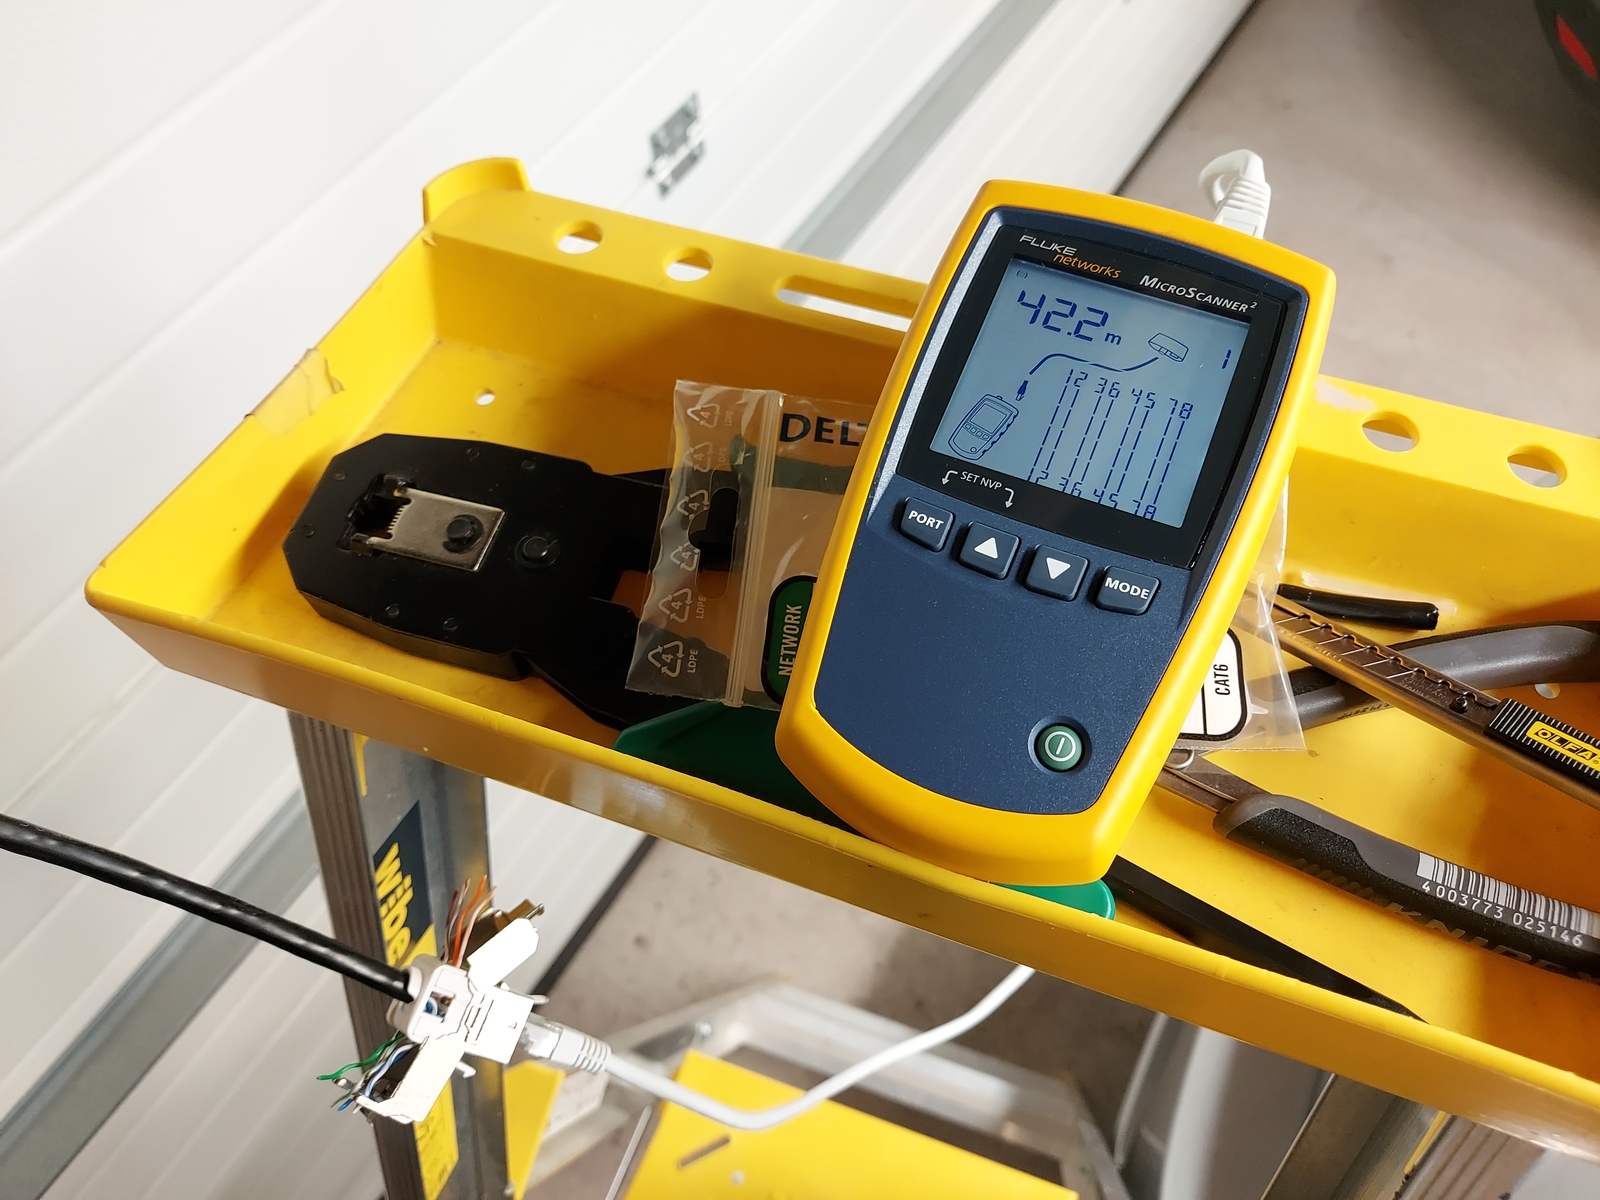
Nice! No crossed pairs 😃 The measured cable length is surprisingly accurate; the length markings on the cable shows that the run is 40 meters, and I used a 1 meter patch cable in both ends.
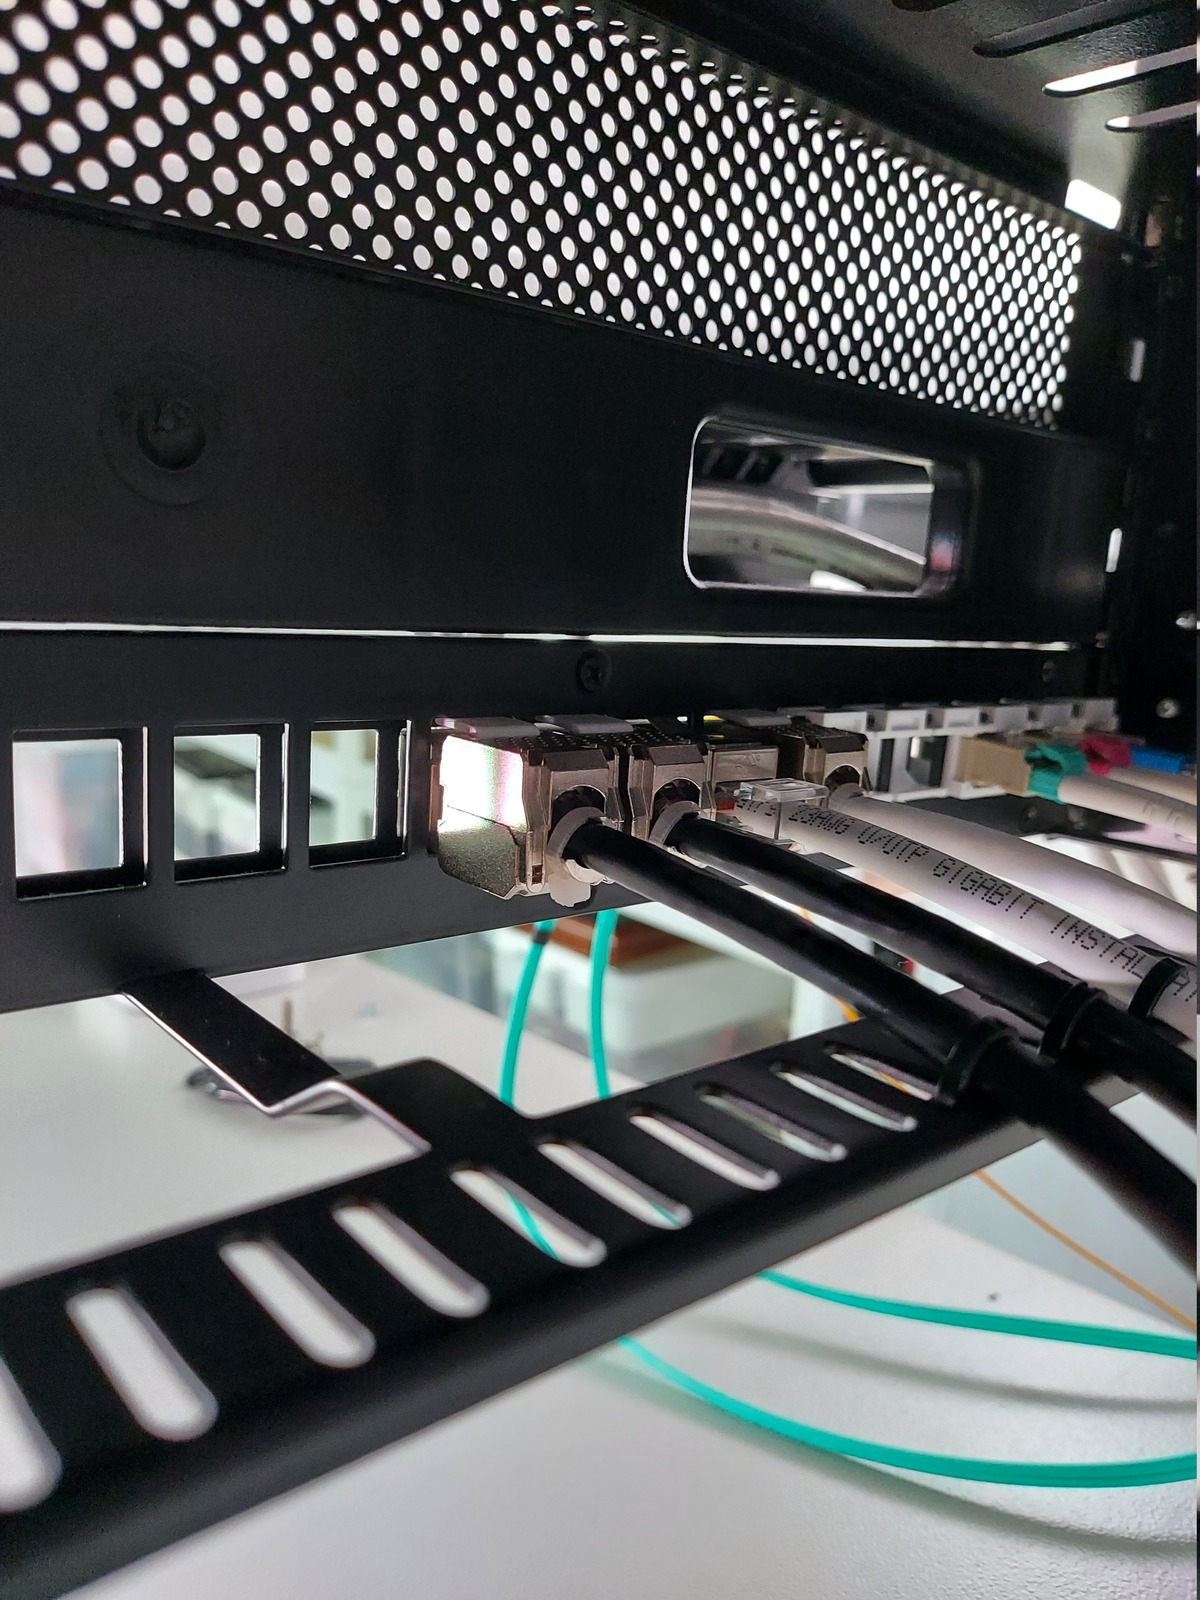
Then I cut the wires, closed the keystone jack, clicked it into the home office patch panel, and secured the cable.
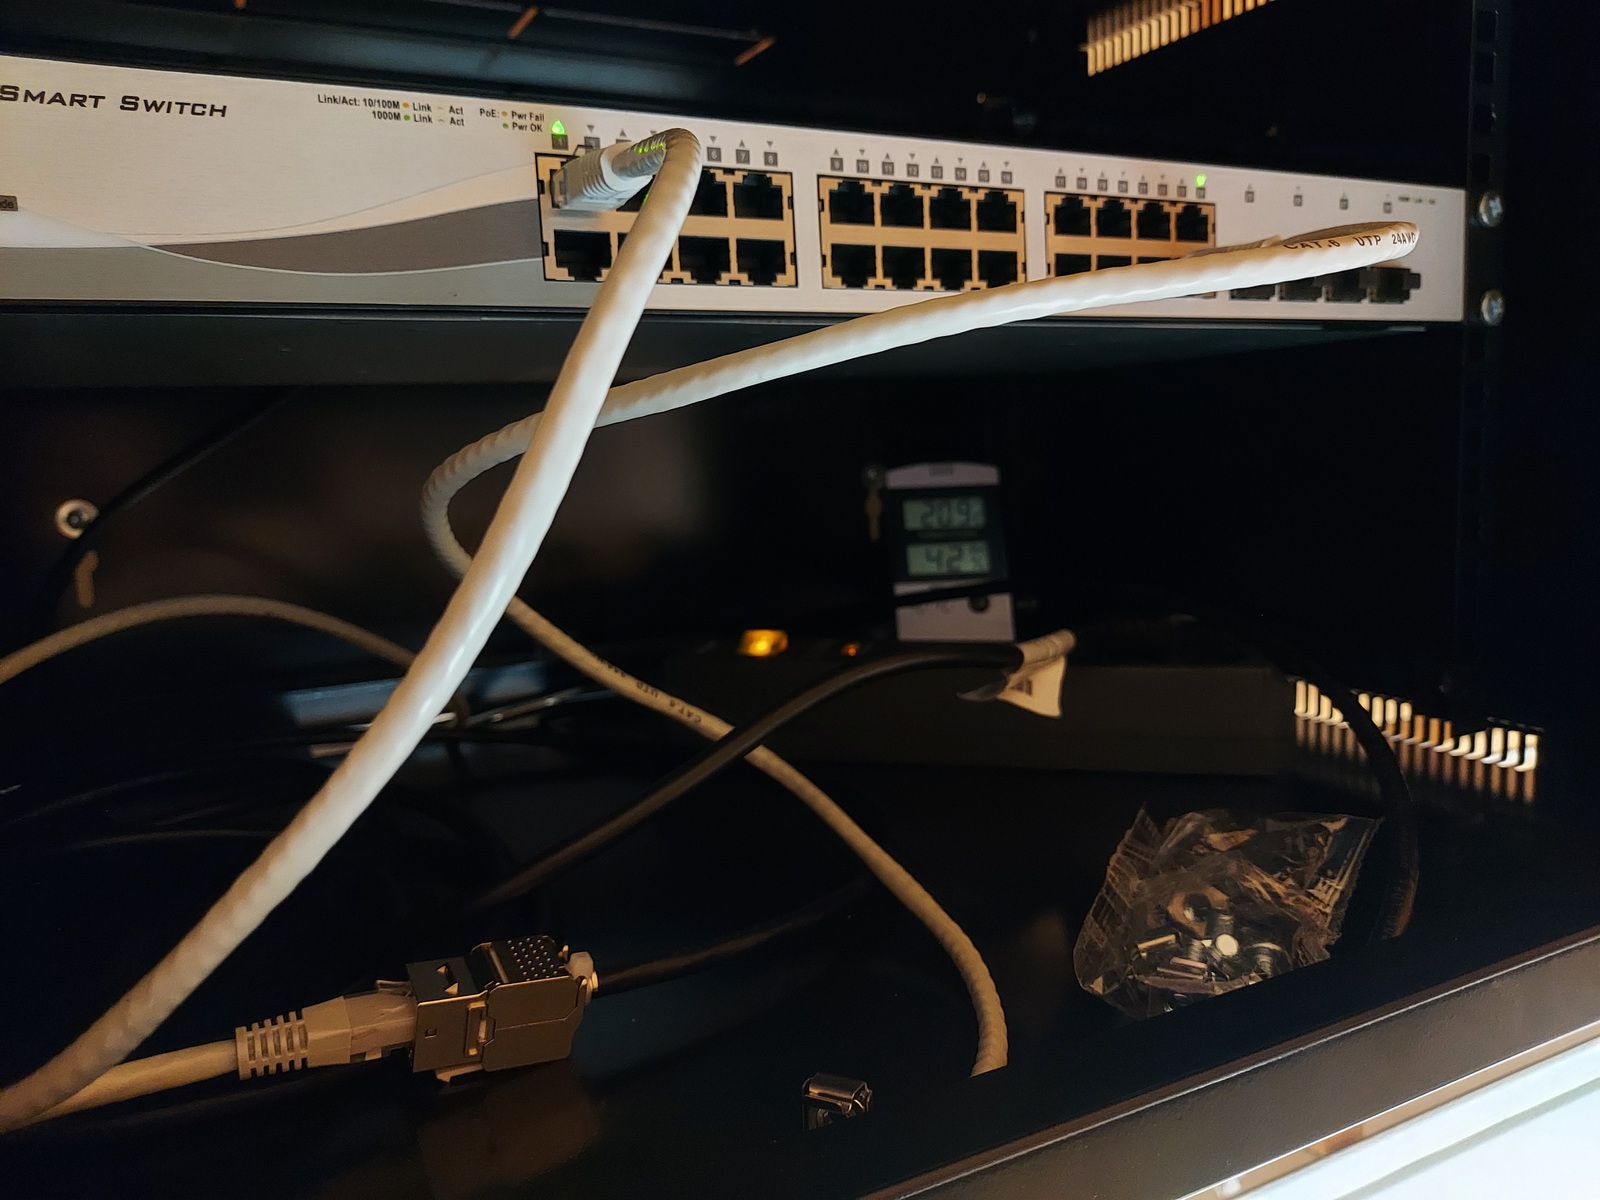
I repeated the process in the garage cabinet, and patched both ends 🙂 My garage access point no longer has a wireless uplink 👍
I don’t have a patch panel in the garage cabinet, as there probably isn’t going to be that many patch cables. I can easily install one later, if I need to.
Future plans
I’m planning to install more network equipment in the garage:
- Some CCTV cameras
- Raspberry Pi temperature sensor, and possibly a GPS time server
- Automation equipment for my wife’s future greenhouse
I did consider a small backup server, but I think it gets too cold for spinning disks in the winter.
Why not fiber?
I’m including this because I think the question will come up; why didn’t you use fiber?

I thought about it — but because the conduit ended where it did, needing a long run under the terrace and along the house wall; I decided against it. I had a spool of CAT6 cable, and it’s just easier to work with.
I realize the risk of lightning damage isn’t non-existent, but I think the chance of that happening are very low. This isn’t a pole mounted access point sticking up in the air.
And — the garage gets its power, and ground, from the house. So there shouldn’t be any ground potential difference between the two buildings.
A ground potential difference occurs when ground in one part of a building is at a different voltage than ground in the rest of the building or in a neighboring building. — cablinginstall.com
To reduce the risk even further; two Ethernet surge protectors, like the Ubiquiti ETH-SP-G2, can be installed on both ends of the cable.
We plan to dig a new power cable for the garage in a few years time, I’ll probably include a conduit for fiber then.
Closing remarks
I really enjoyed this project, perhaps wired network to the garage isn’t strictly necessary — there are many wireless building-to-building solutions.
But I wasn’t in any rush, so I took my time, had fun, even got to include the kids 🙂
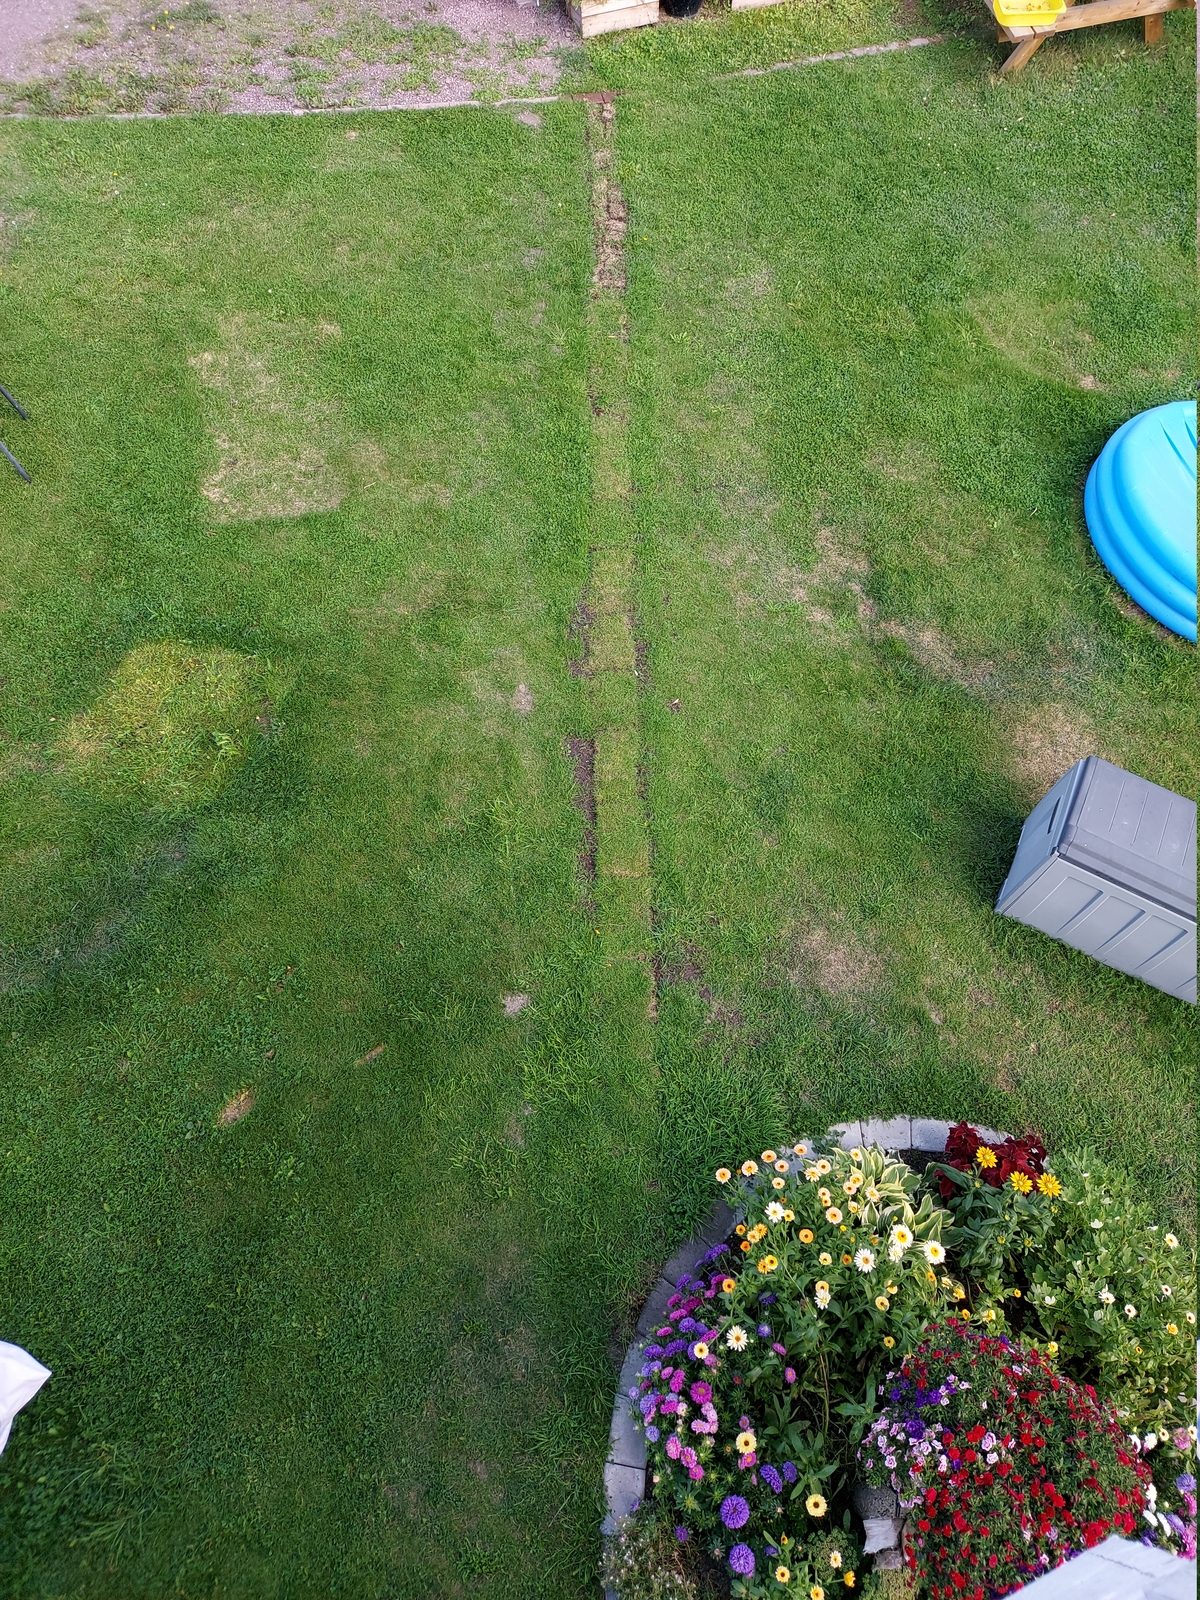
28 days I after I started digging; and the lawn has started to clear up nicely.
Last commit 2025-01-14, with message: Fix spelling error.
🔗 This post has been shared to: Reddit
All posts in Network to detached garage series
- Running underground CAT6 to detached garage
- Underground conduits to garage and shed
- Finally getting fiber between the house and garage
All posts in Home network v2 series
- Replacing Unifi switches with MikroTik
- Getting started with MikroTik CCR1009 and RouterOS
- Altibox fiber — straight into Mikrotik CCR1009
- Running underground CAT6 to detached garage
- Plans for my home network
- Running two CAT6 cables to the play room
- Running three CAT6 cables to the living room TV bench
- Moving CAT6 cable for access point; inside the wall
- Altibox fiber — straight into Ubiquiti EdgeRouter
- Two CAT6 cables and a fiber — from the basement to the attic
- A few Wi-Fi improvements
- Updated plans for my home network
- Knot Resolver — with ad blocking
- Pulling CAT6 cable in existing conduit
- Running CAT6 to the twins' rooms — inside interior wall
- Running CAT6 to the 2nd floor den — another interior wall
- Finally getting fiber between the house and garage
