This post is part of the Home network v2 series.
Ever since we bought the house, last year, I’ve been planning to run wired network to the living room TV and media center — it’s time to finally get that done 🙂
Table of contents
The plan
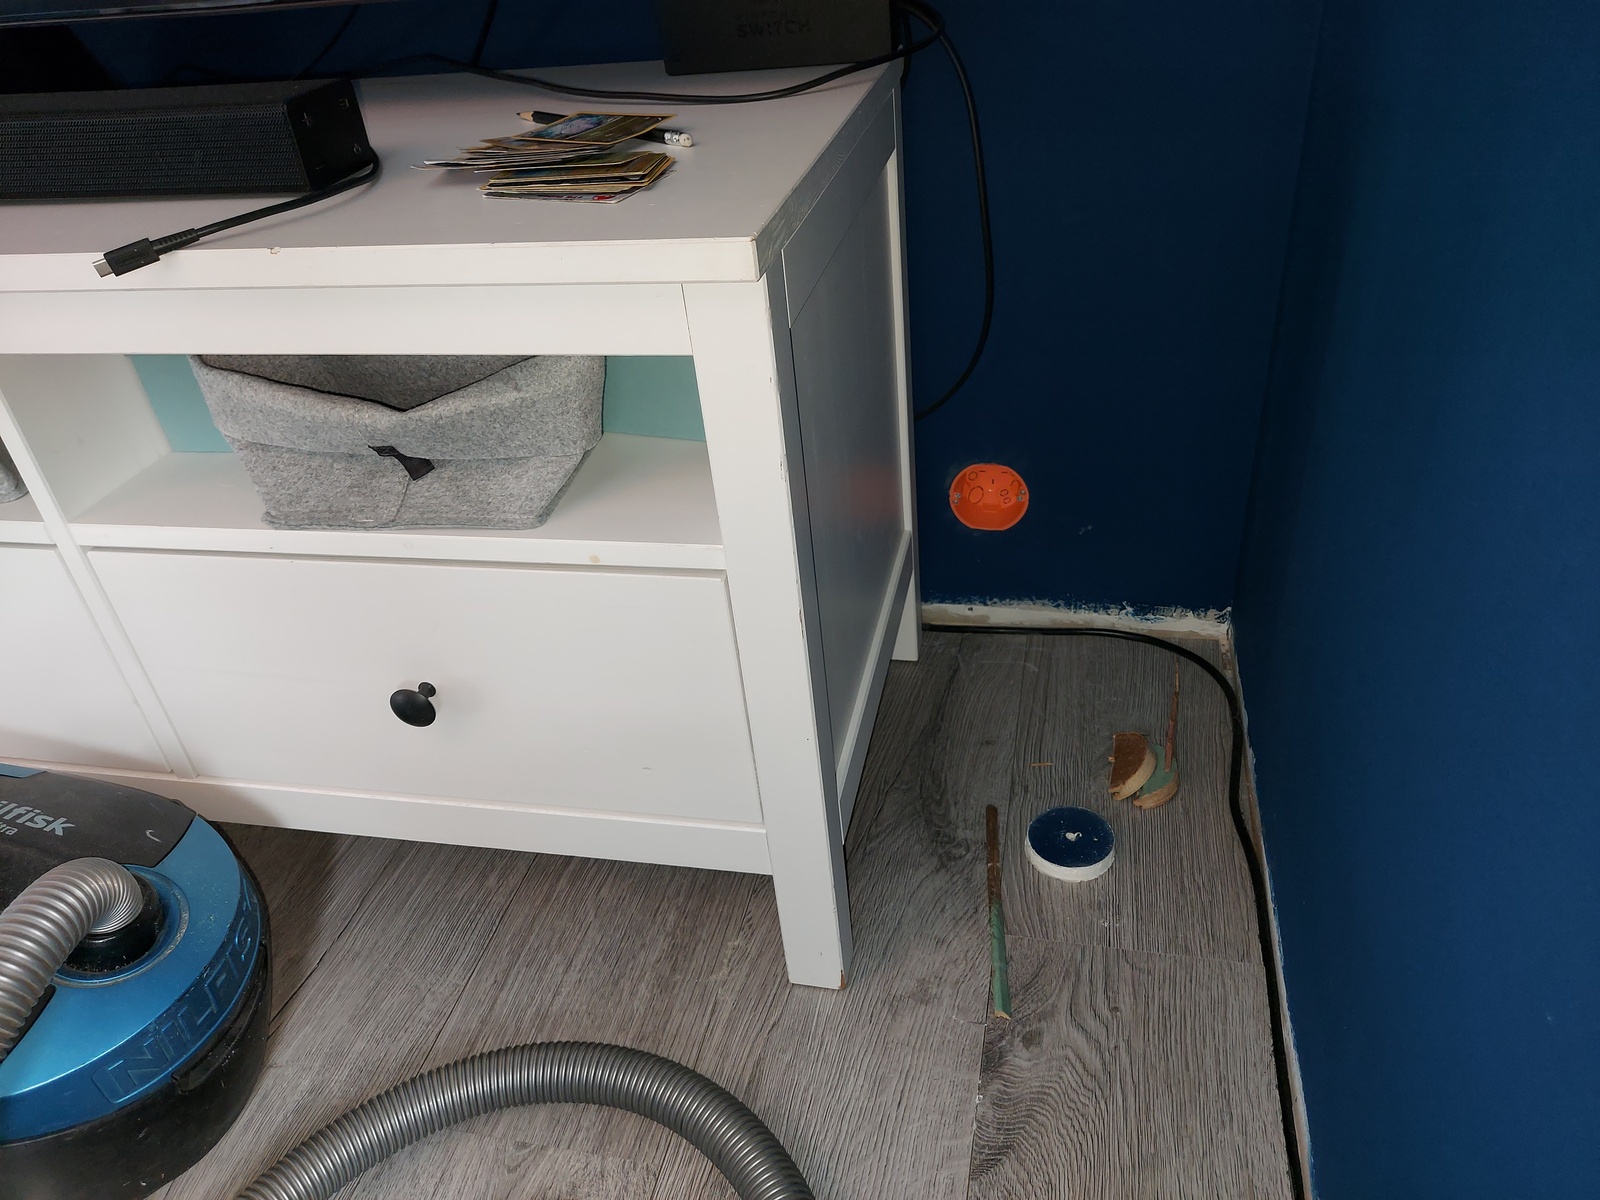
Our TV and media center is located by the wall towards the basement stairwell (the layout below doesn’t accurately show item placements in the rooms). It’s a pretty thick wall, as it has the original timber from when the house was first built — back in 1890.
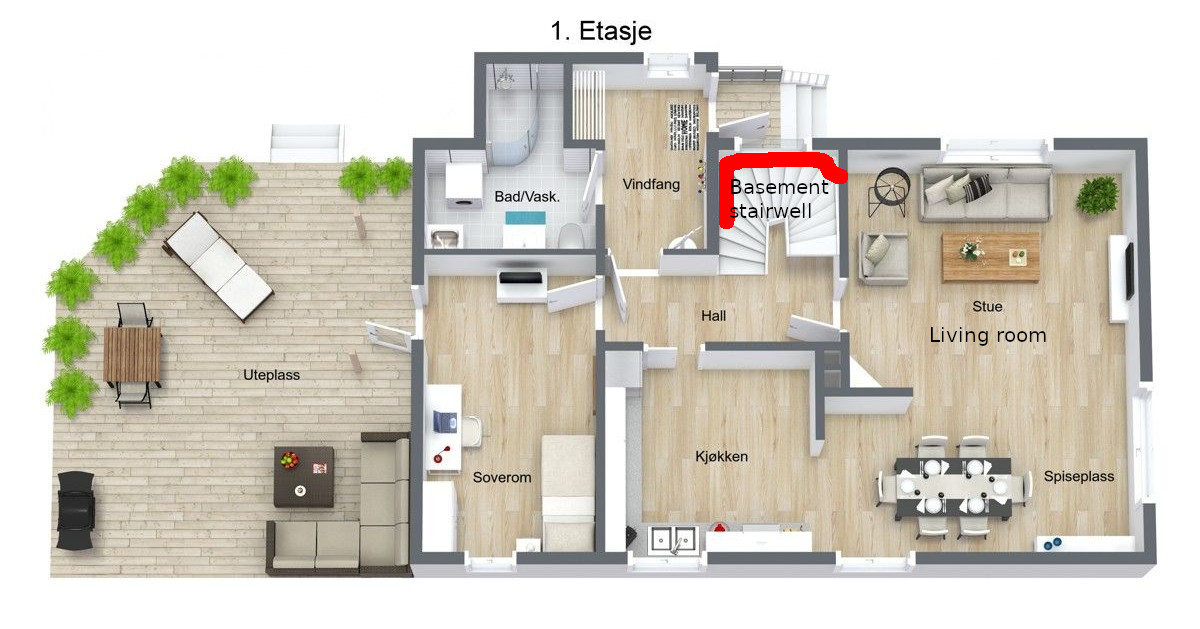
Alongside the basement stairwell, towards the living room and outer wall, there are wooden beams placed on the concrete foundation.
This creates a cavity behind the wooden beams, perfect for hiding conduits 🙂 There is also an air gap between the wall in the basement stairwell, and the old timber in the living room wall. So the conduit can be completely hidden 👍
Drilling
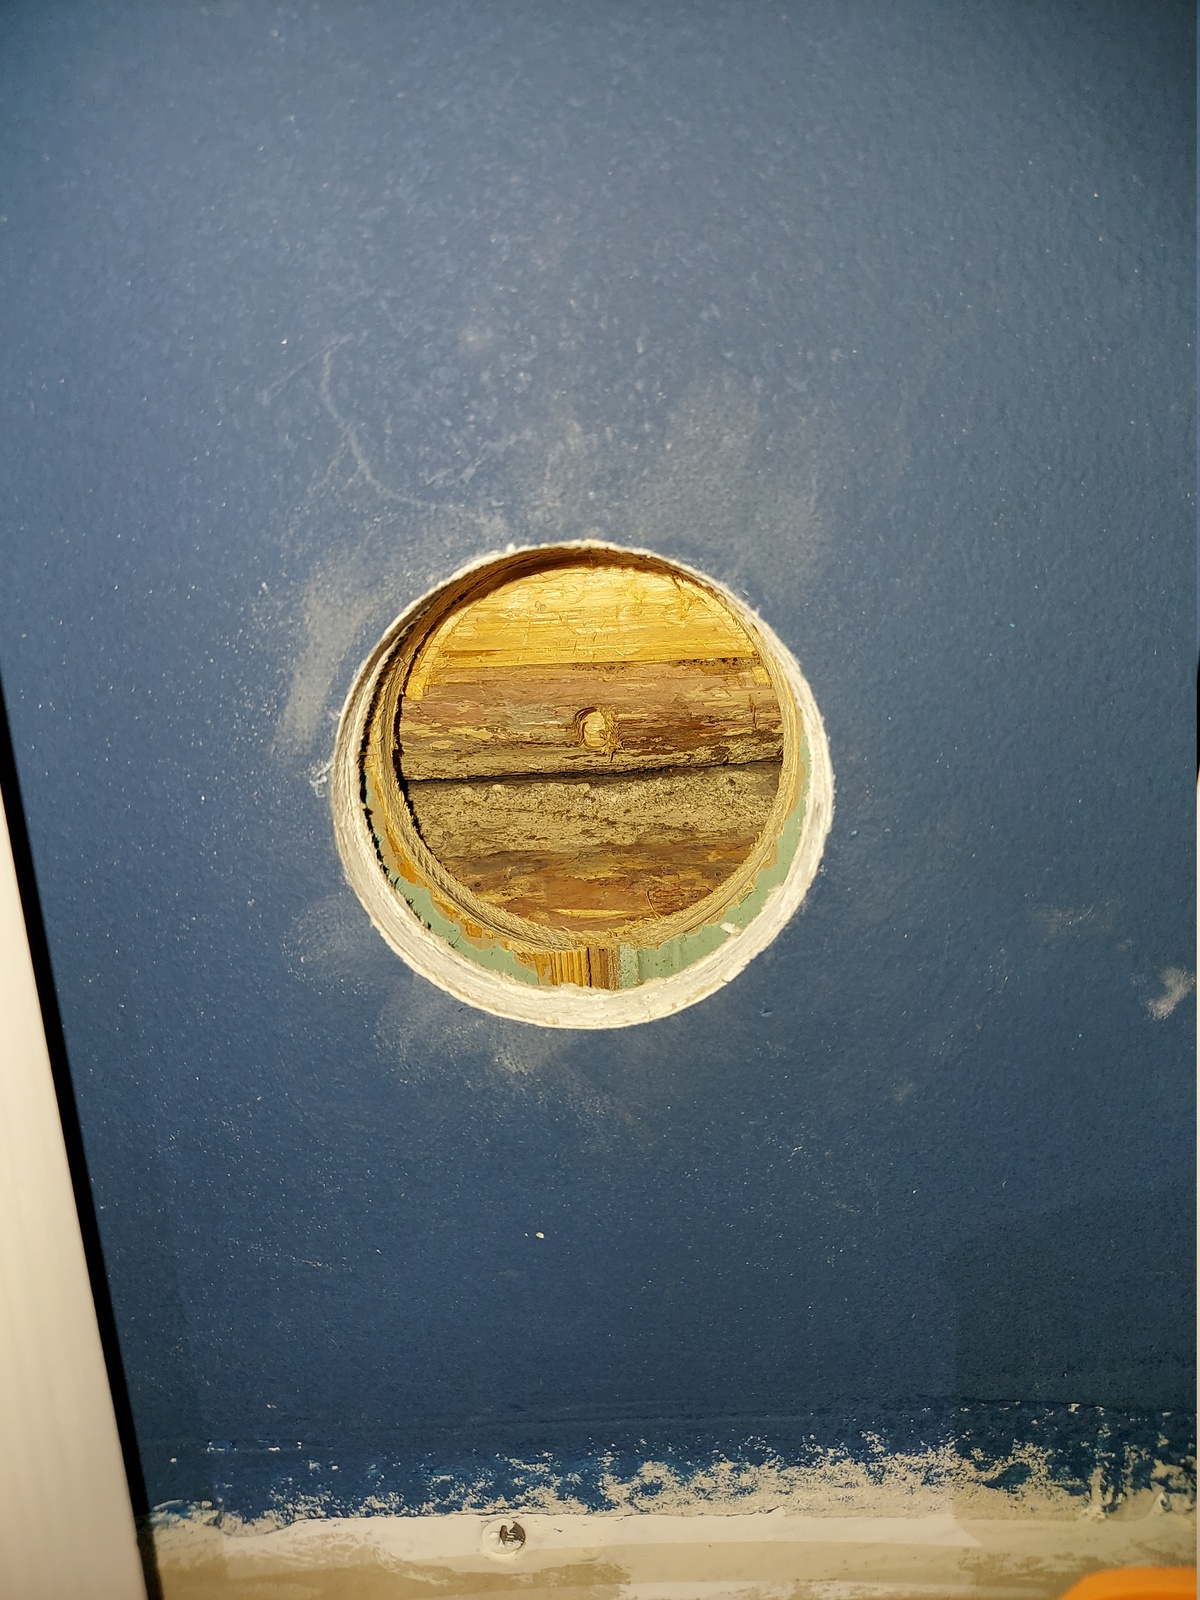
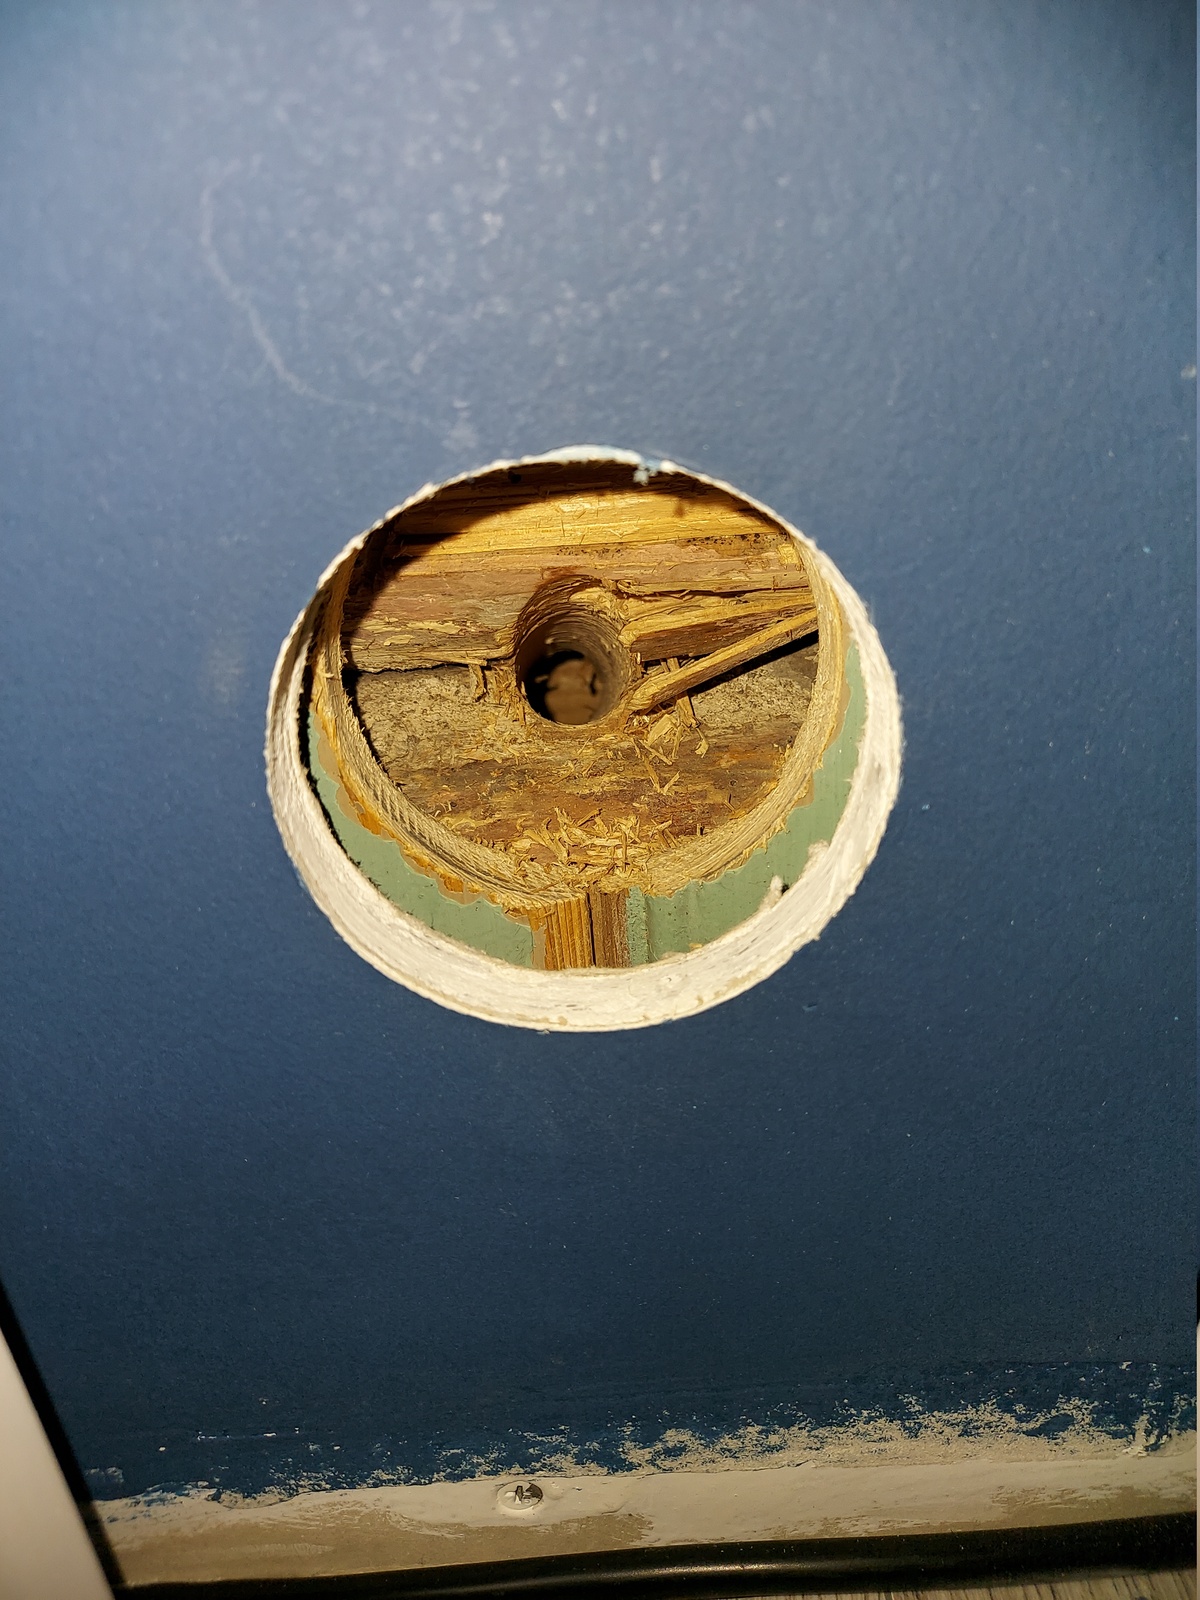
I started by drilling a 73 mm hole in the living room wall, for the multi box. Here we can see the outer layer of drywall, the old inner wall, and the timber from 1890.
Luckily; the opening was deep enough to fit the multi box, without hitting the timber.
Next I drilled a 22 mm hole in the center of the opening, angled downwards.
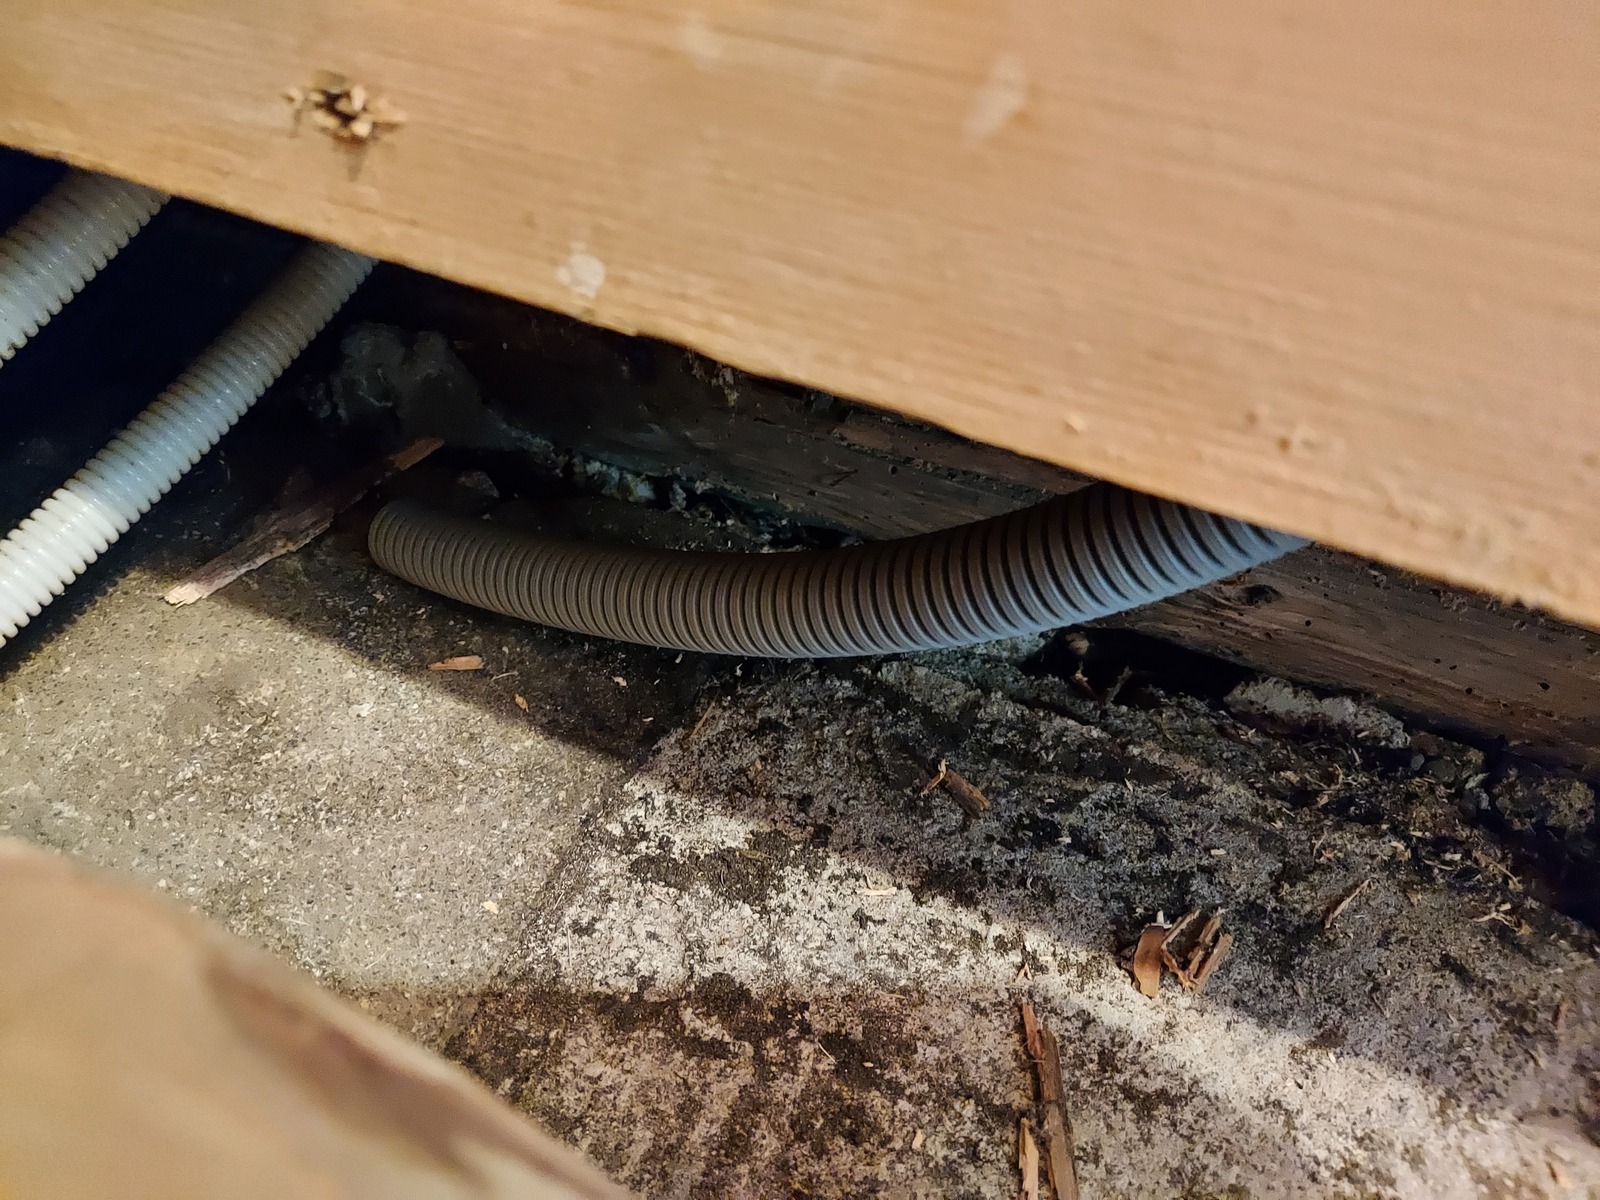
I pushed a 20 mm flexible conduit through to test — and it appeared in the cavity around the basement stairwell 🙂
The conduit
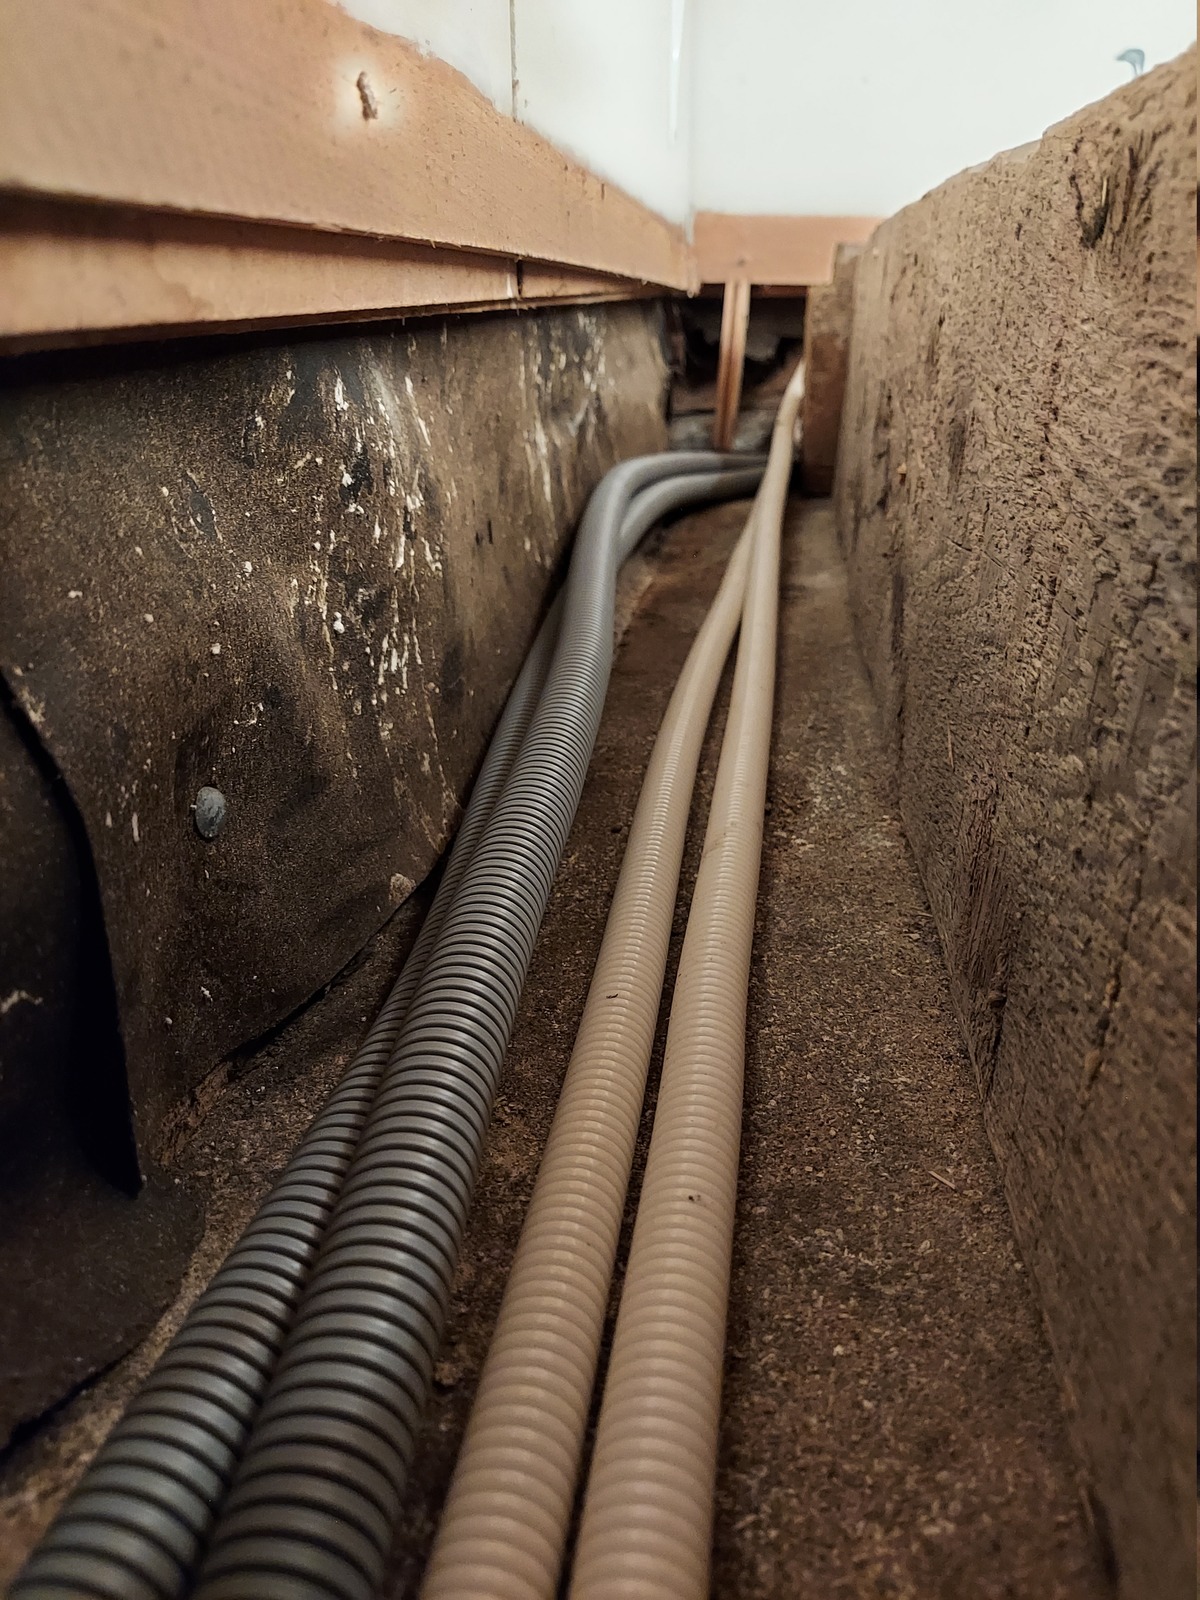
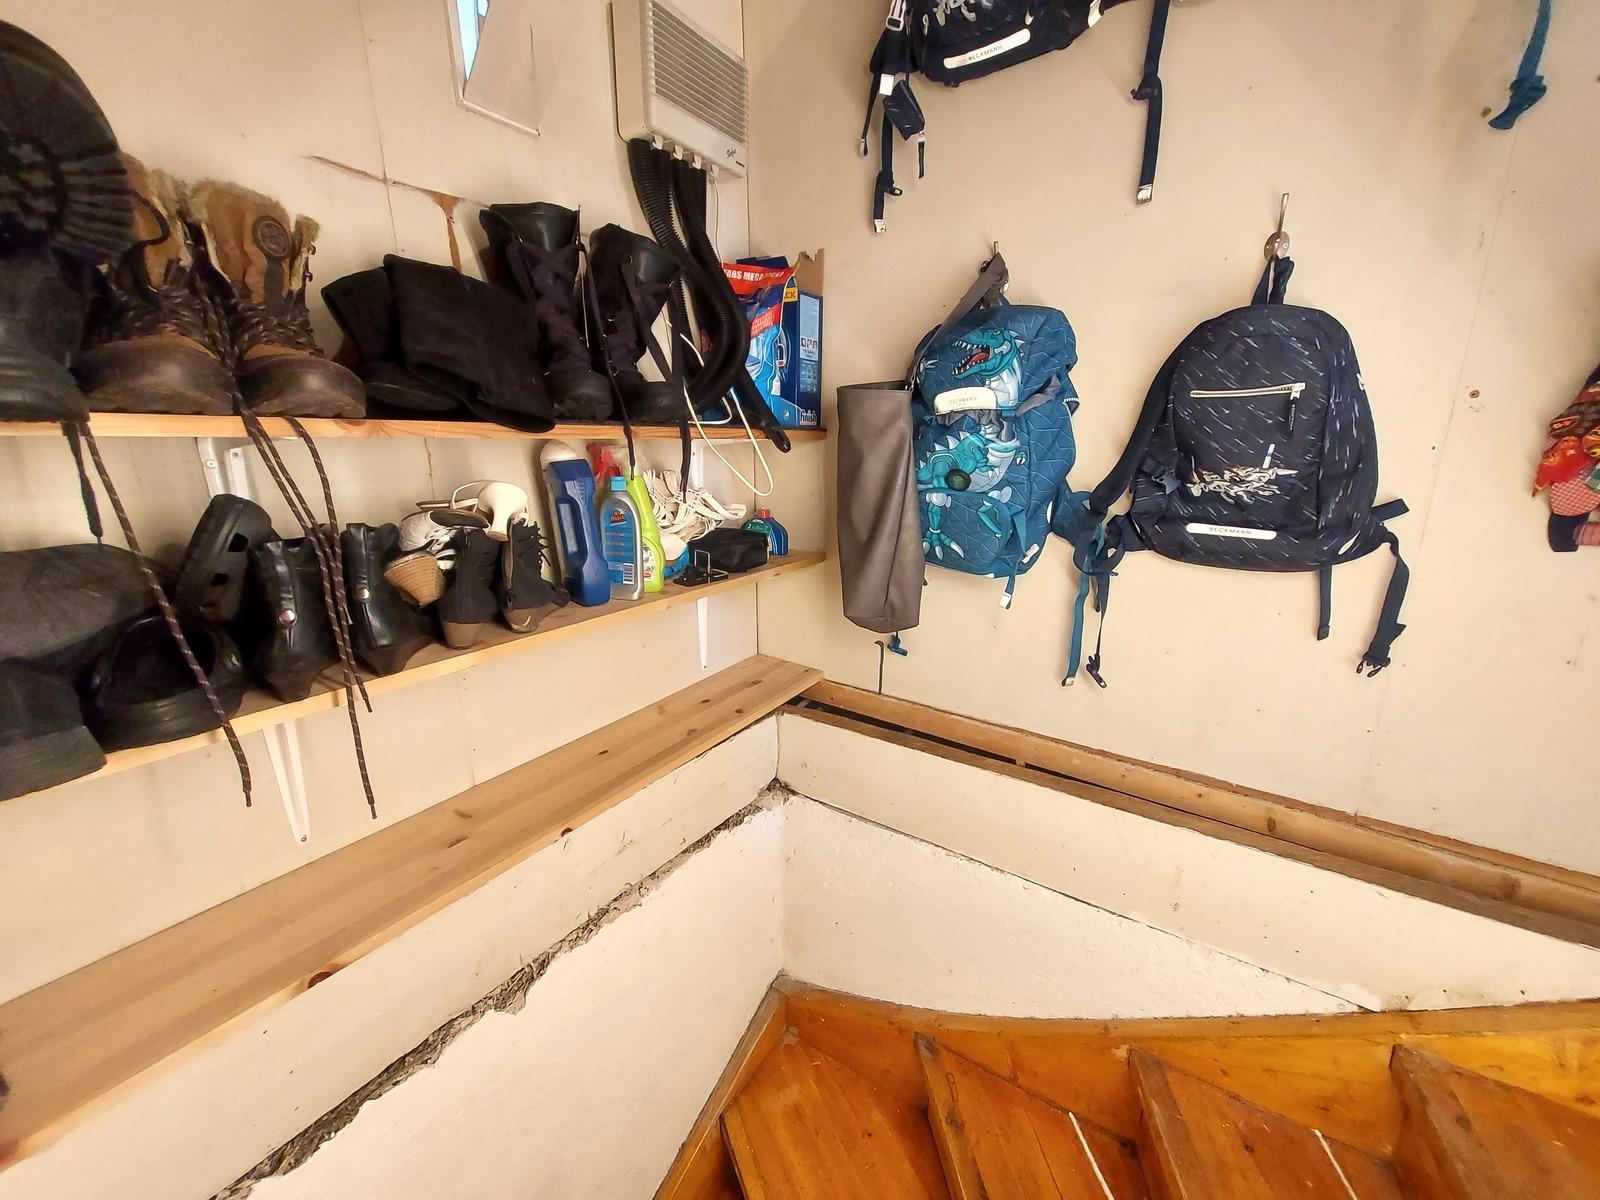
I pushed the conduit through from the living room, running it alongside some other conduits in the basement stairwell cavity.
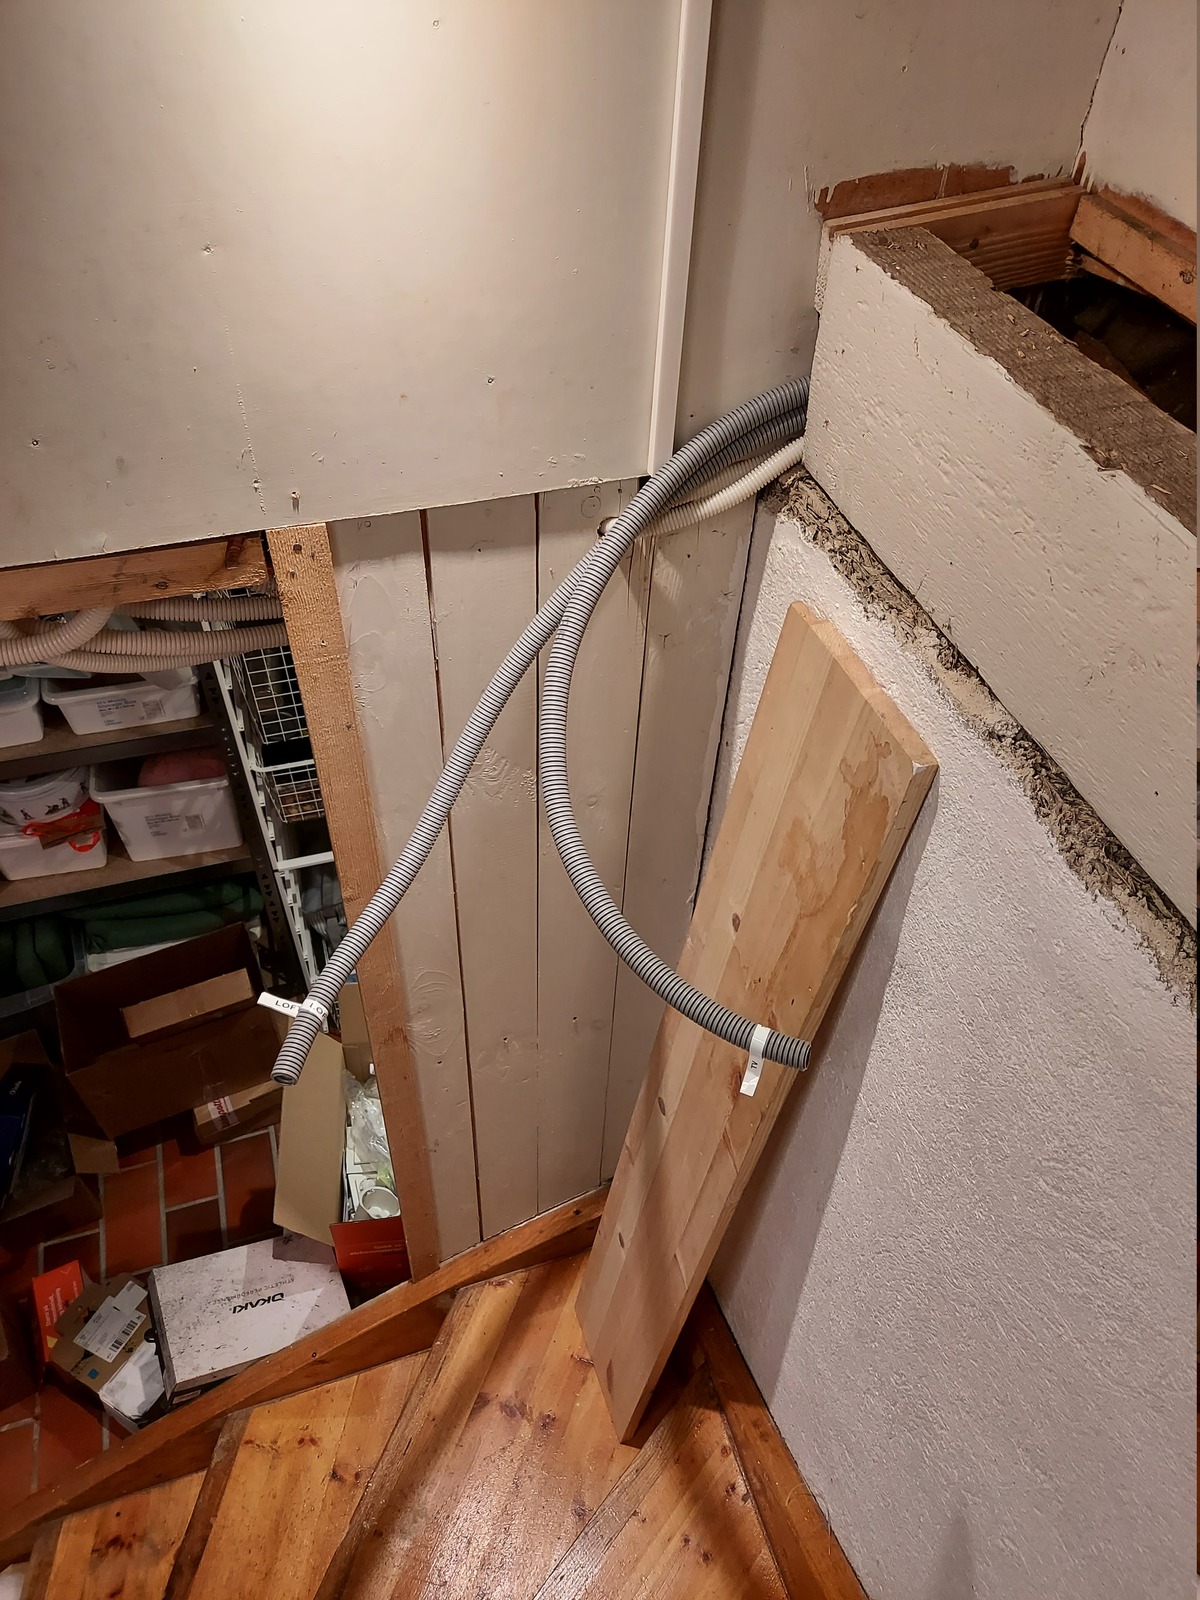
I wasn’t sure how to continue the conduits after they came out behind the wooden beam, so I just left them poking out while I spent some time thinking about a solution.
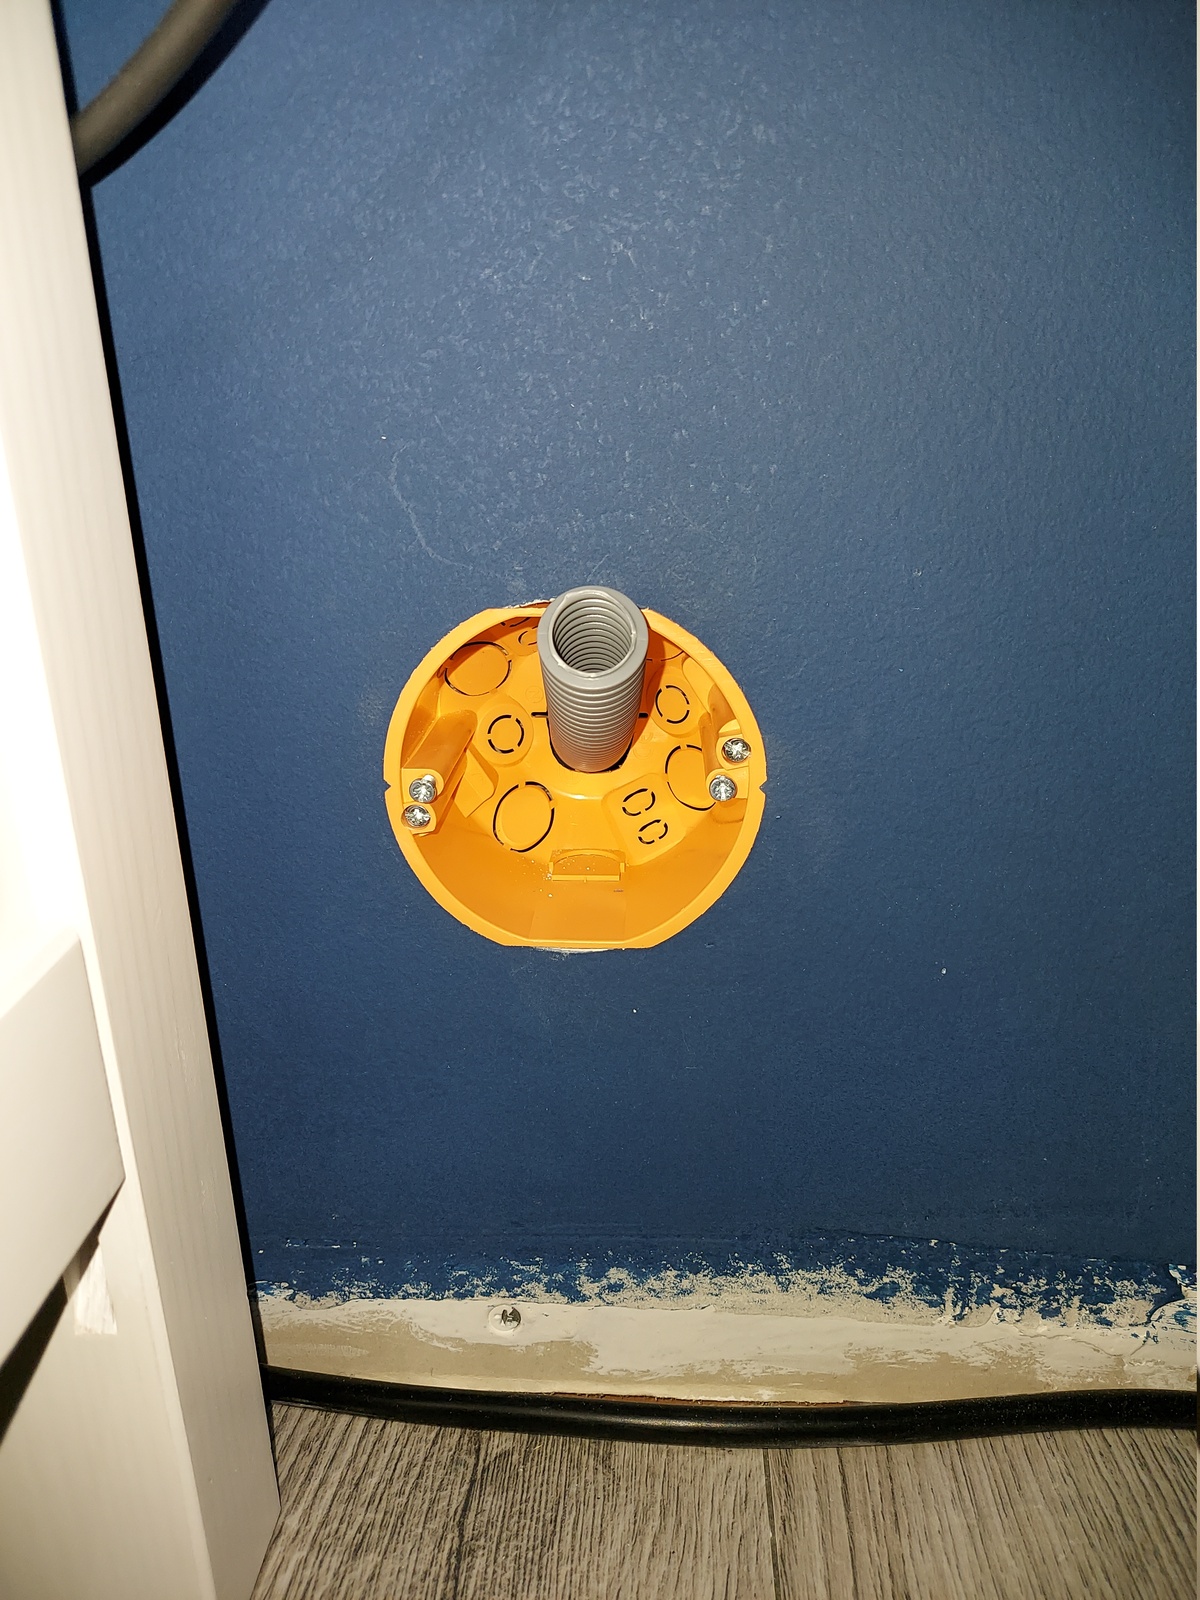
In the meantime; I installed the ELKO multi box.
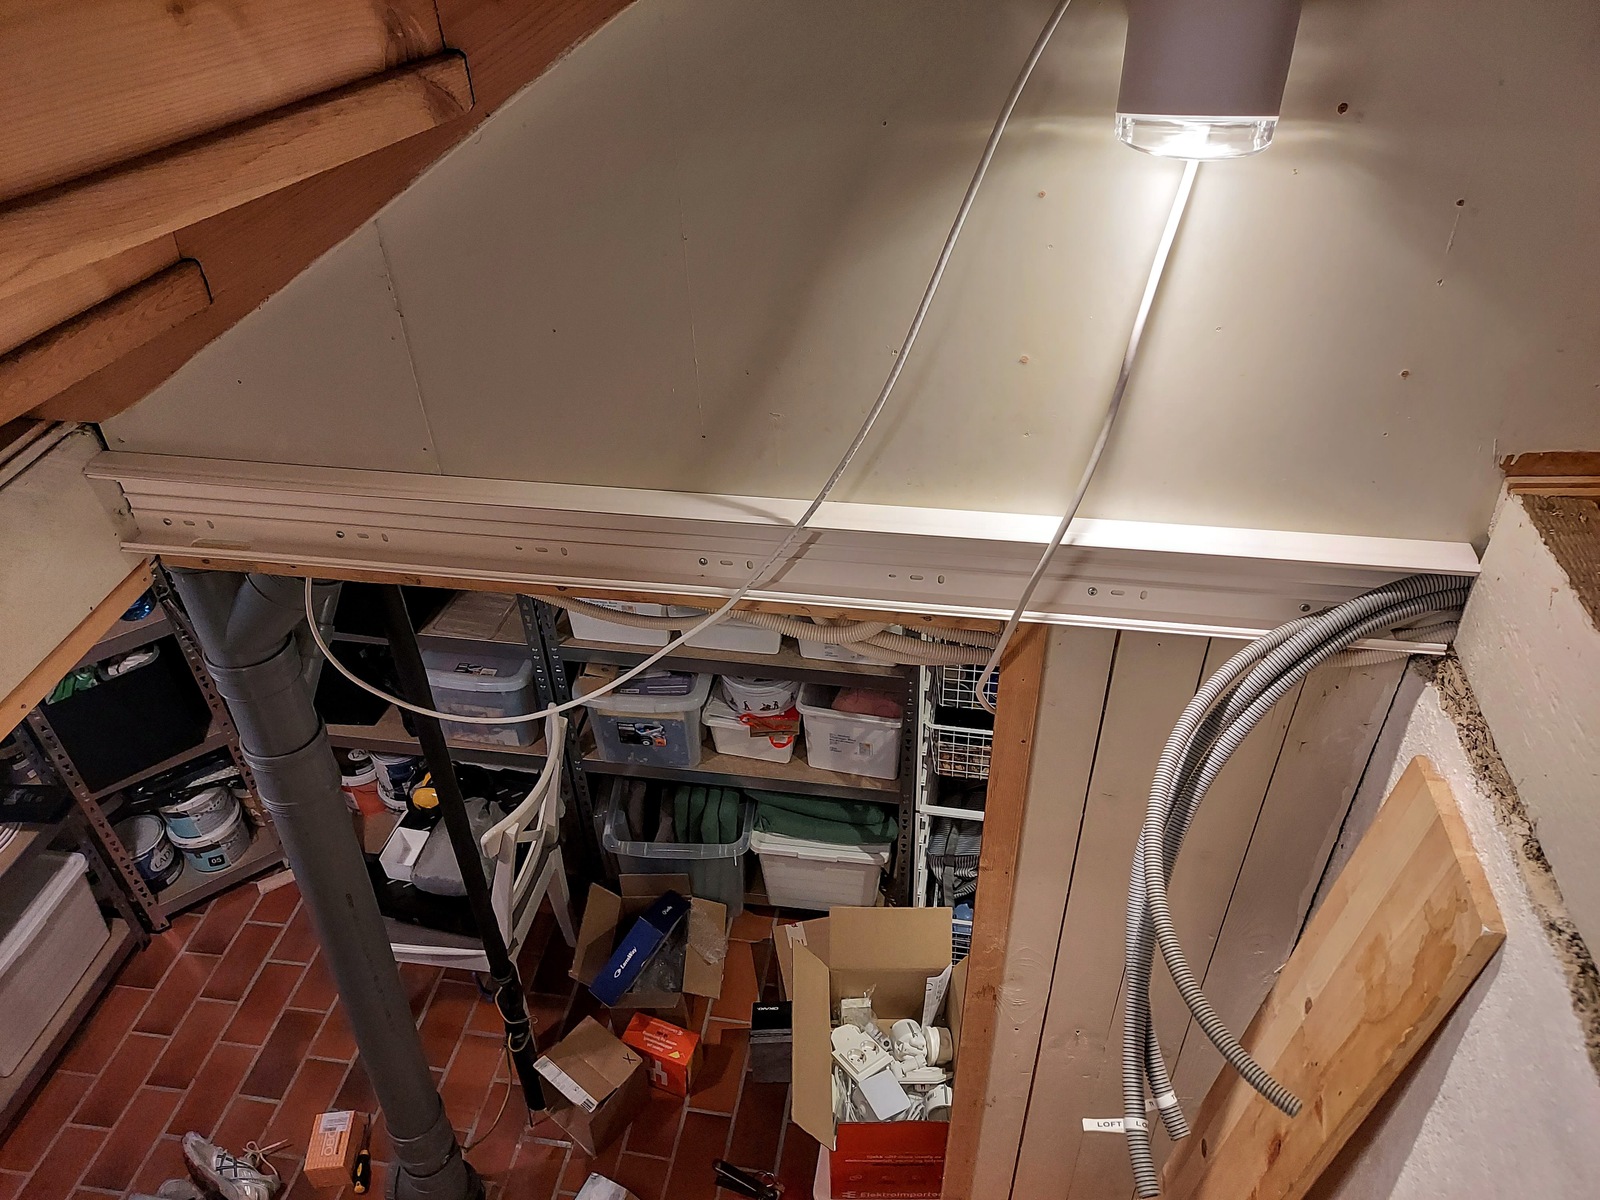
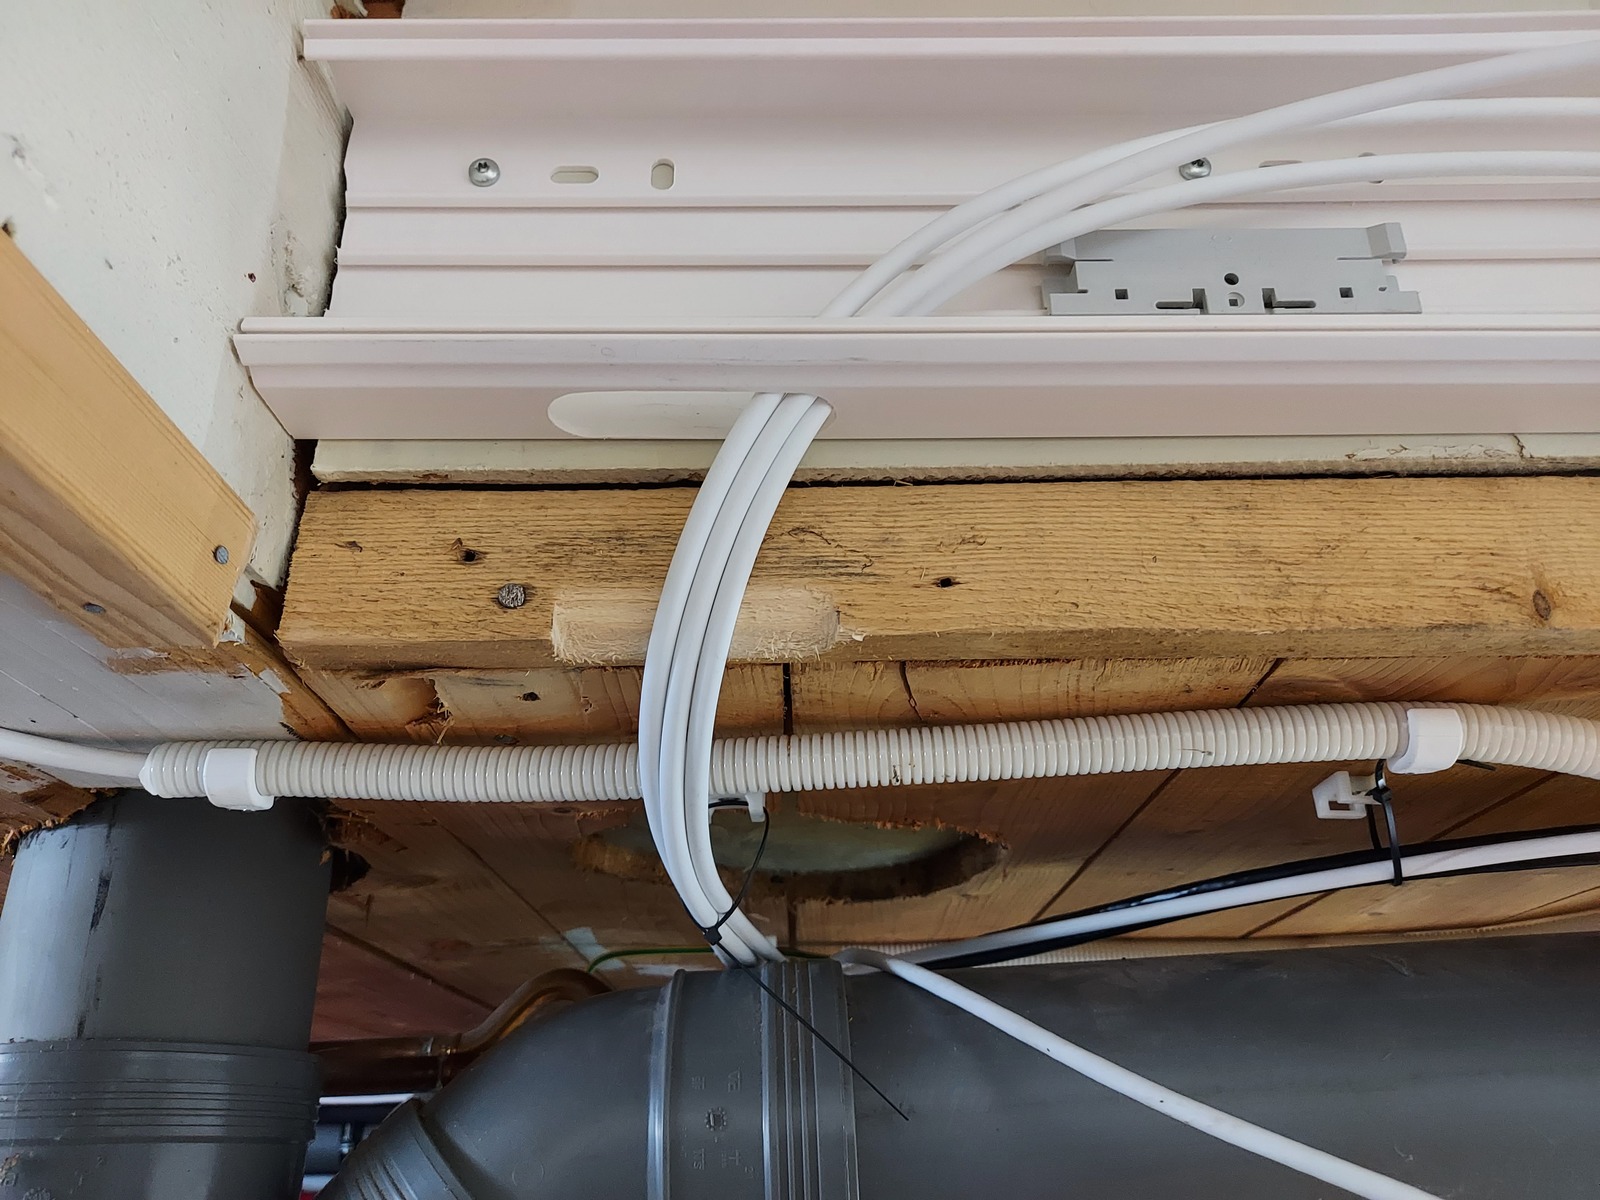
After some consideration — I found that the best way to end the conduits, and make it look neat, was to use a cable channel. The channel I got was 110 mm wide, and 40 mm deep.
I had to cut out a piece of the channel to fit two existing conduits carrying mains power cables.
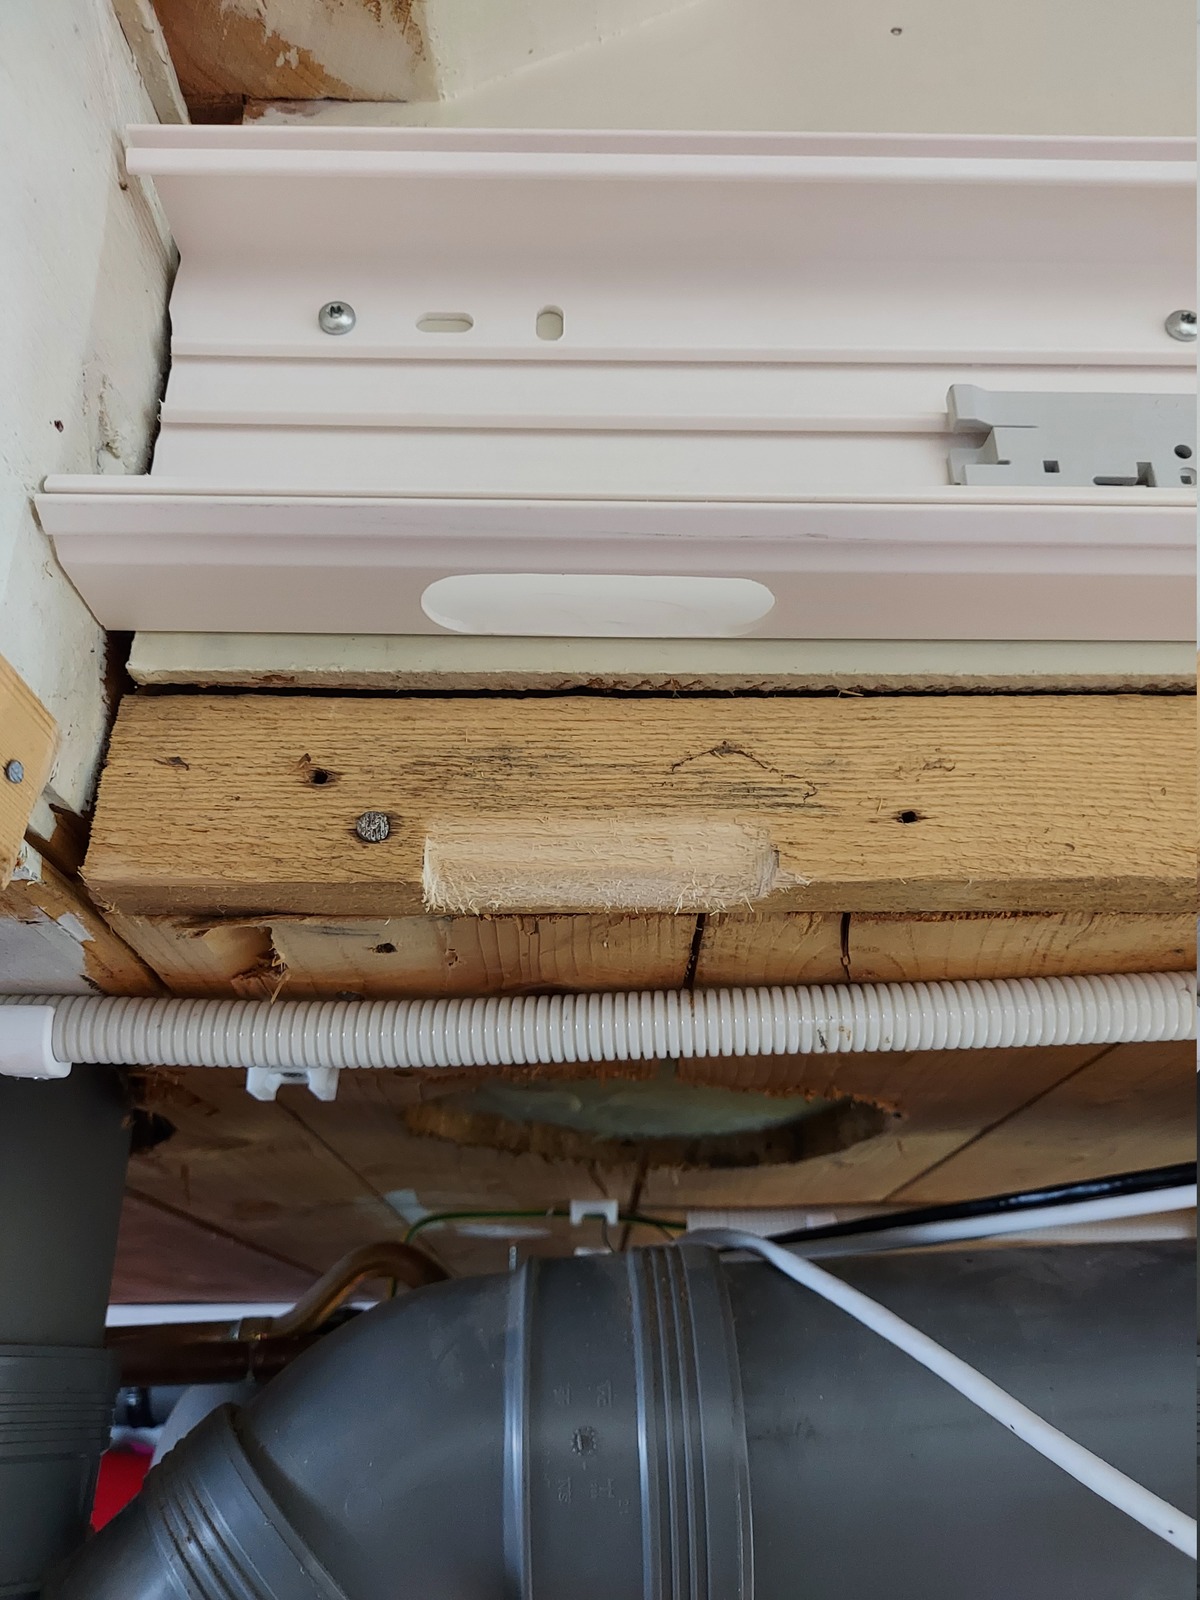
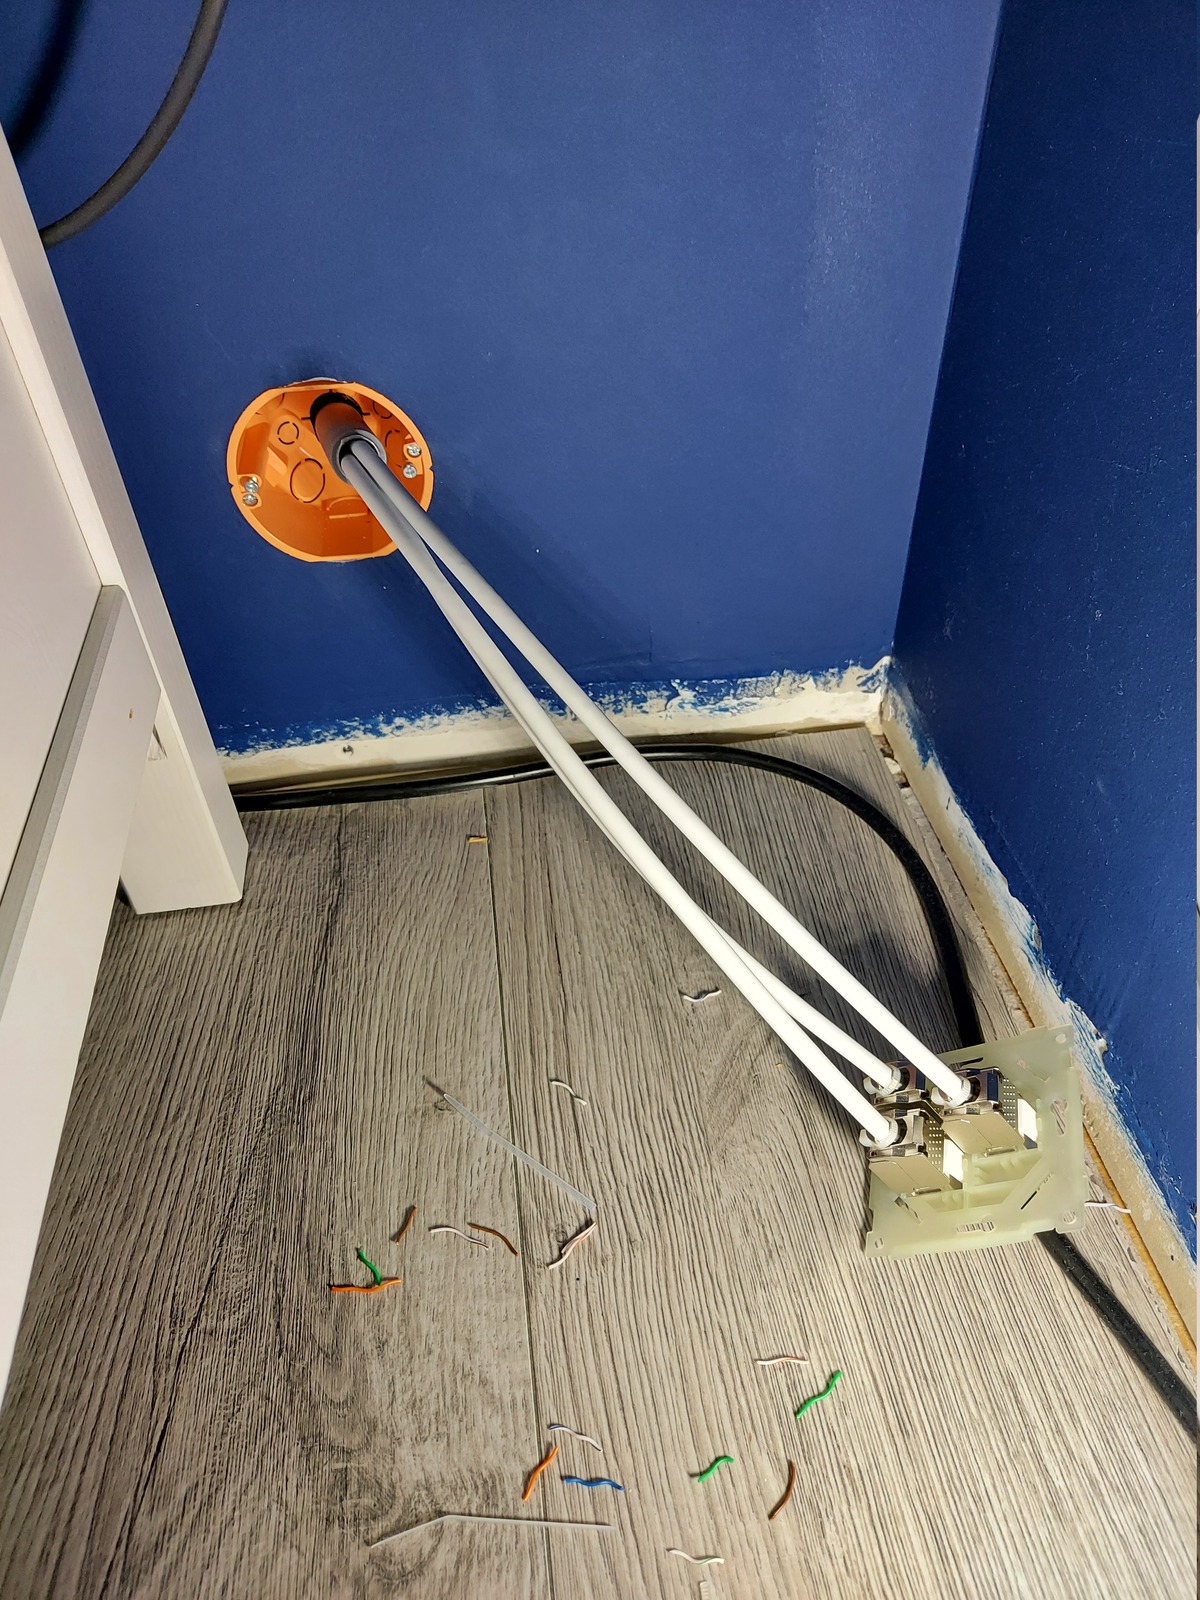
In the other end of the channel I cut out a rounded square for the network cables to exit. I also filed a groove in the batten below to avoid kinking the cables (too much).
The cables
With the conduit done — it was time to pull, or rather; push, some CAT6 cables 🙂
The 20 mm flexible conduit can fit three CAT6 cables. It might be difficult with longer runs, but I only had about 2.5 meters of conduit, and pushed the three cables through without any issues.
I terminated them with tool-free keystone jacks.
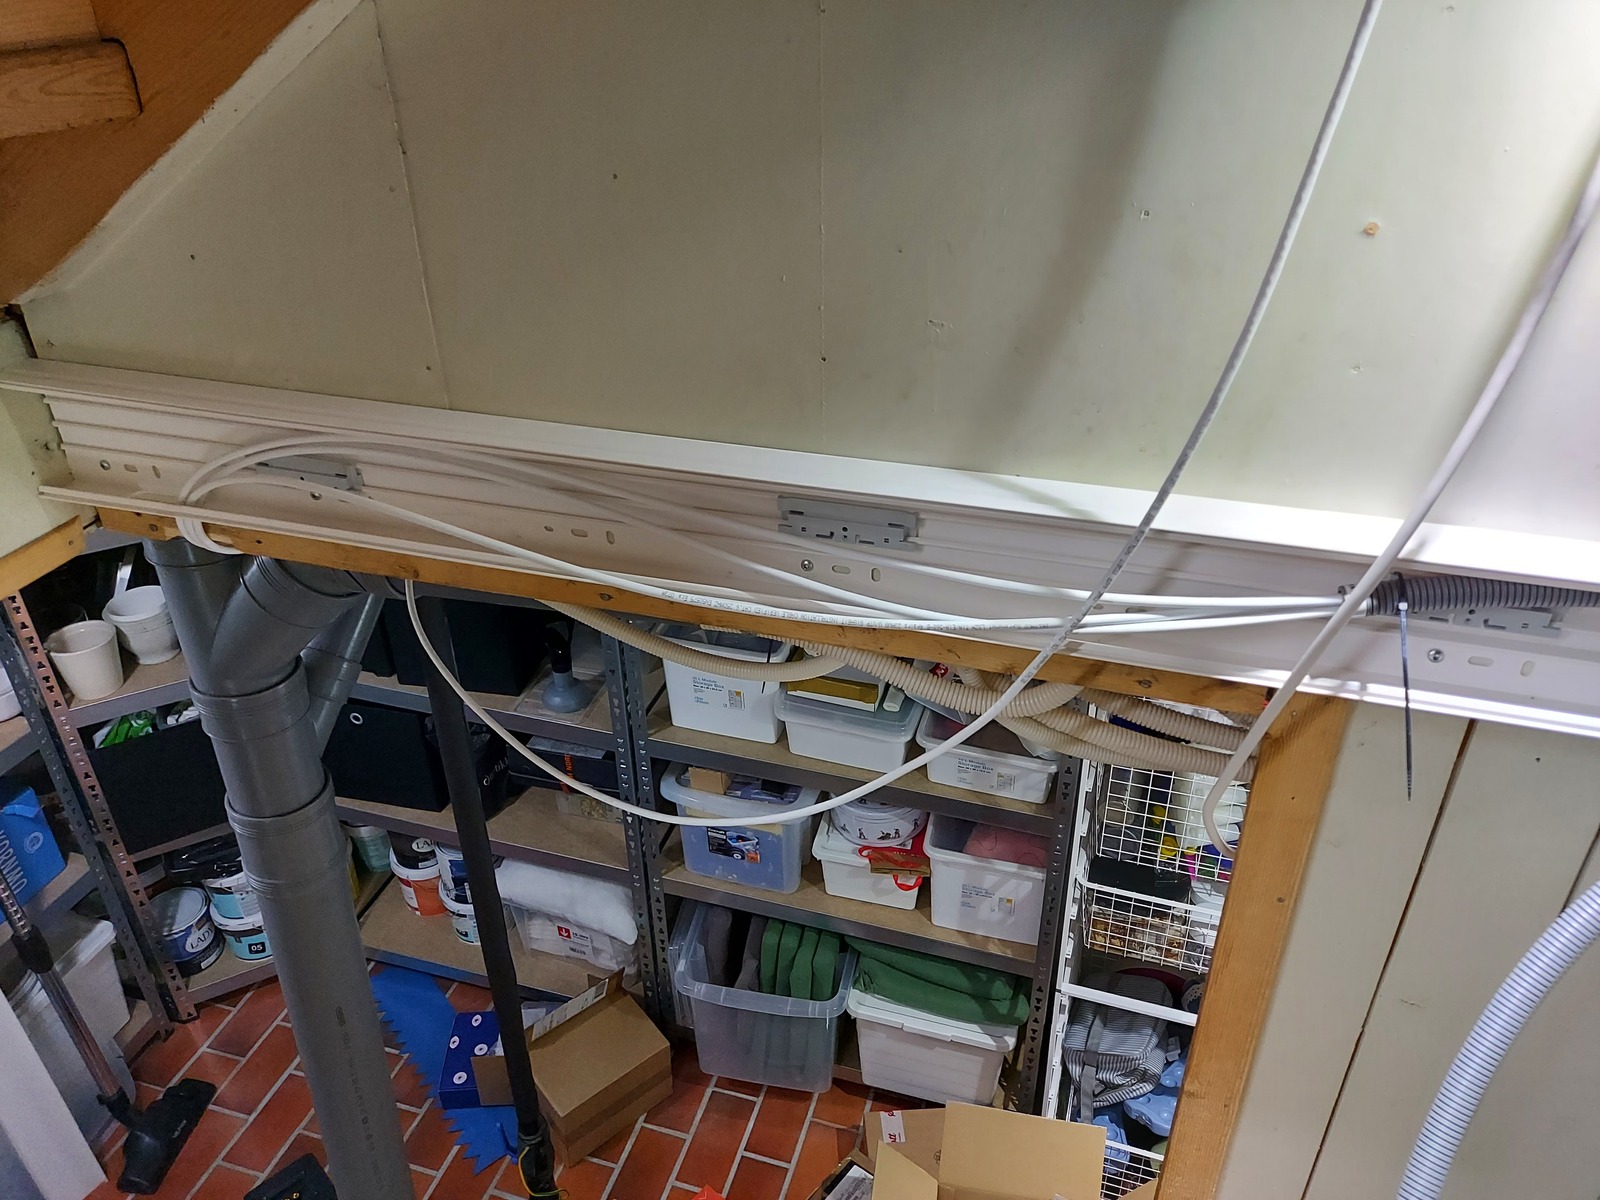
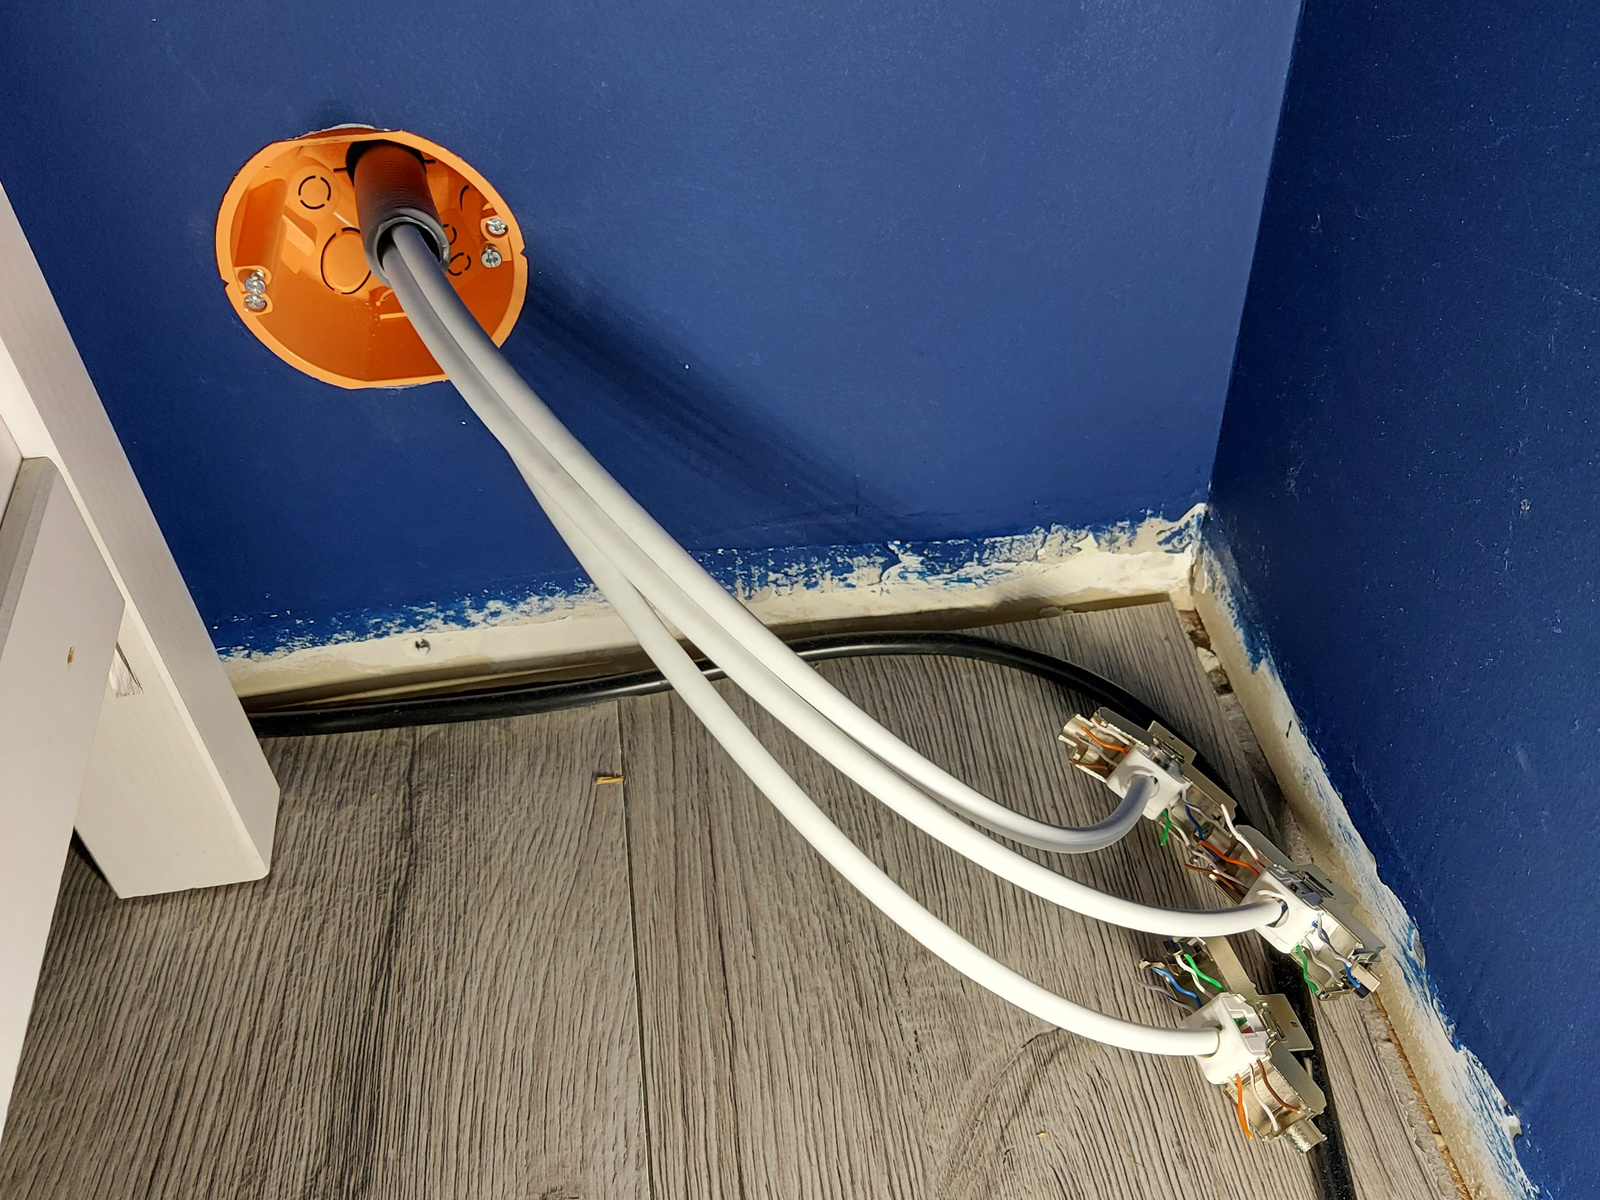
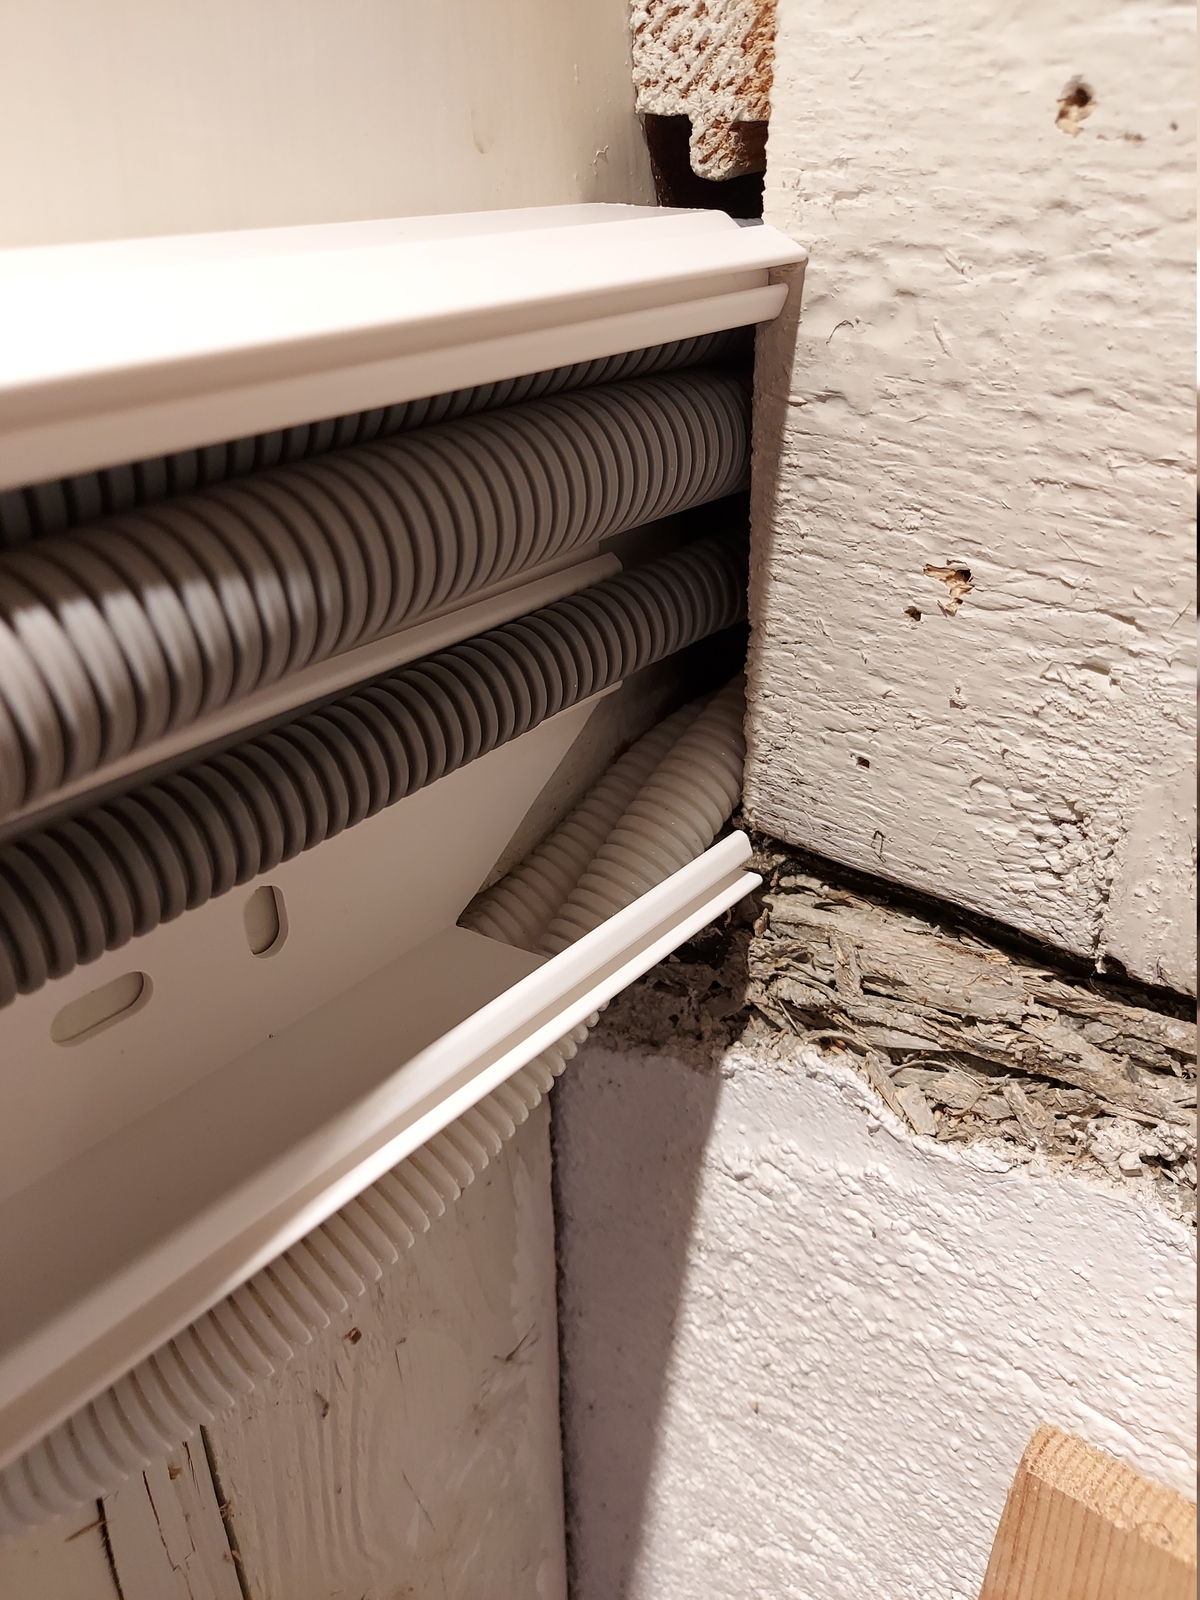
The CAT6 cables exit the conduit inside the cable channel, leaving the conduit invisible 🙂
Exiting the cable channel; they join up with the more CAT6 cables — running along the basement ceiling and into my home office.
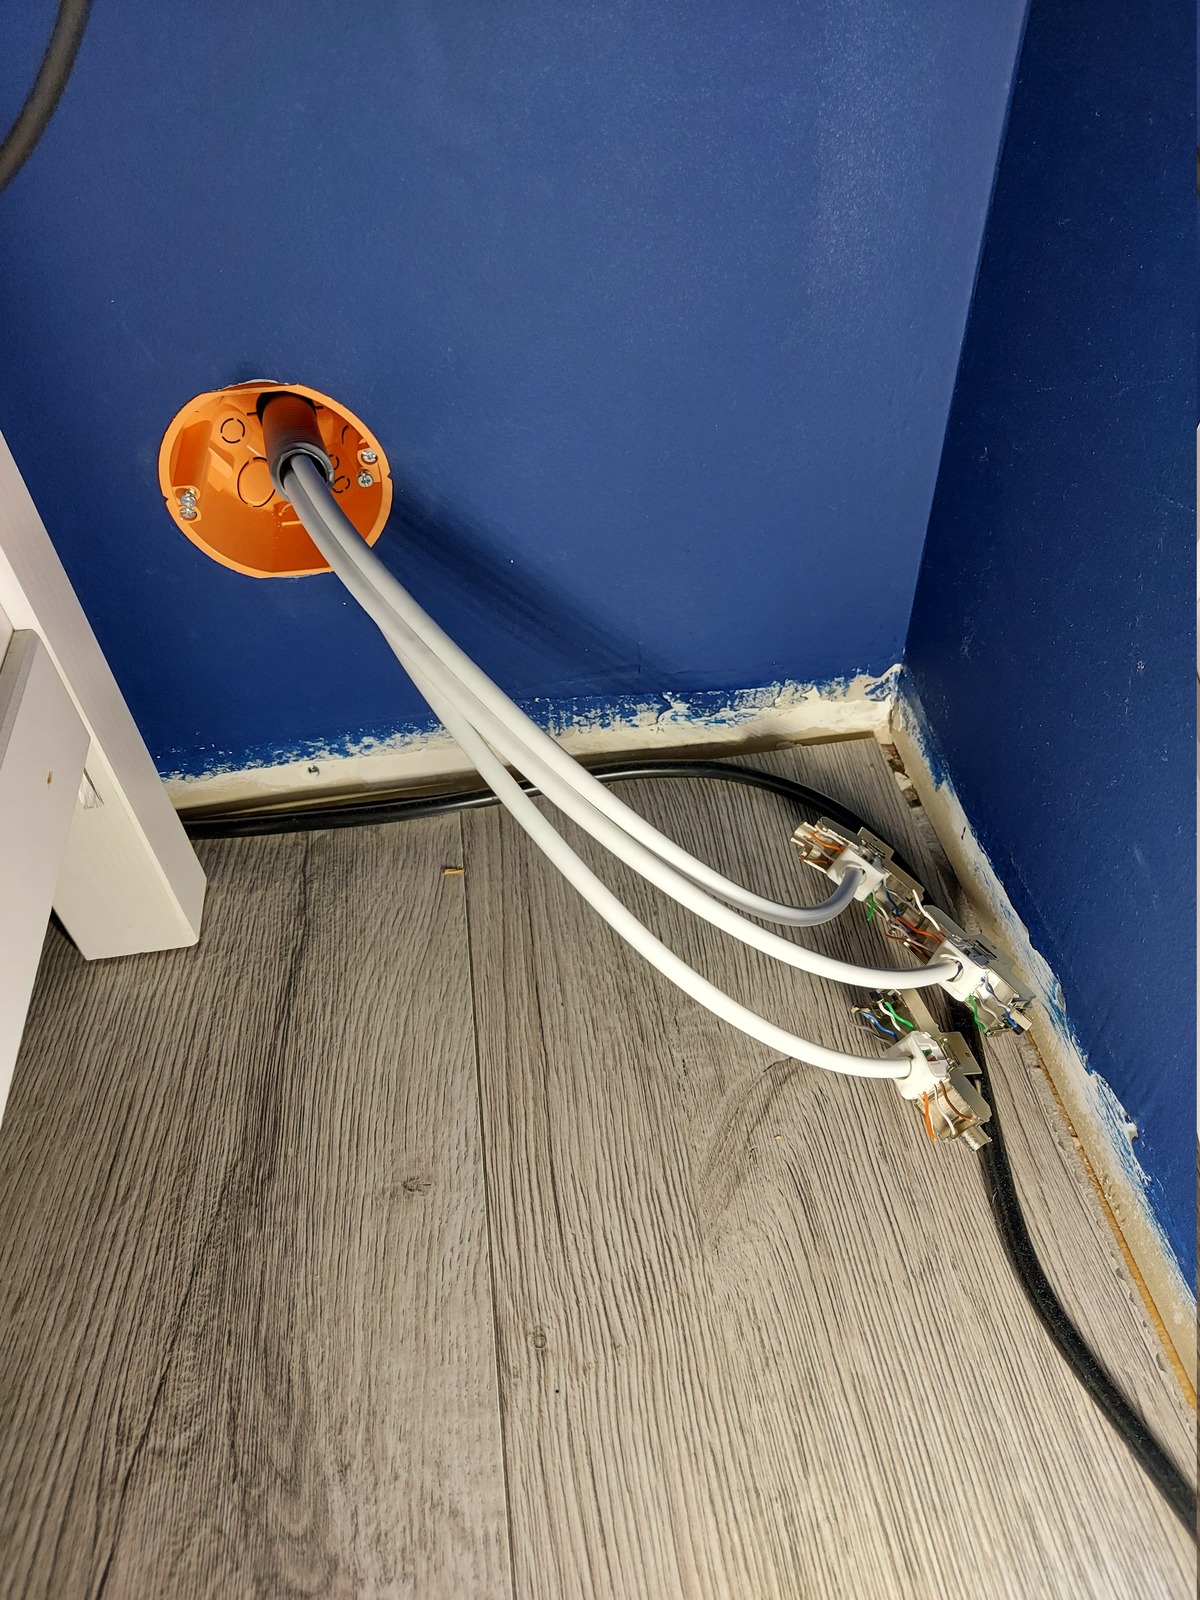
In the home office; I terminated the cables with more tool-free keystone jacks…
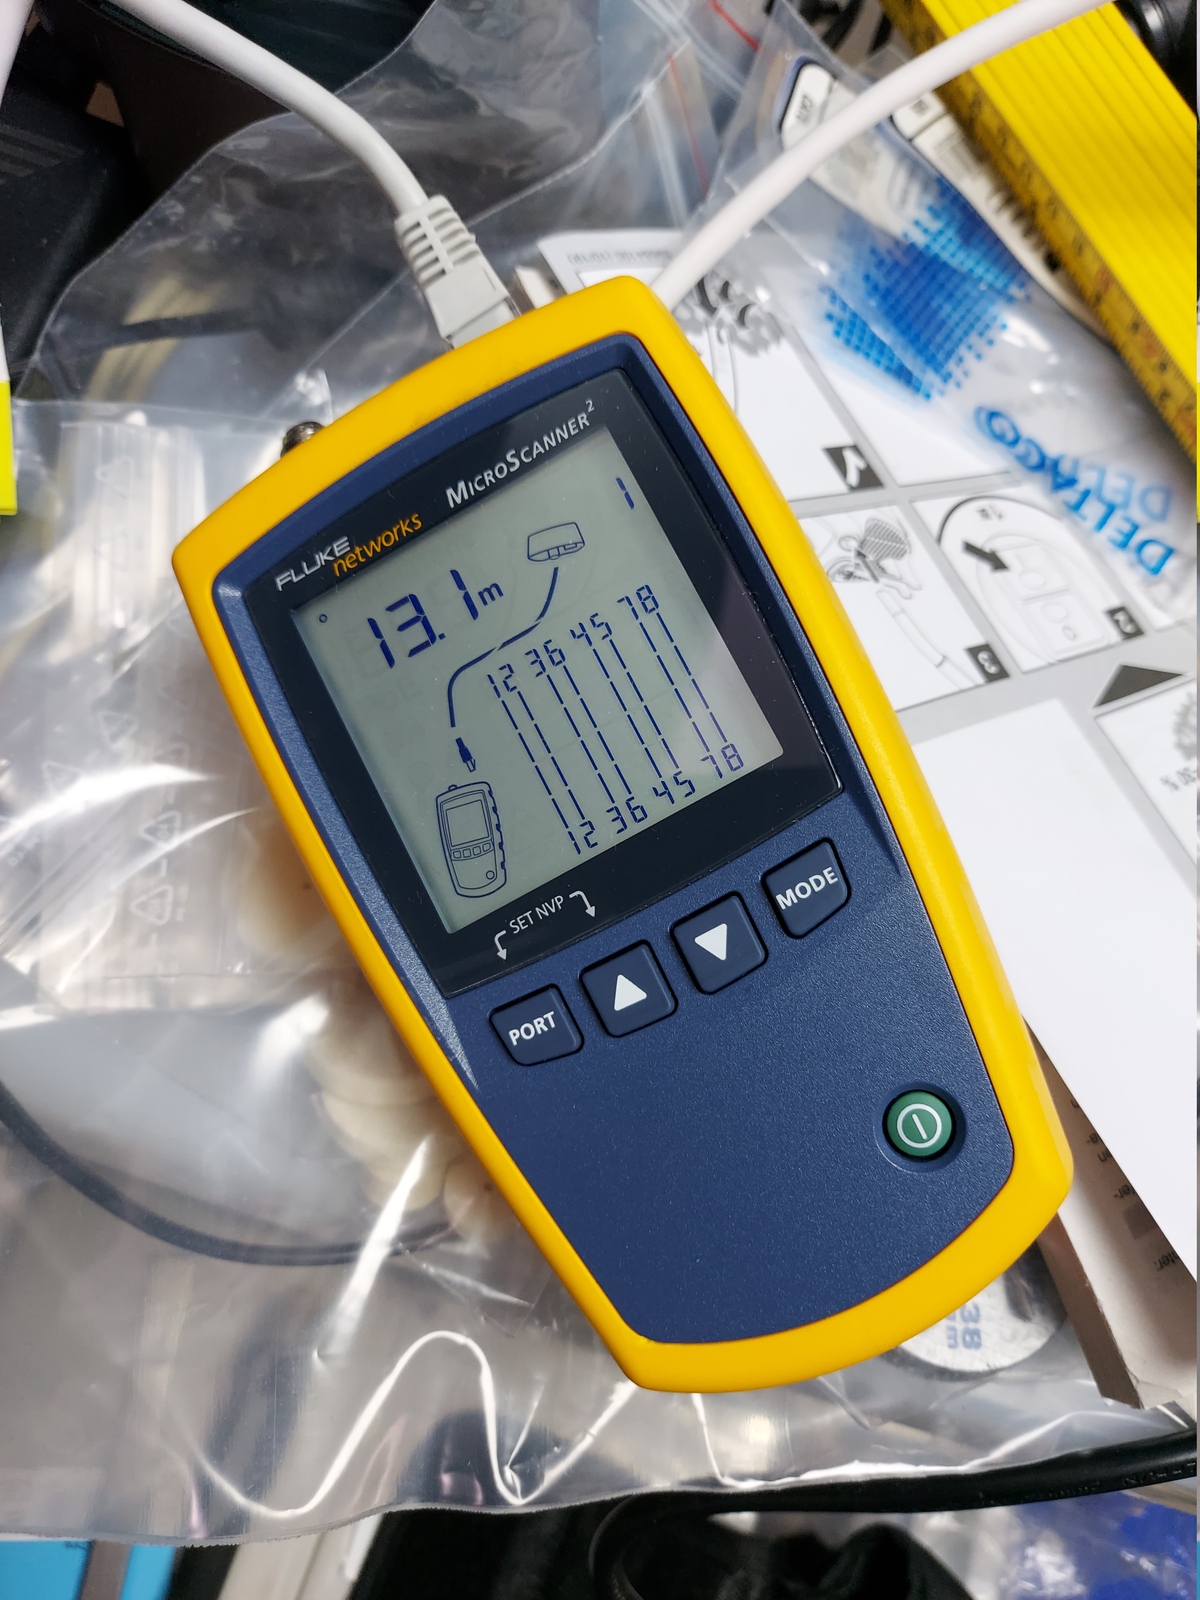
…and tested them with my Fluke MicroScanner.
After making sure all cables and terminations were OK, I mounted the keystone jacks in the ELKO wall plate.
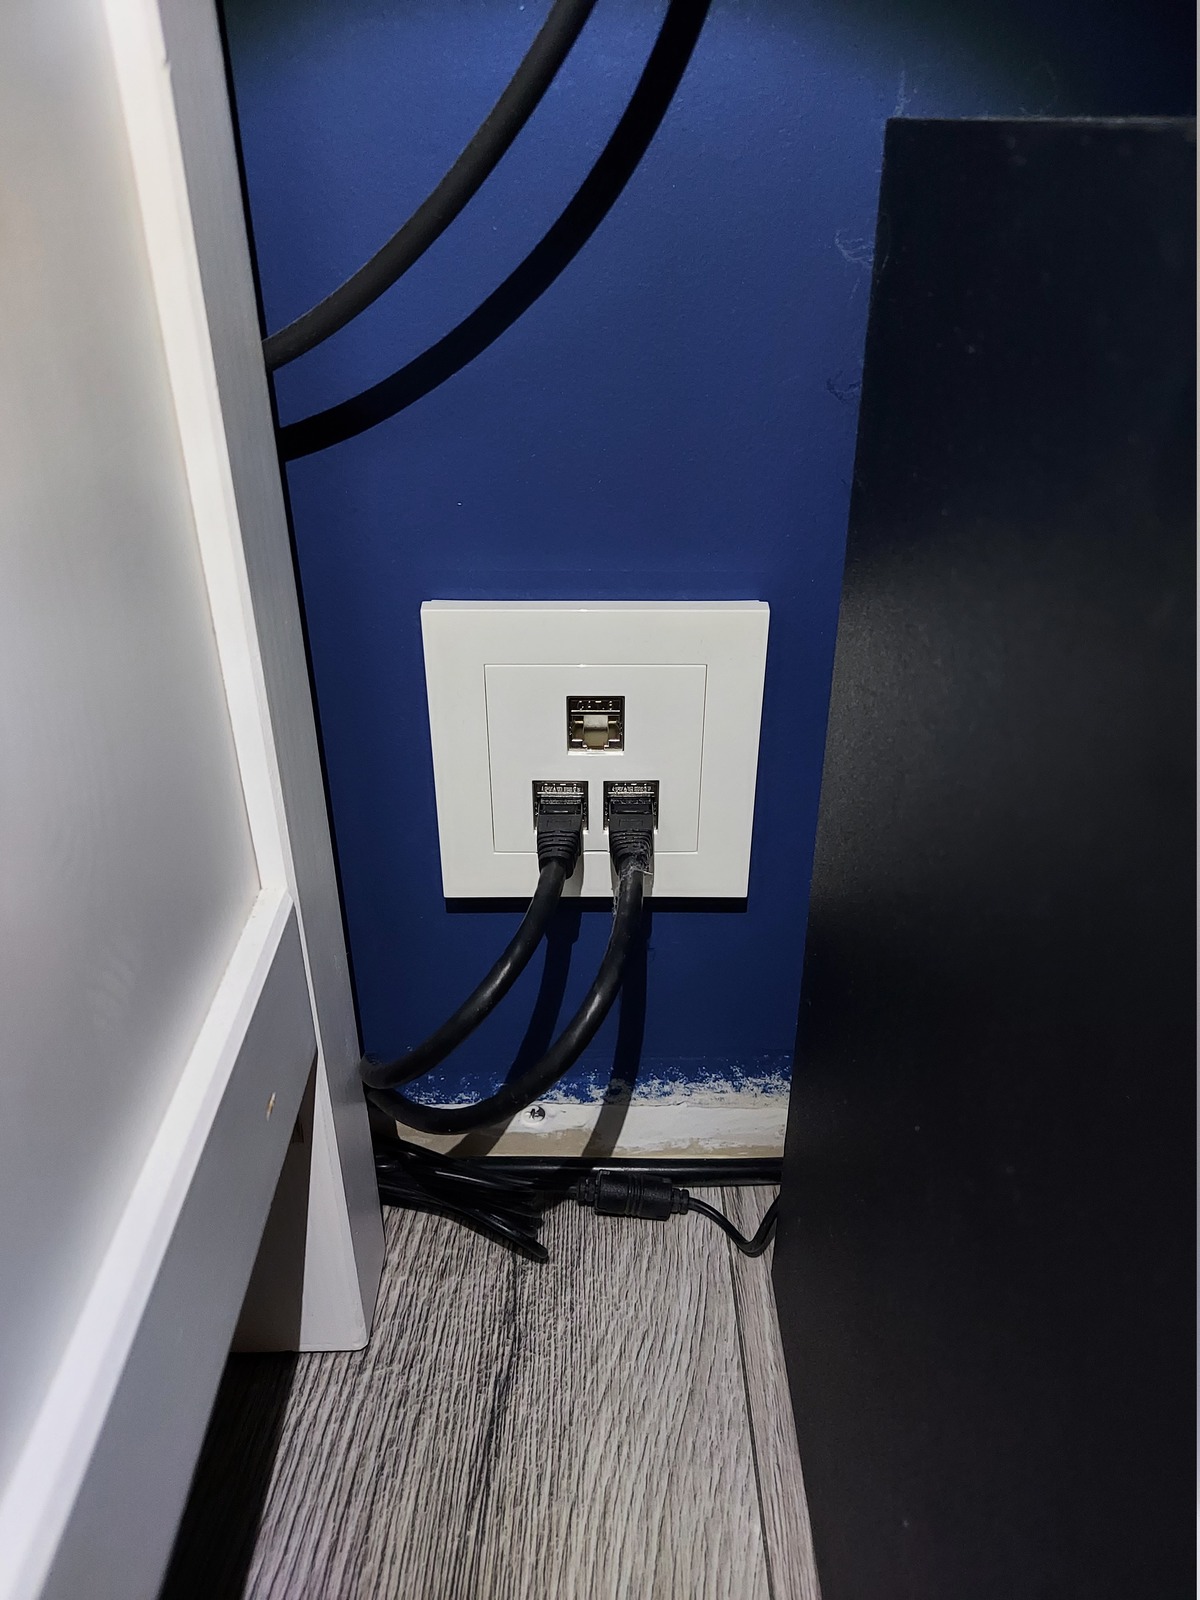
Then pushed the excess cable back into the conduit, fastened the wall plate in the multi box, and attached the front cover. For patch cables I’m using black Deltaco high flex CAT6 cables.

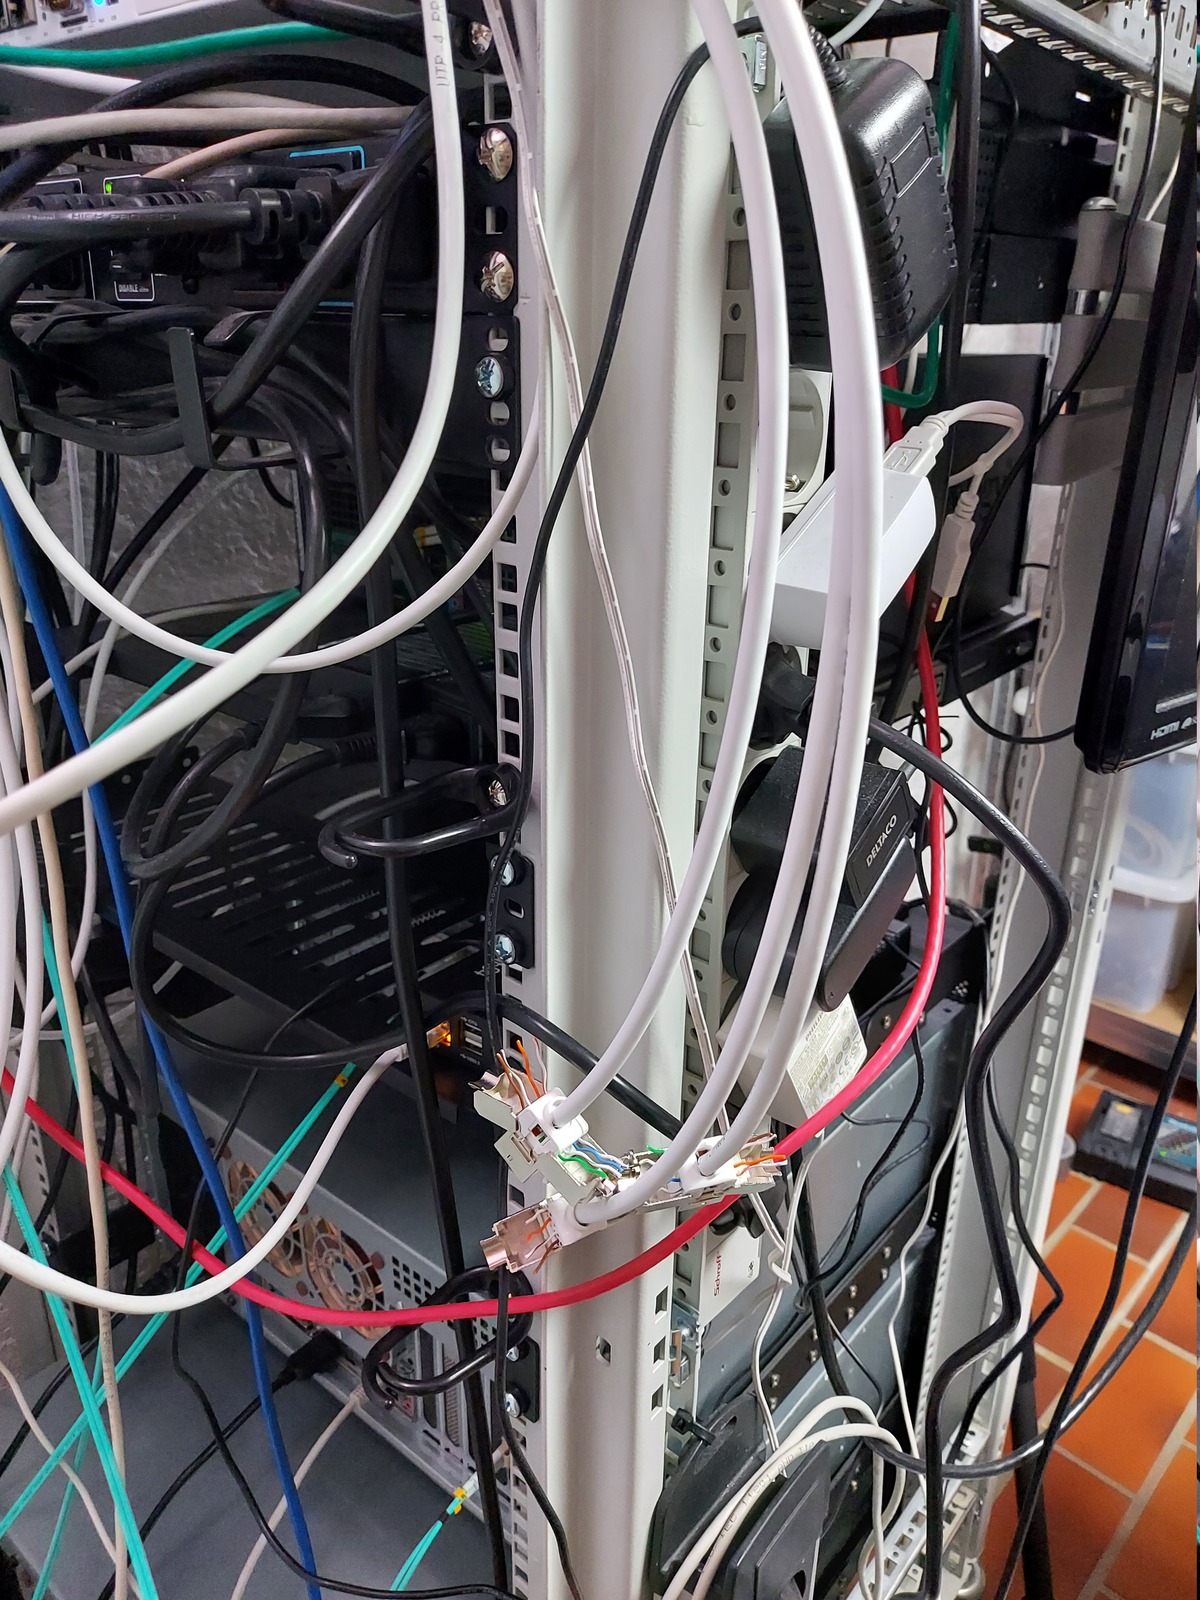
Lastly — on the home office end; I clicked the keystone jacks into my patch panel.
Done!

Our TV and Shield media player are now wired up to the network, before they were both on Wi-Fi. I can’t really say that we notice much difference, even playing 4K movies hasn’t been an issue using the Wi-Fi.
The Unifi UAP-AC-Pro in the hallway is fairly close to both devices, so they did have excellent 5 GHz signal. Except for a few occasions where the TV insisted on connecting to the outside access point, on the other side of the house.
But there is just something intensely gratifying about running network cables and wiring up devices — maybe it’s just me 🙂
Having ran three CAT6 cables I have one outlet to spare — I’d like to keep the TV bench clean and avoid having a switch there, if I can.
Last commit 2024-11-11, with message: Add lots of tags to posts.
All posts in Home network v2 series
- Replacing Unifi switches with MikroTik
- Getting started with MikroTik CCR1009 and RouterOS
- Altibox fiber — straight into Mikrotik CCR1009
- Running underground CAT6 to detached garage
- Plans for my home network
- Running two CAT6 cables to the play room
- Running three CAT6 cables to the living room TV bench
- Moving CAT6 cable for access point; inside the wall
- Altibox fiber — straight into Ubiquiti EdgeRouter
- Two CAT6 cables and a fiber — from the basement to the attic
- A few Wi-Fi improvements
- Updated plans for my home network
- Knot Resolver — with ad blocking
- Pulling CAT6 cable in existing conduit
- Running CAT6 to the twins' rooms — inside interior wall
- Running CAT6 to the 2nd floor den — another interior wall
- Finally getting fiber between the house and garage
