This post is part of the Home network v2 series.
Since we first moved into this house — I’ve wanted to ceiling mount a Wi-Fi access point on the 2nd floor. But getting a network cable to the attic was challenging, so instead I opted for a Unifi UAP-AC-IW in the upstairs living room.
It’s time to do it right, but I’m not running just one. My earlier Wi-Fi mapping revealed poor 5 GHz coverage in the kid’s rooms, so I’m running two CAT6 cables — for two ceiling mounted Wi-Fi access points.
To have the option of running more CAT6 to rooms on the 2nd floor later — I’m including a 10 Gbit fiber as well 😎
And as my previous runs — no visible cables.
Table of contents
The plan
I broke the plan into two parts; getting from the basement to a closet on the 2nd floor, and from there; up into the attic.
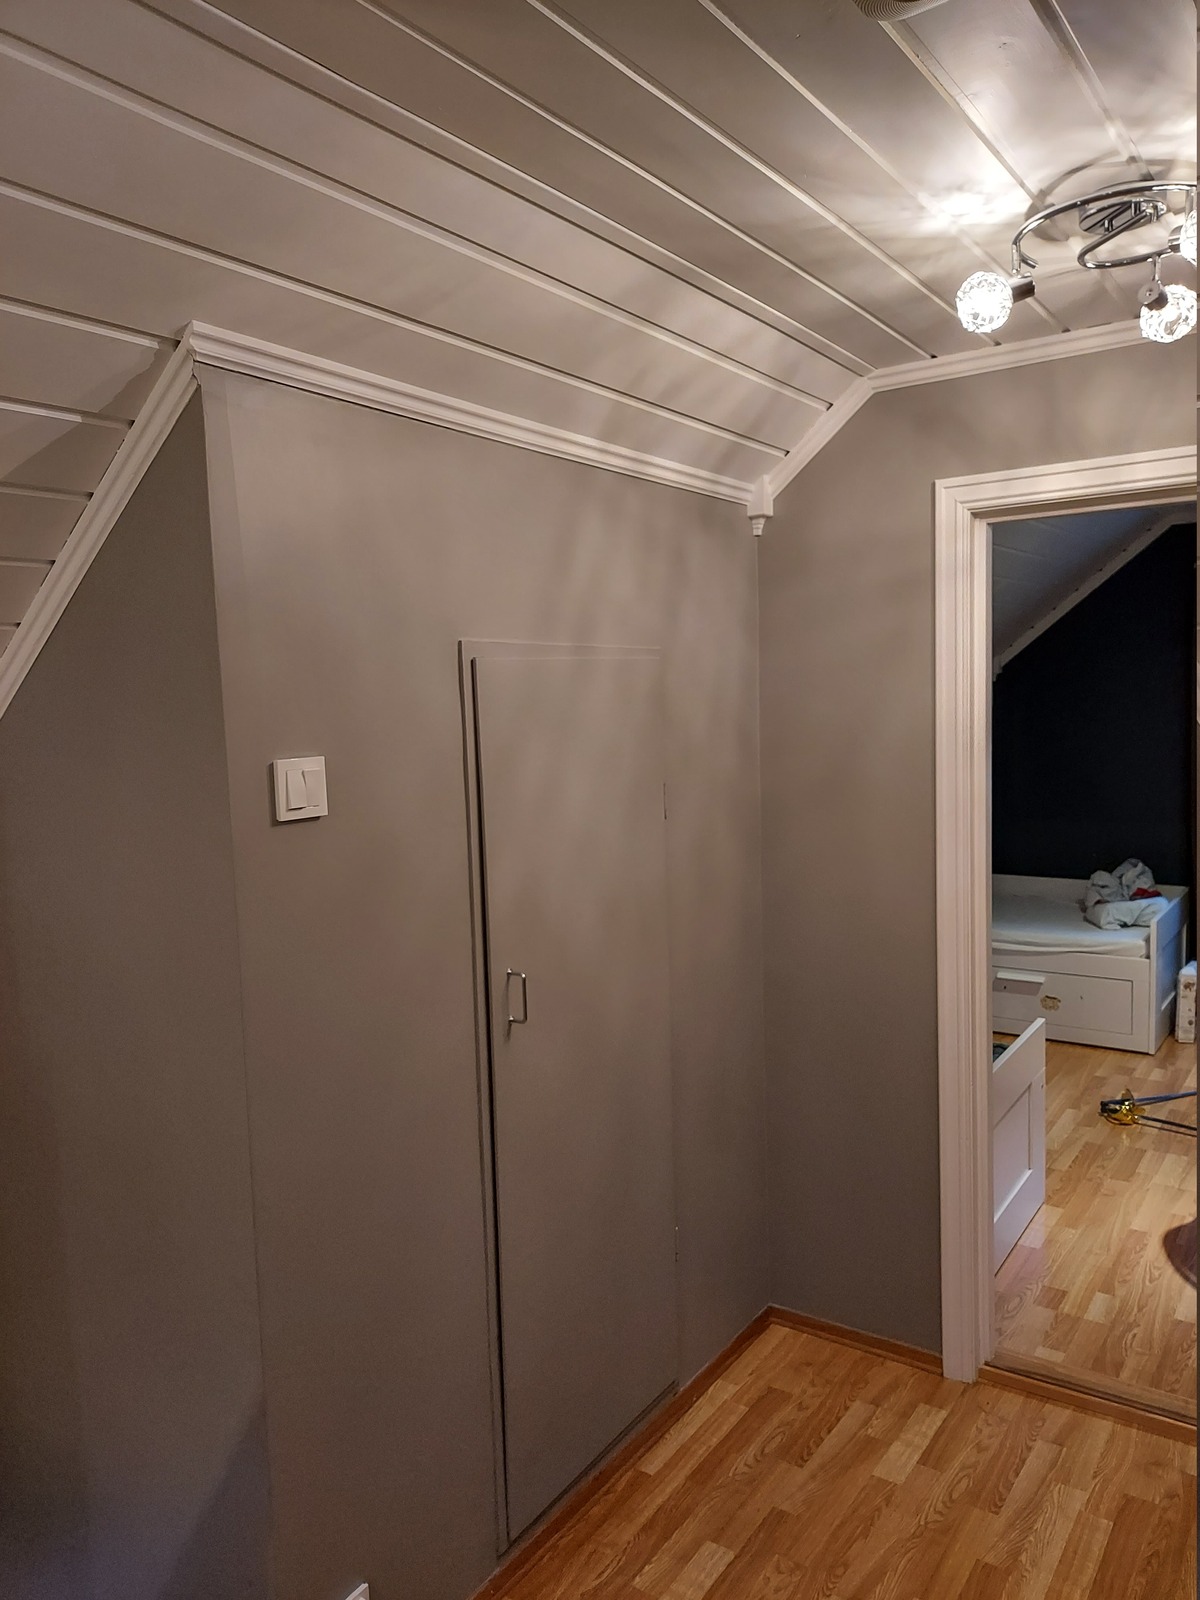
To the closet
This is the easy part, I’ve explained in some previous posts how there is a cavity alongside the basement stairwell, and that the wall towards the living room is partly hollow.

As I have done with a few network runs already; I can just run the conduit in this cavity, and up inside the wall. And, as luck would have it — it’s possible to get from inside the wall, into the closet above. Below the floor boards of the 2nd floor closet, there is an opening into the wall below.
I found this out by sticking a fish tape down an opening below the floor boards in the closet, and — using a mirror and a flashlight looking up inside the wall, I could see it from the basement stairwell.
To the attic
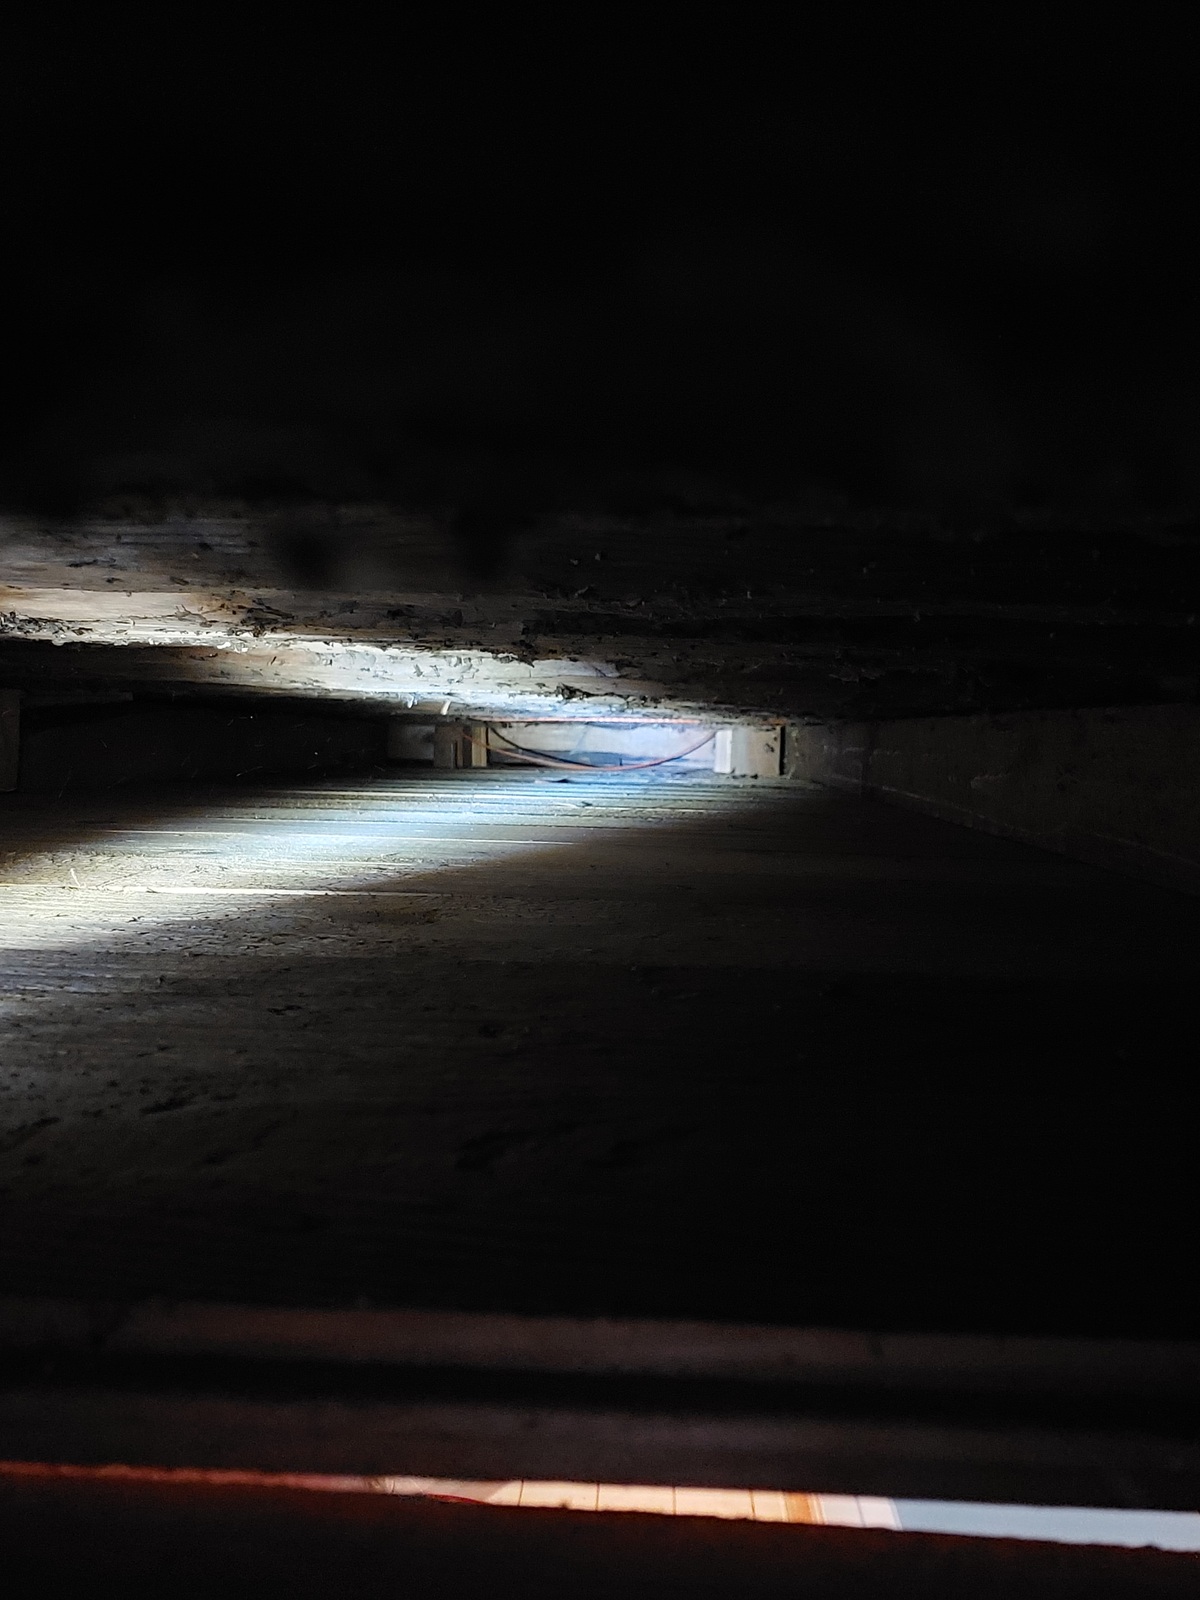
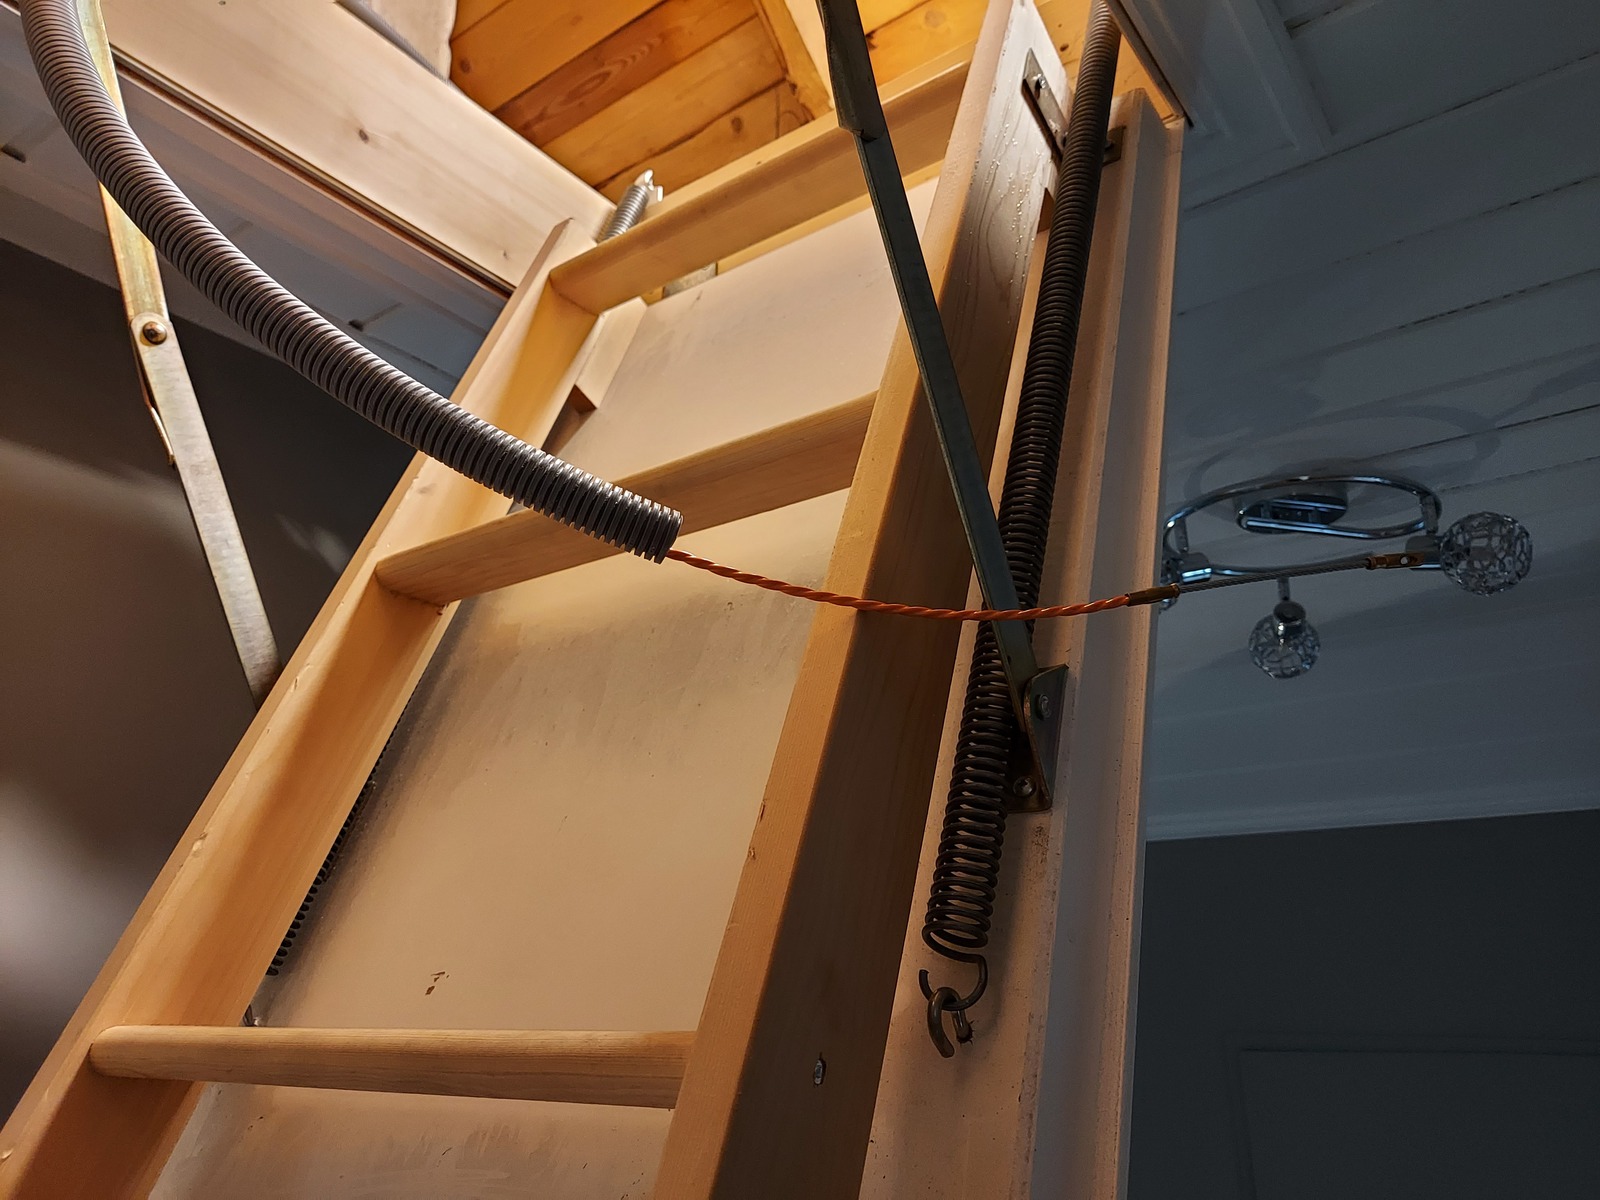
Getting from the 2nd floor closet to the attic, was more challenging…
The 2nd floor has a partly pitched roof, so it’s not possible to simply drill between the 2nd floor and attic. I had to find a way of running the conduit inside the pitched subroof.
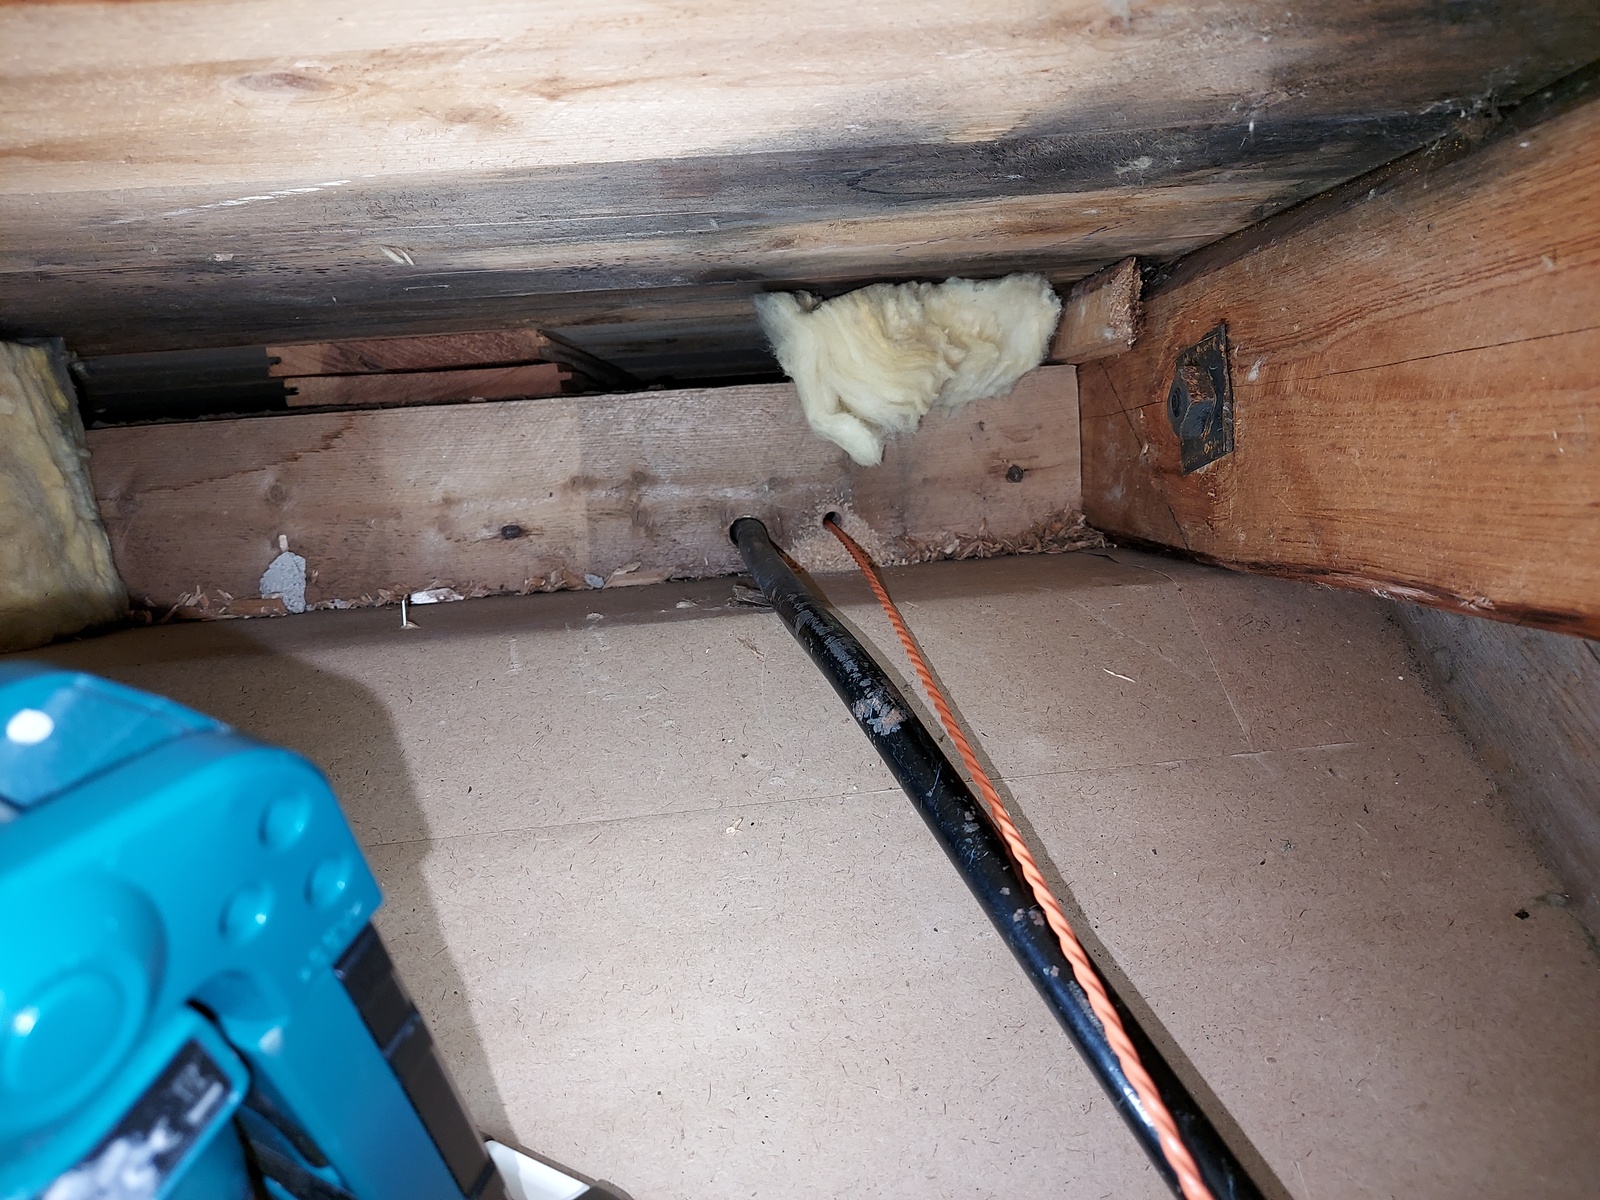
I did notice something interesting; there was a metal conduit going from the closet…
…that I was able to locate in the attic.
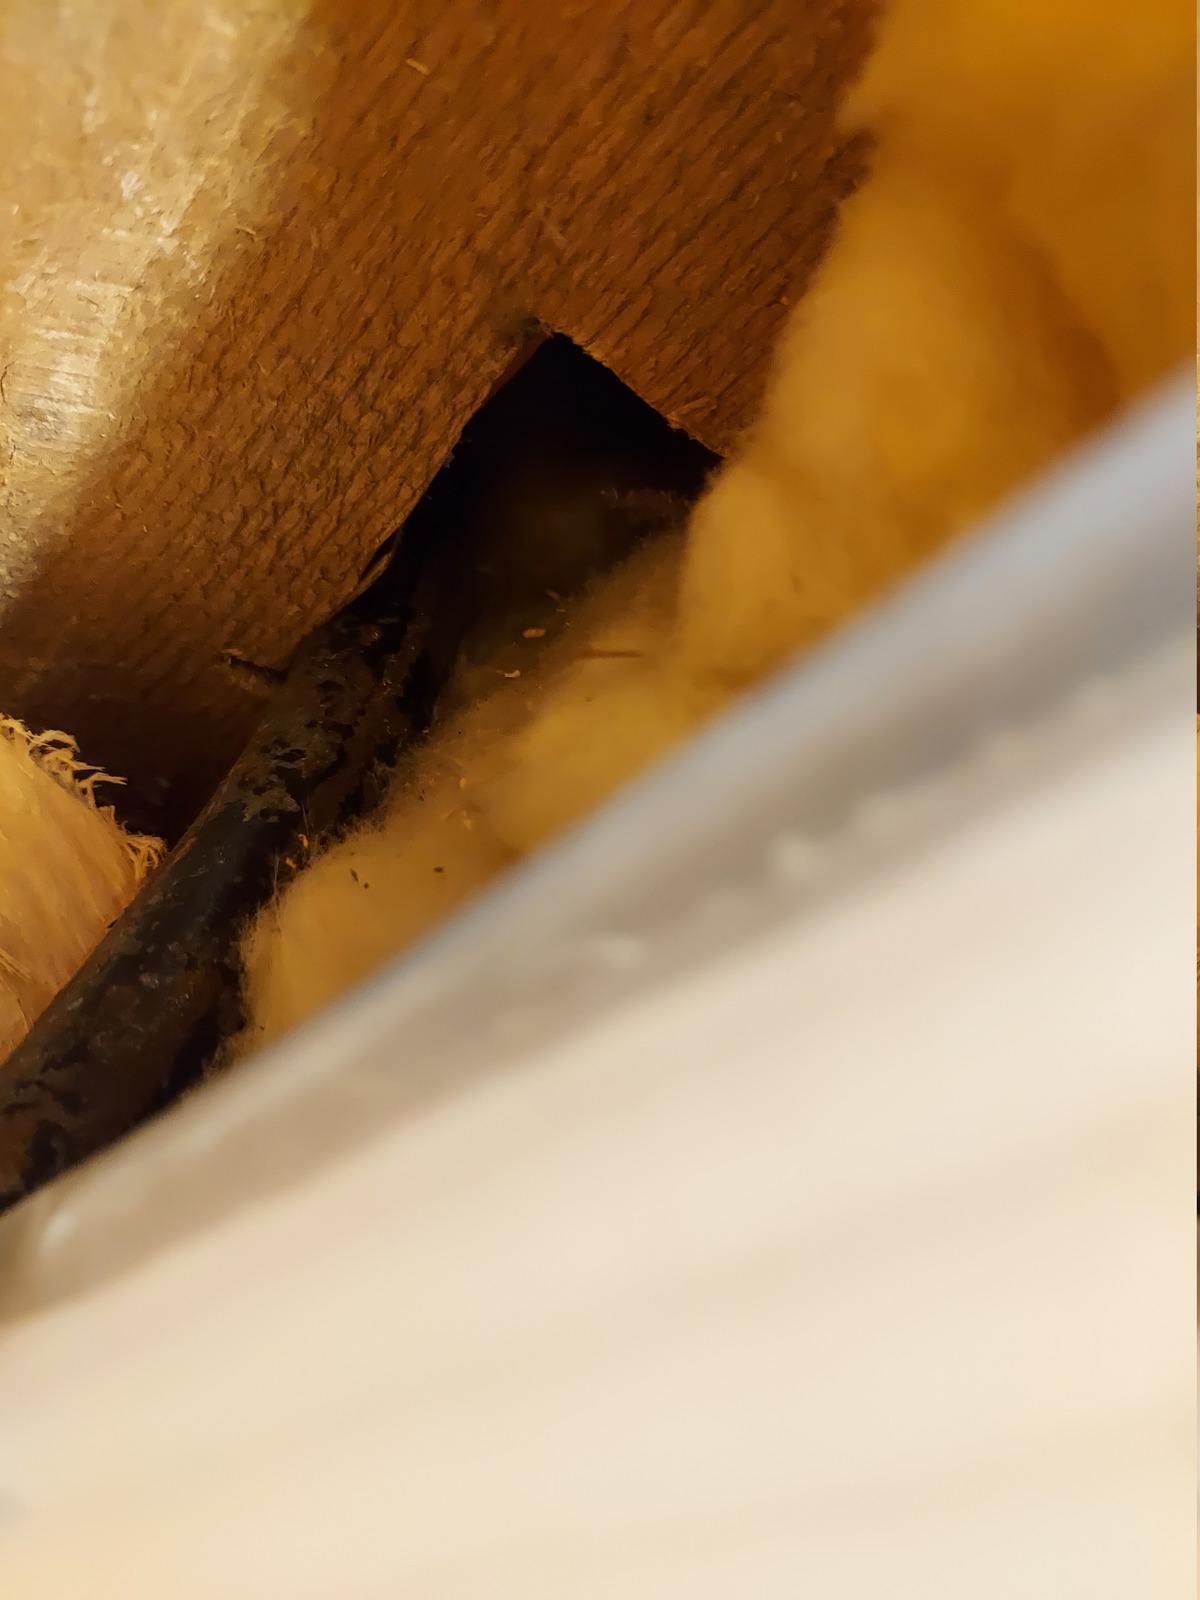
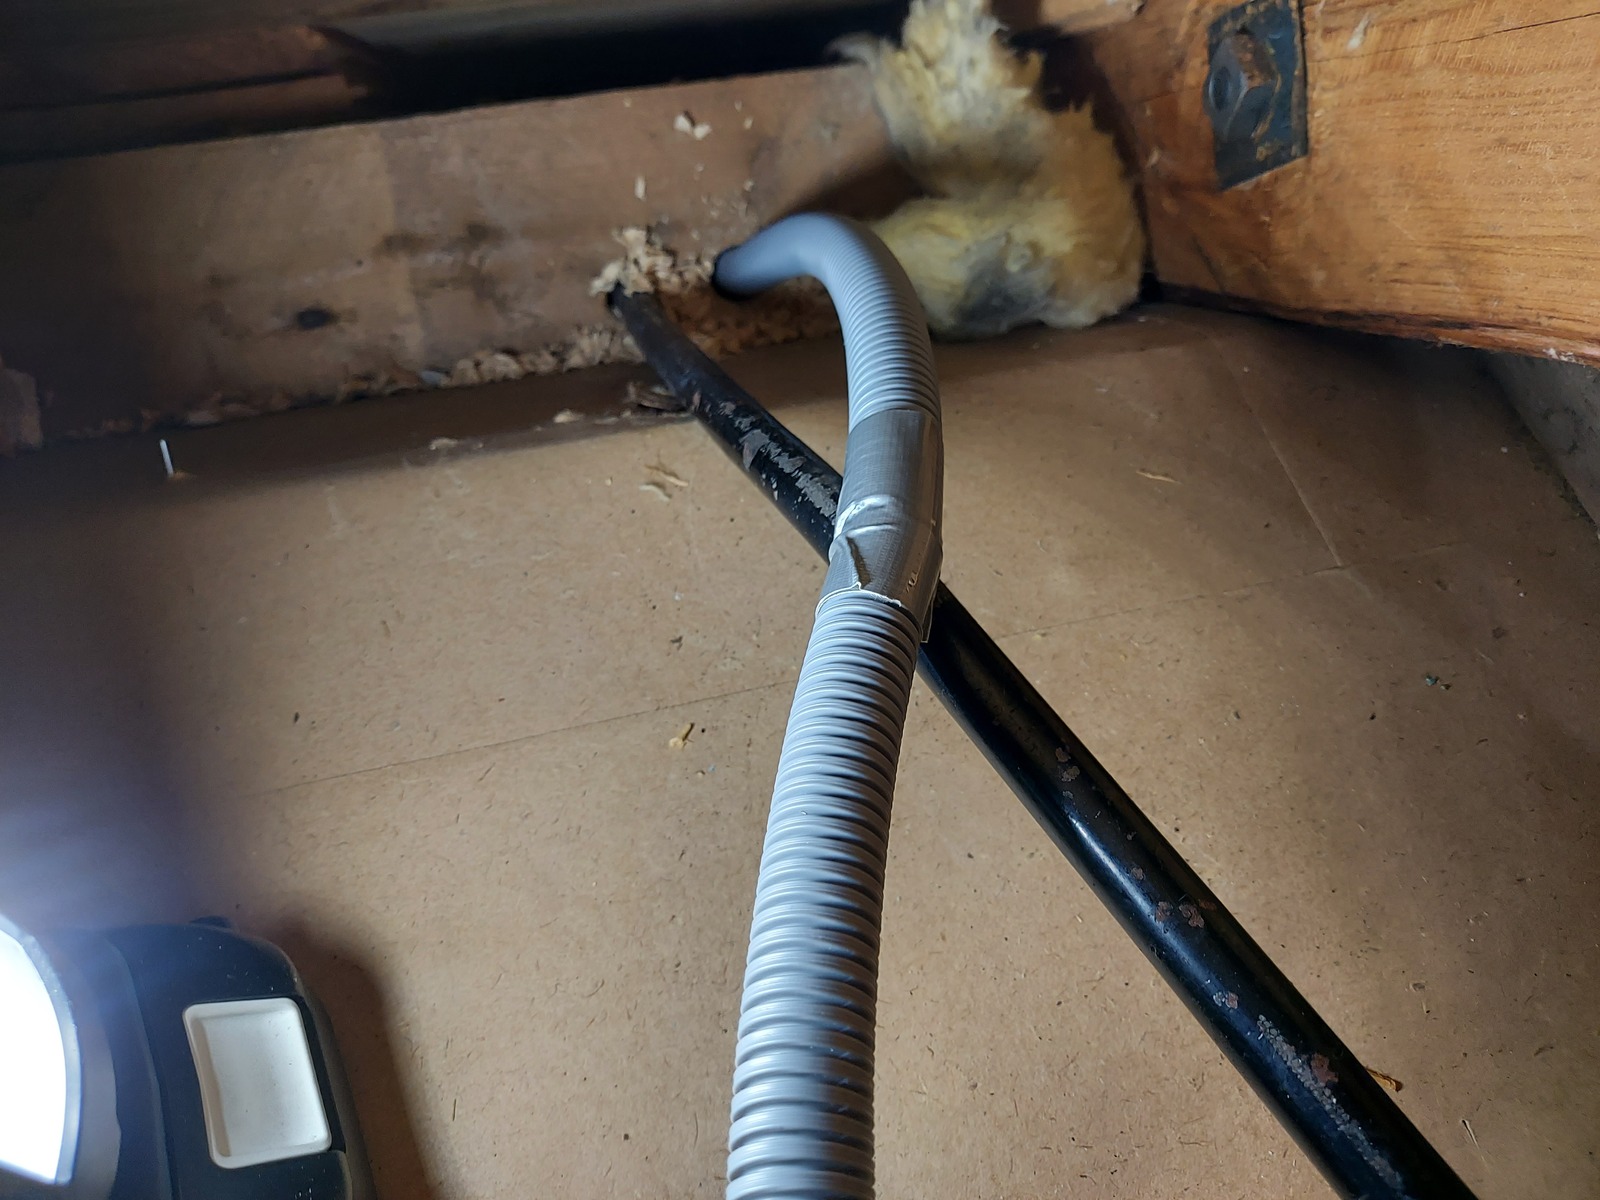
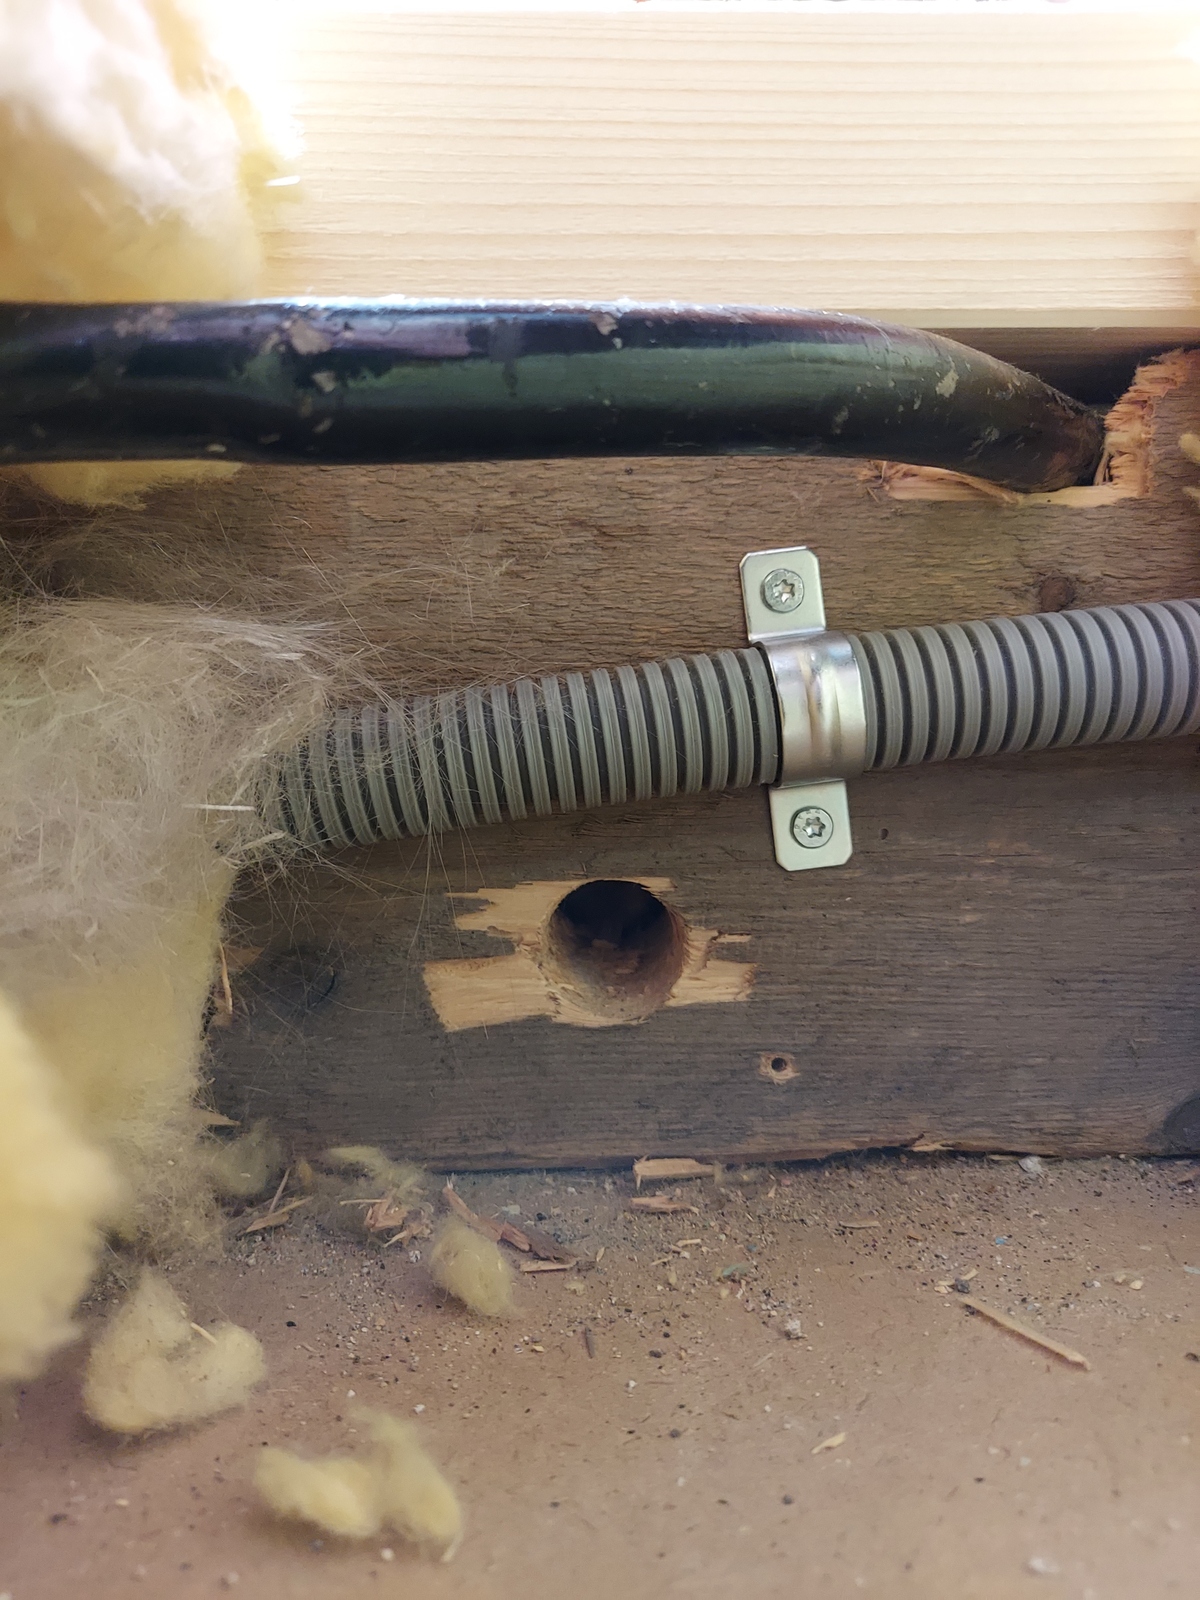
Next to this conduit, in the closet — was a notch cut out in the subroof, and it looked like there was space available for another conduit.
But, a beam between the rafters in the attic blocked my view. So the only way was to drill a pilot hole and use the fish tape. The fish tape made it through and I could feel it next to the metal conduit in the closet ceiling.
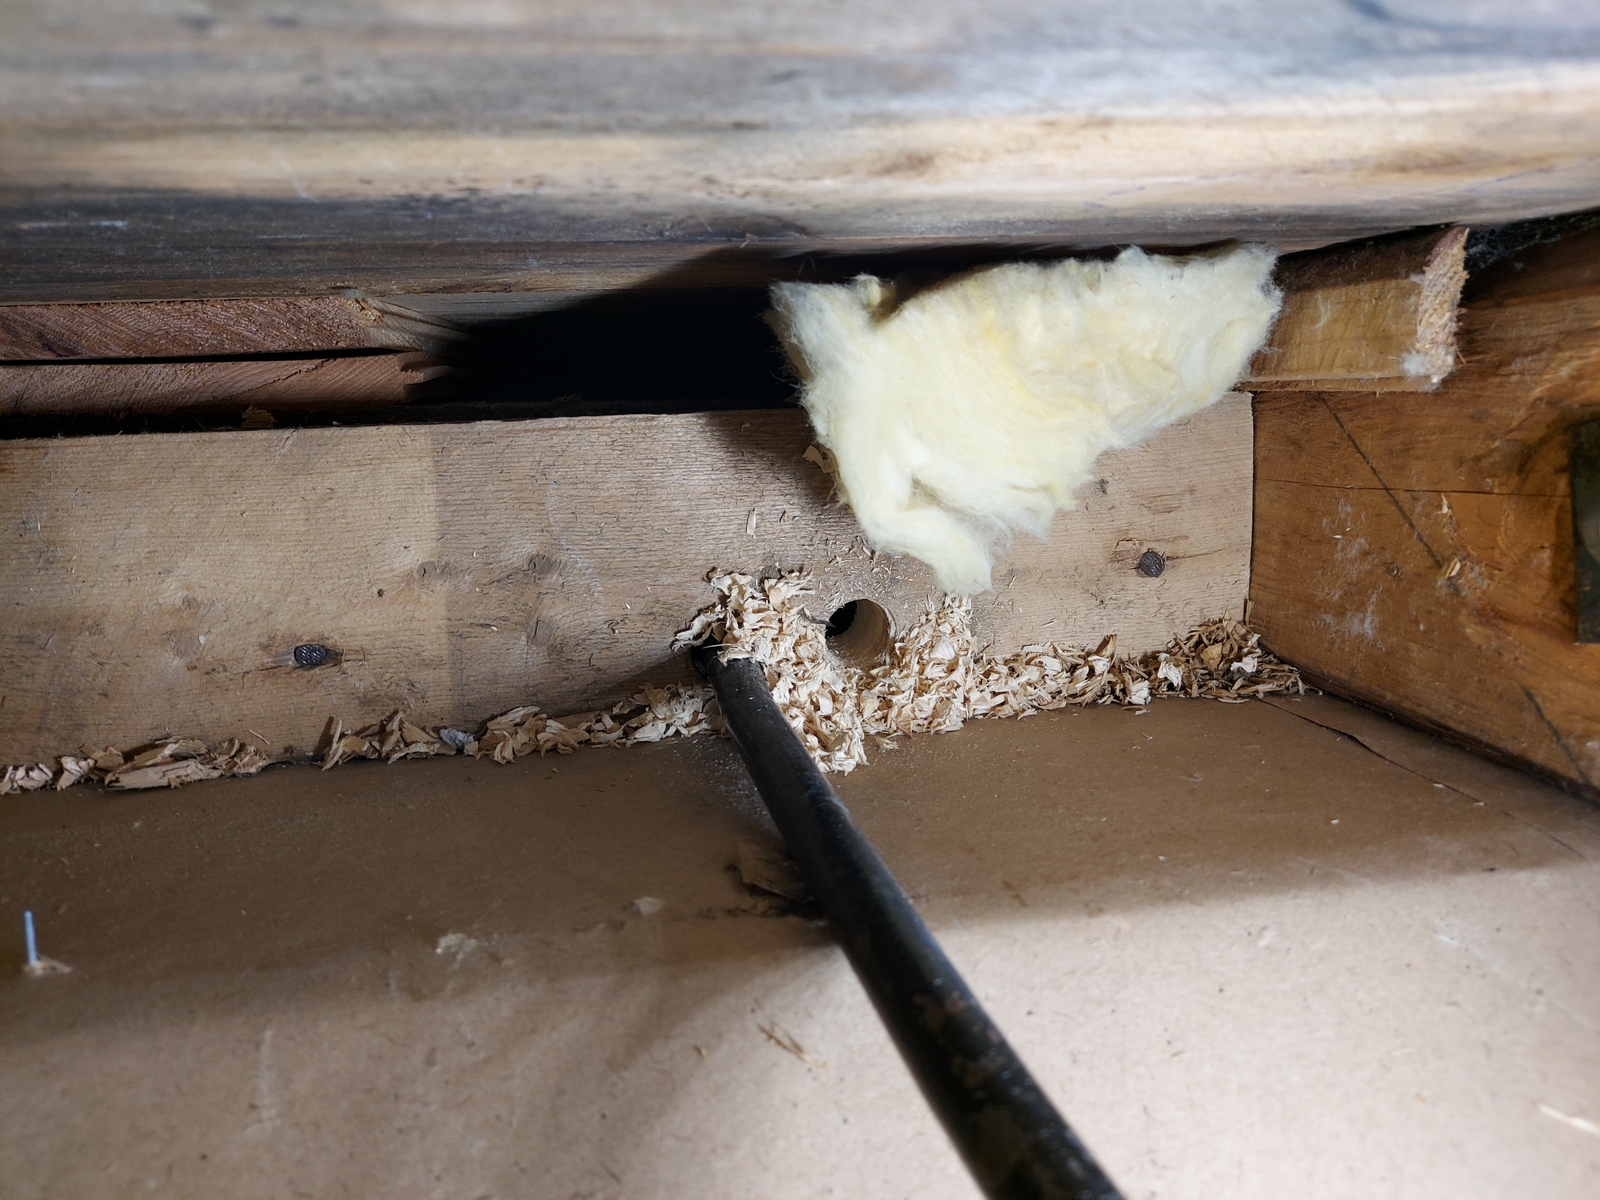
Feeling more confident — I widened the pilot hole to 22 mm, enough to get my flexible conduit through.
But, being flexible — I wasn’t able to push it all the way down to the opening in the closet ceiling. So I cut the conduit and inserted a long threaded rod inside to make it rigid.
After some trial and error; I was finally able to push it all the way through, making it visible in the opening in the closet ceiling.

From there — I was able to grab it and gently pull it down.
Now I had a piece of conduit from the attic to the closet 😃
The conduit
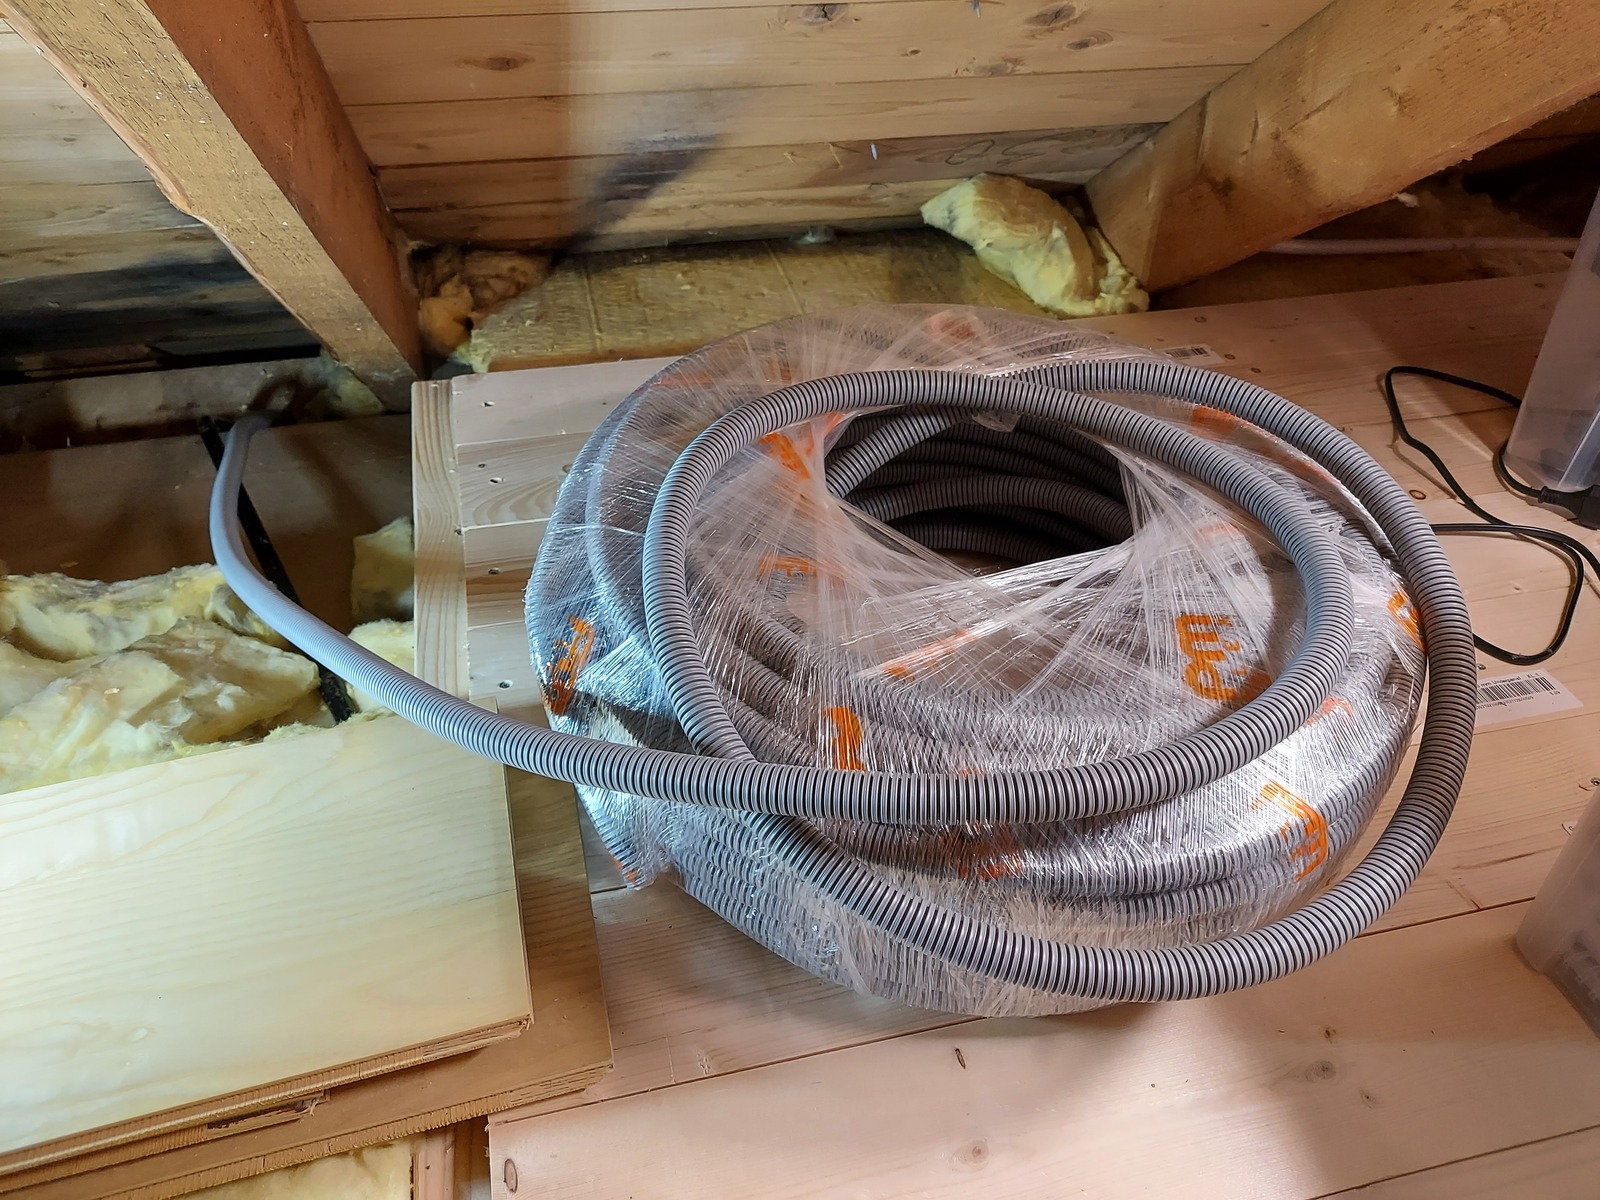
Alright — time to get this conduit all the way from the attic, to the basement 👍
I duct taped the conduit spool to the short piece going through to the closet.
Pulling carefully; I was able to get the spool through 😃
I removed the duct taped piece of conduit, and pulled a long length of conduit out.
To run the conduit through the closet; I drilled through all the shelves.
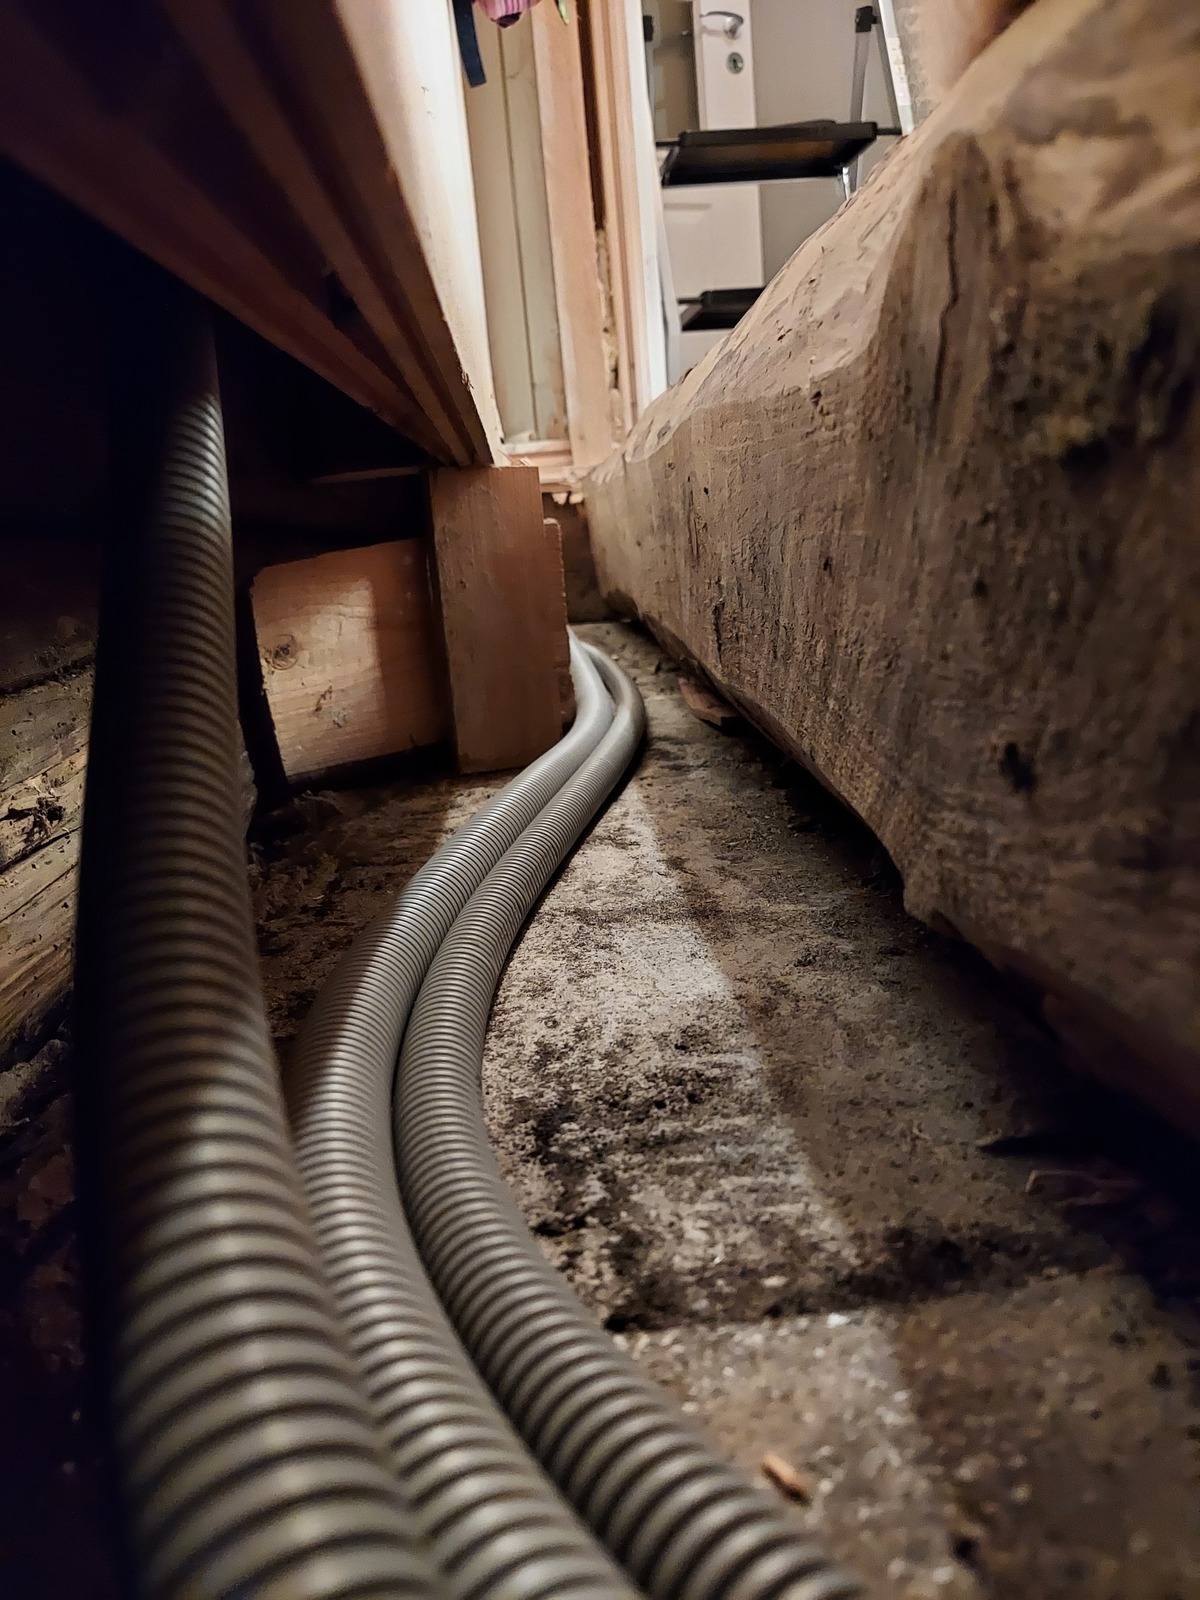
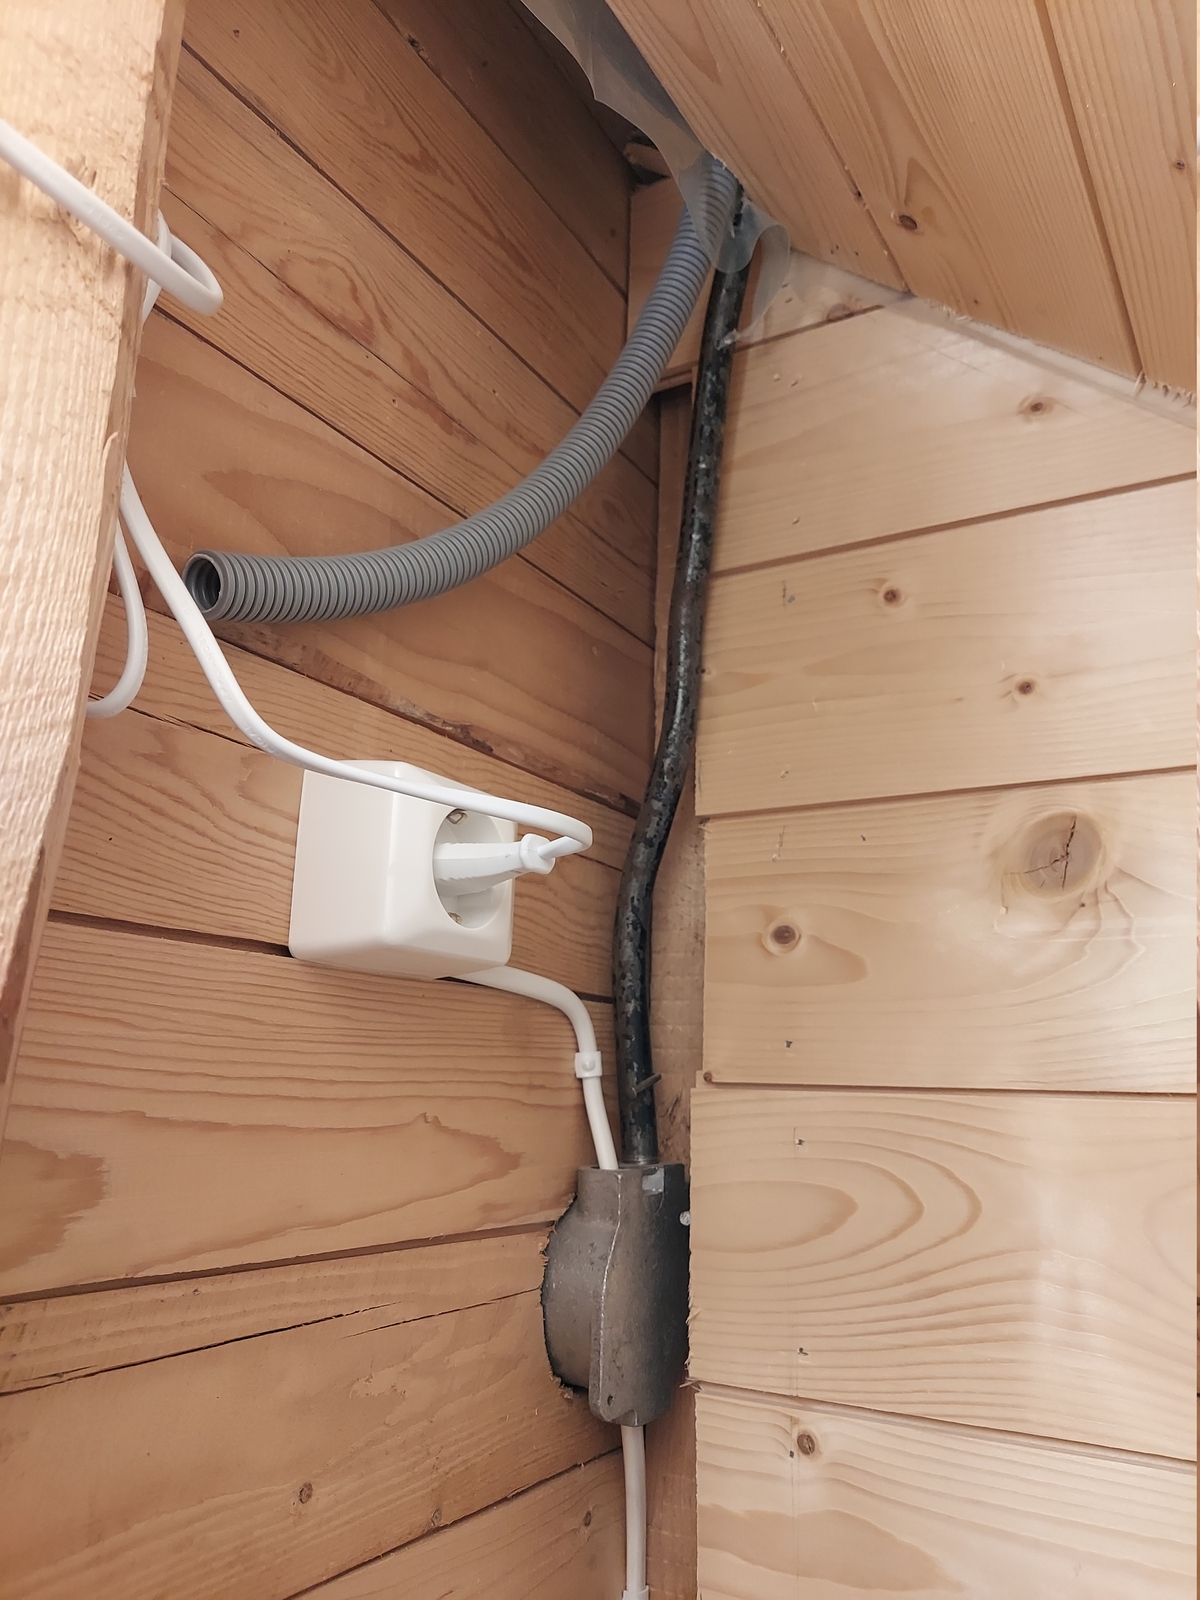
Under the floor boards in the closet; I lowered the conduit down in to the hollow wall, where it emerged in the cavity in the basement stairwell — joining conduits from previous network runs.

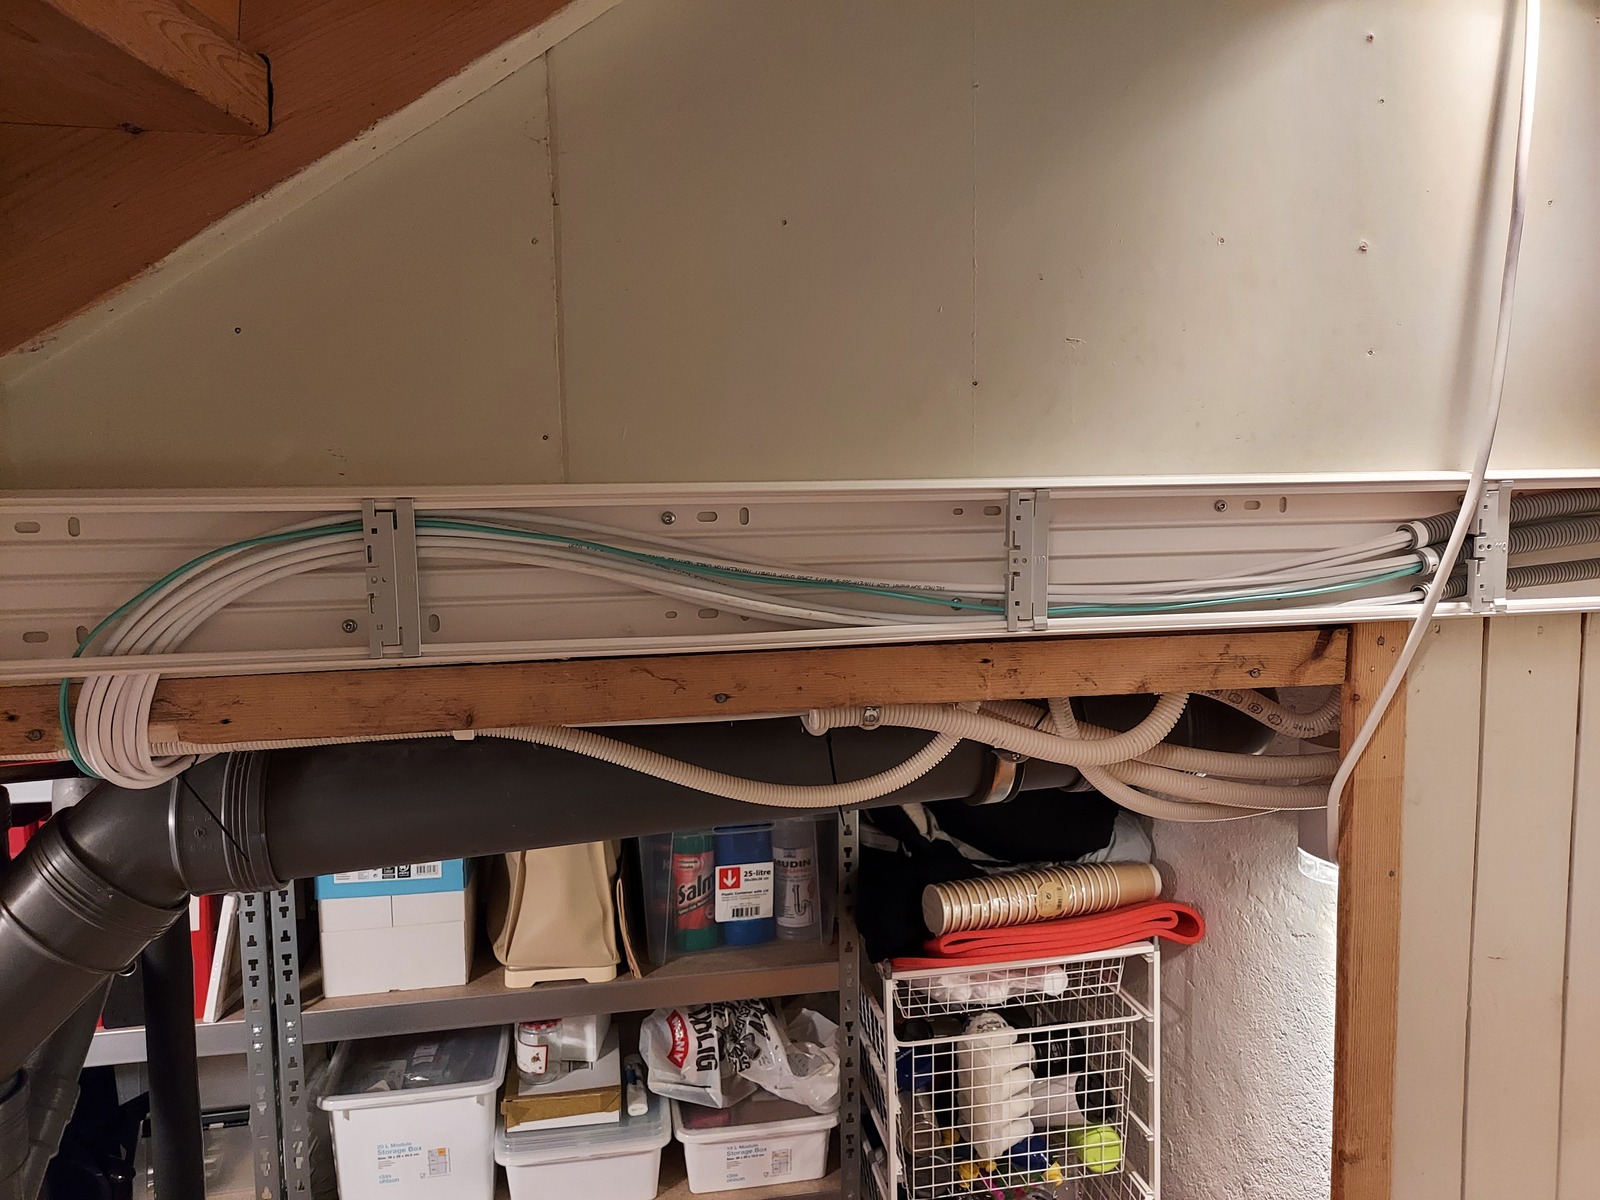
Running inside the cavity, around the basement stairwell — the conduit ends in the cable duct I previously installed.
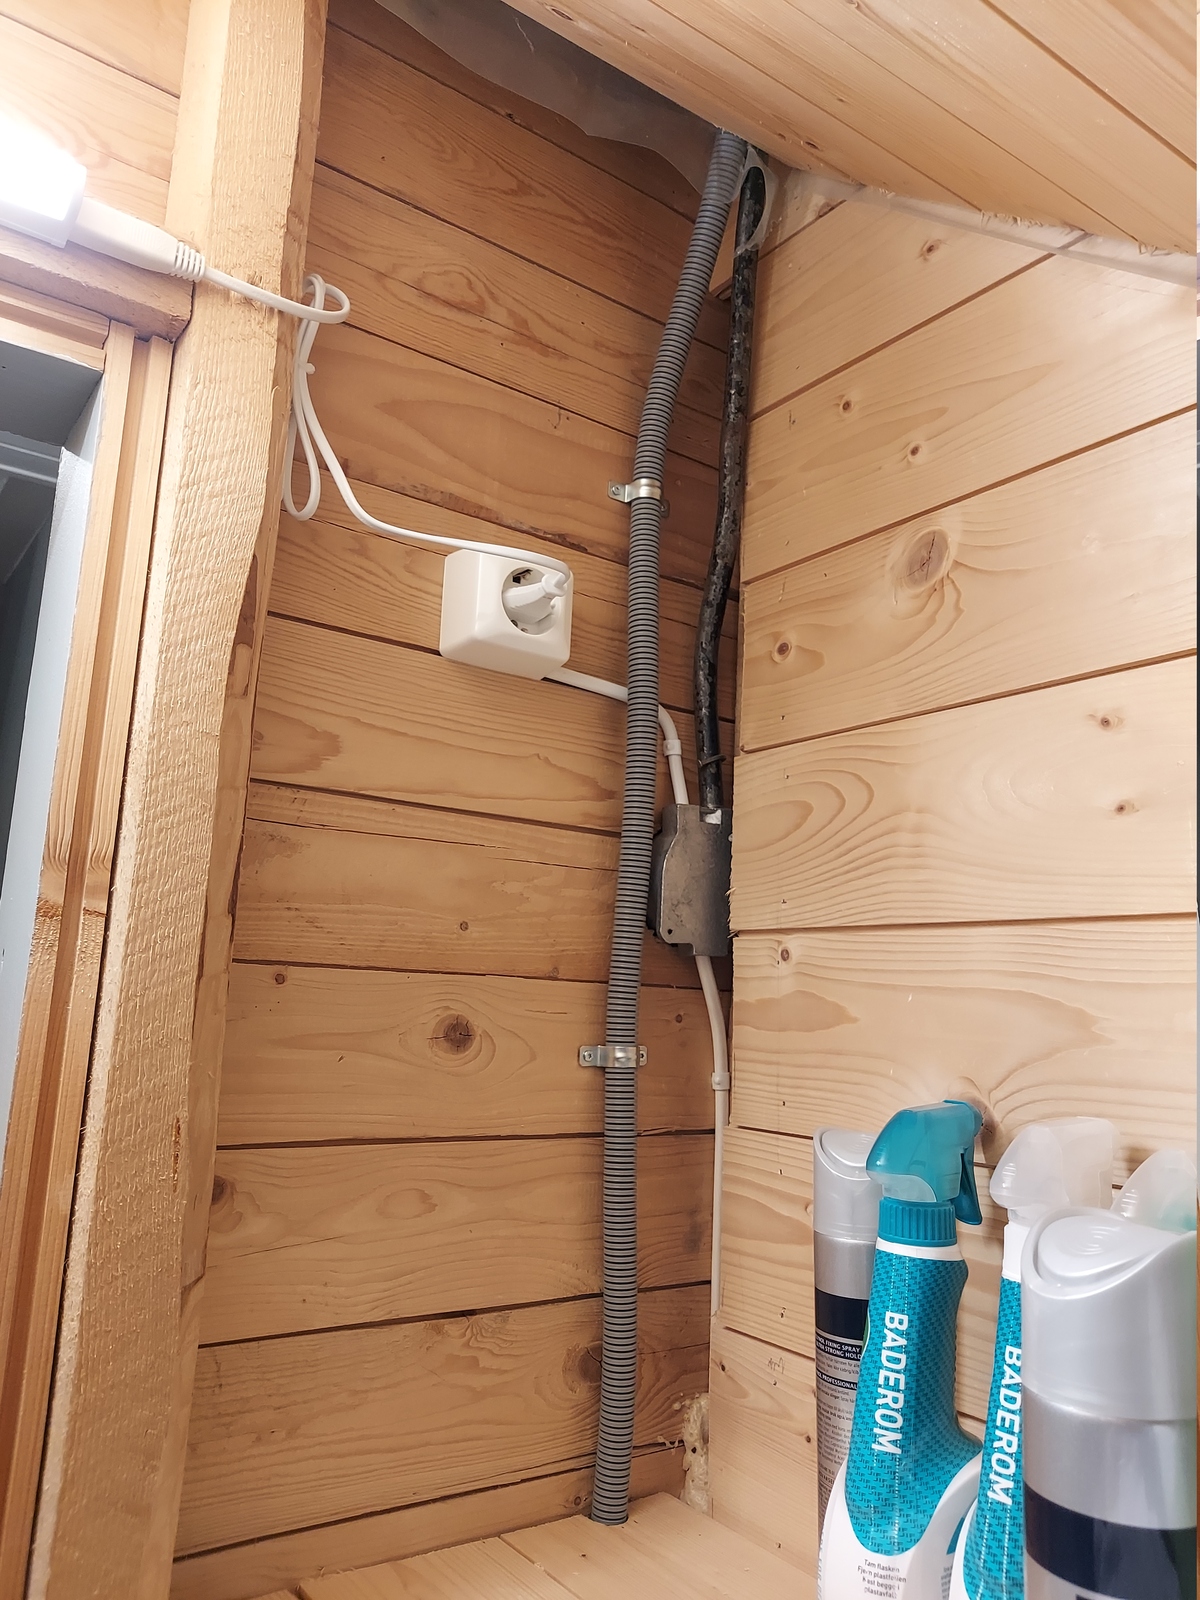
In the closet, I fastened the conduit to the wall with clamps.
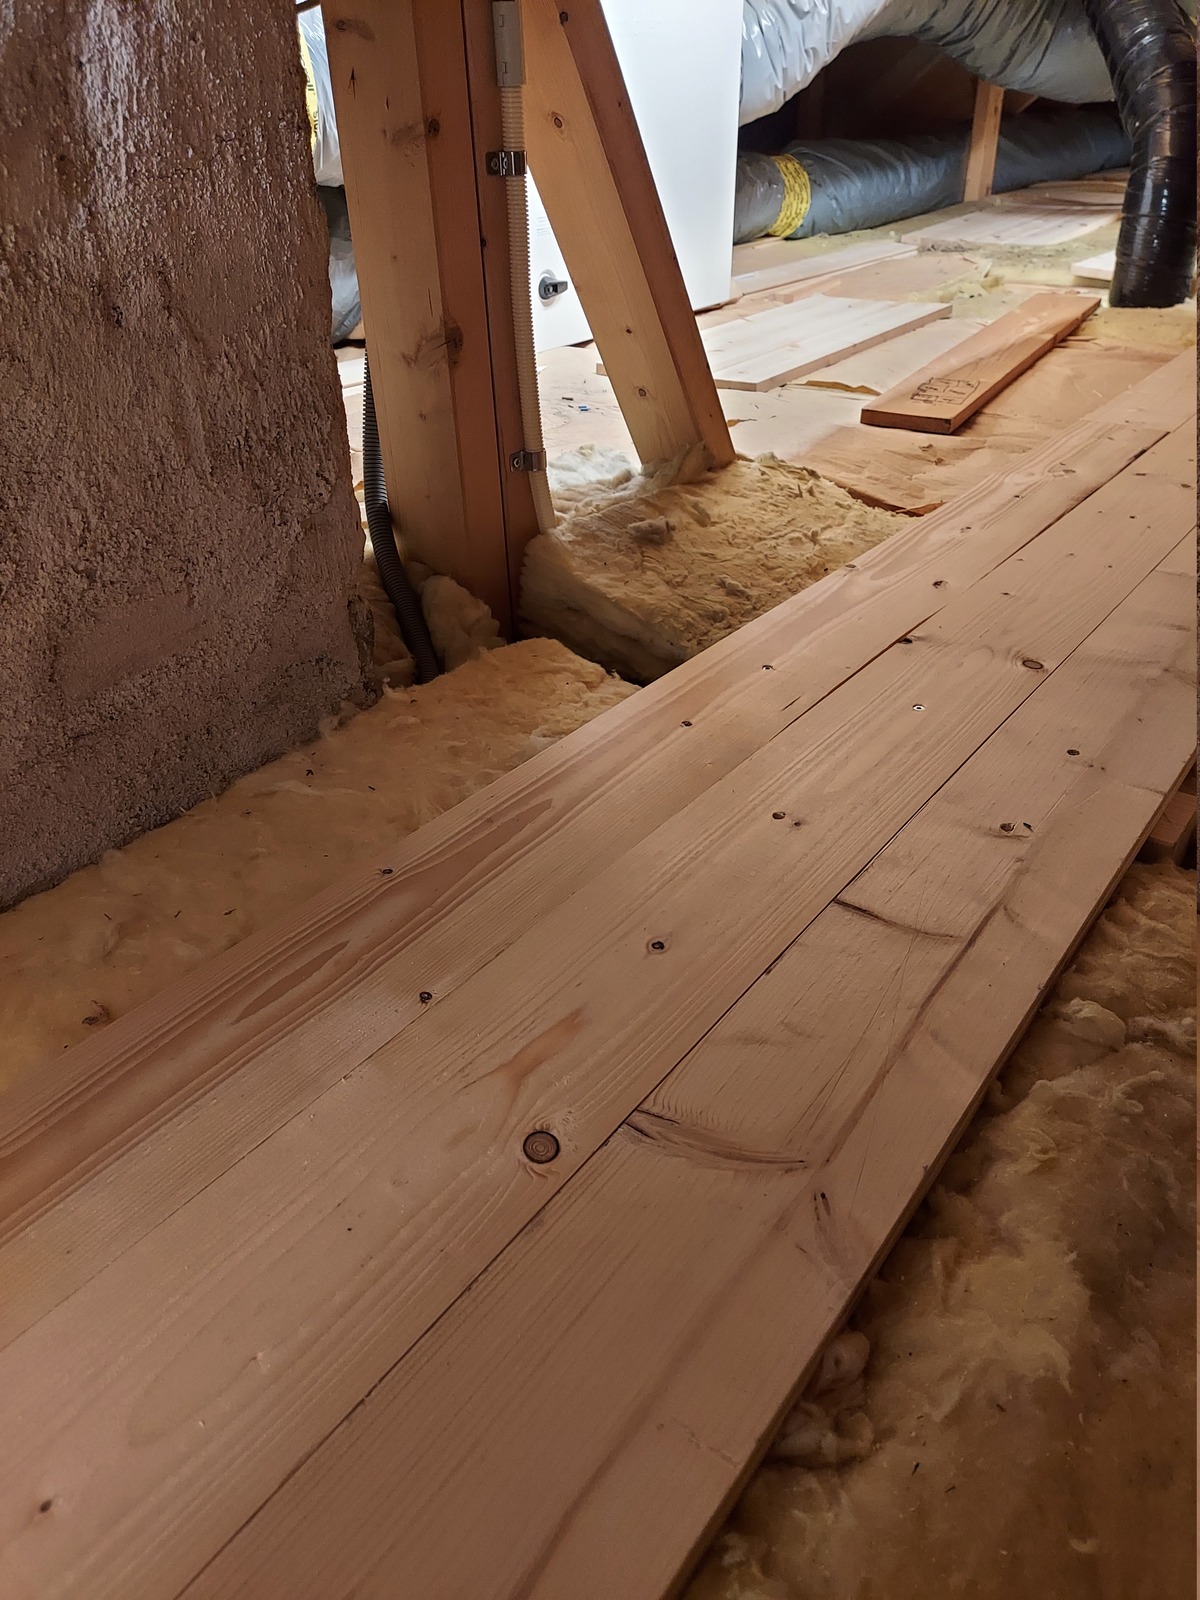
And made a cutout in a floor board, so the conduit just neatly disappears down through the floor. I am still able to lift the boards, should I need access later 🙂
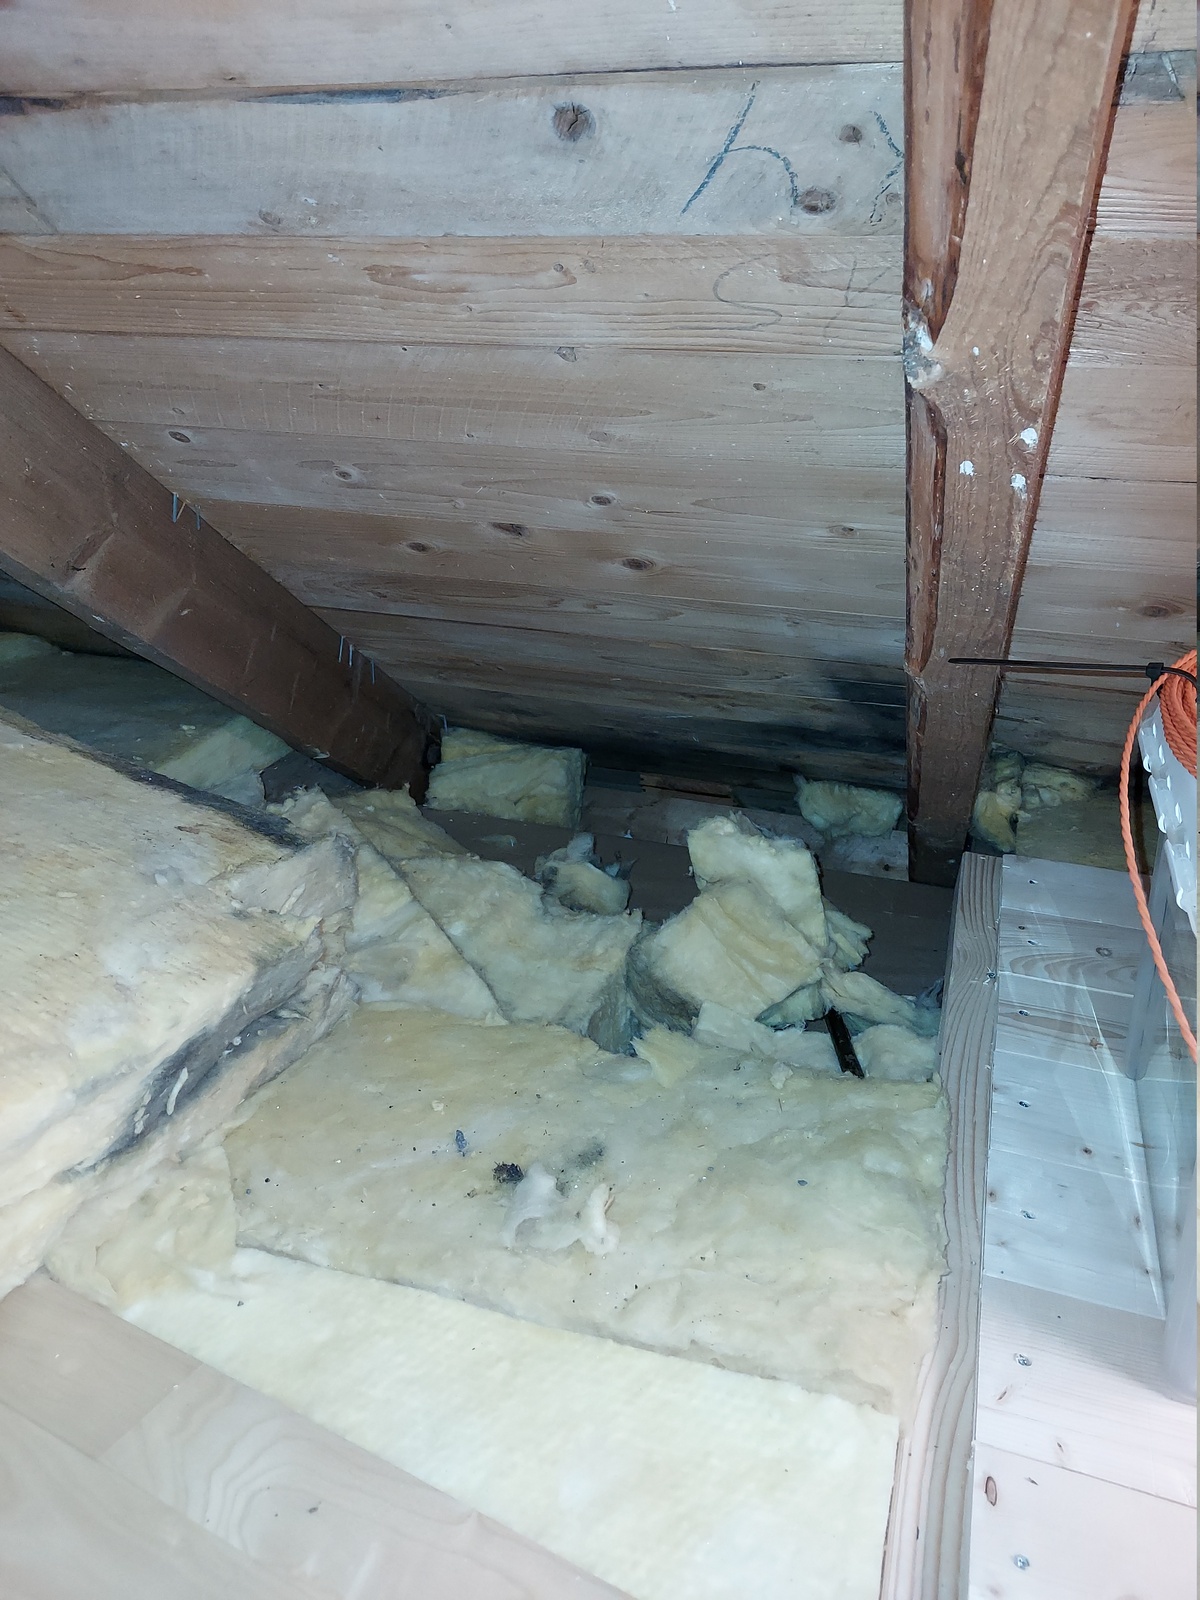
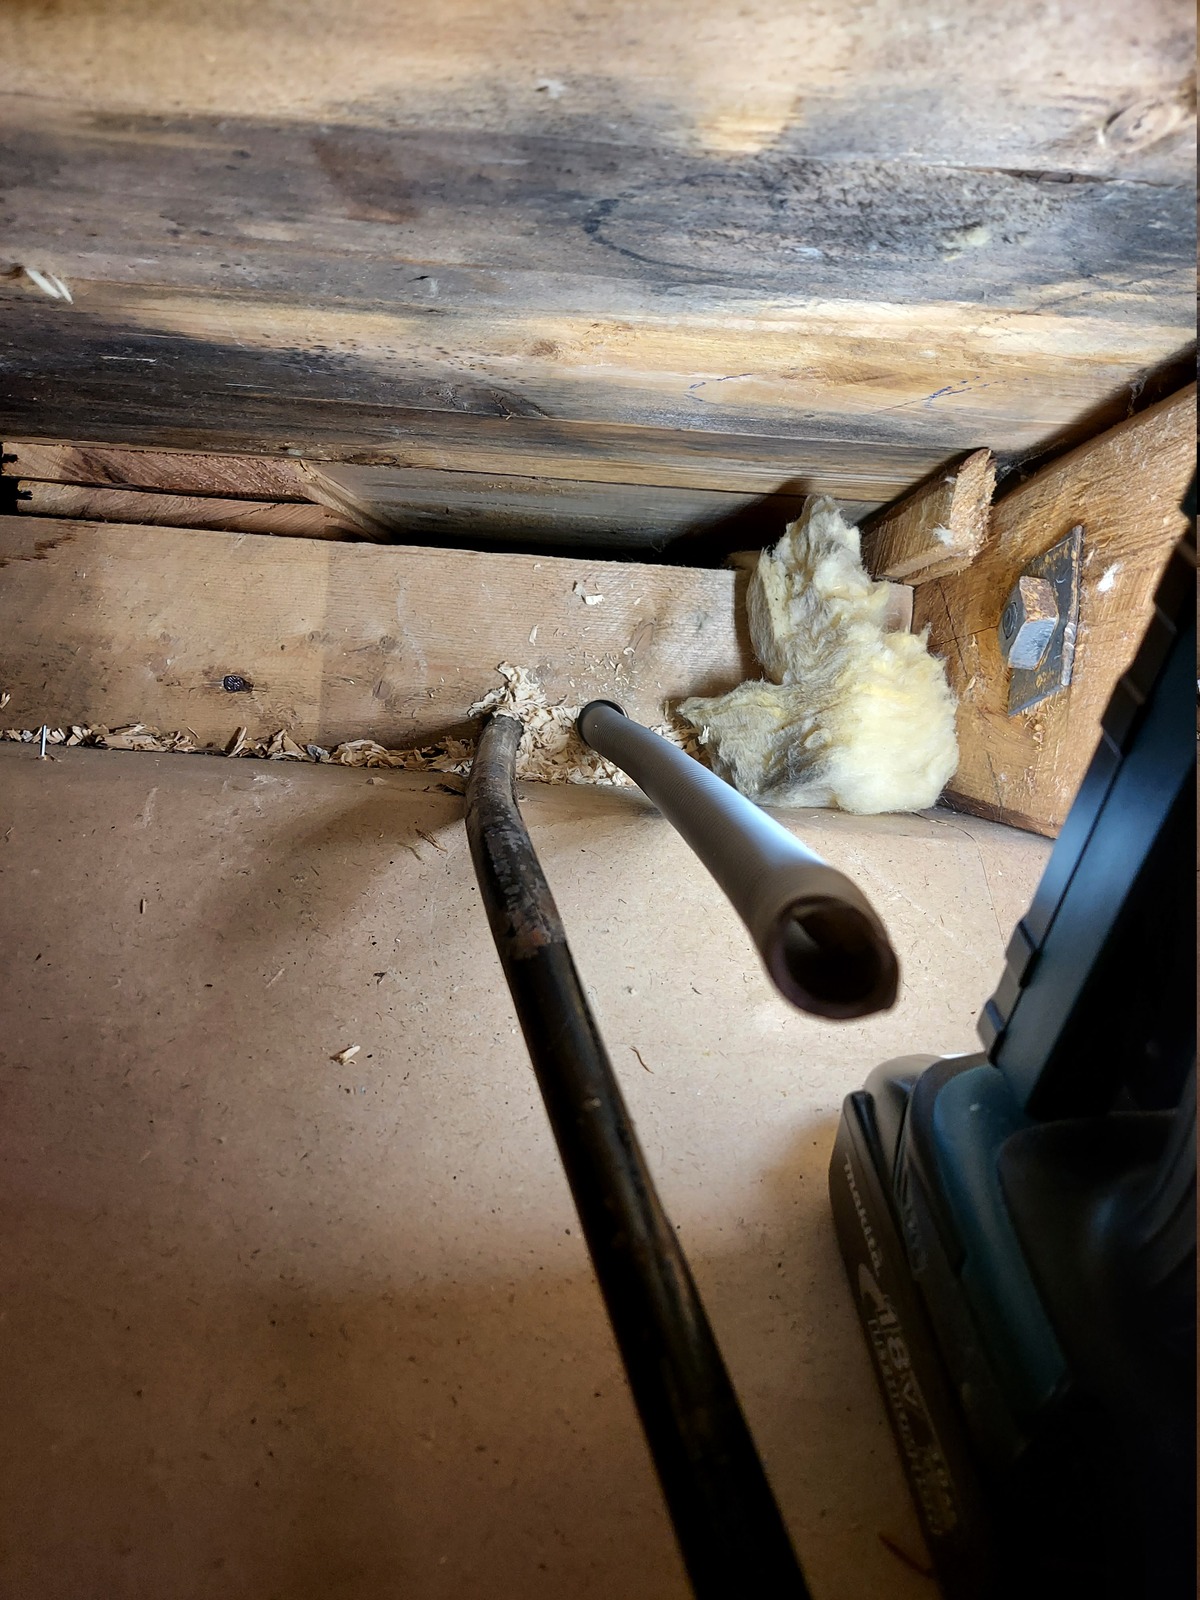
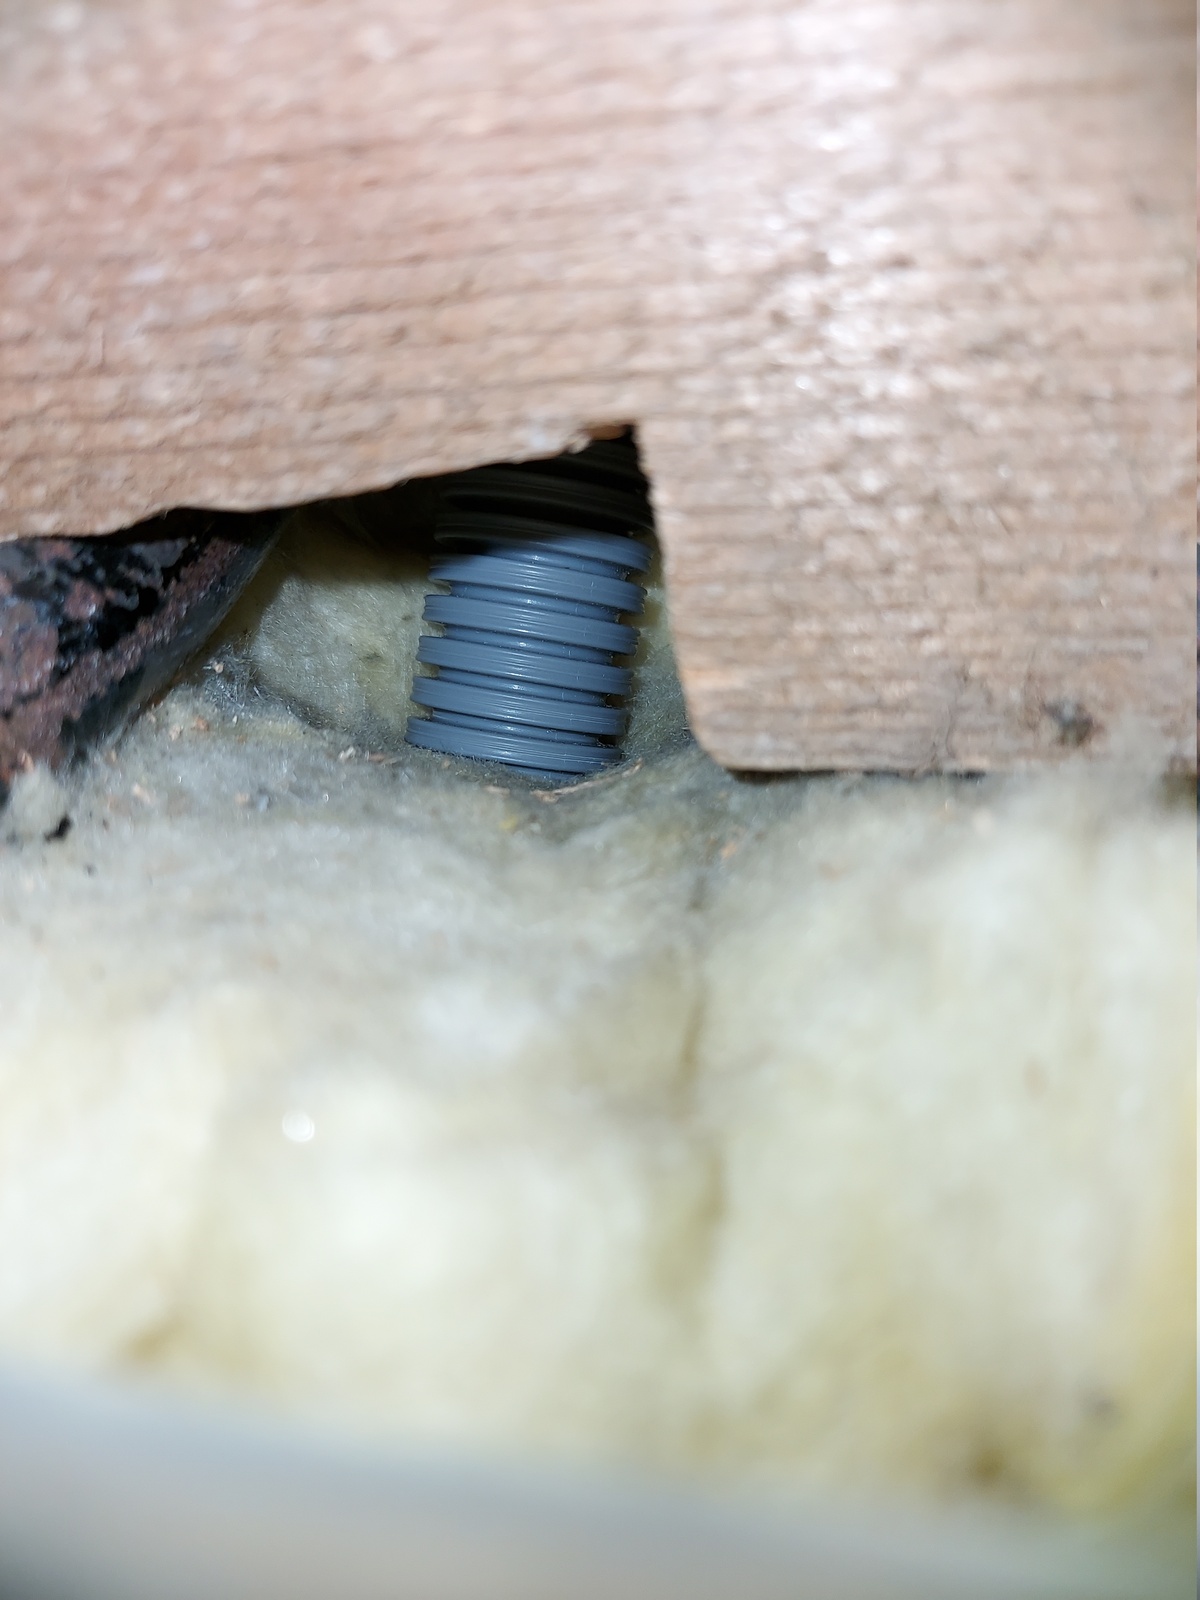
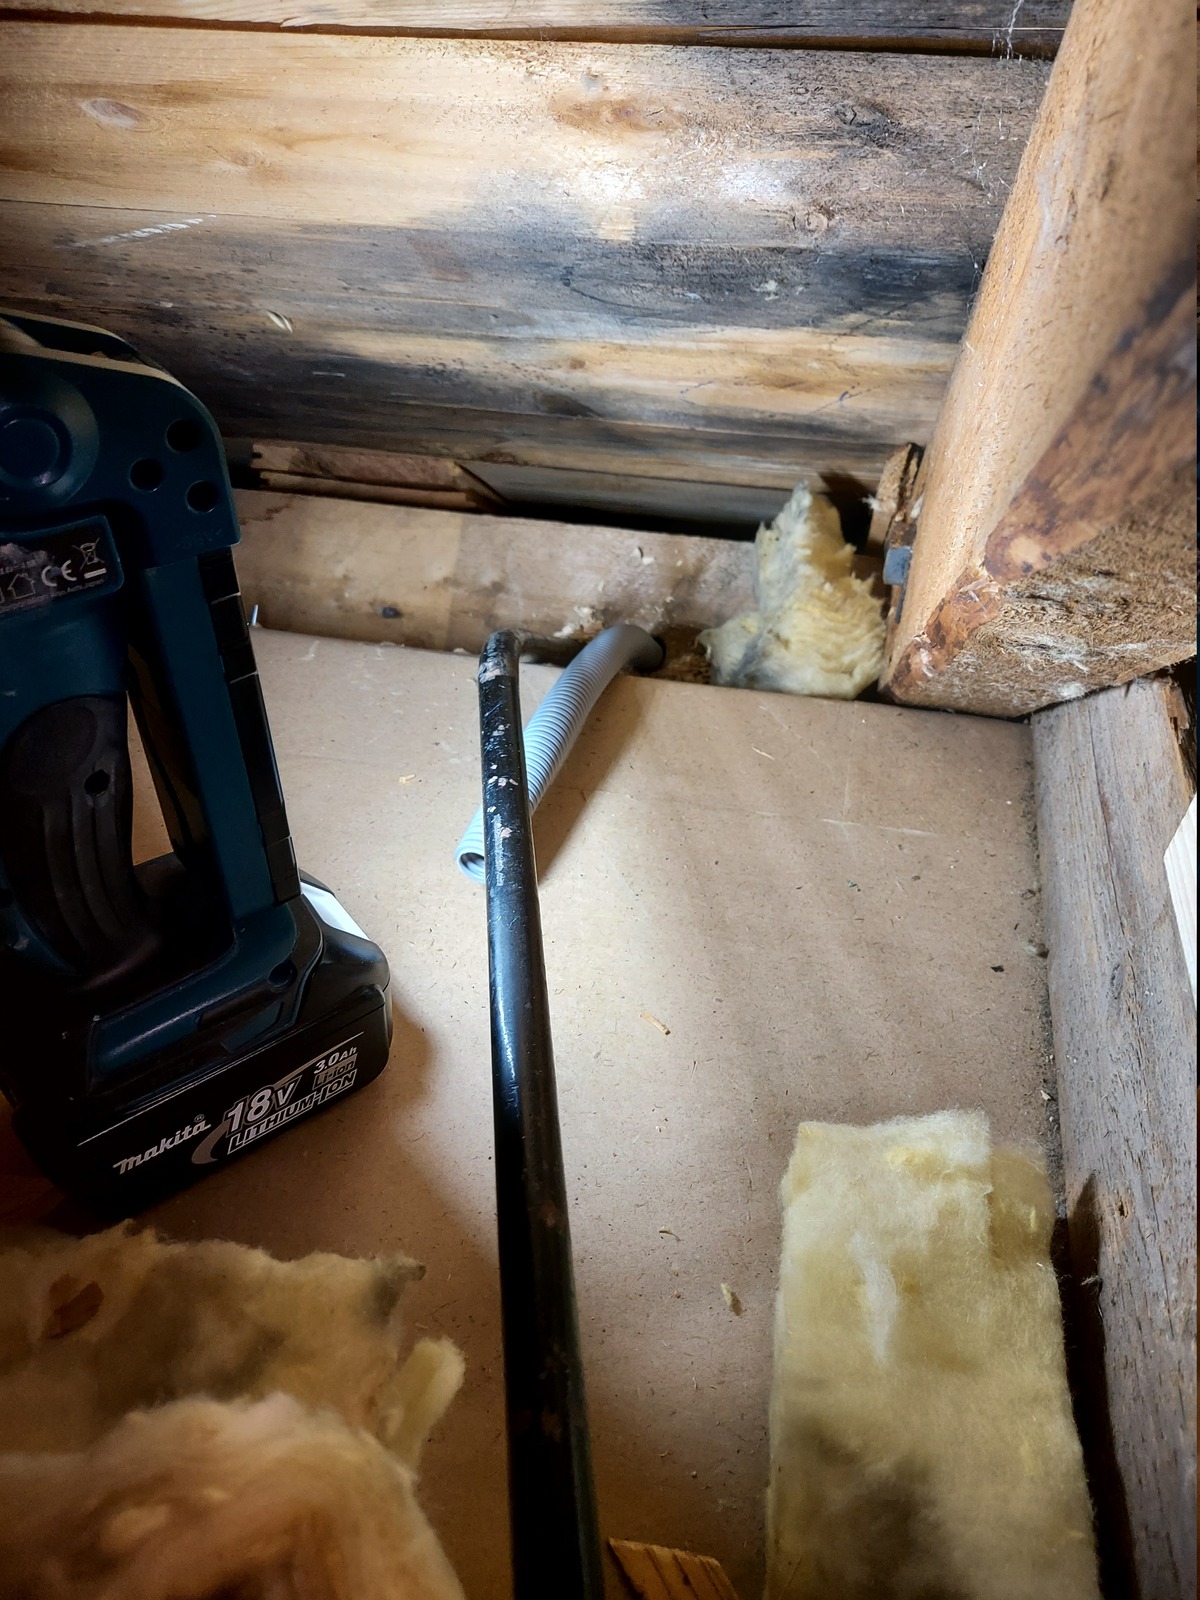
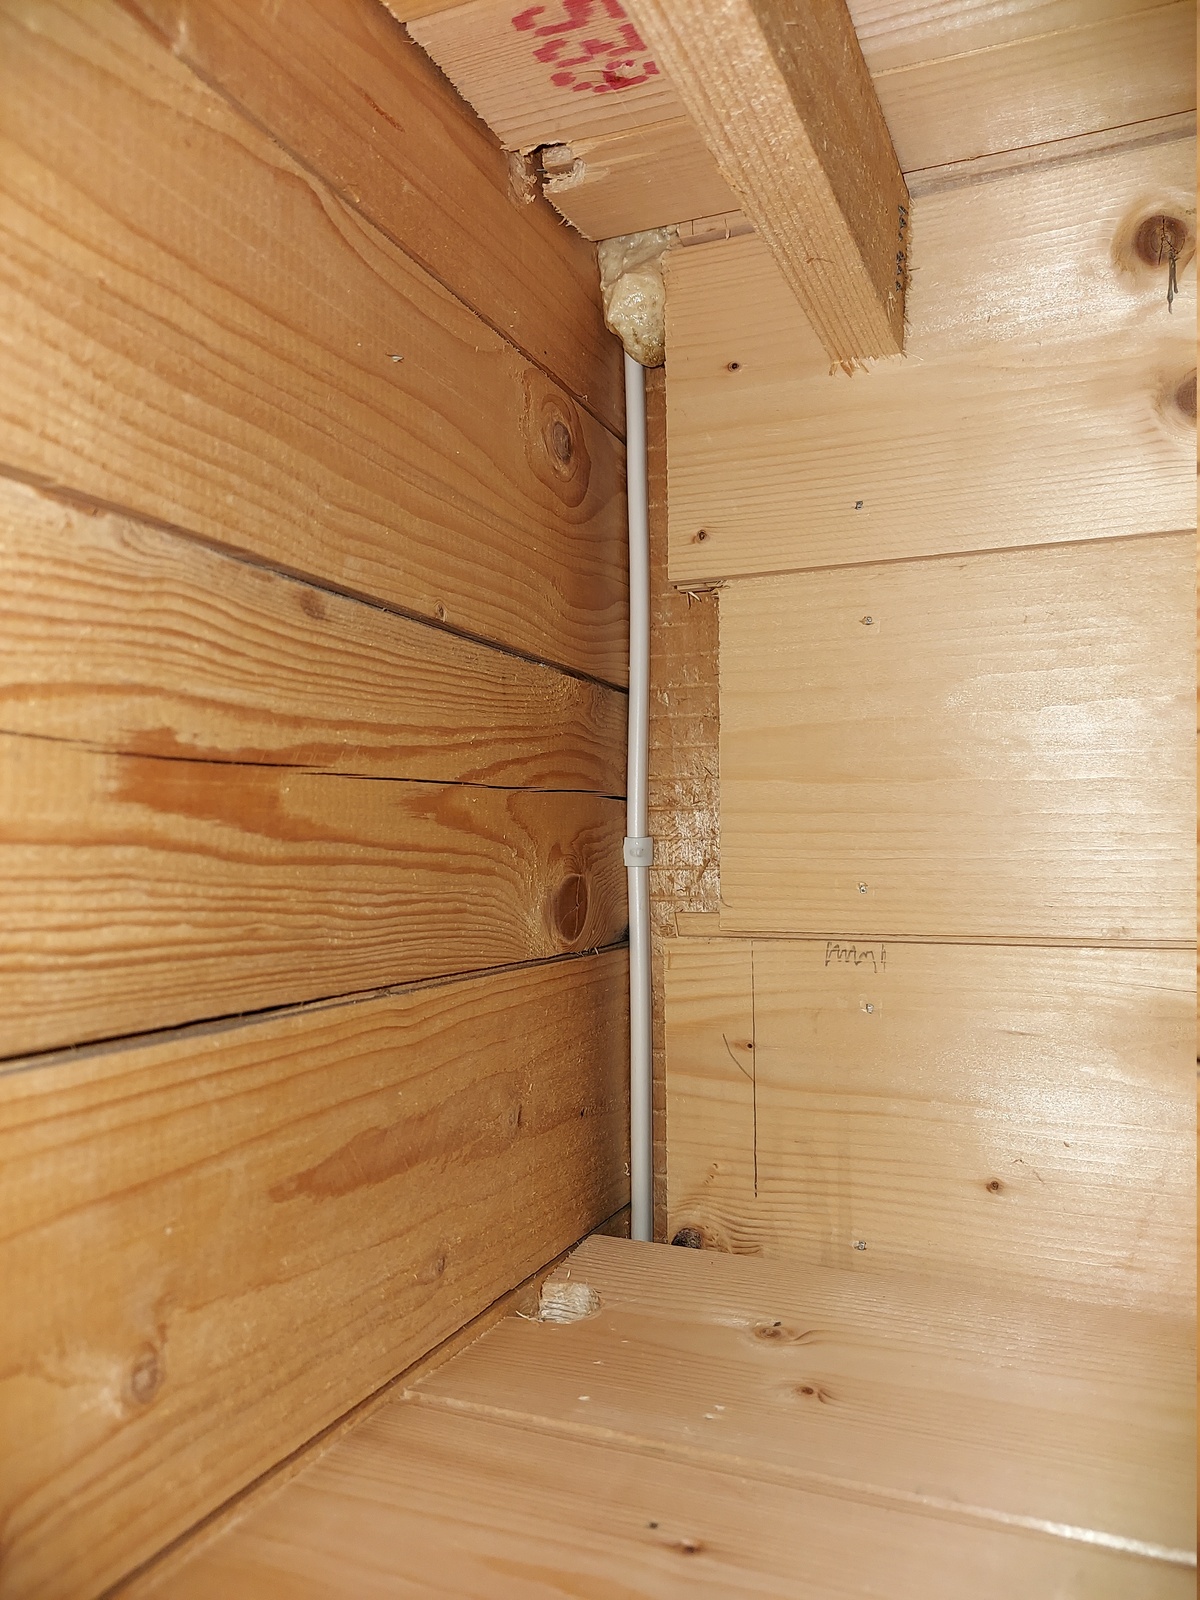
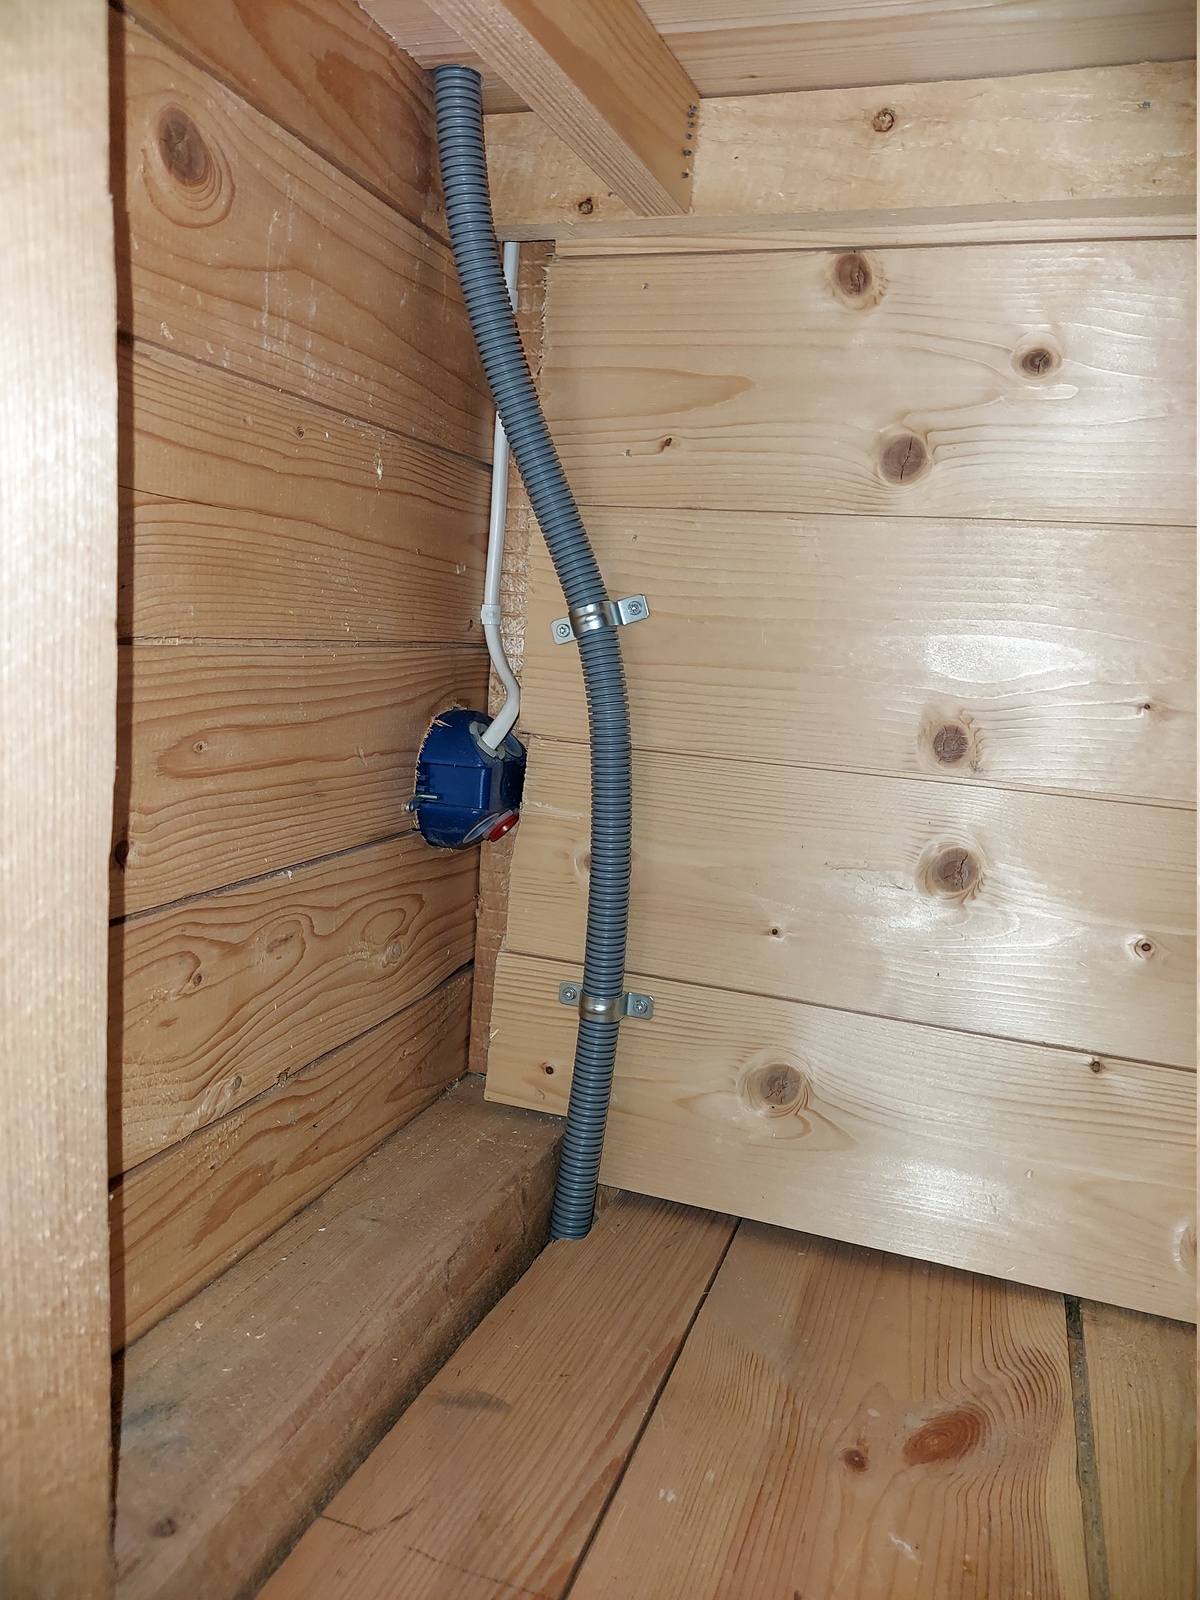
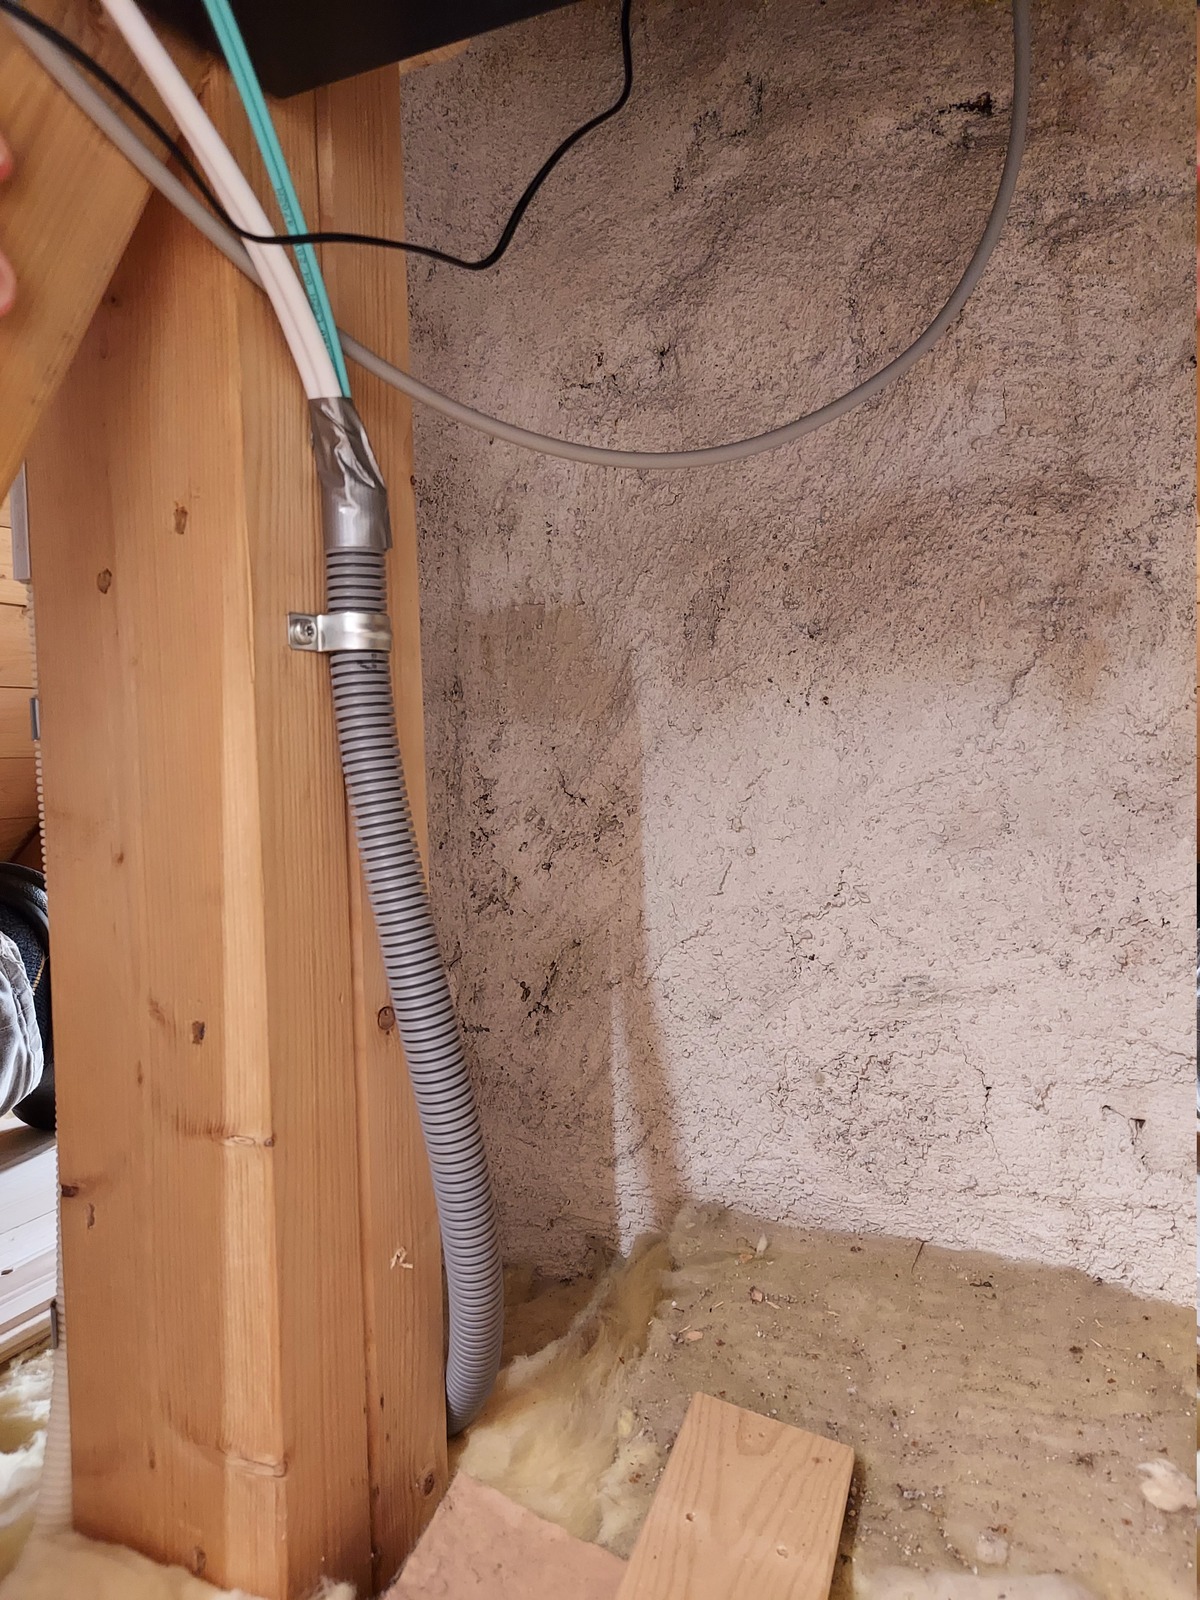
In the attic; I fastened the conduit to a ceiling joist, and put the insulation back. I tried to lay the conduit with a slight downward angle, to not trap any water. I don’t think condensation will be a problem, as I’m going to seal the end when the cables are pulled.
Condensation can happen when warm humid air flows to a colder environment and can no longer hold its water. But since the conduit will be sealed, there will be no airflow, and thus no condensation.

I didn’t fasten the conduit any further for now — to make it easier to pull the cables later.
Network cabinet

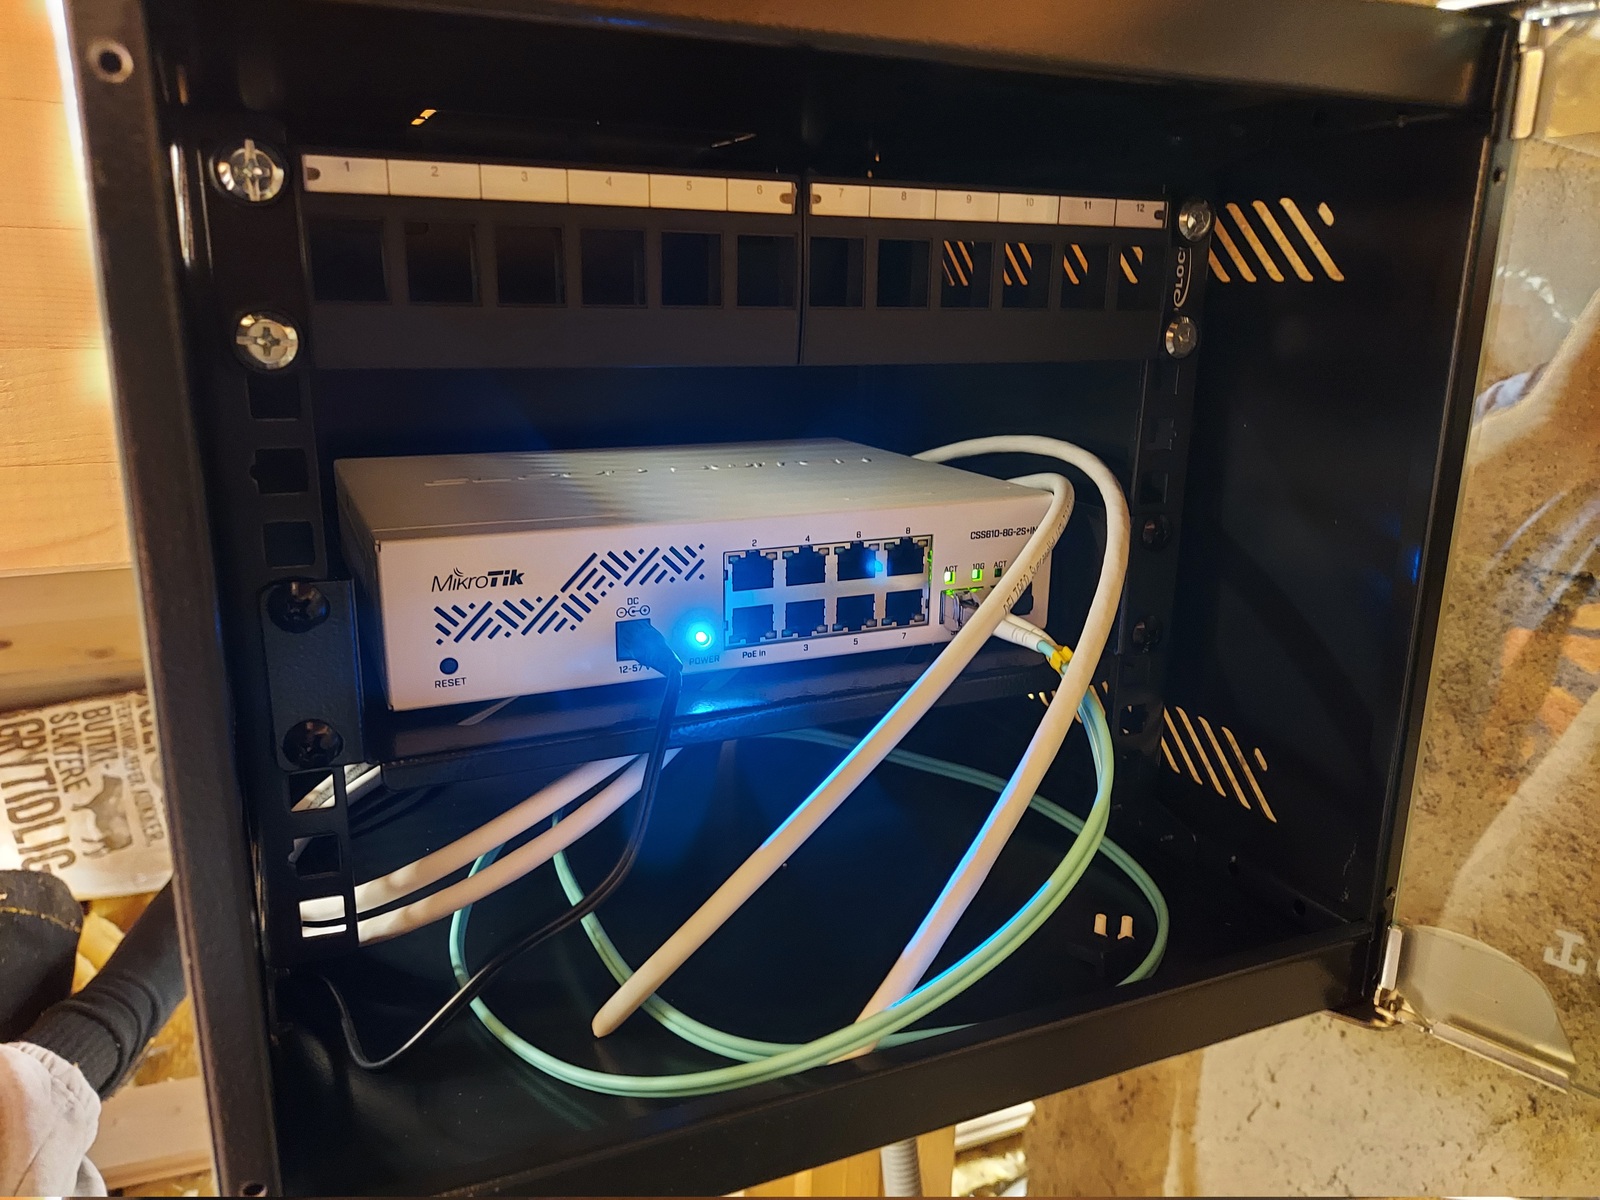
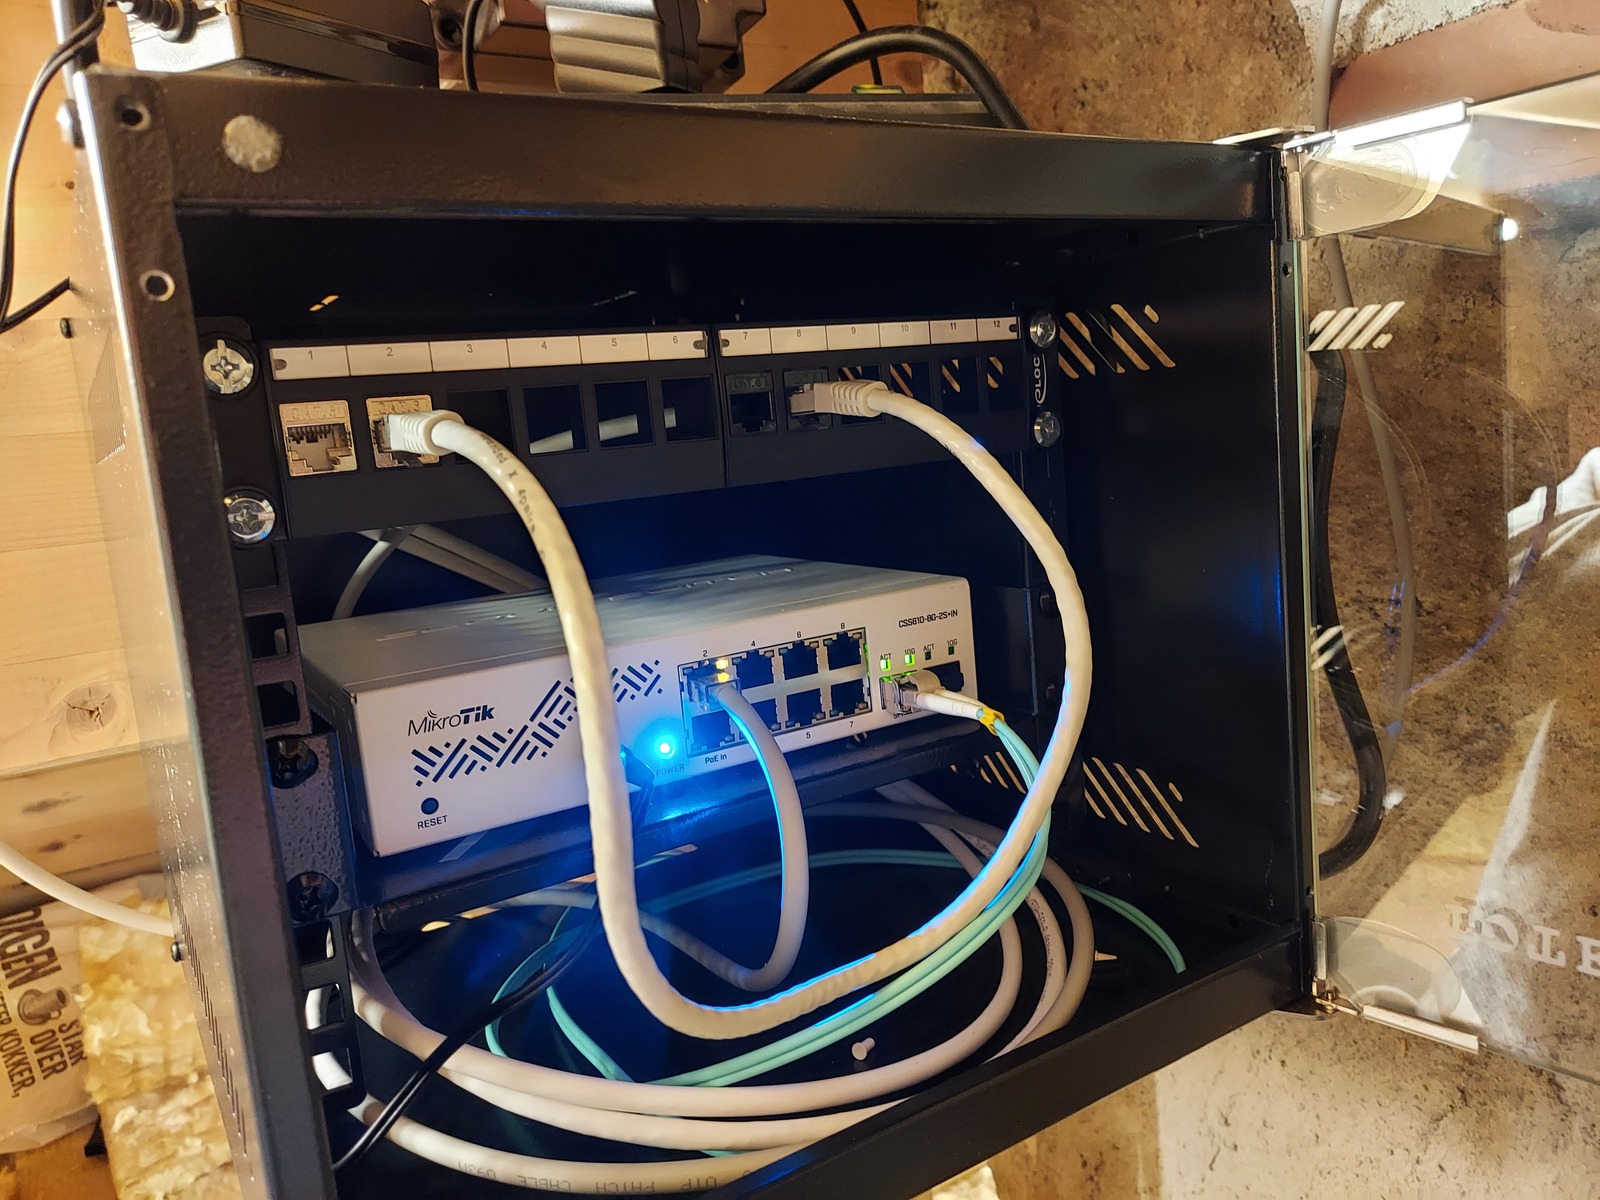
I bought a 10" 4U wall cabinet from Toten — to mount in the attic.
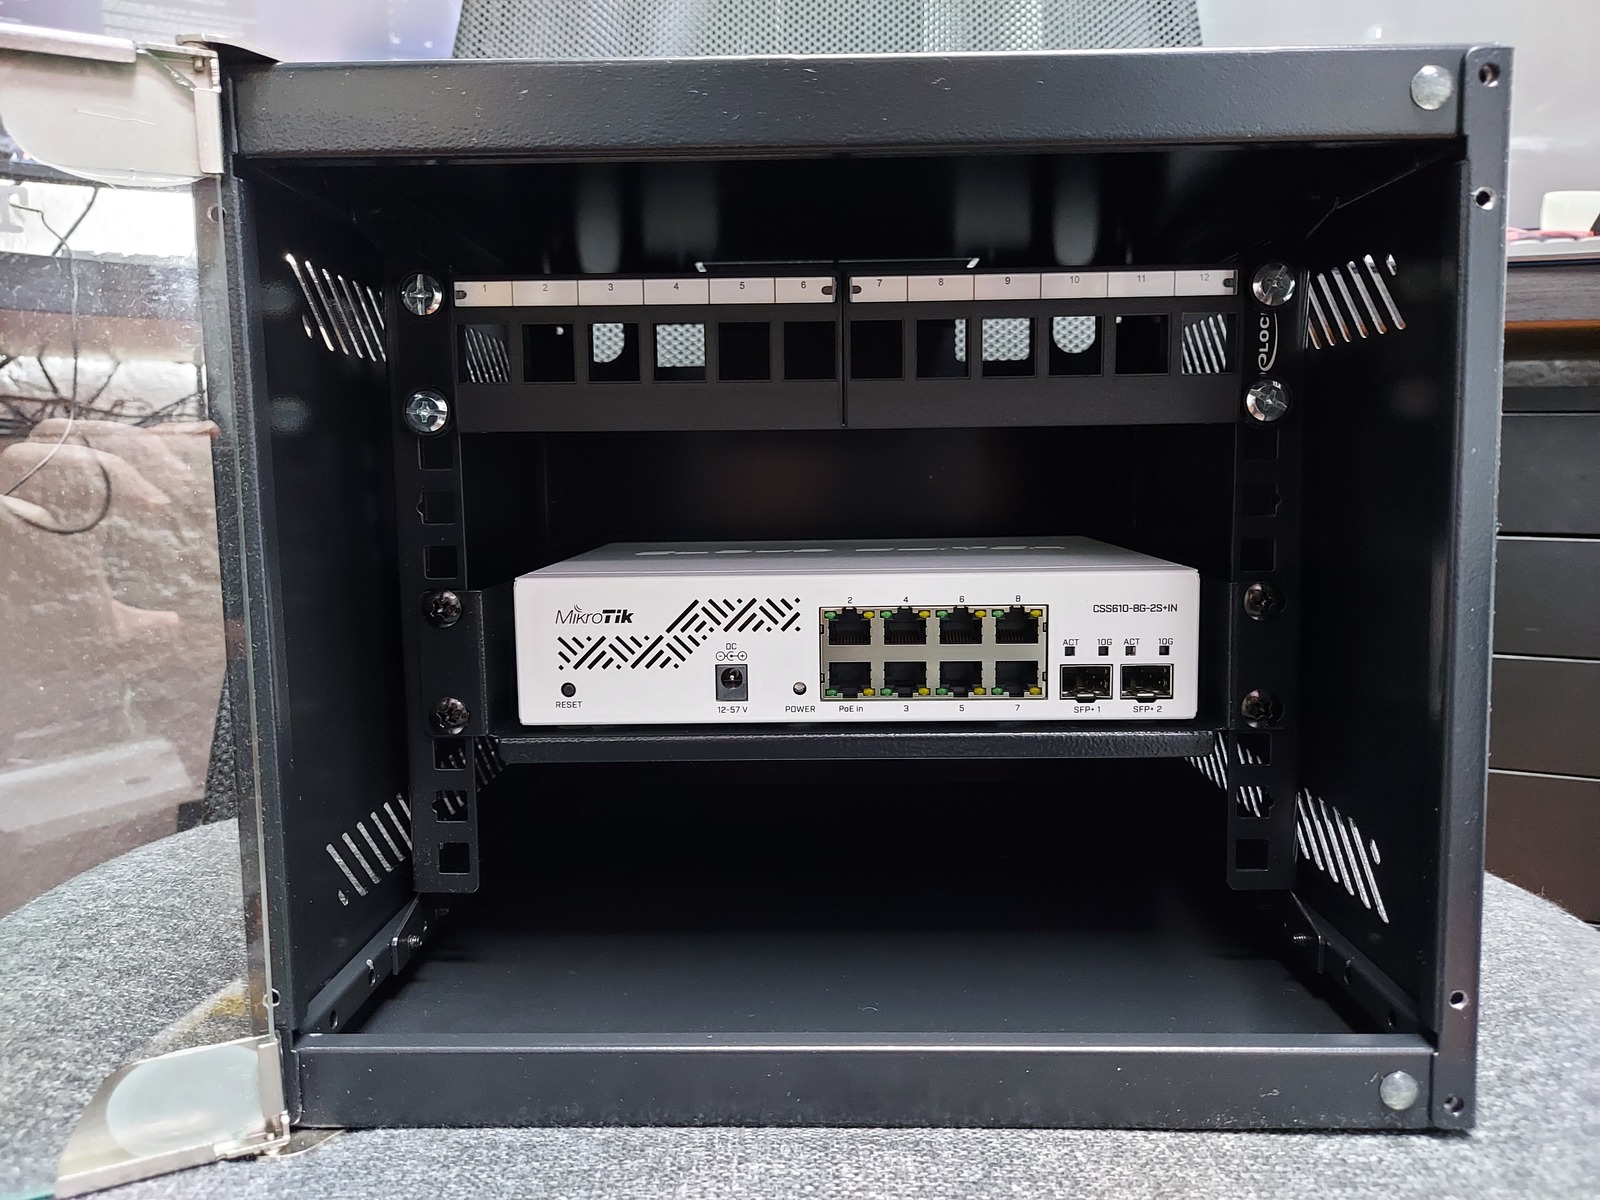
Inside; a keystone patch panel, and shelf with a MikroTik CSS610-8G-2S+IN switch.
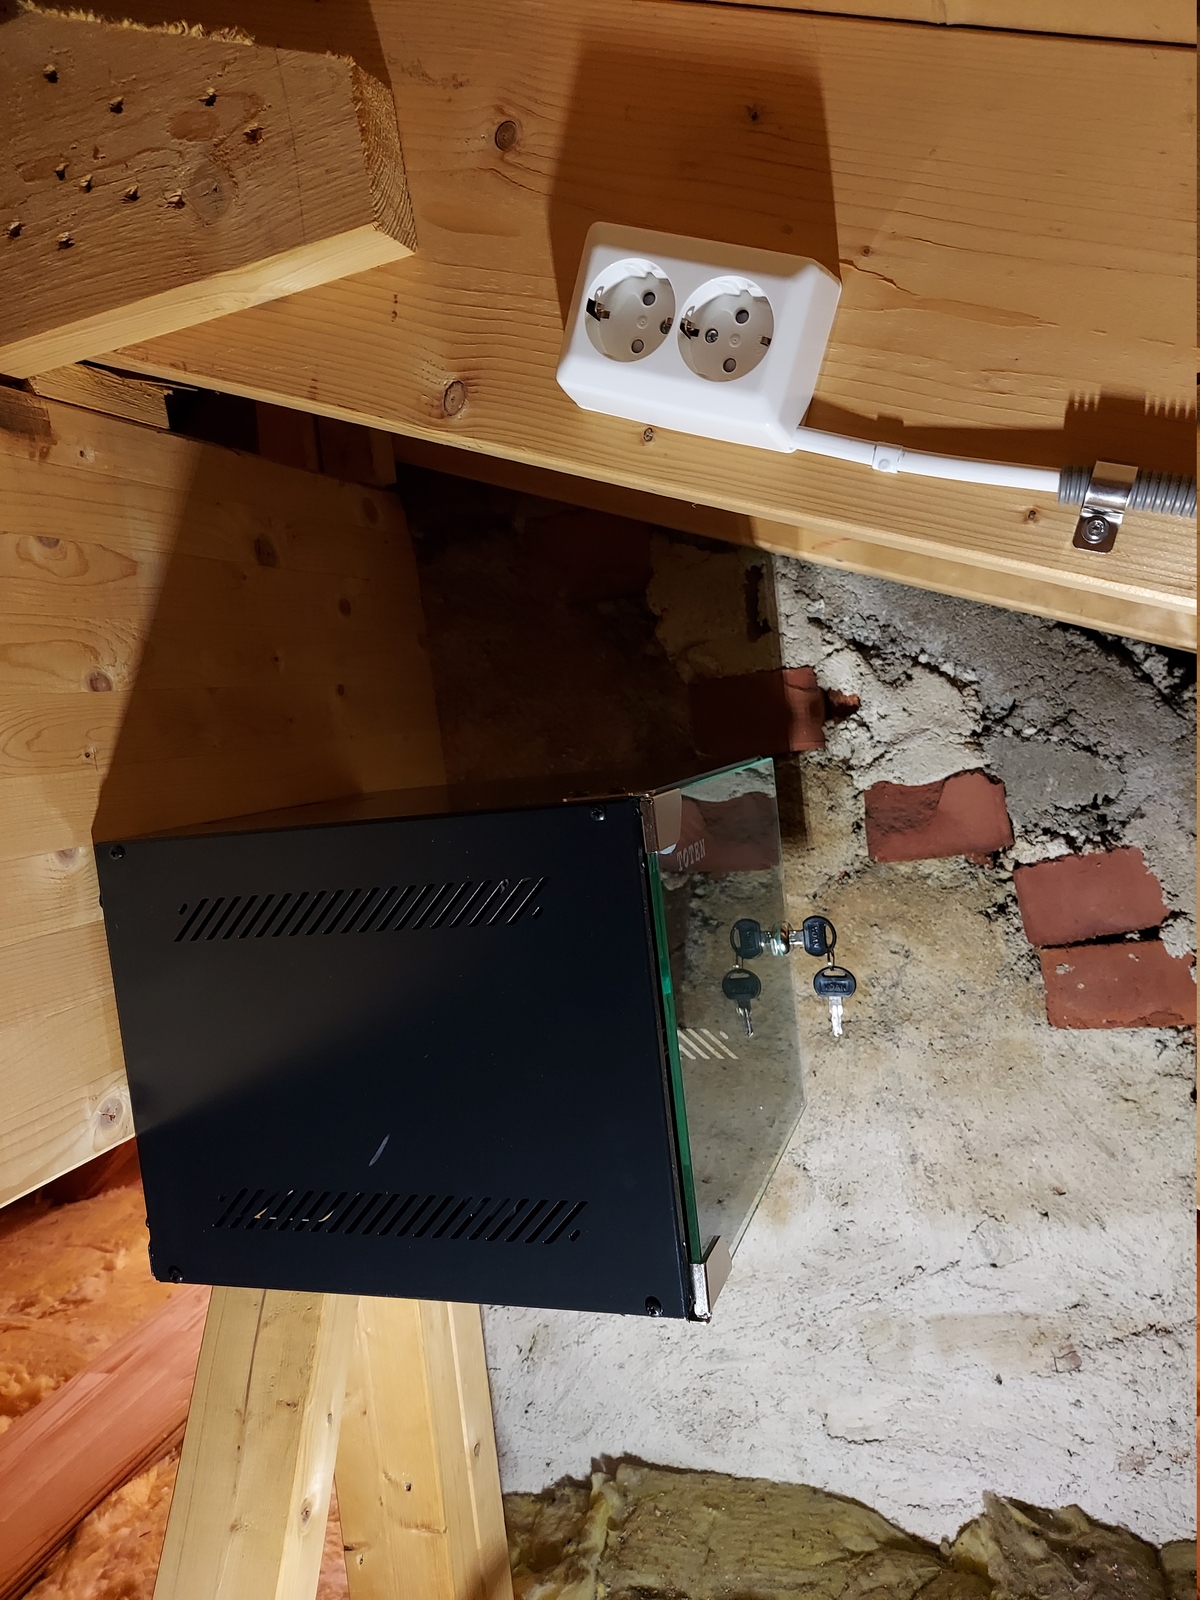
Then I installed the cabinet in the attic, behind a support beam — where it would be out of the way.
Pulling the cables
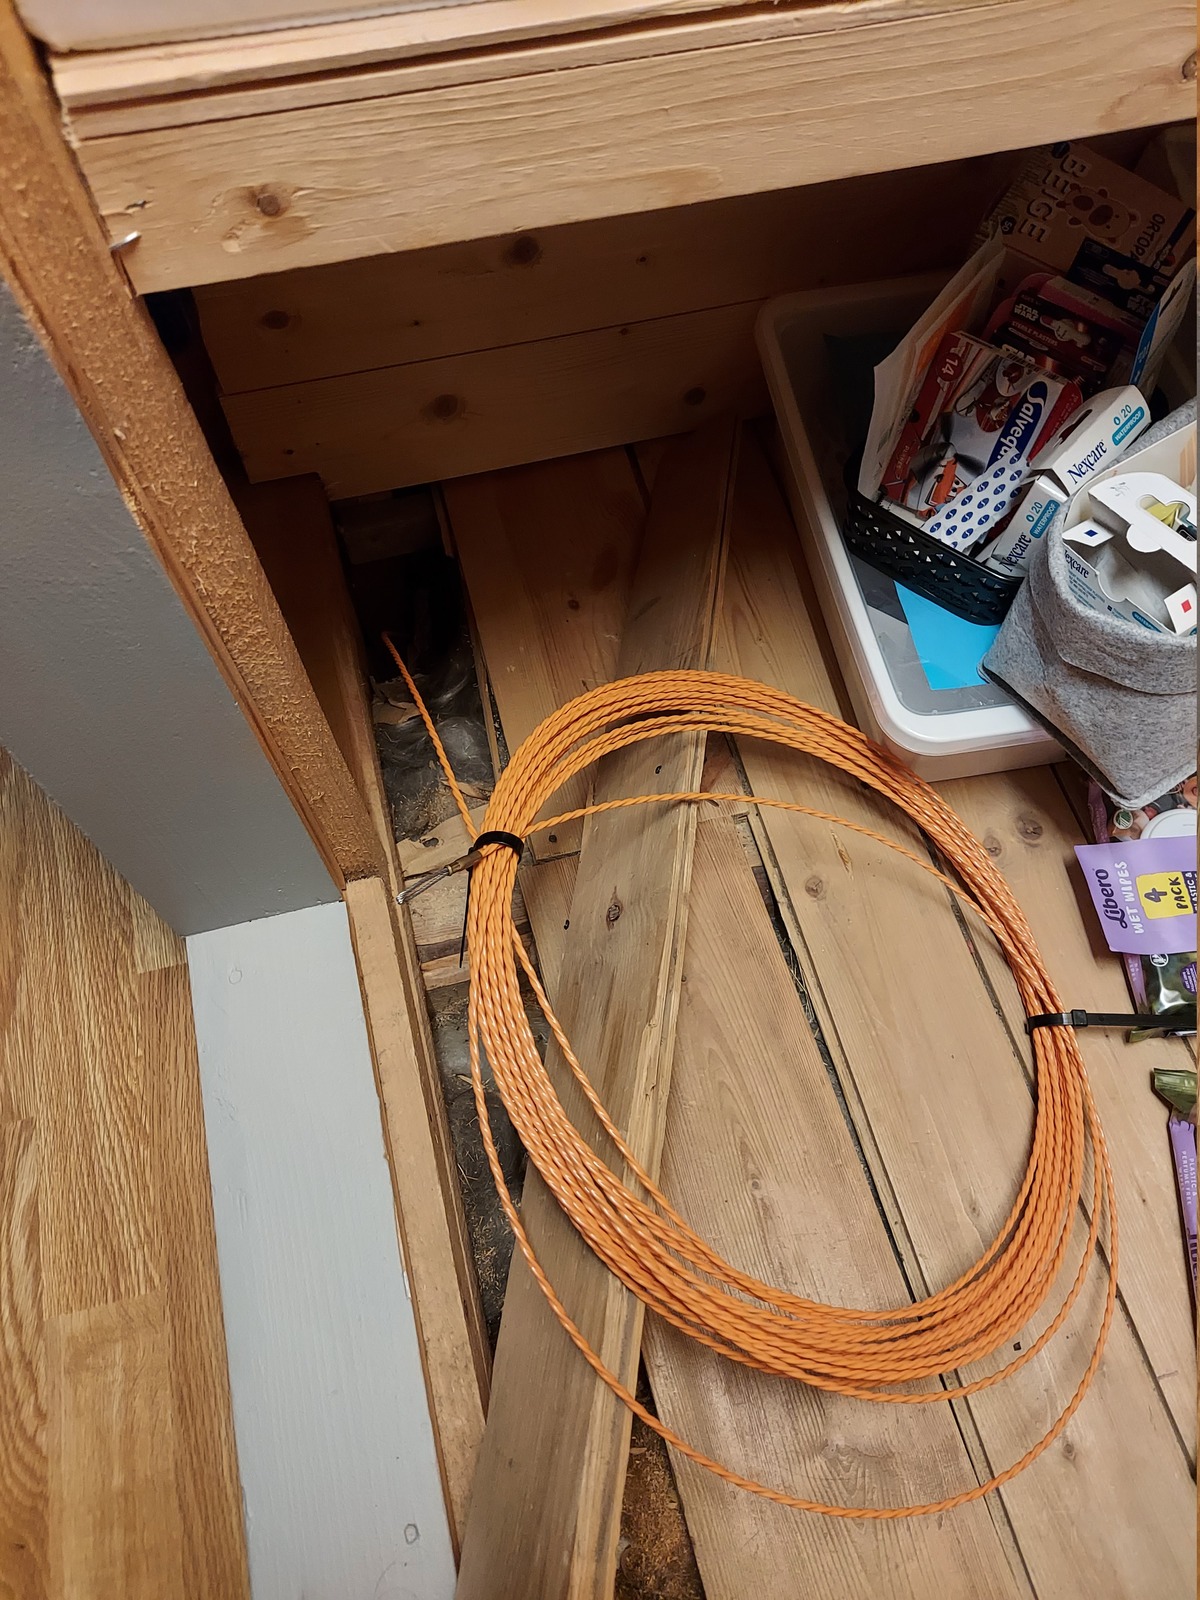
Time to pull the CAT6 cables and fiber! I got my wife’s help with this, pushing on the cables while pulling on the fish tape is the best way in my experience.
The plan was to pull and push the cables down from the attic to the basement, letting gravity do some of the work. So, first I pushed the fish tape up the conduit from the basement.
Then, before doing anything else — I tested the fiber to make sure it worked. Pulling a broken fiber would have sucked big time. The fiber worked, so we continued…
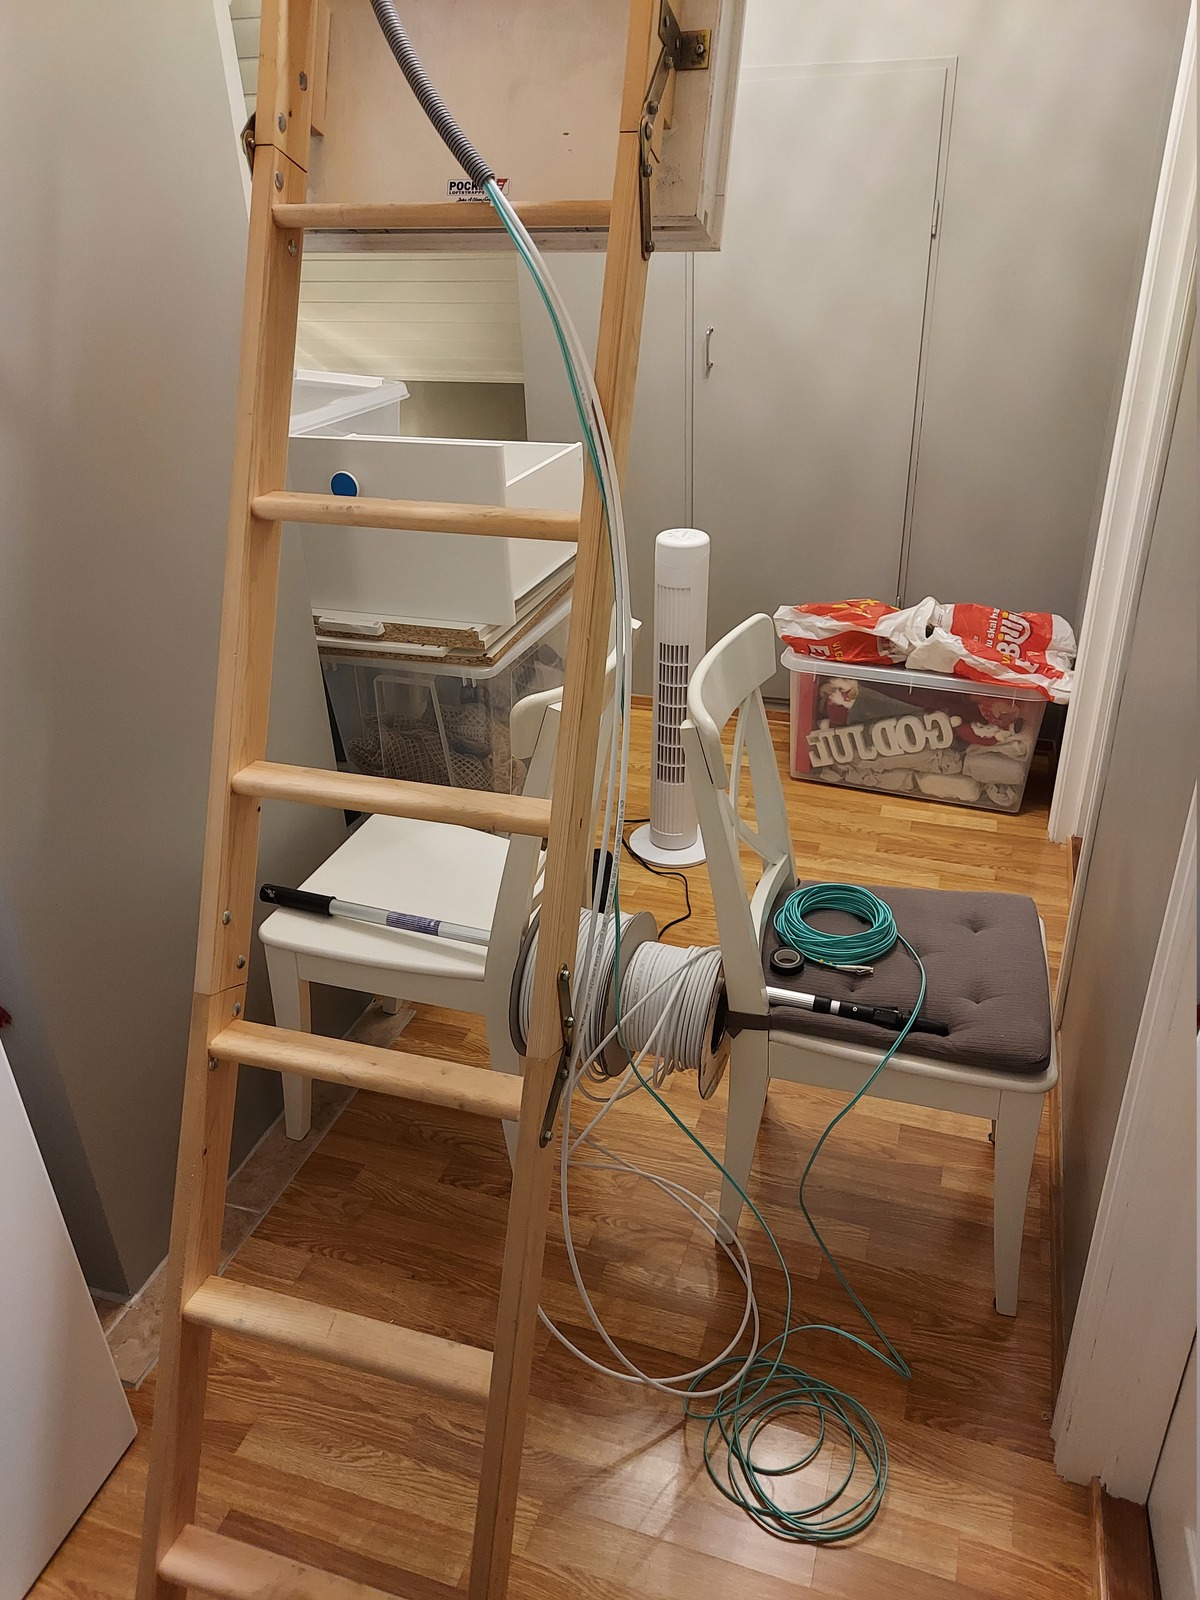
I fastened two CAT6 cables and the fiber, to the fish tape. I threaded the CAT6 spools on a stick suspended between two chairs. Then we got started. I pushed, and my wife pulled on the fish tape from the basement.

There was some resistance, but it went surprisingly easy, and like magic; the cables appeared out of the conduit in the basement 😃
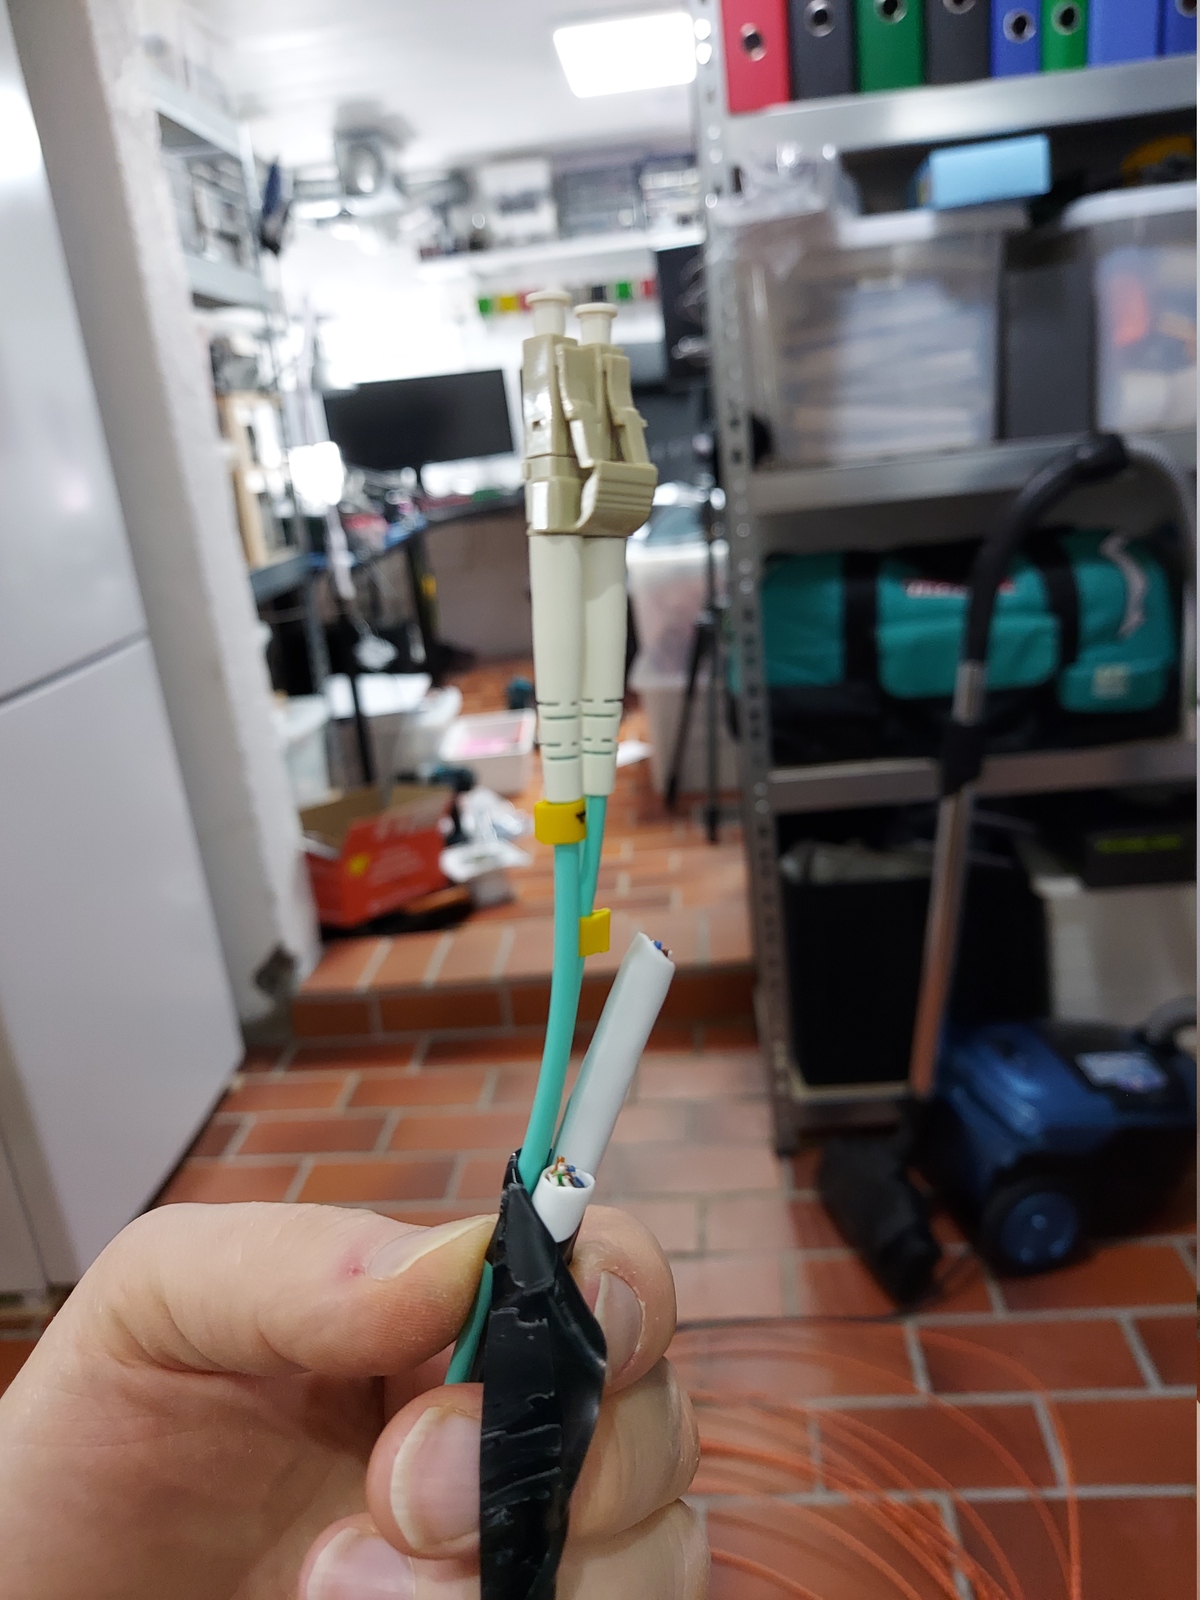
Stacking the CAT6 and fiber correctly was very important.
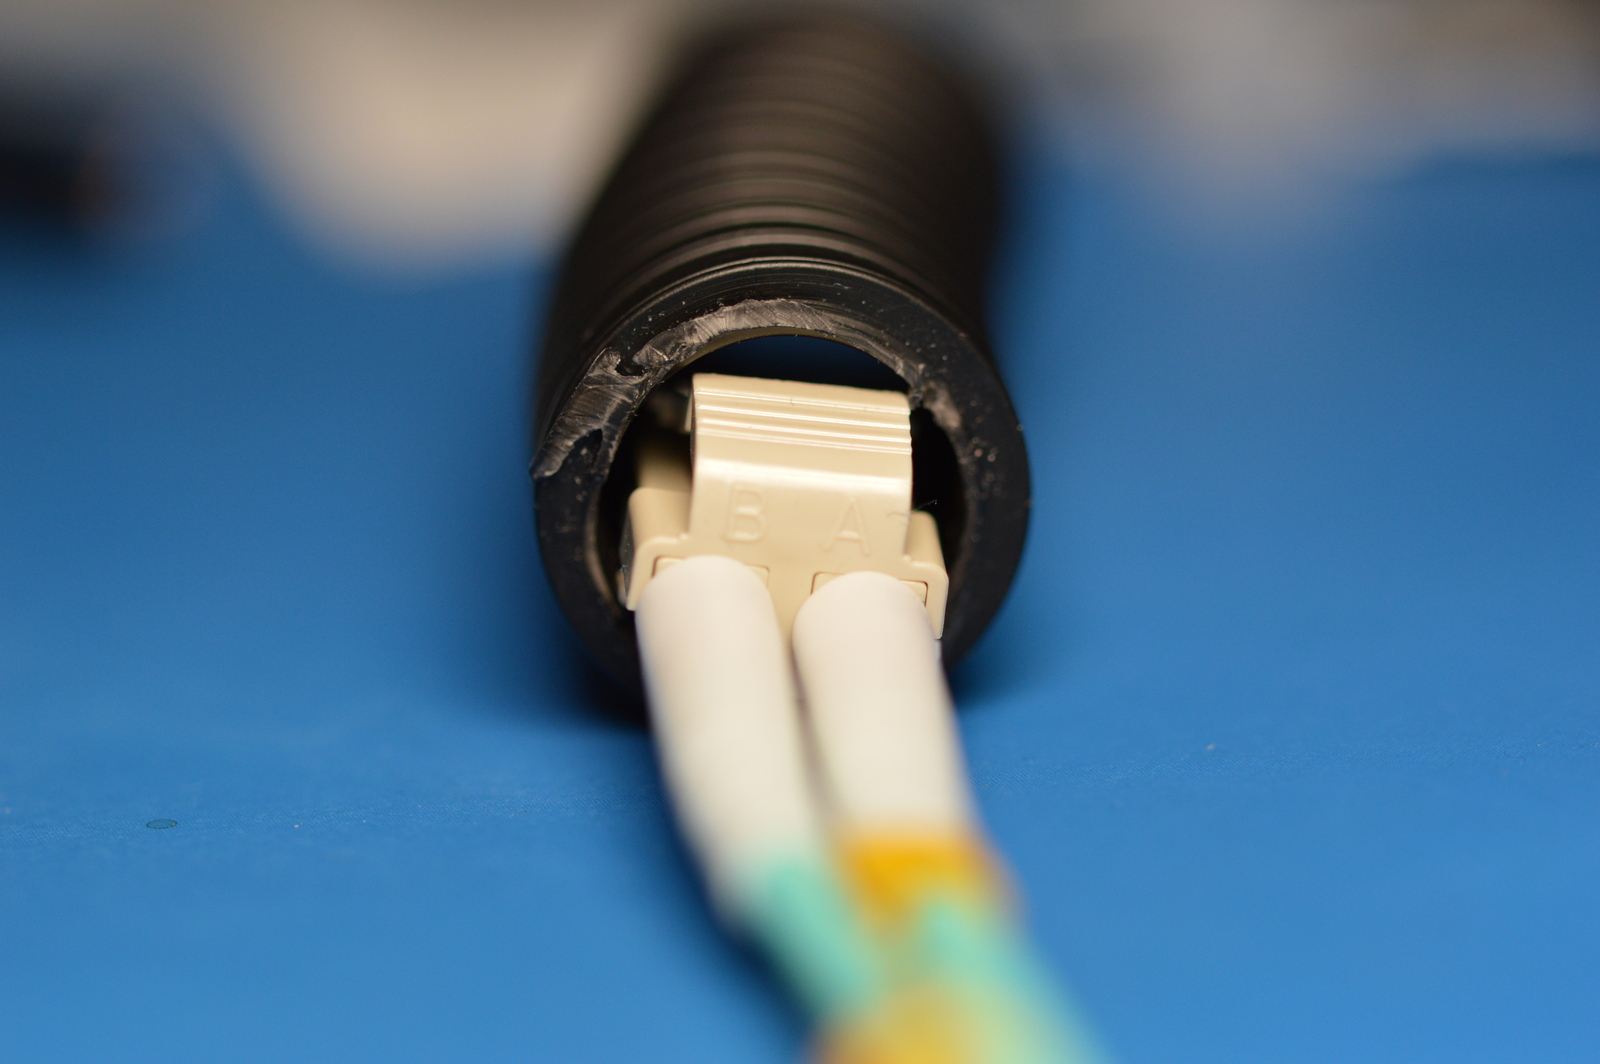
The duplex LC fiber connector is pretty big, and only fits through the 20 mm conduit by itself, not together with any of the CAT6 cables.
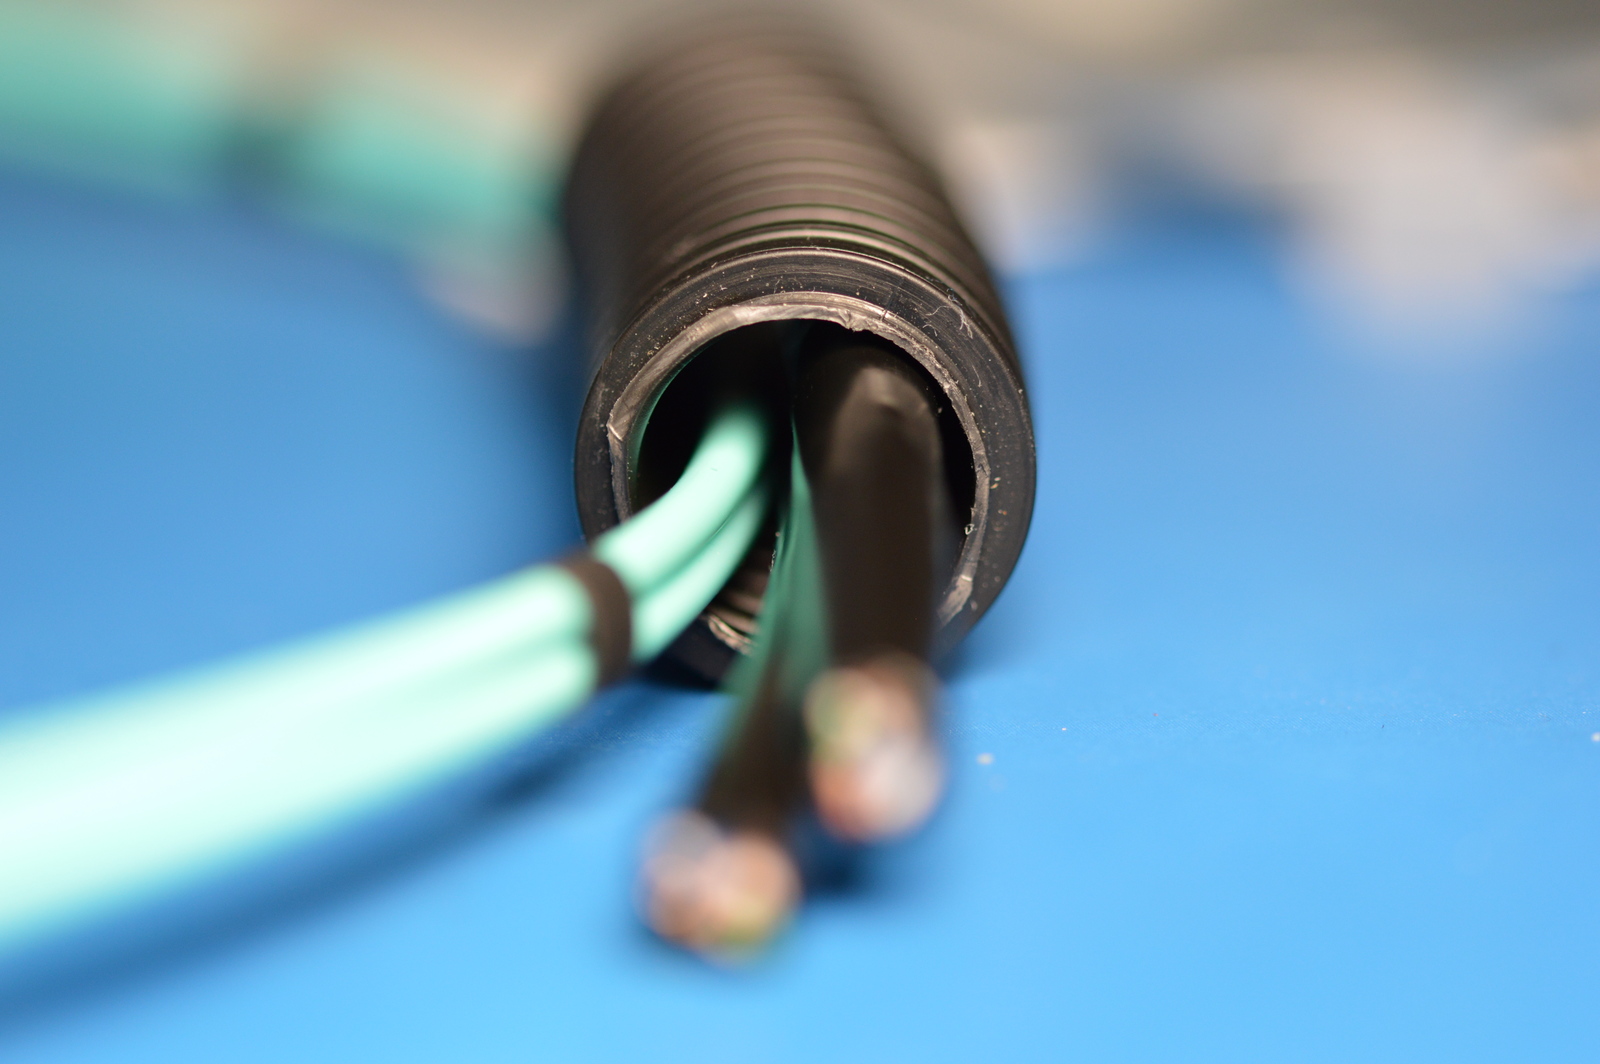
But the two CAT6 cables and the fiber has more than enough room in the conduit.

I didn’t want the fish tape to pull directly on the LC fiber connector. So I tied a piece of string to the fish tape and taped around it, securing the CAT6 cables, and fiber. I was a bit worried that it might come loose during the pull — luckily it didn’t 🙂
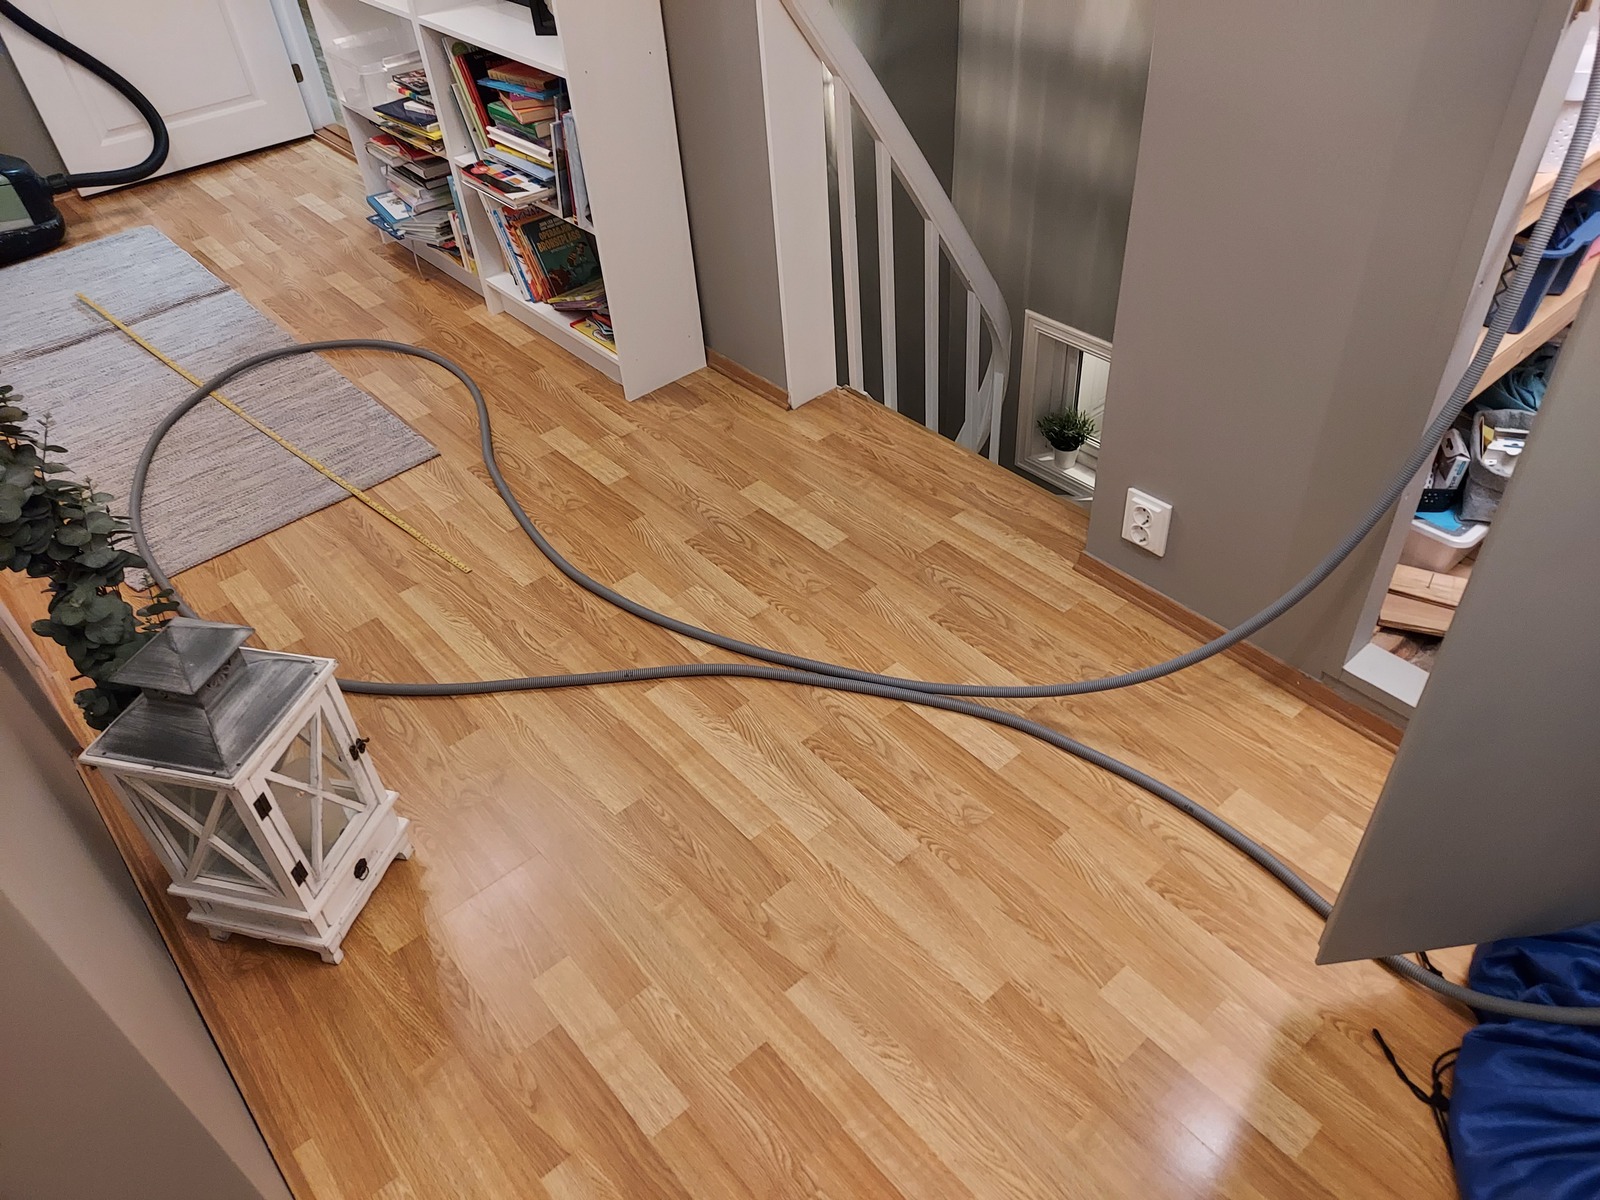
I continued the cables through the duct, along the basement ceiling, and into my home office.
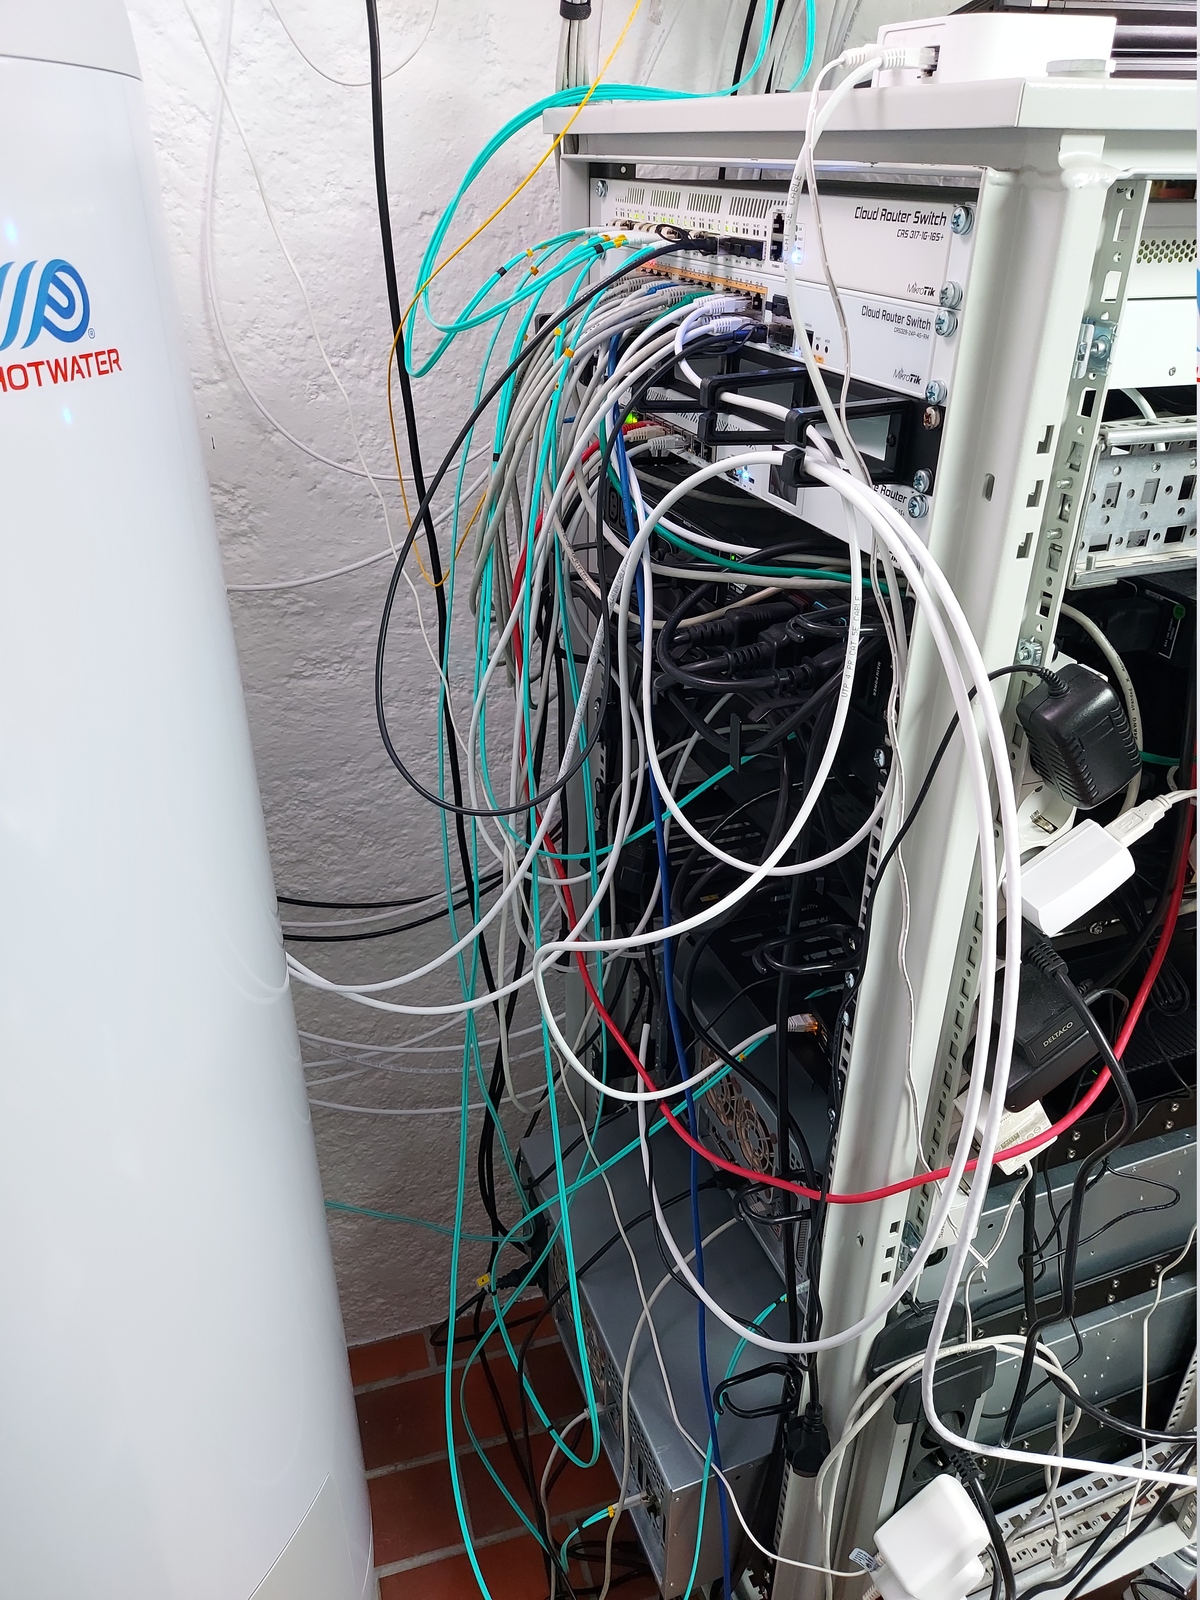
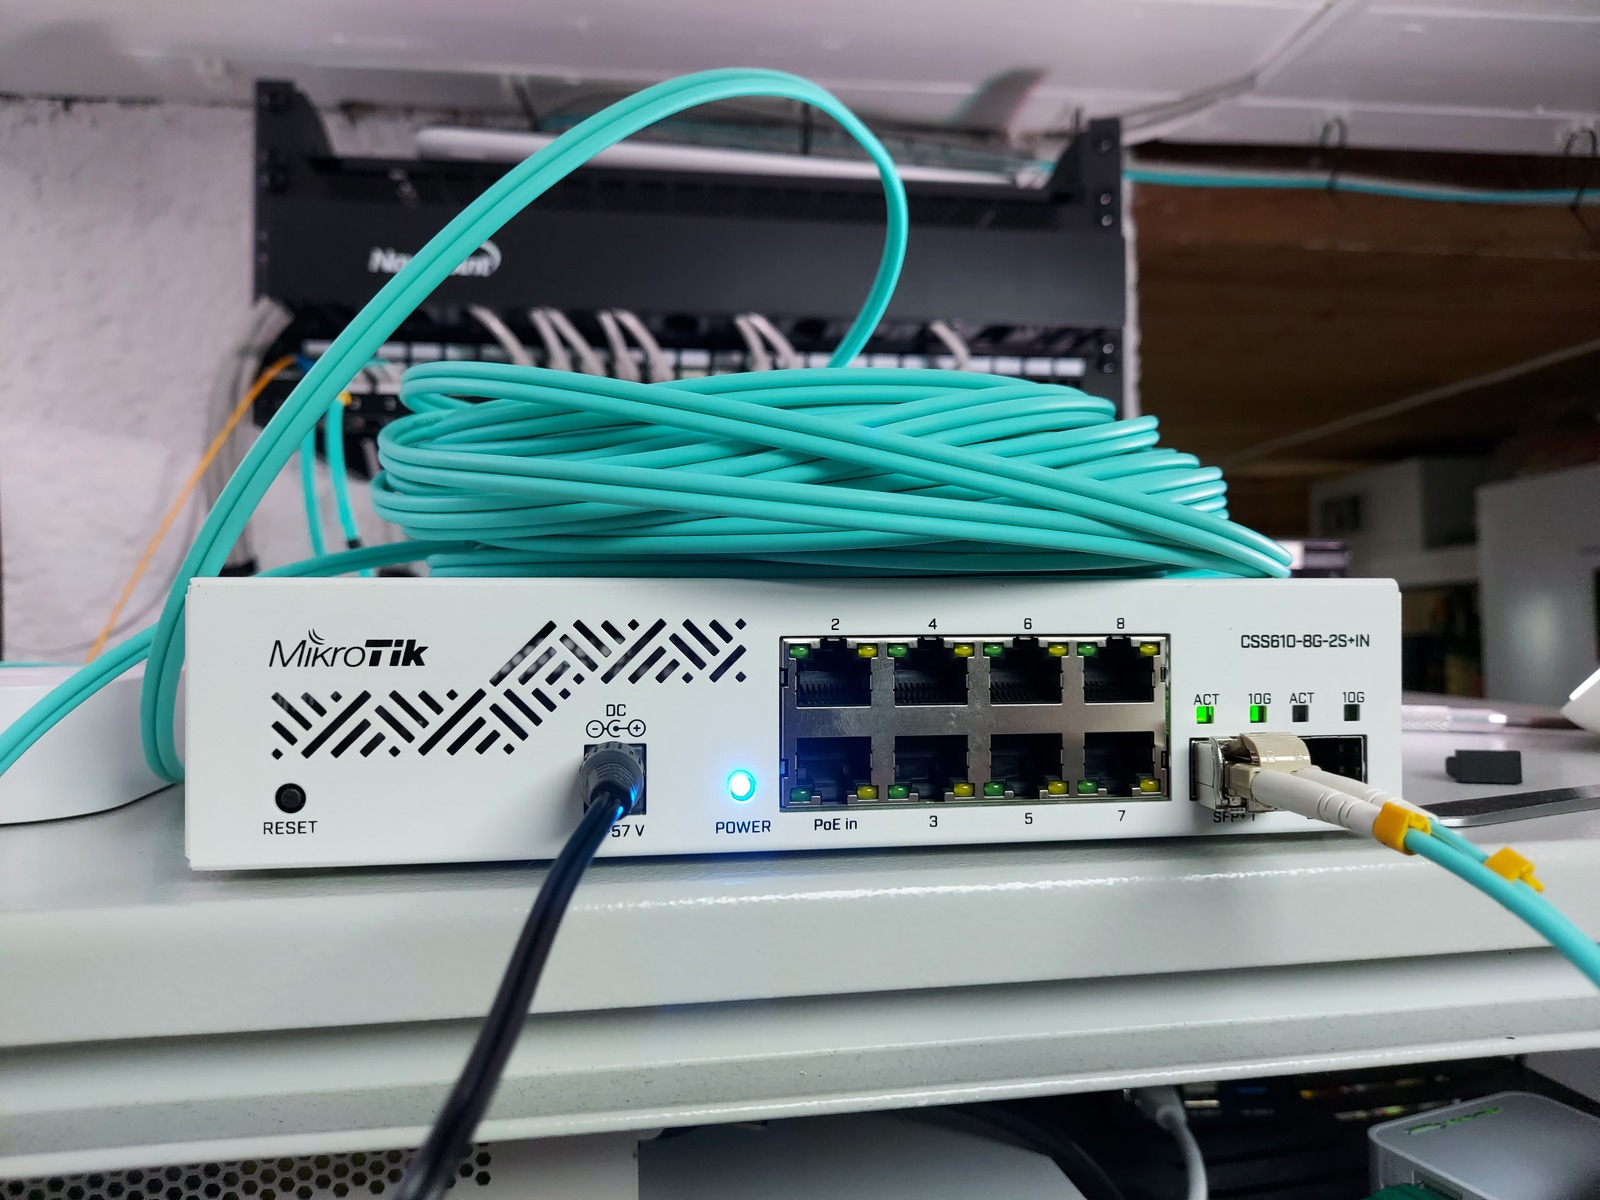
With the fiber already terminated; I connected it to my homelab rack, and the attic switch.
10 GbE between the homelab rack and the attic, WIN! 😎
After the cables were pulled through — I finished mounting the conduit and put the insulation in the attic back.
I also added a passageway for easier access to the network cabinet, and the rest of the attic.
Terminating
All that’s left now is the final step — terminating the CAT6 cables.
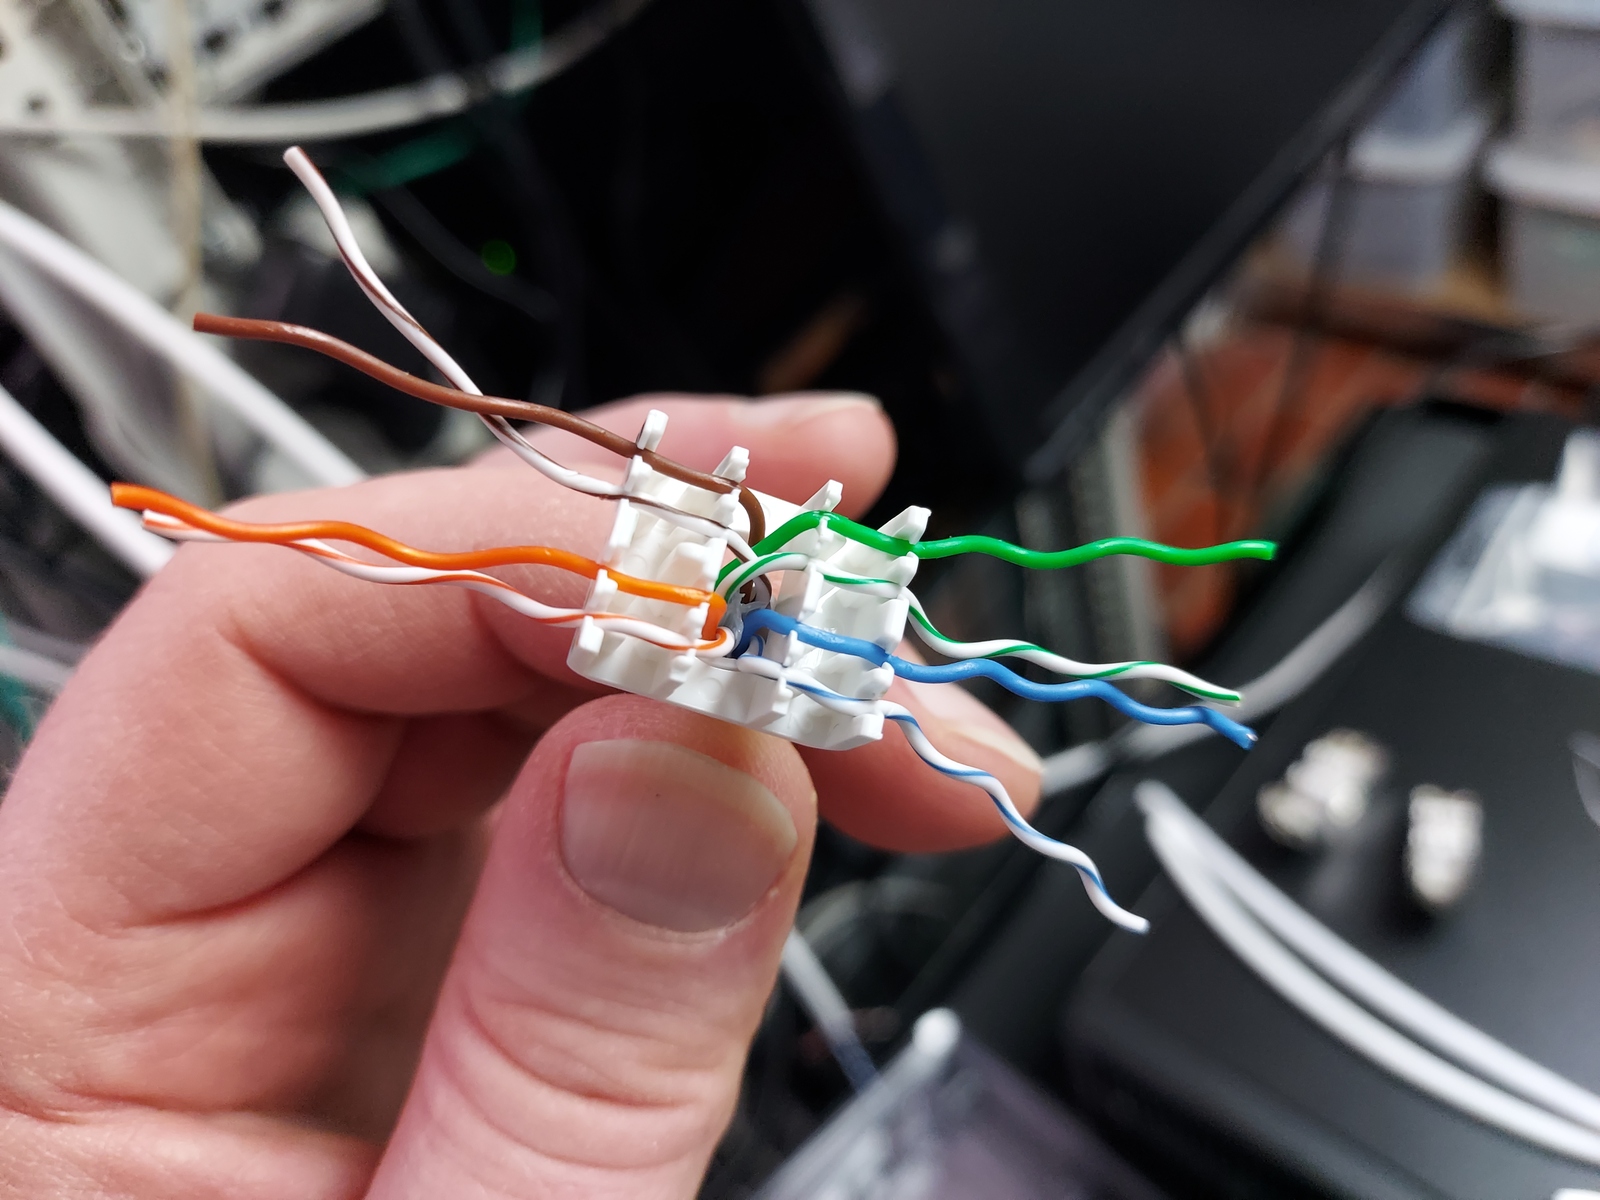
As before; I used tool-free keystone jacks.
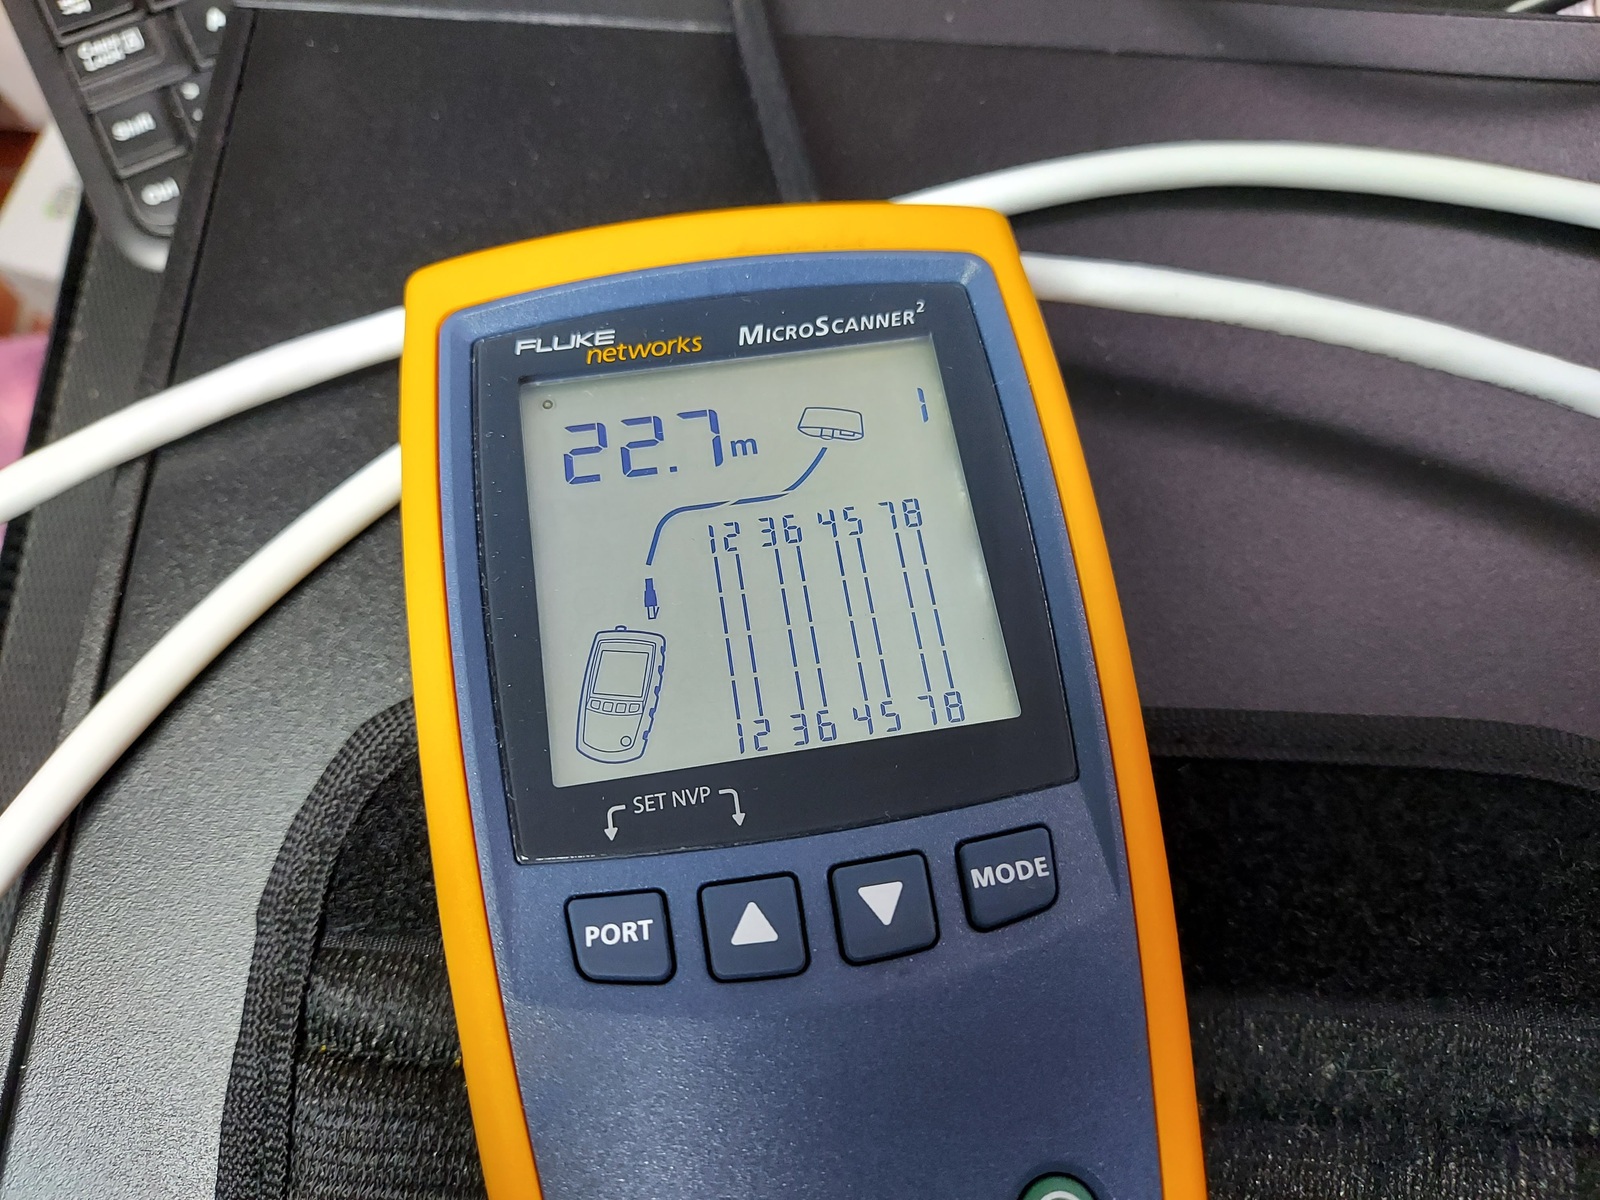
It’s always a good feeling when the network tester shows the termination is done right 👍
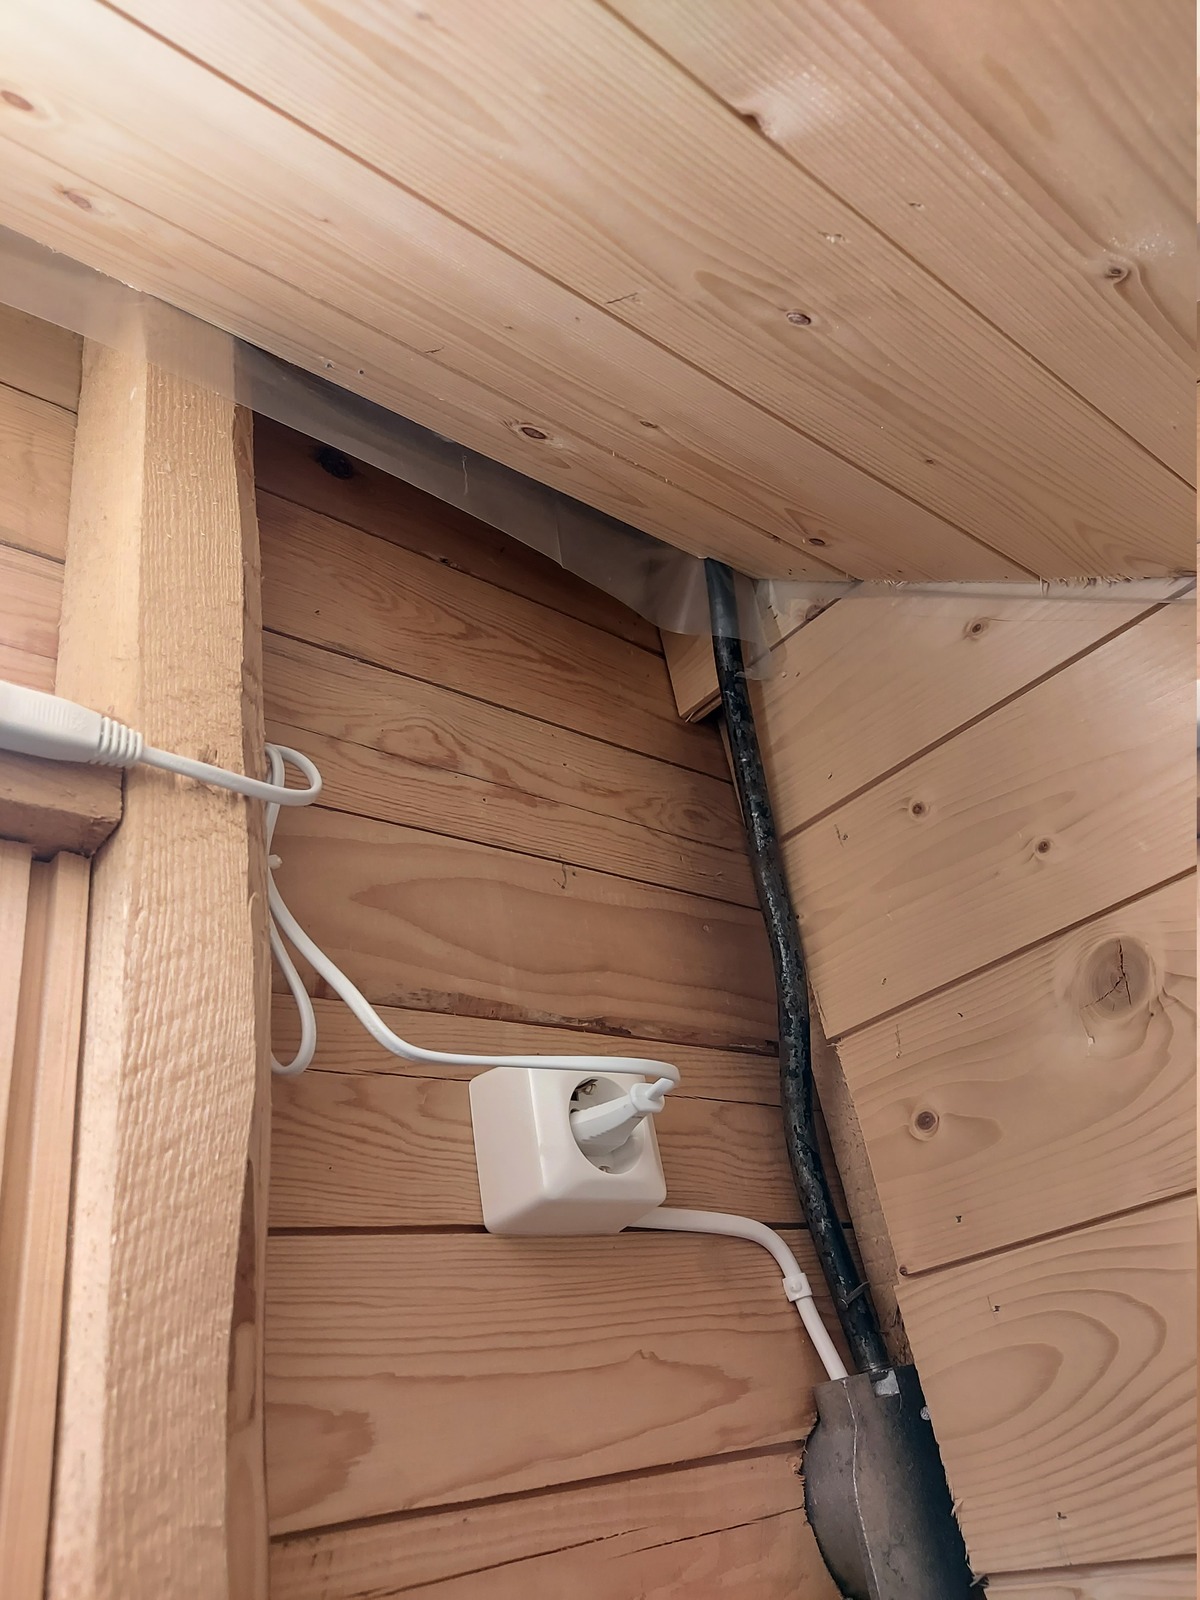
I added some RJ45 keystone jacks, for the Wi-Fi access points, removed the PoE injector and instead patched it to the newly terminated CAT6. So now the access point is powered by my PoE switch in the homelab rack, with a UPS and everything.
Now I just need to get the second Wi-Fi access point installed.
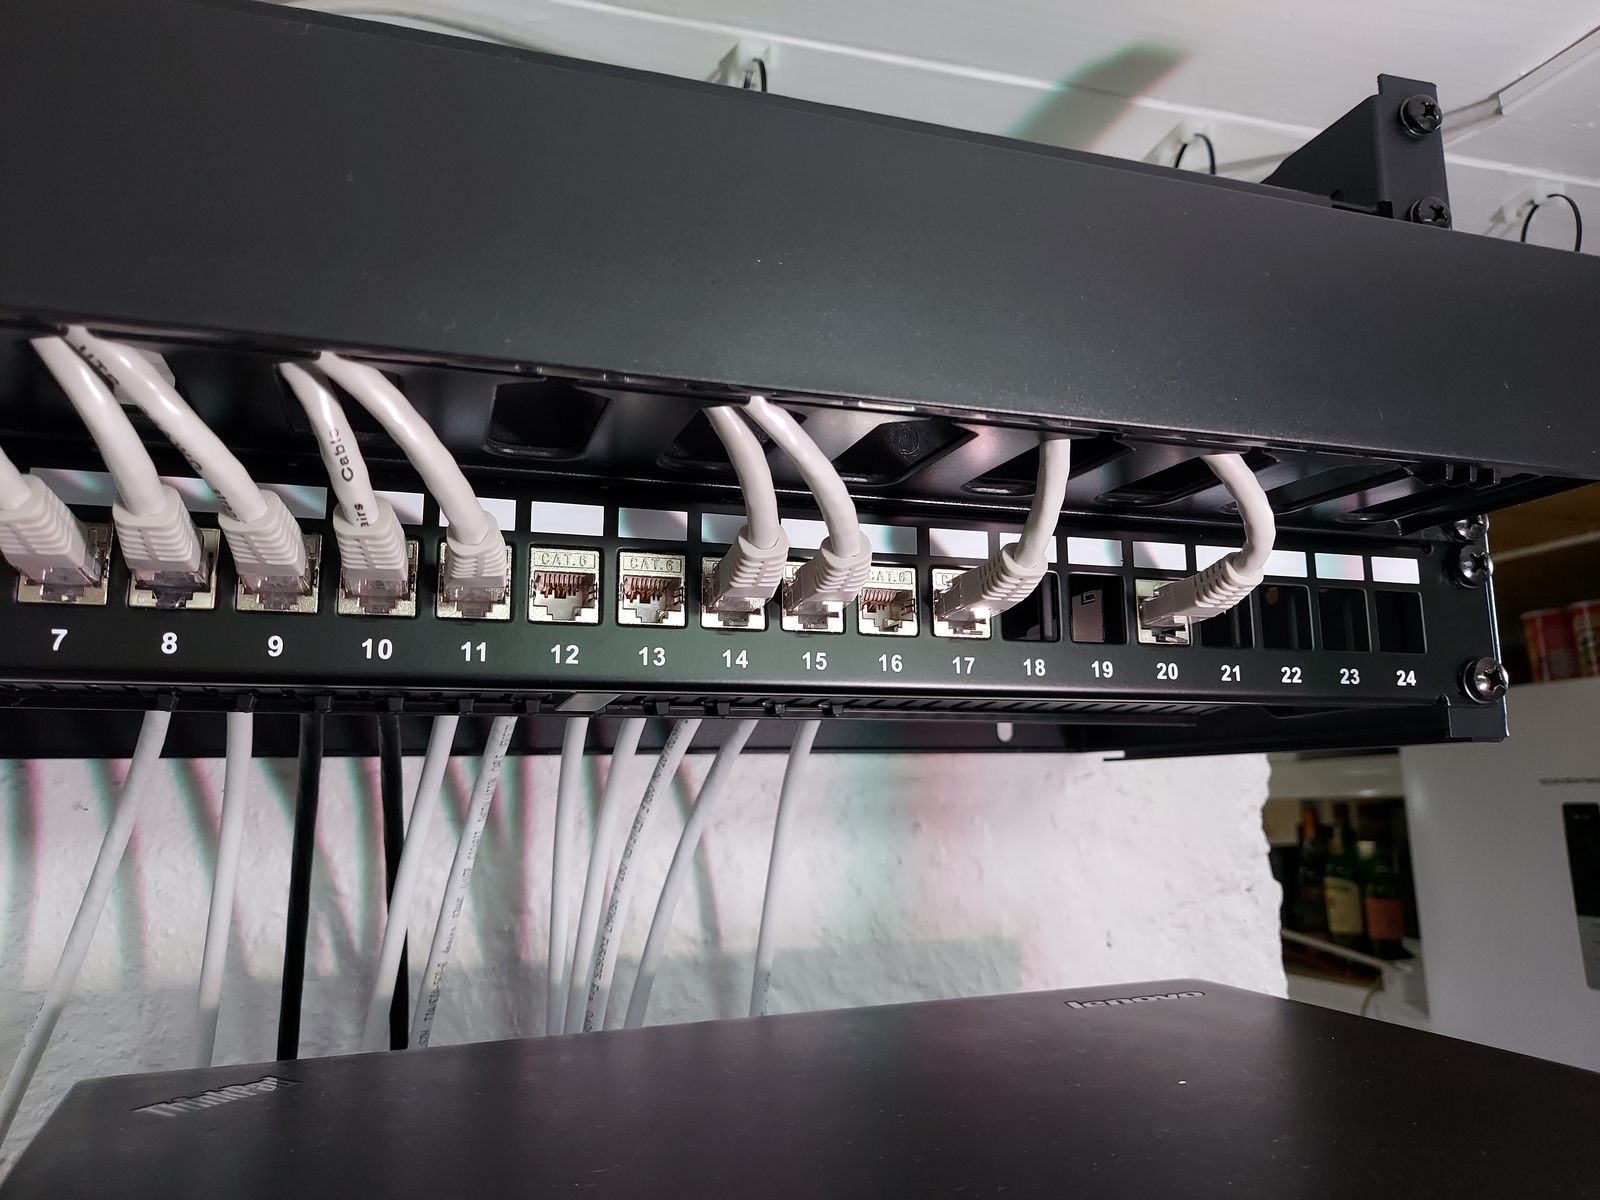
In the other end, my home office, I mounted the RJ45…
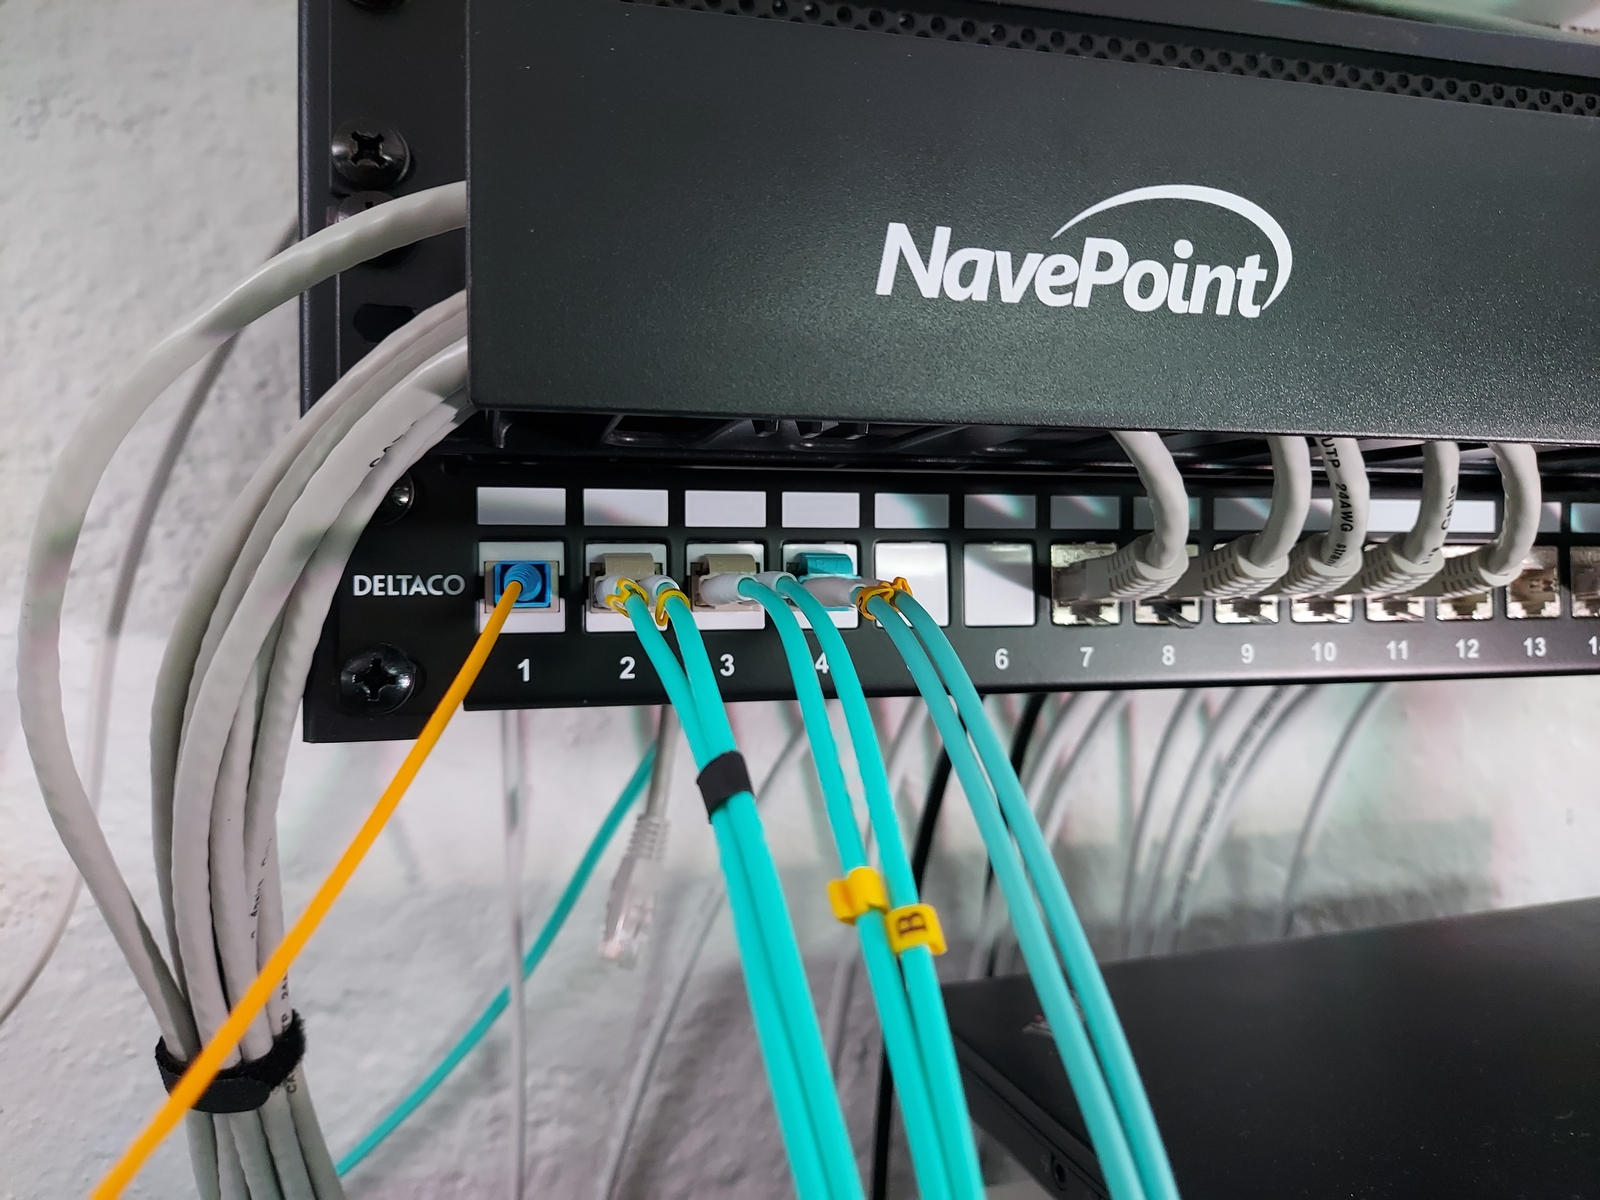
…and fiber keystones in the patch panel.
Done and done
I started this project back in August last year, so it has taken me a while to finish. I’ve been using the fiber since then — but it wasn’t until recently, when I mounted a new Wi-Fi access point upstairs, that I really needed the CAT6 cables.
But it’s nice to finally close this network run project 🙂
Last commit 2024-11-11, with message: Add lots of tags to posts.
🔗 This post has been shared to: Reddit
All posts in Home network v2 series
- Replacing Unifi switches with MikroTik
- Getting started with MikroTik CCR1009 and RouterOS
- Altibox fiber — straight into Mikrotik CCR1009
- Running underground CAT6 to detached garage
- Plans for my home network
- Running two CAT6 cables to the play room
- Running three CAT6 cables to the living room TV bench
- Moving CAT6 cable for access point; inside the wall
- Altibox fiber — straight into Ubiquiti EdgeRouter
- Two CAT6 cables and a fiber — from the basement to the attic
- A few Wi-Fi improvements
- Updated plans for my home network
- Knot Resolver — with ad blocking
- Pulling CAT6 cable in existing conduit
- Running CAT6 to the twins' rooms — inside interior wall
- Running CAT6 to the 2nd floor den — another interior wall
- Finally getting fiber between the house and garage
