This post is part of a series.
I first got started on the network run from the attic switch to the 2nd floor den — back in October of 2021. I finished it a year later, so it’s about time to get this blog post published 😛
Table of contents
The plan
I’ve had wired network to the 2nd floor den since we moved in. Initially I had a UAP-AC-IW, which I later replaced with a ceiling mounted U6-Lite.
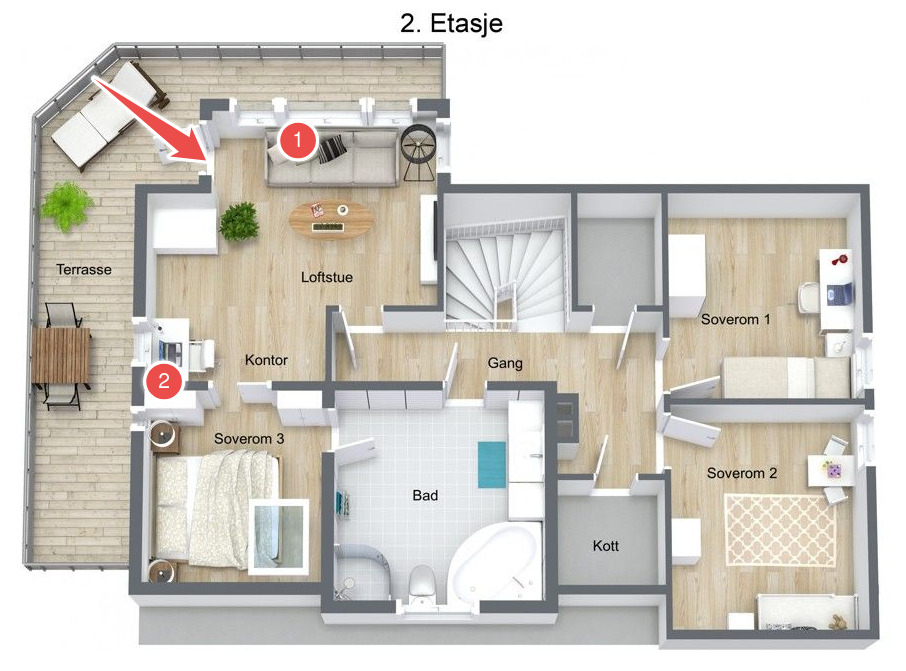
I used an existing conduit for the previous run, but the location wasn’t ideal. To get from the old network outlet, marked with 1 on the floor plan, to where I needed it — it had to cross in front of the terrace door 😕
The new network outlet, marked with 2 on the floor plan, comes out right where I need it 👍
I first tried to find out if the interior wall had insulation; using my fish tape I felt for resistance going down into the wall from the light switch wall box.
I concluded there was no insulation, making the job easier. Remember; this was before I did the network run to the twins’ rooms.

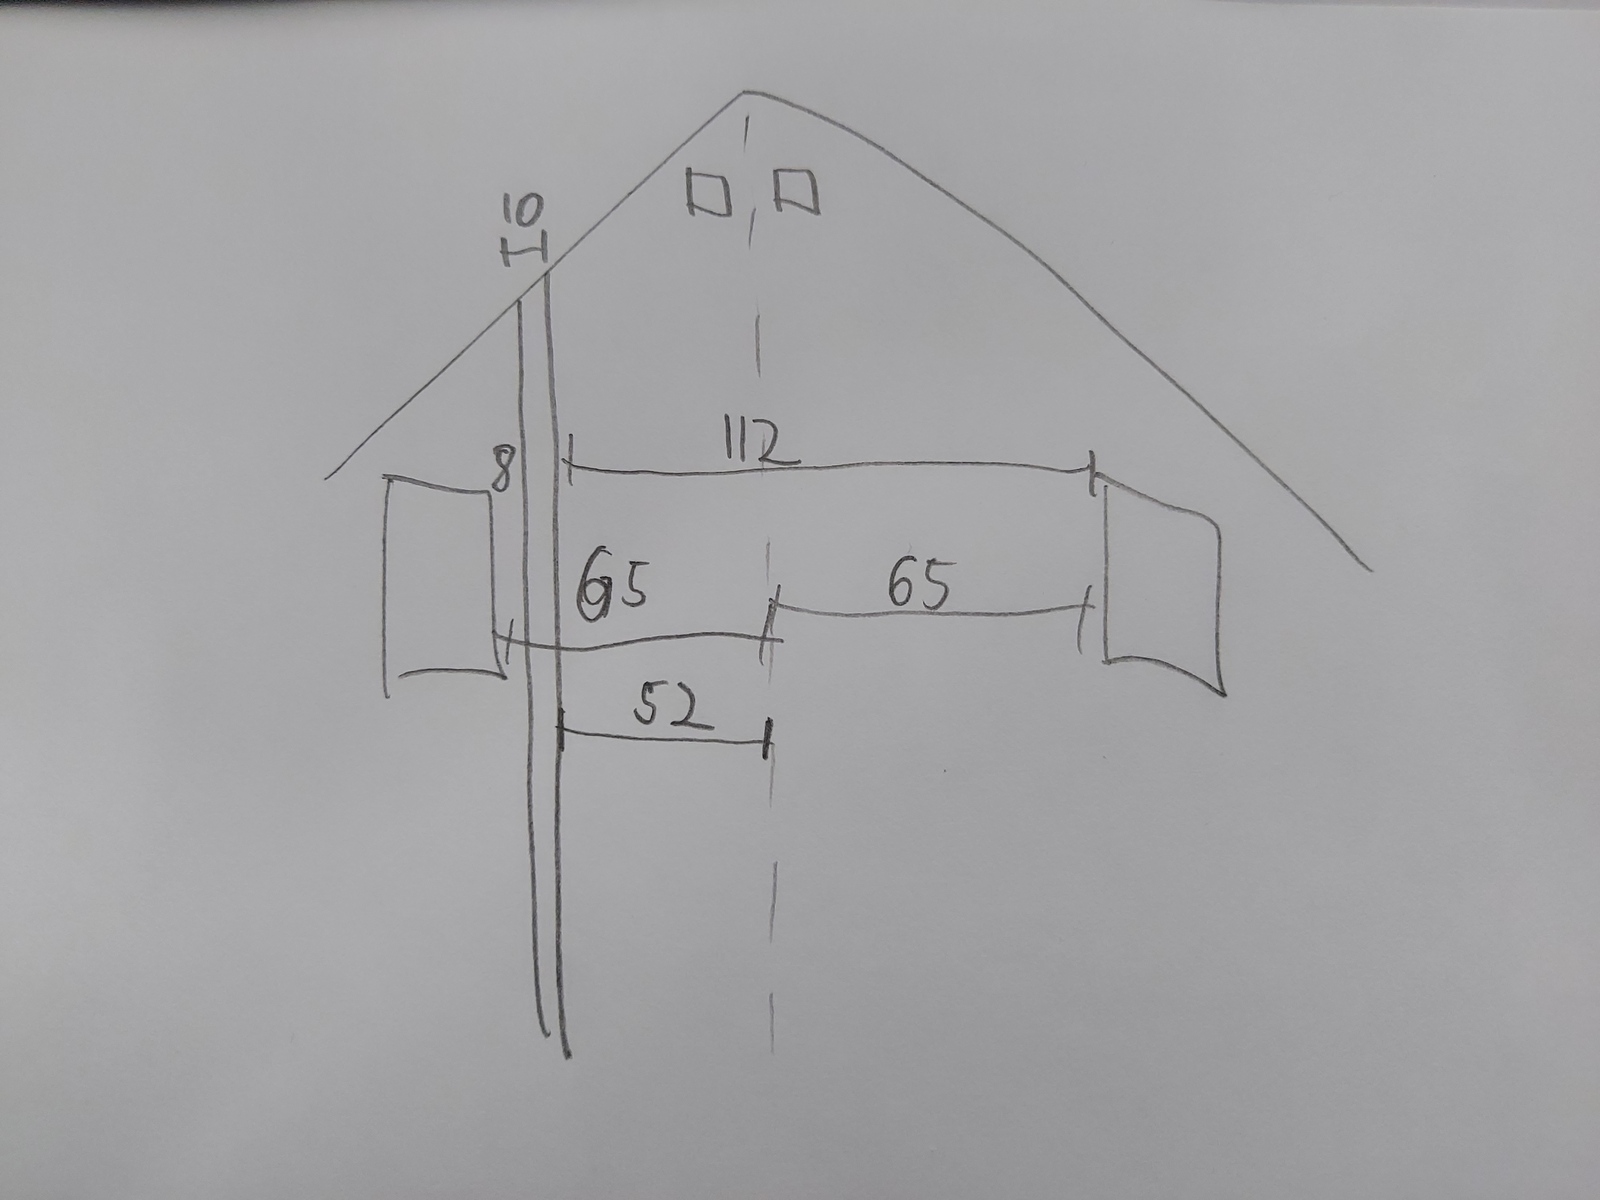
Next I tried to figure out where to look for the interior wall in the attic. I sketched out the distance between the windows and the interior wall, and when how those were placed in relation to the roof peak.
Drilling
Then it was time to get up in the attic and find the wall — which turned out to be really easy 😎 The ceiling boards are in different directions in the two rooms, and I knew the conduit to the light switch went down into the same wall.
I started by drilling a small hole, just to verify that it didn’t come out in the ceiling somewhere.
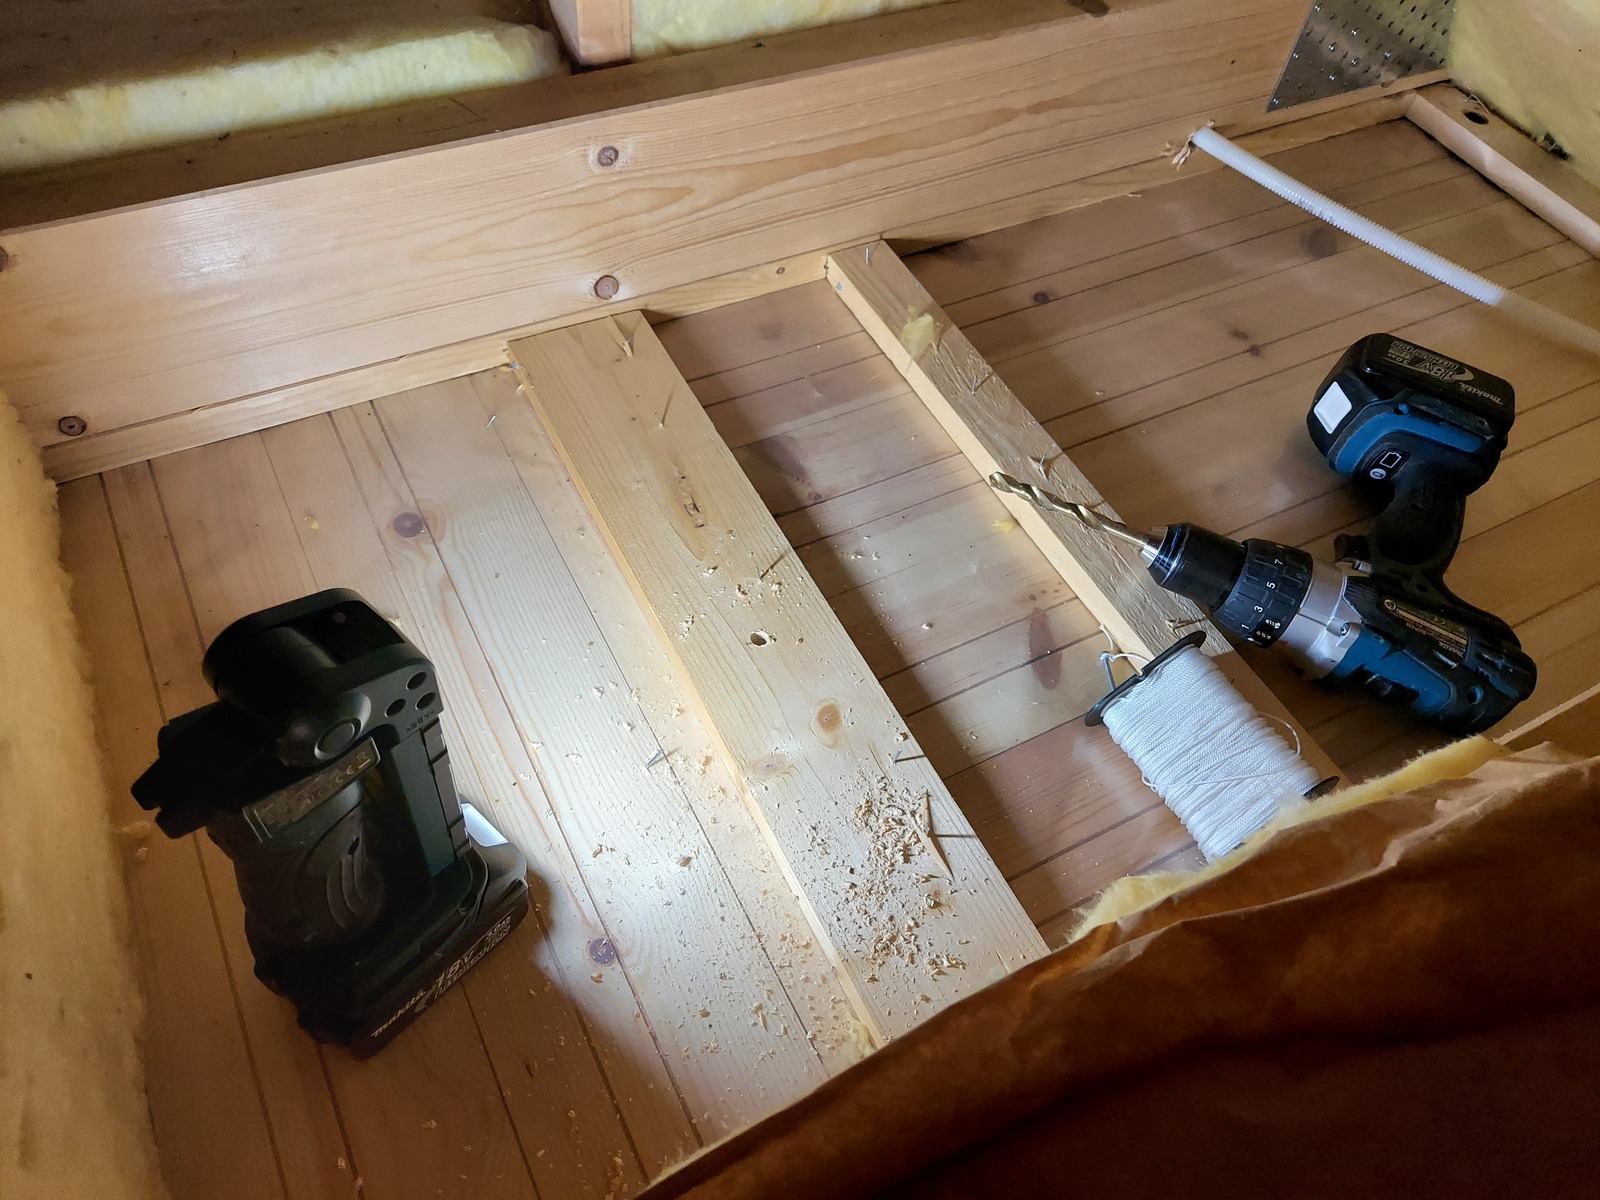
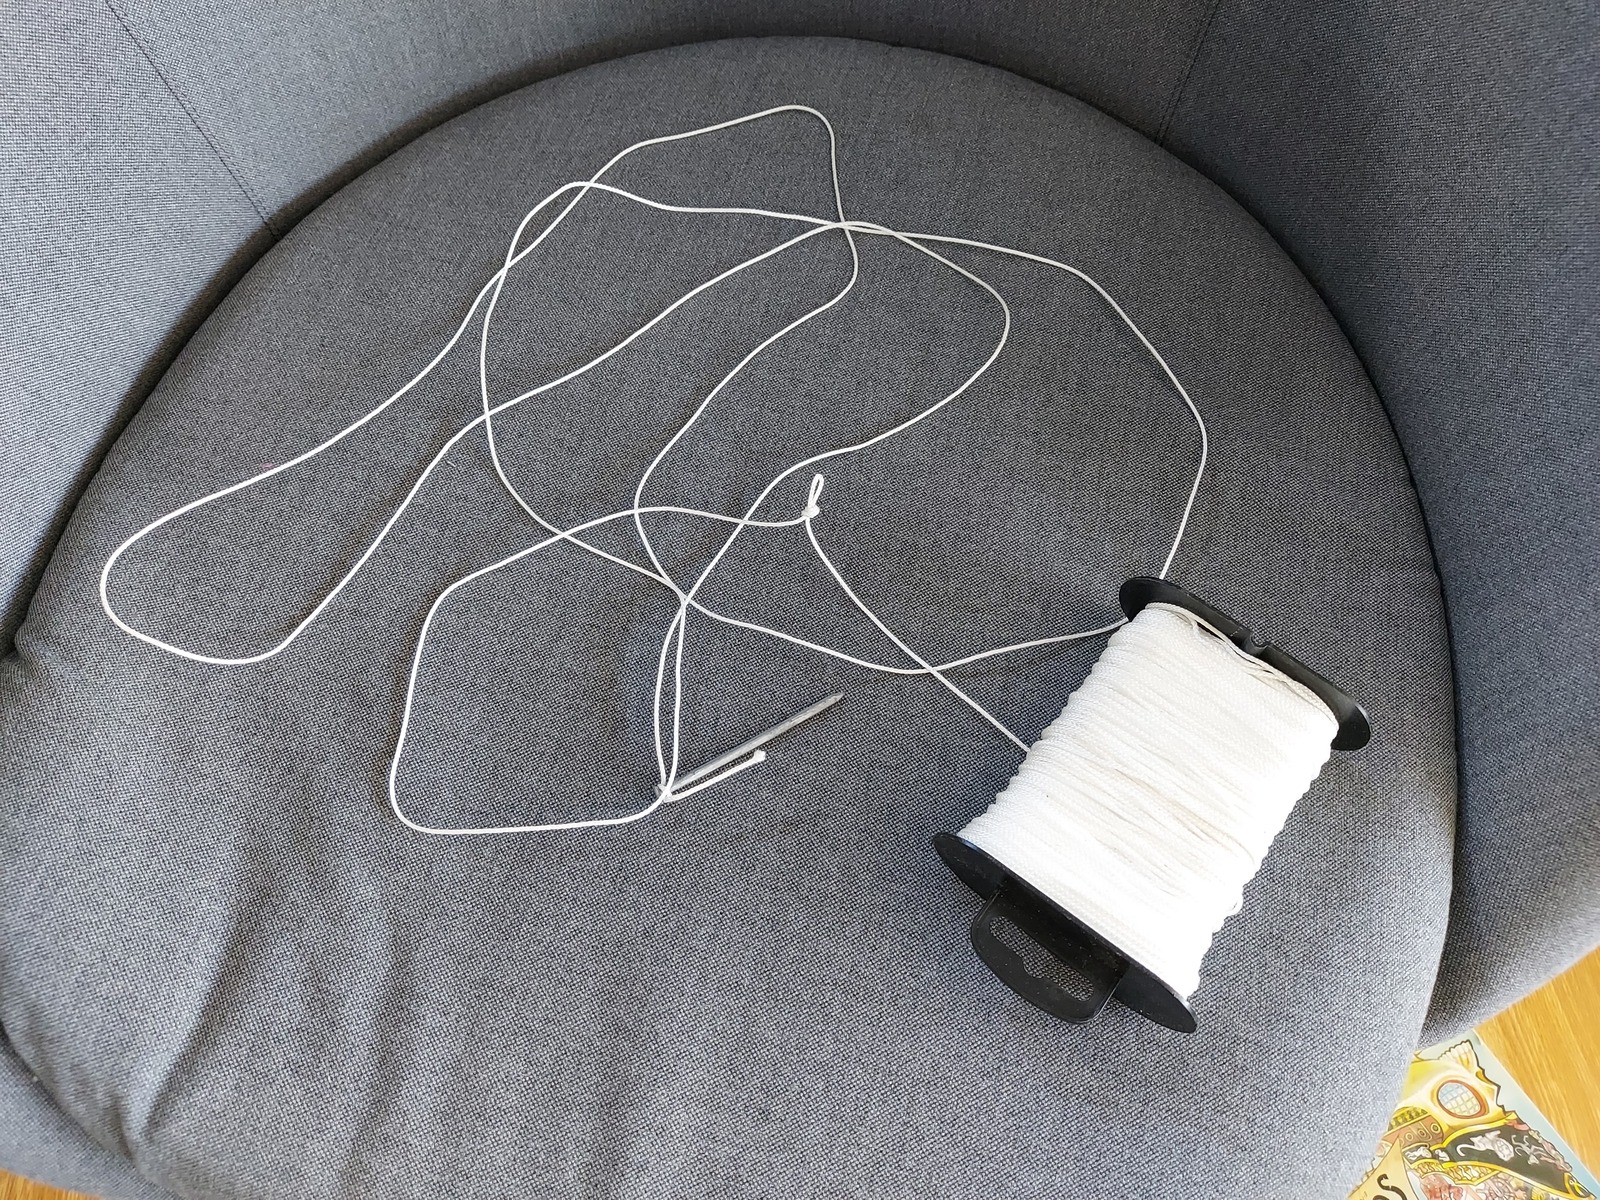
Then I tried a nail to a string…
And drilled a 22 mm hole — large enough to fit the 20 mm conduit.
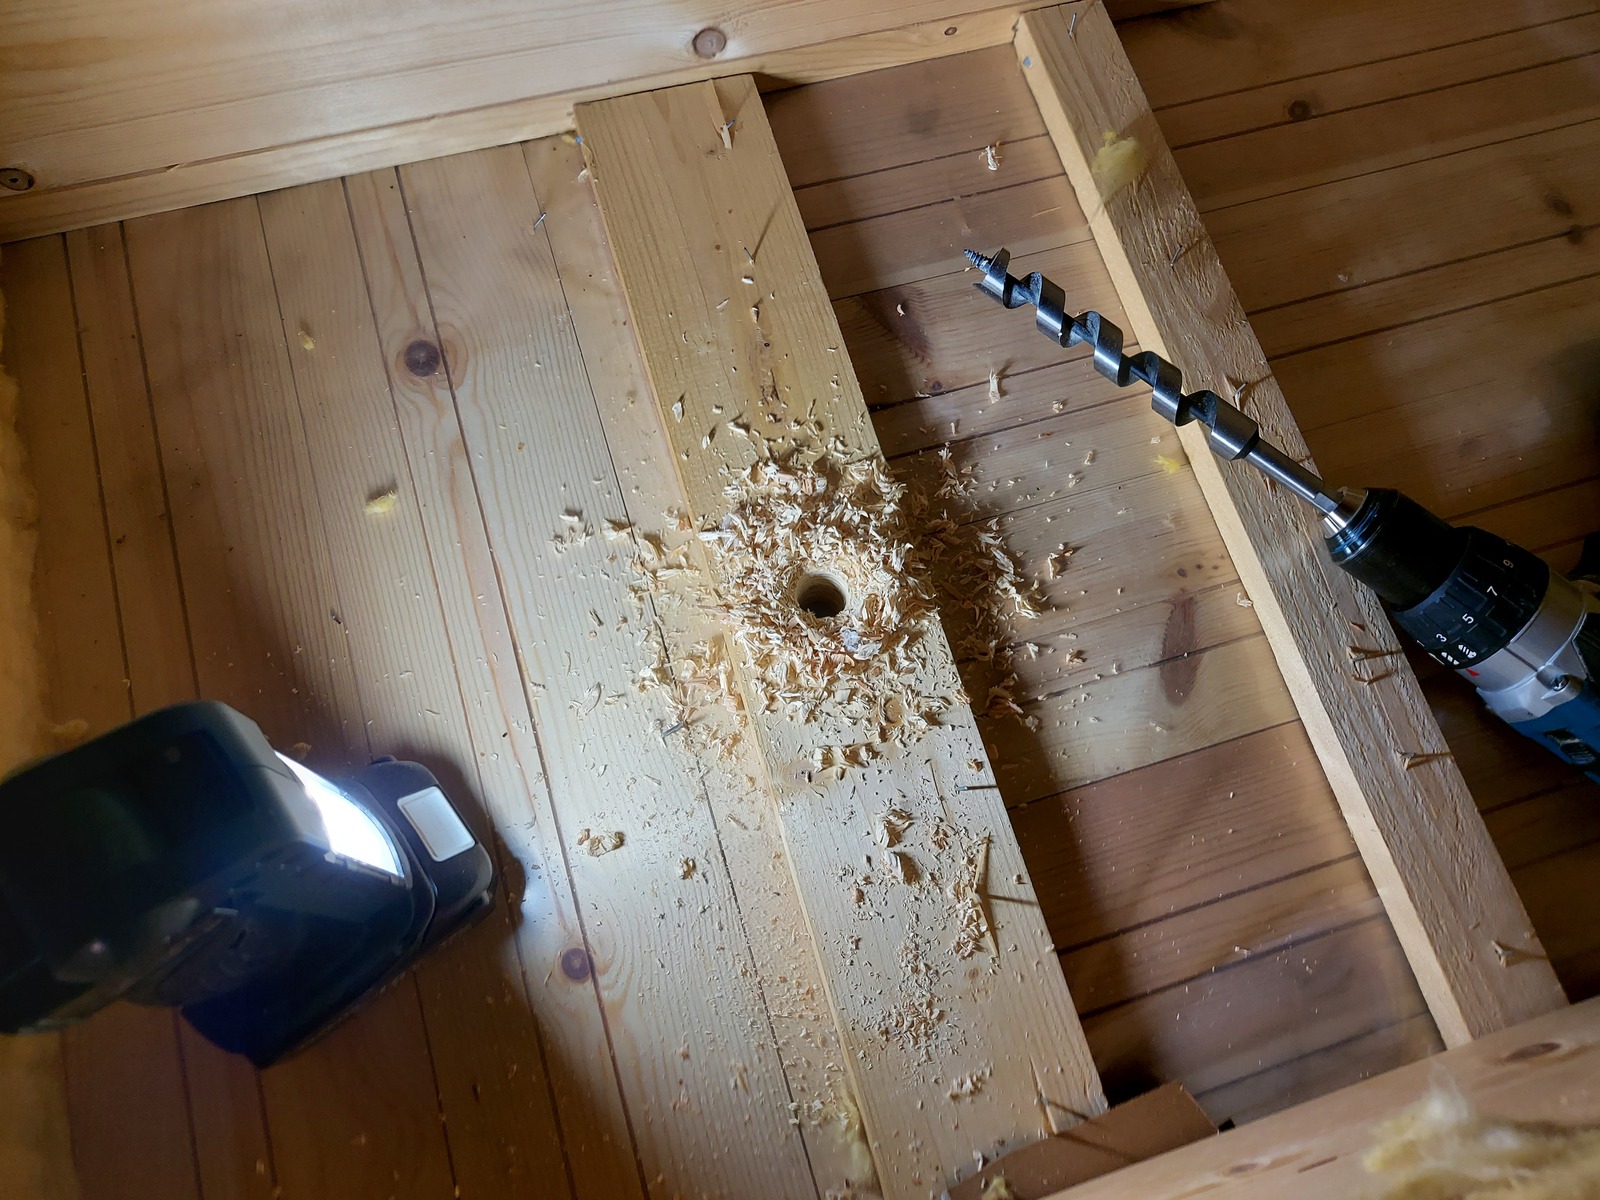
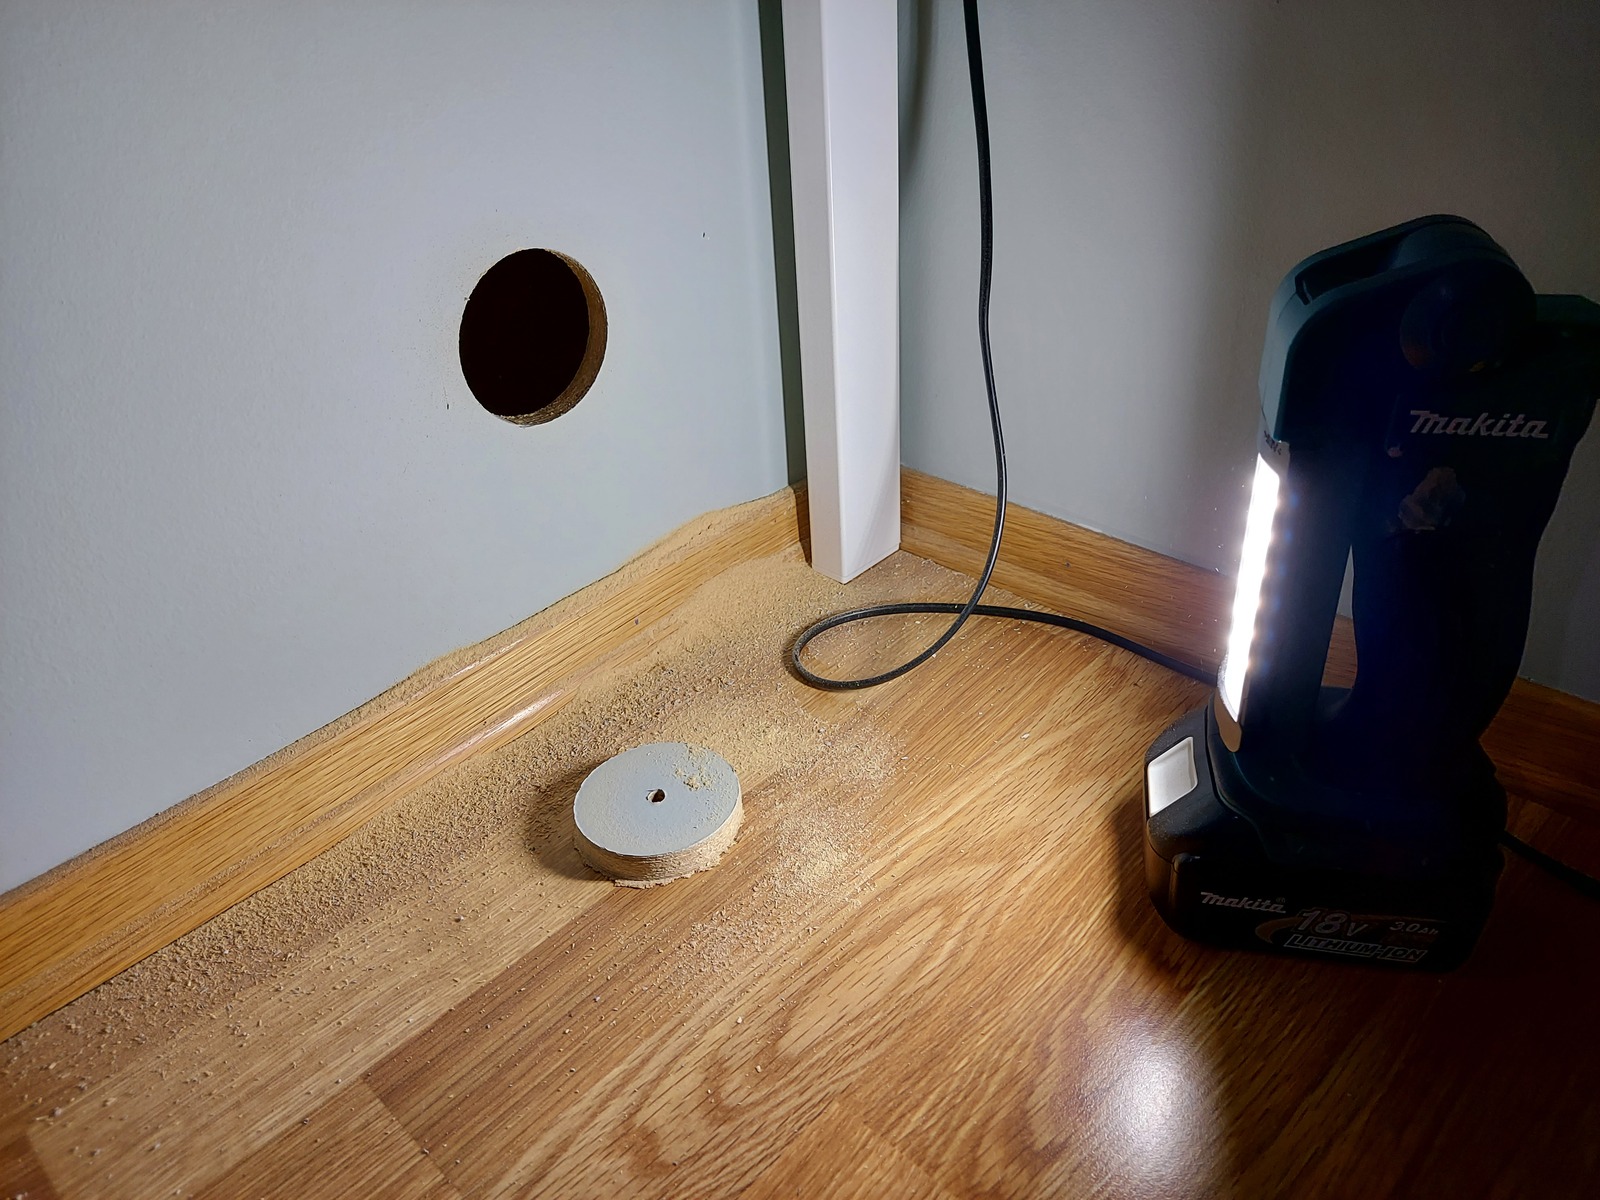
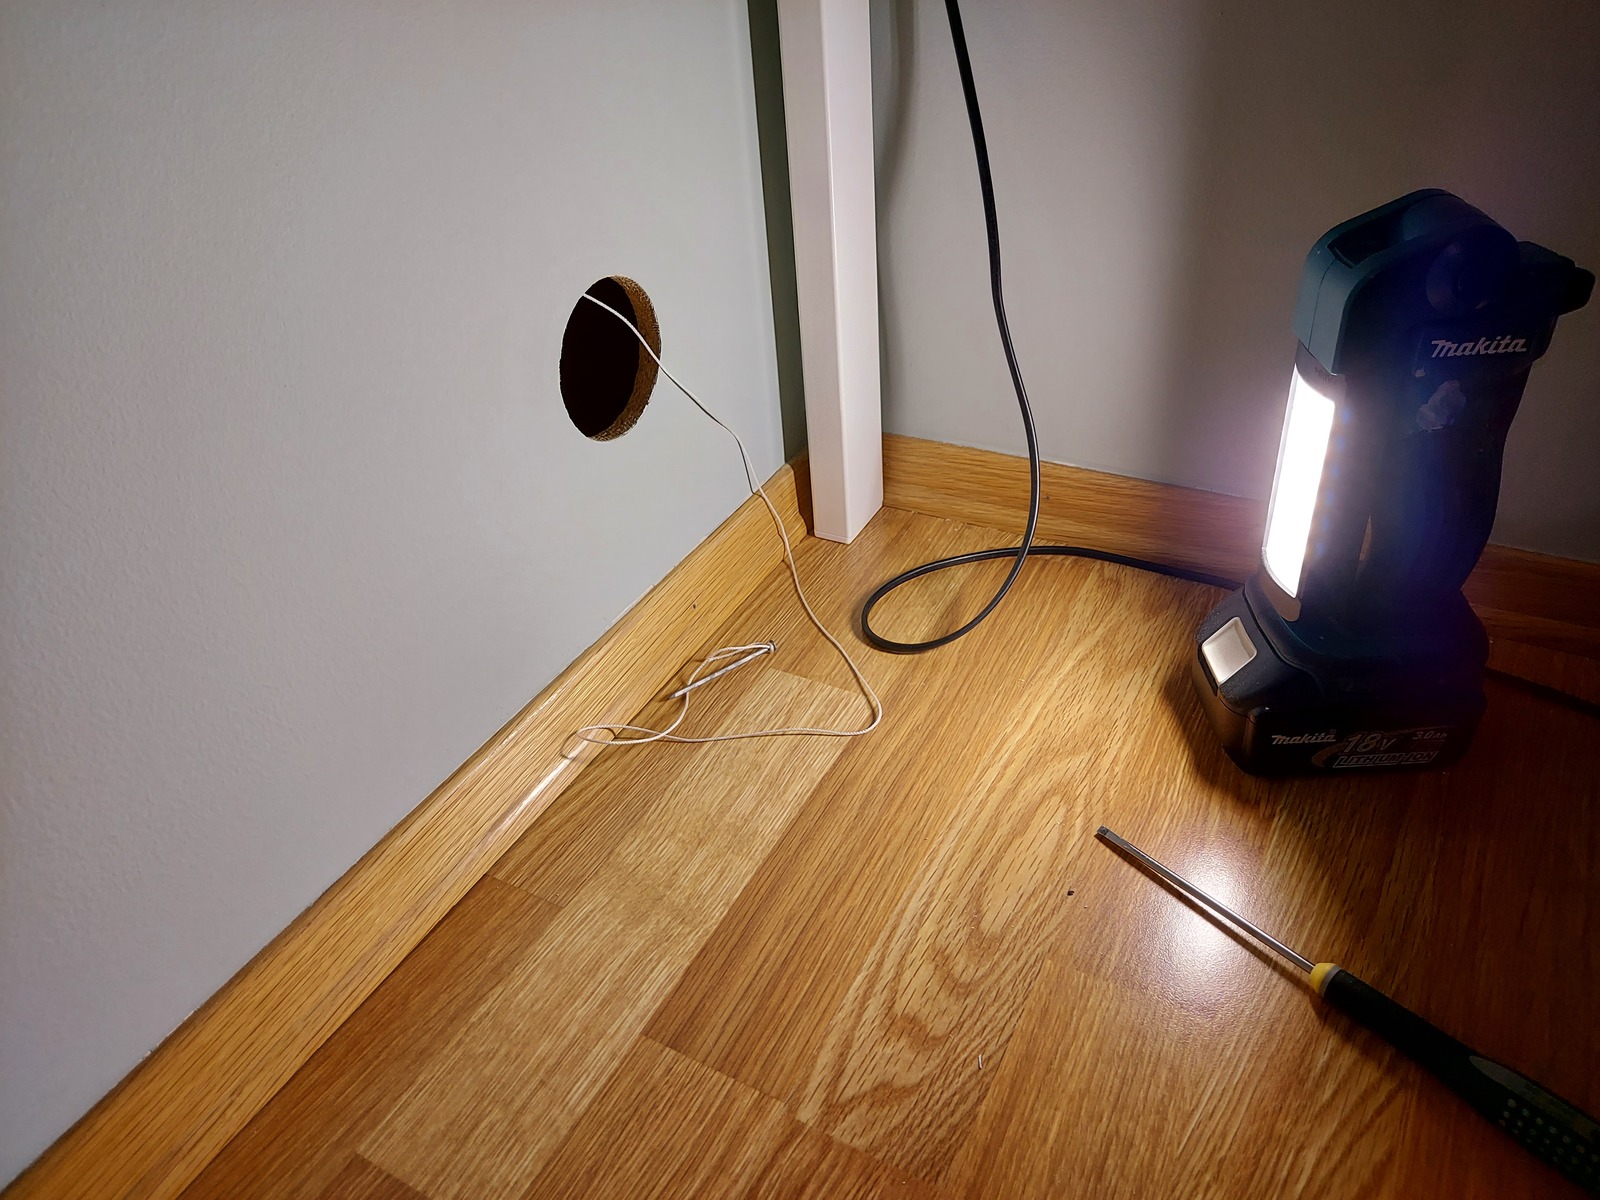
Then I drilled a 73 mm hole in the interior wall.
I dropped the nail, with the string, down into the hole from the attic.
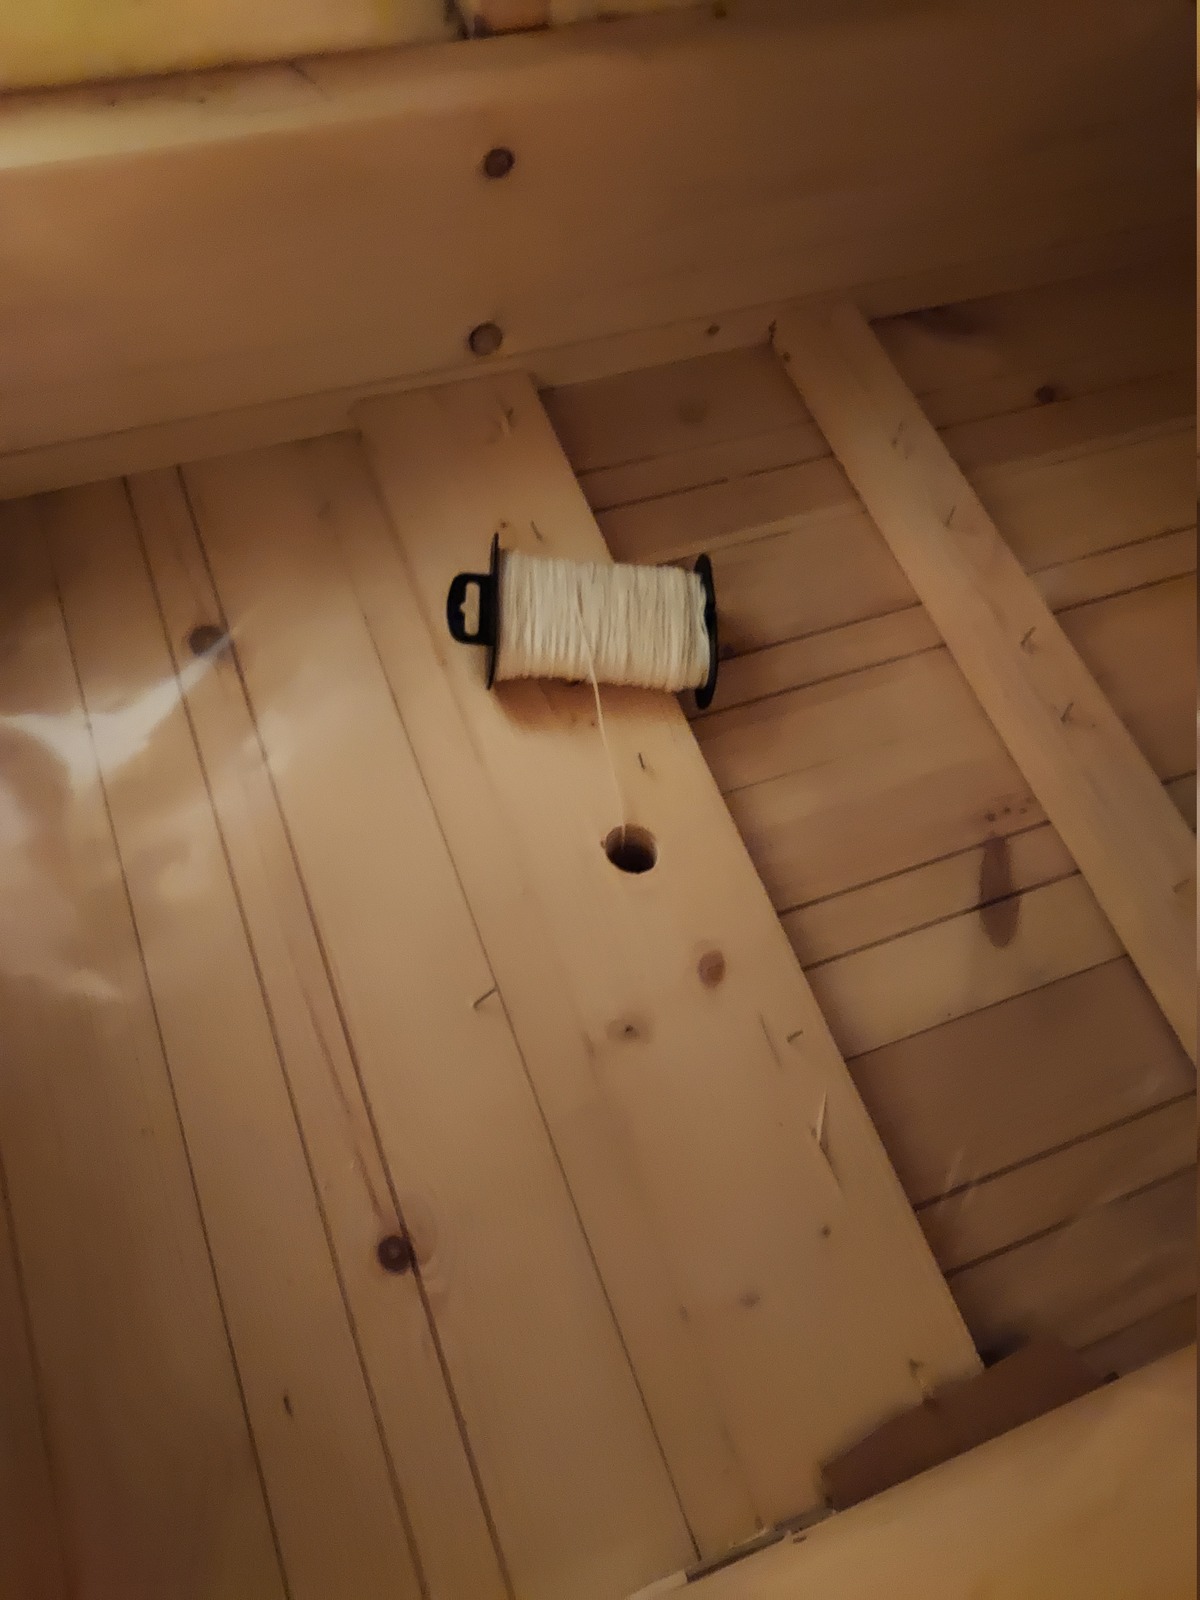
And pulled it out through the 73 mm hole 🥳
The conduit
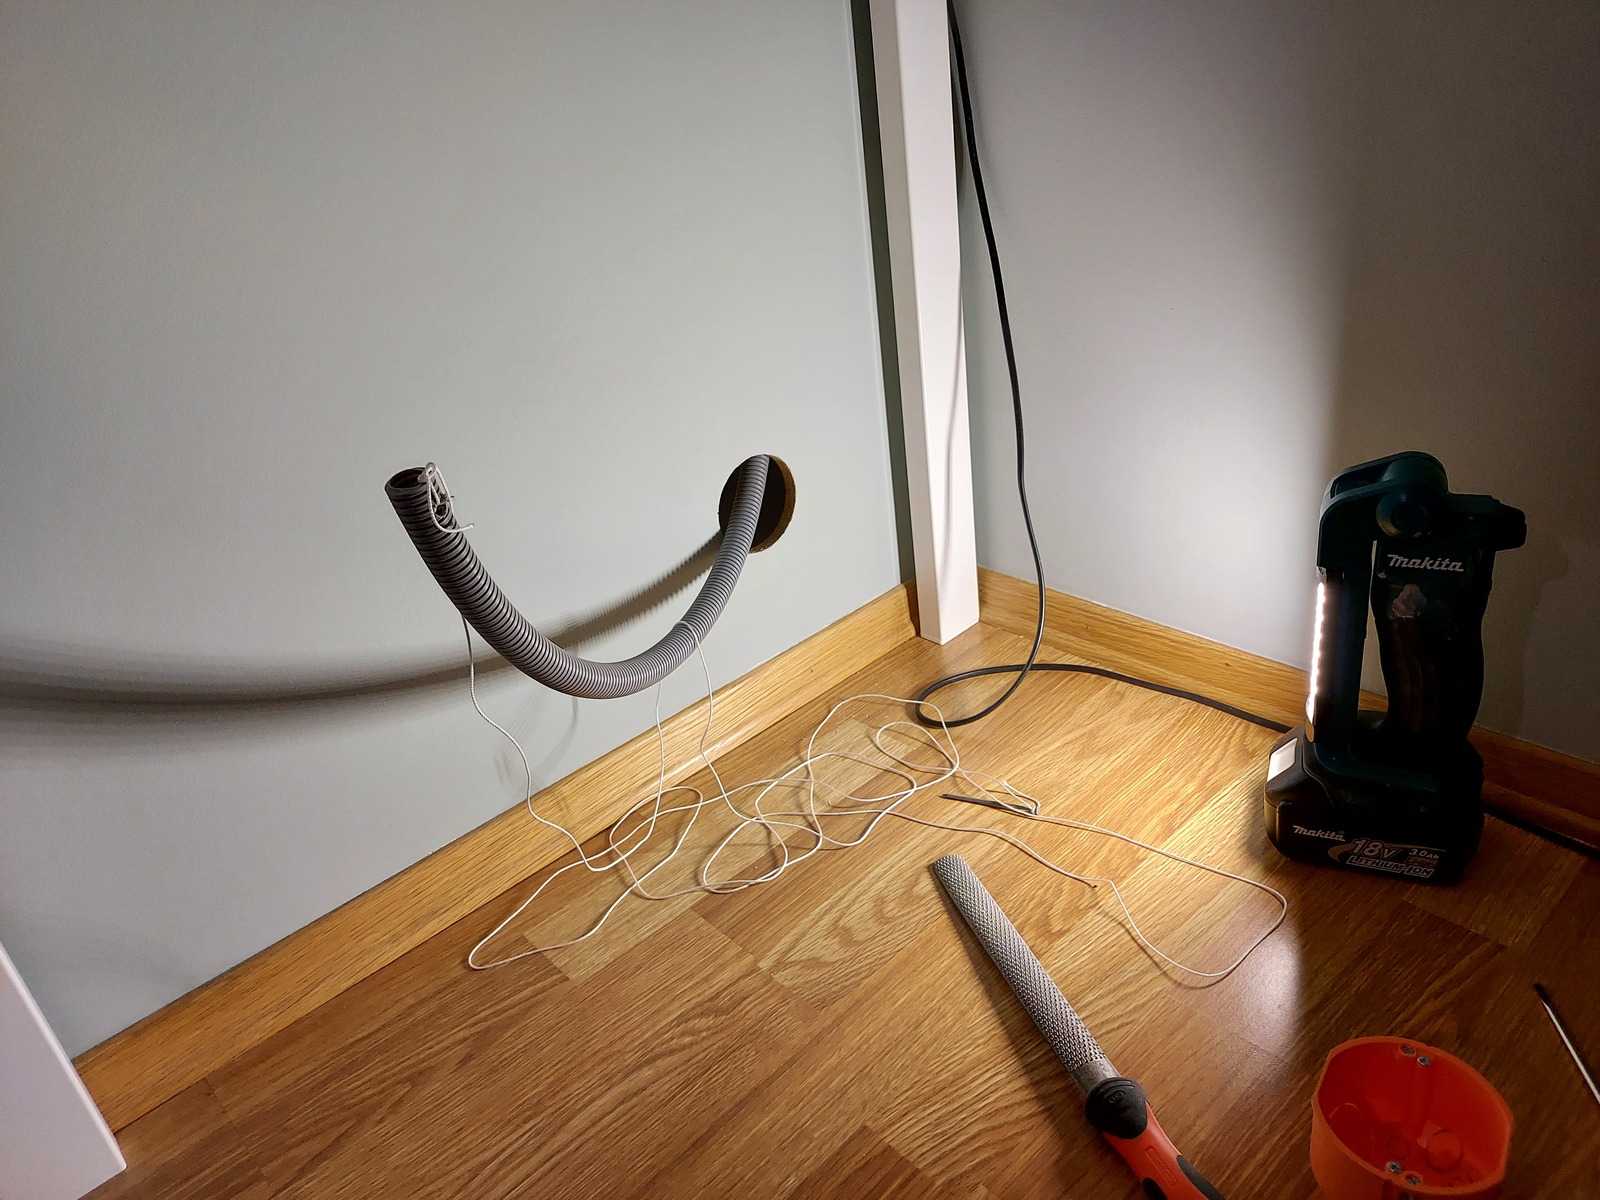
Back in the attic — I cut the string, and attached it to the conduit. Now I could use the string to pull the conduit down, and out of the hole in the wall.
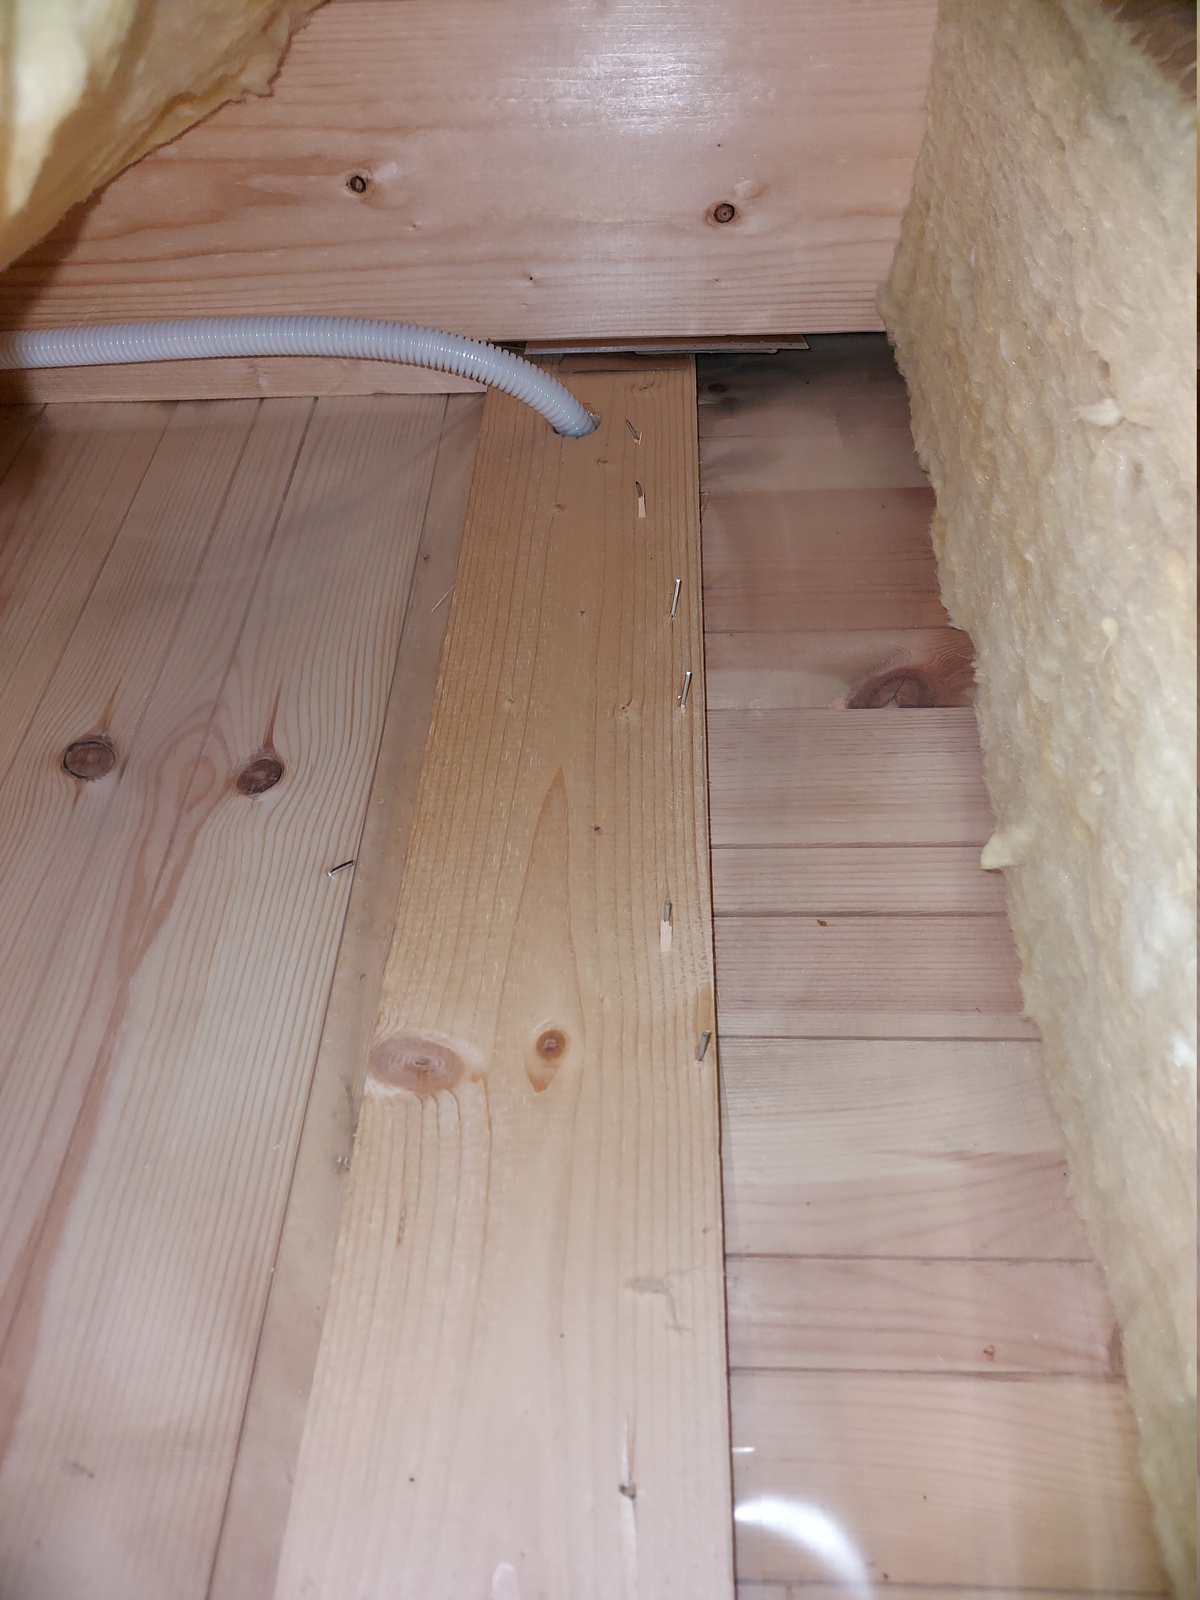
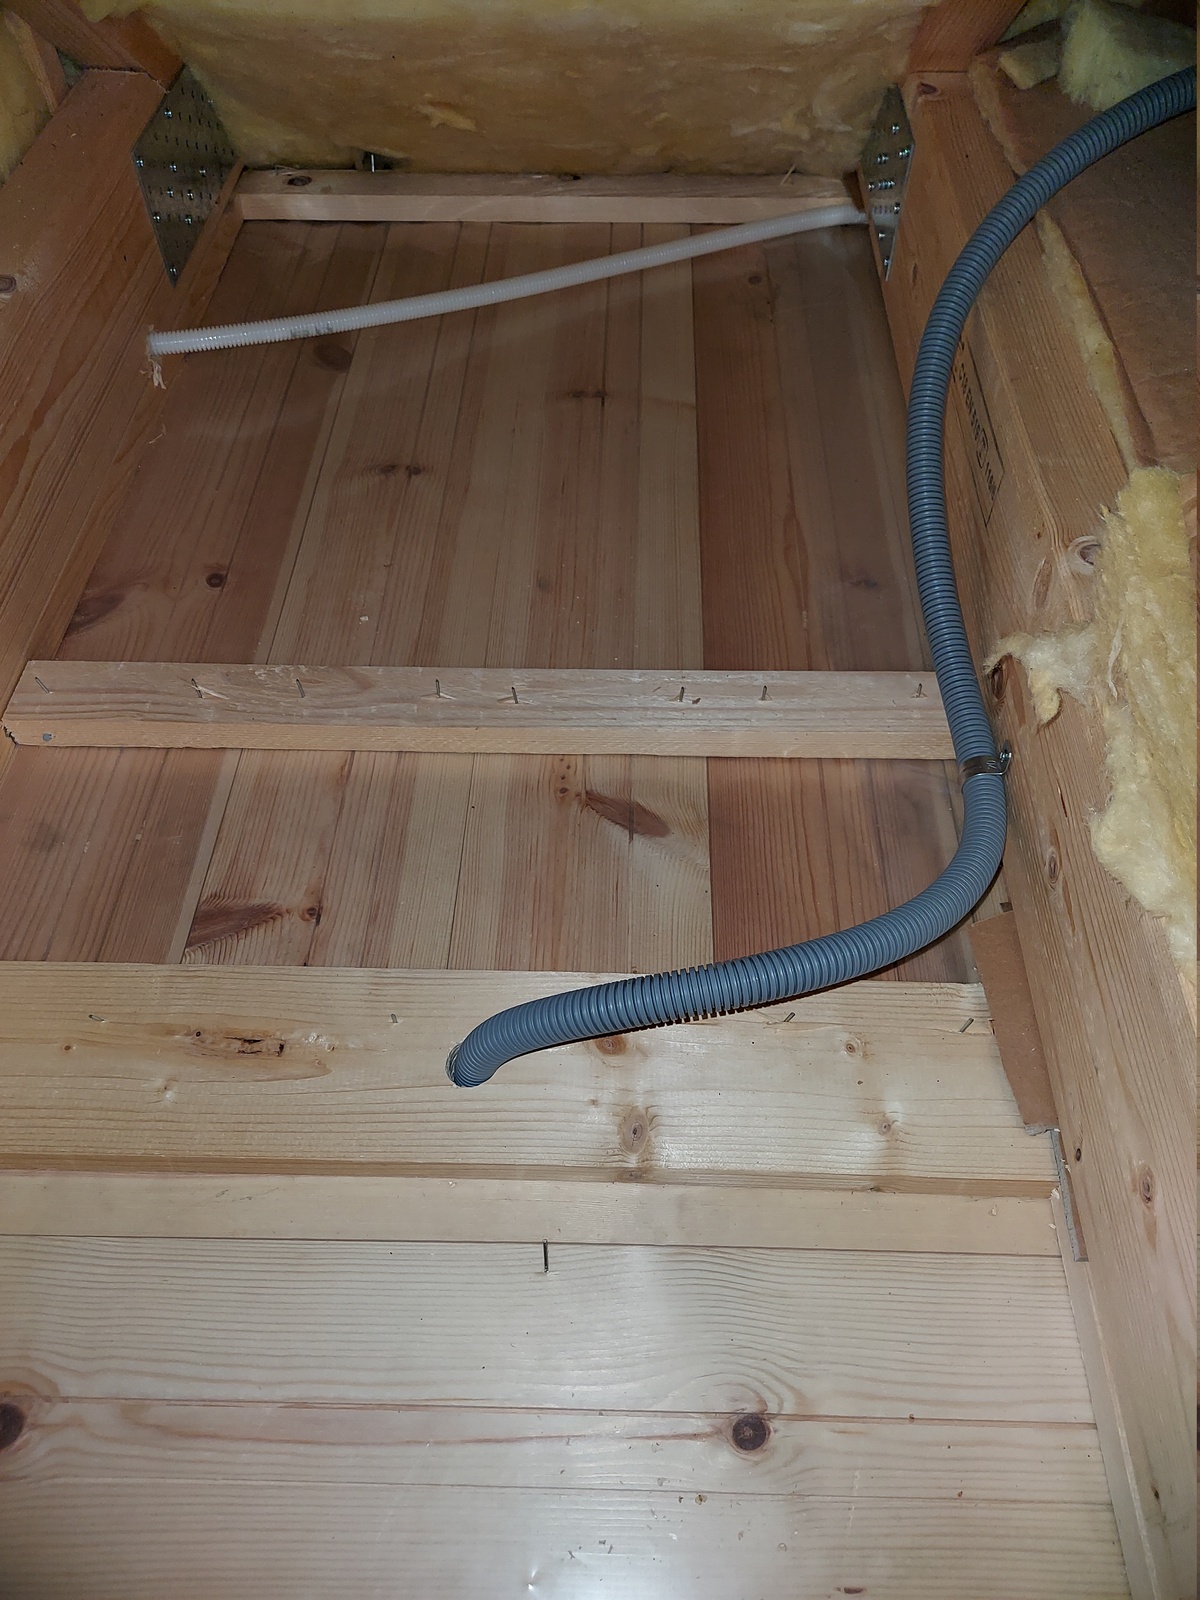
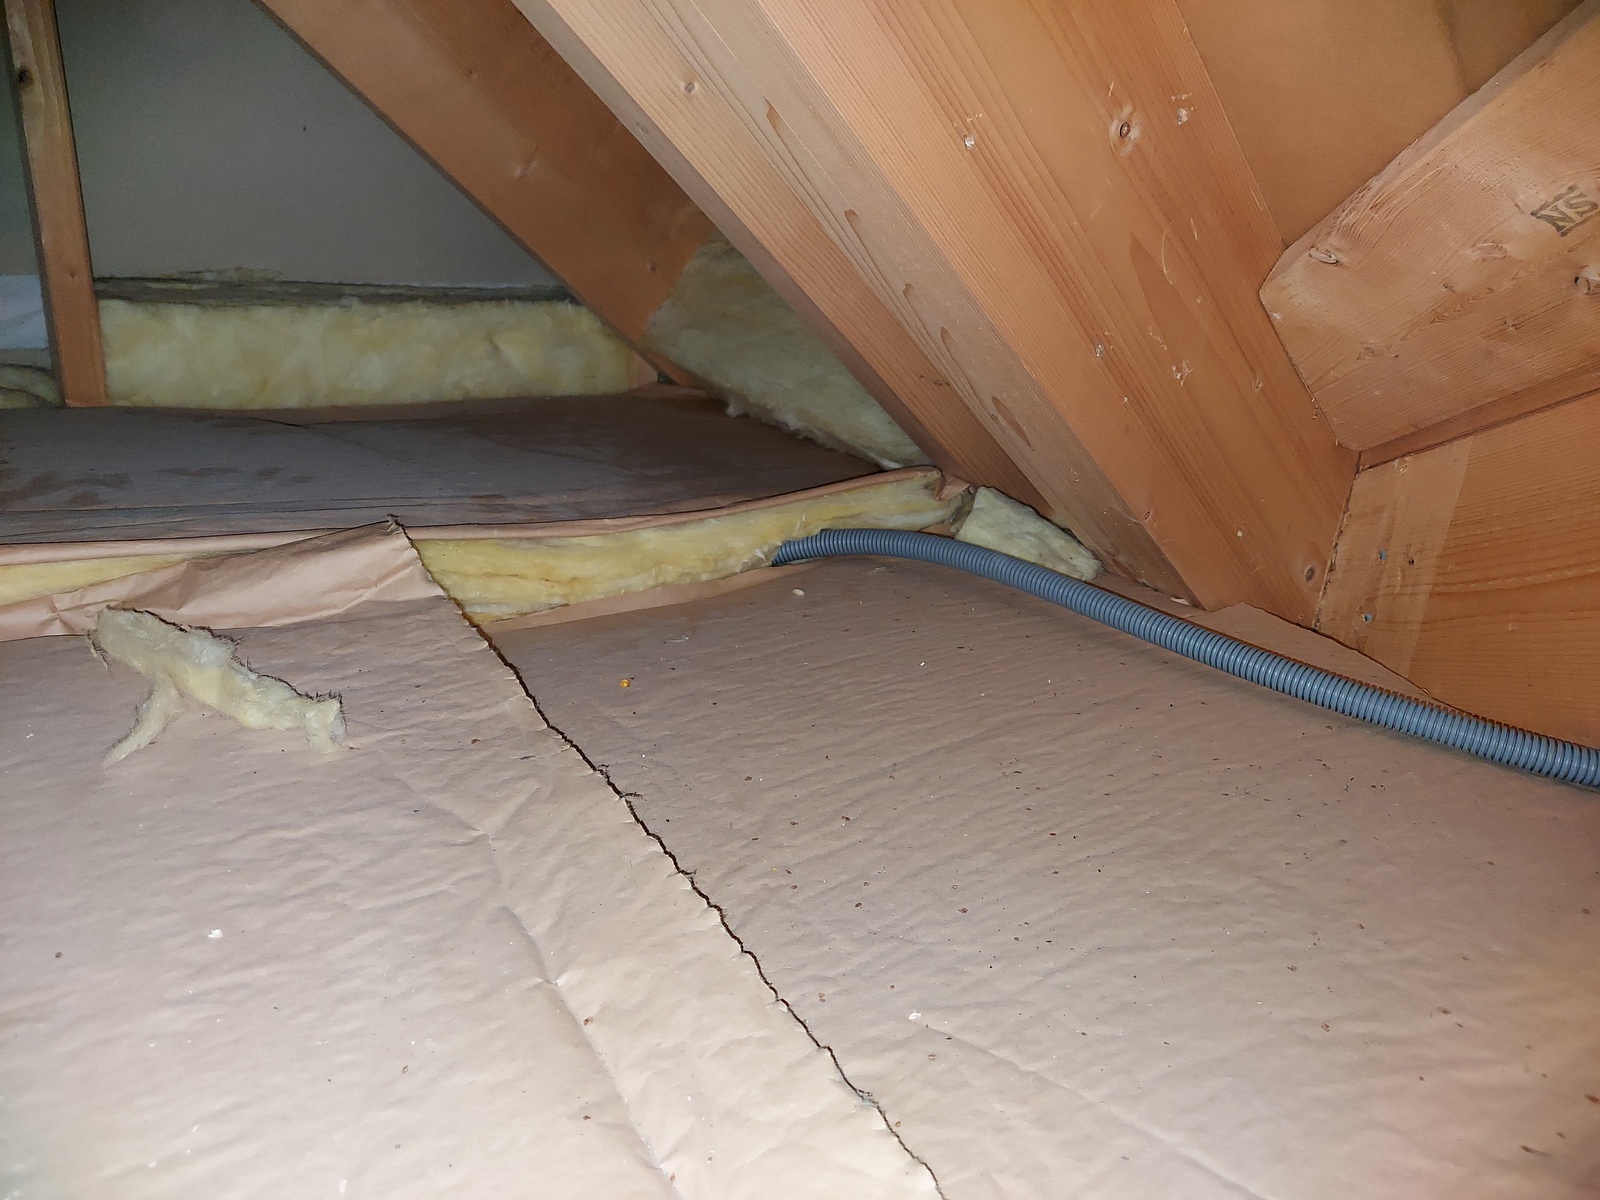
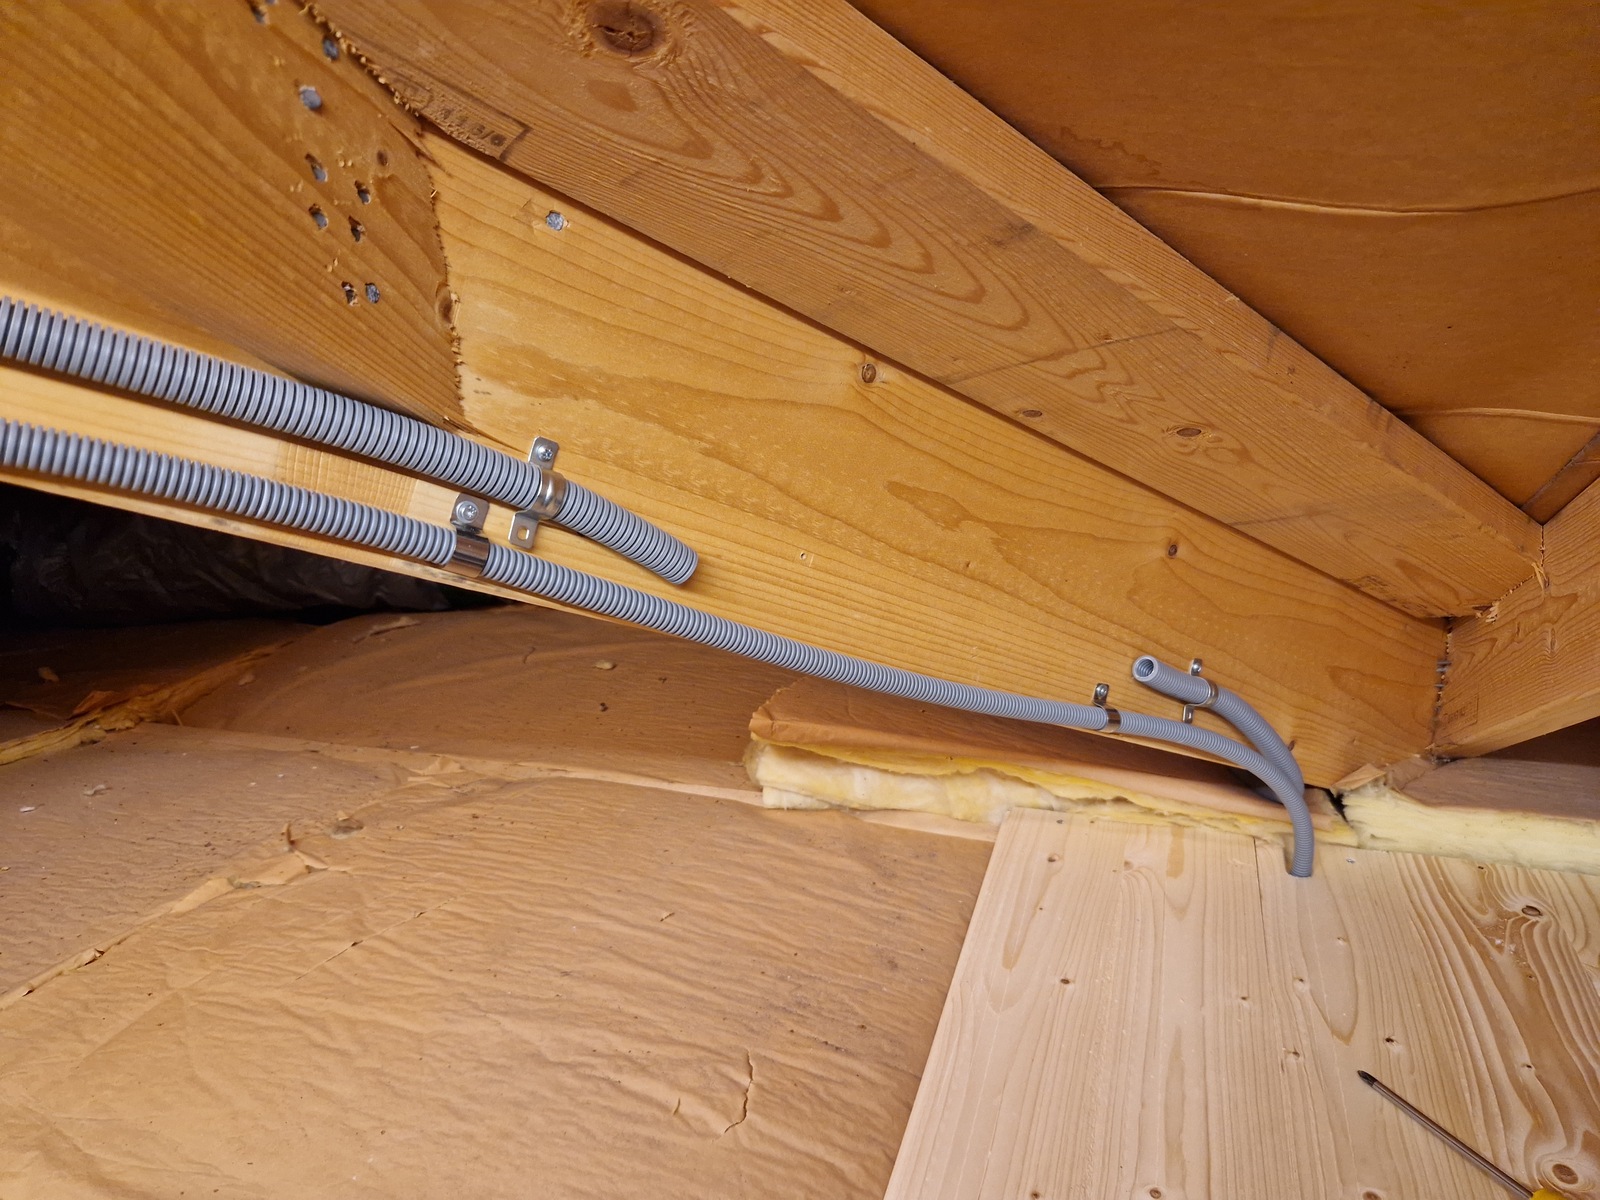
I fastened the conduit to the ceiling joist.

And put the insulation back 🙂
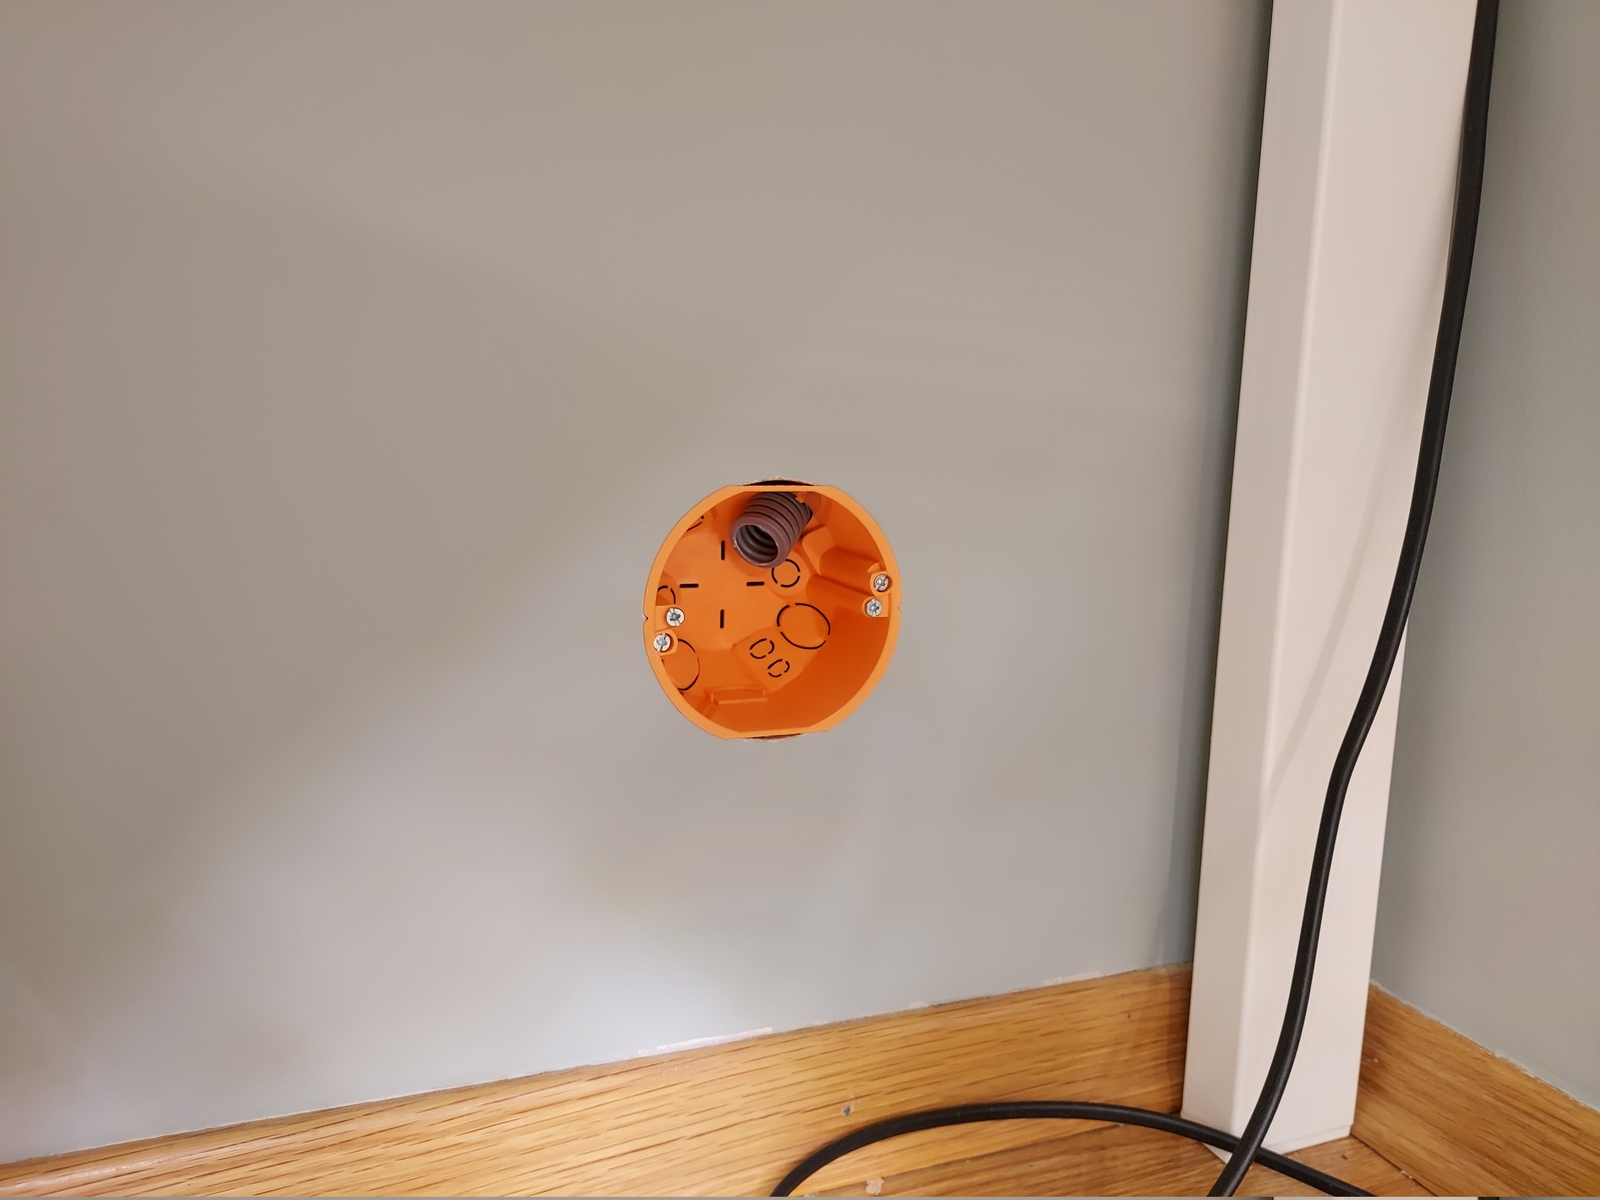
About three months later; I finally cut the conduit and mounted it in the ELKO multi box.
Then another nine months passed before I continued running conduit in the attic 😛
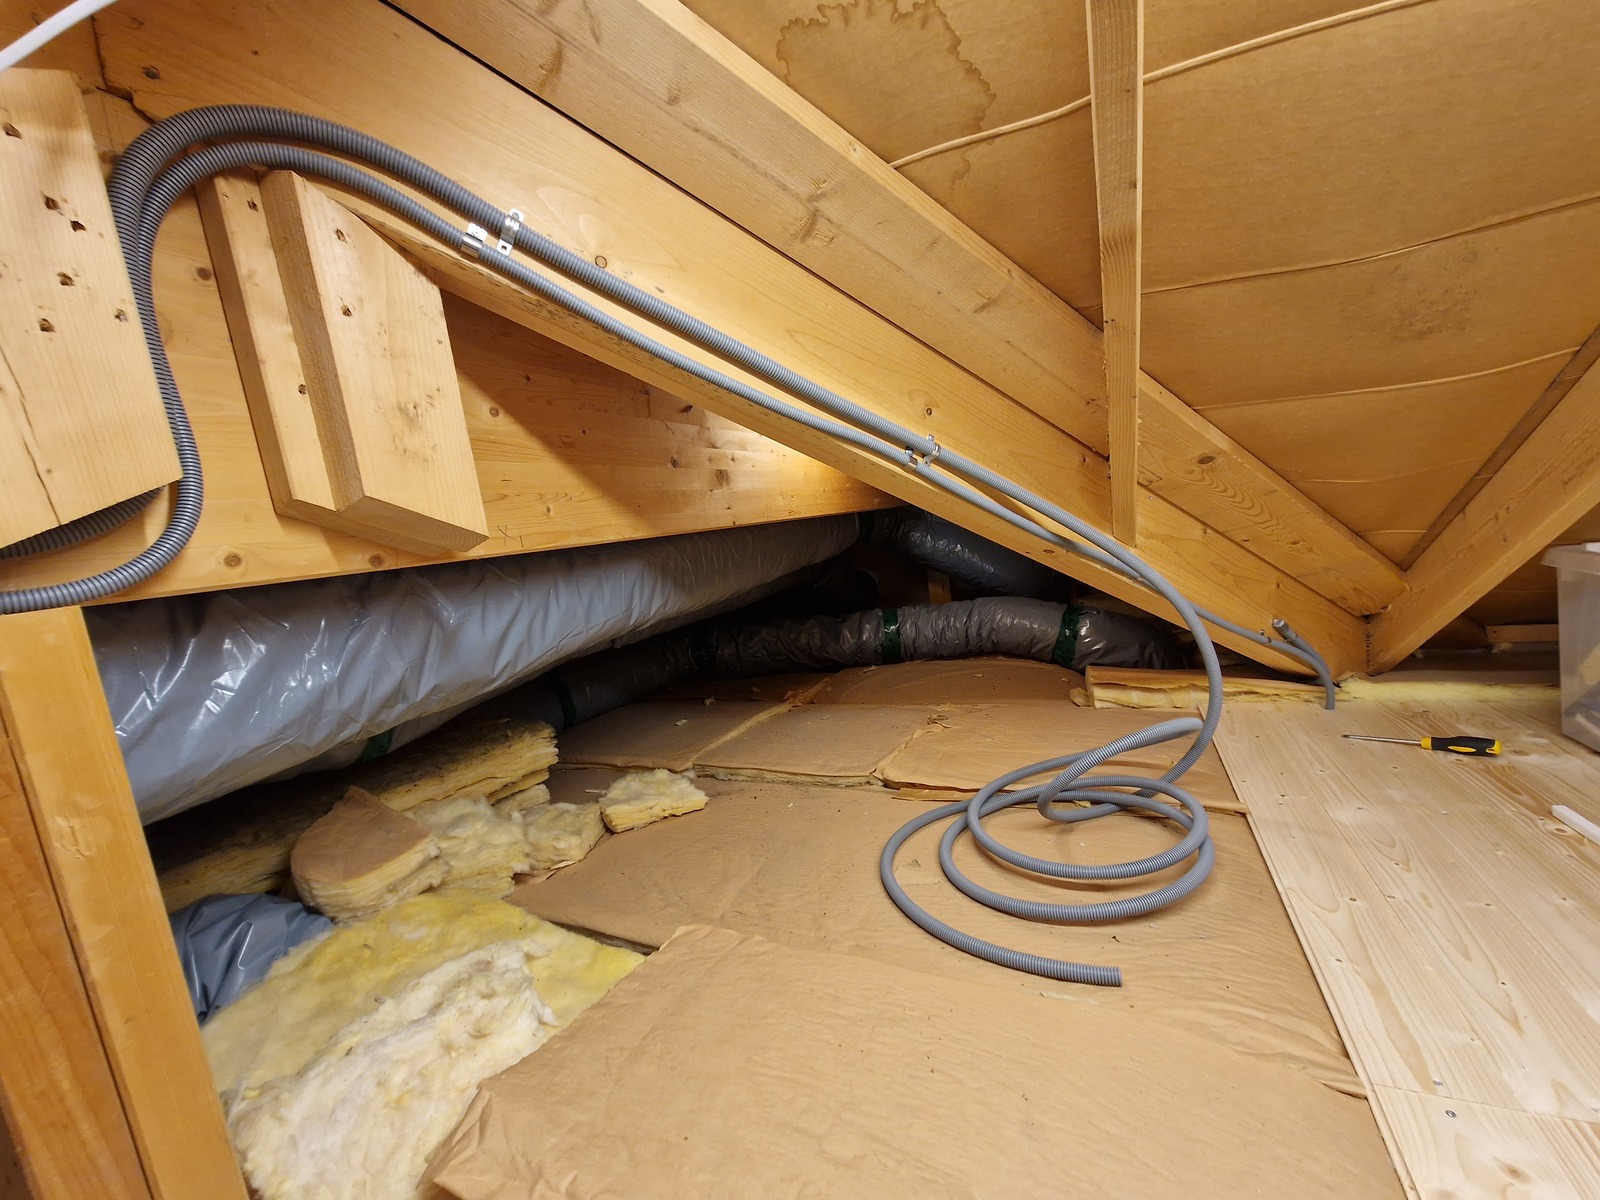
It goes from the attic network cabinet, along the ridge beam, to the conduit I pulled a year earlier.
To make it easier to pull the CAT6 cable, and prevent condensation in the conduit, there is a gap between the two conduits. I will cover it with a metal cable protection later.
Pulling the cables
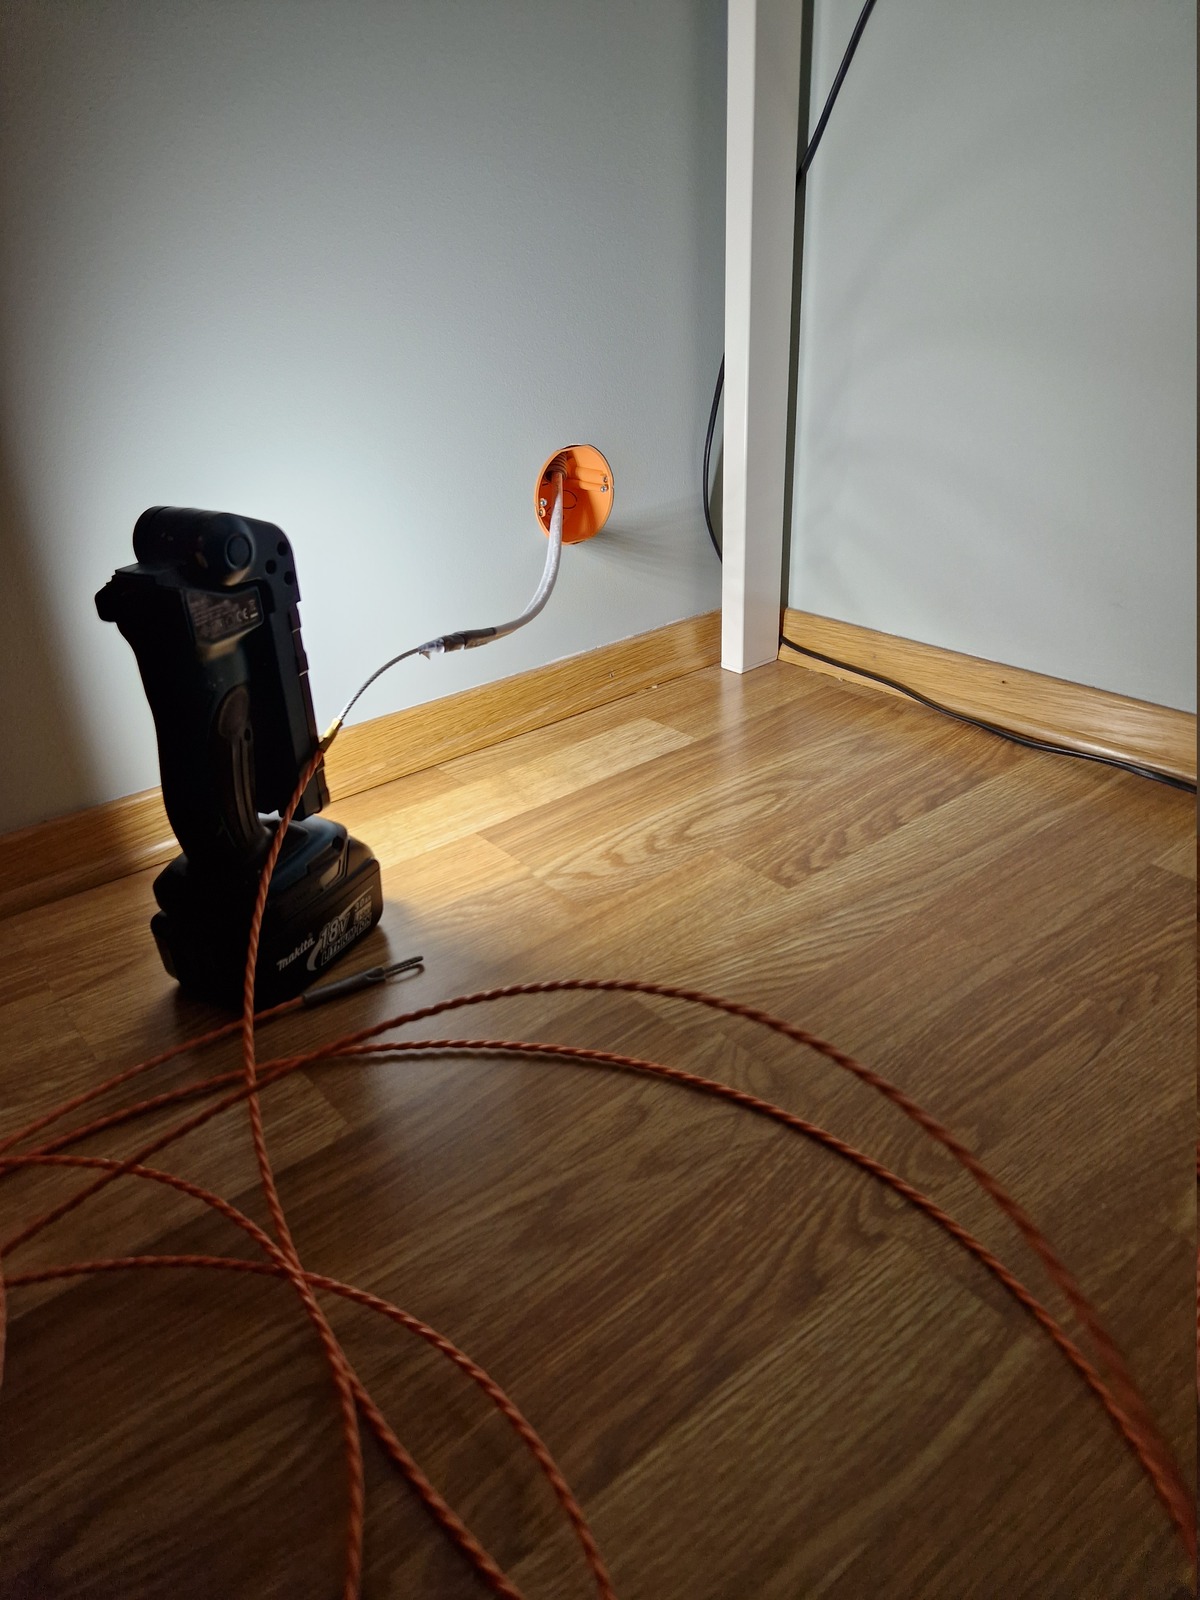
I taped two CAT6 cables together and started pushing them through the conduit going down inside the wall, but they got stuck after a few meters.
Pushing, or pulling, cables through a loose conduit is often challenging; as the whole conduit twists and moves. And this one was just hanging loose inside an empty interior wall.

With the help of my trusted fish tape — pushing and pulling, I was able to get it through. These kinds of jobs are so much easier with two people, but I was by myself.
Terminating
For the termination — I did the same as on my previous network run. I’ve copied parts of the explanation, since much of the process was identical:
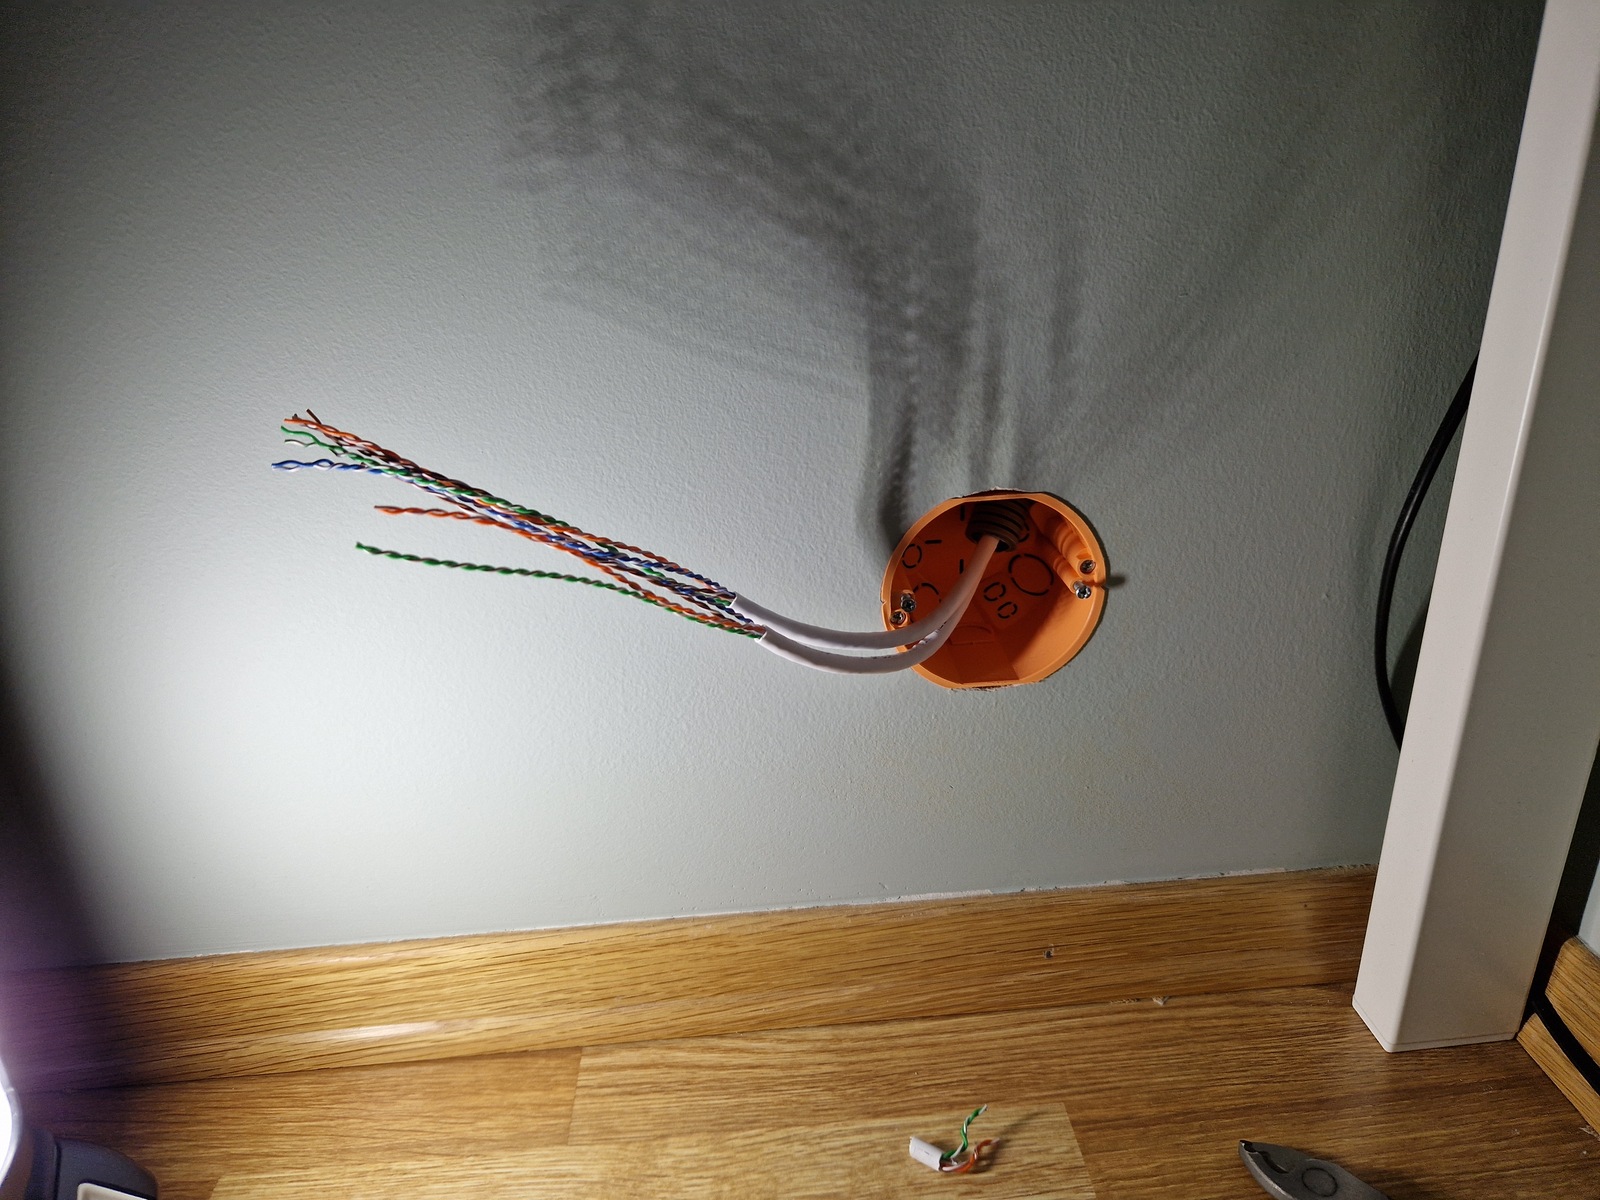
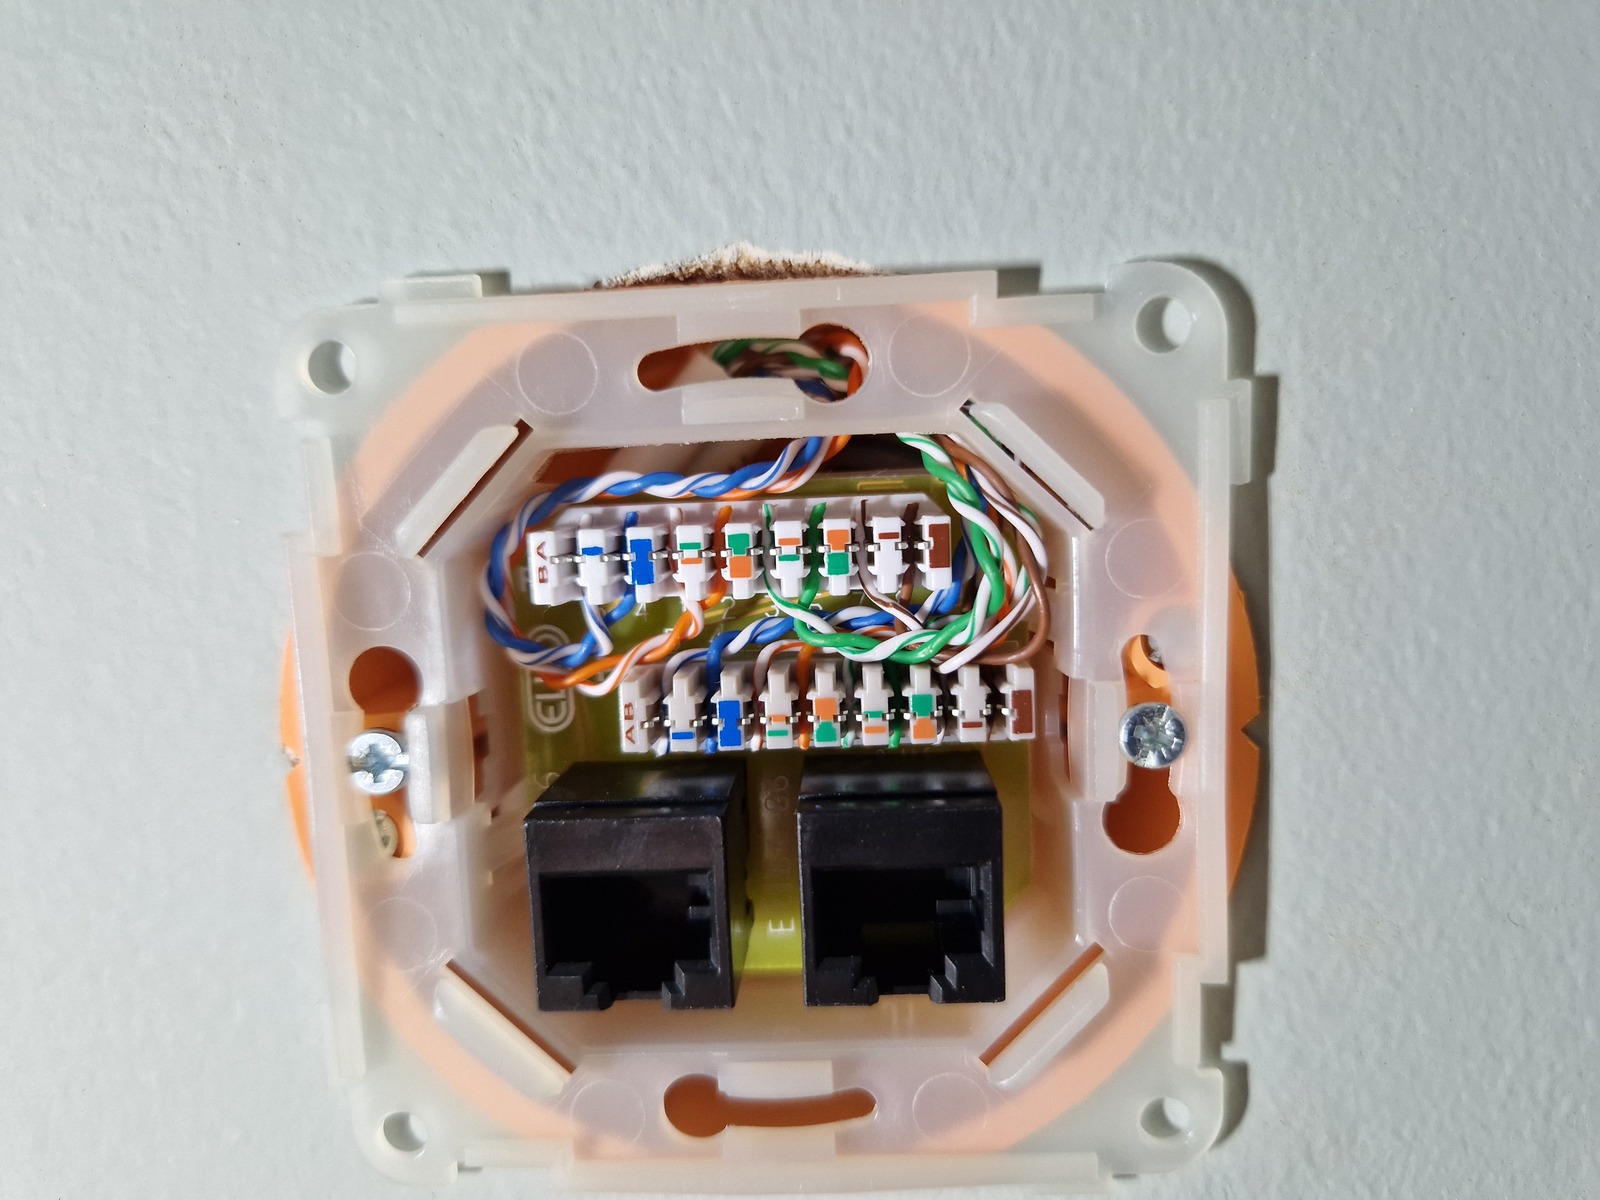
I removed the outer jackets, and mounted the double CAT6 outlet. Luckily the wall box is quite deep, leaving a fair bit of space behind the outlet. Since the CAT6 cables comes into the box at the top — I found it best to turn 180°, leaving them pointing upwards.

Due to the depth and size of the wall box; I was able to do this without kinking or putting strain on the CAT6 cables.
I terminated the lower block first — using a punch down tool. I also made sure to leave the pair twisted as close to the terminal block as possible. 1 cm of untwisted pair is the recommended maximum.

On the attic site; I used tool-free keystone jacks.

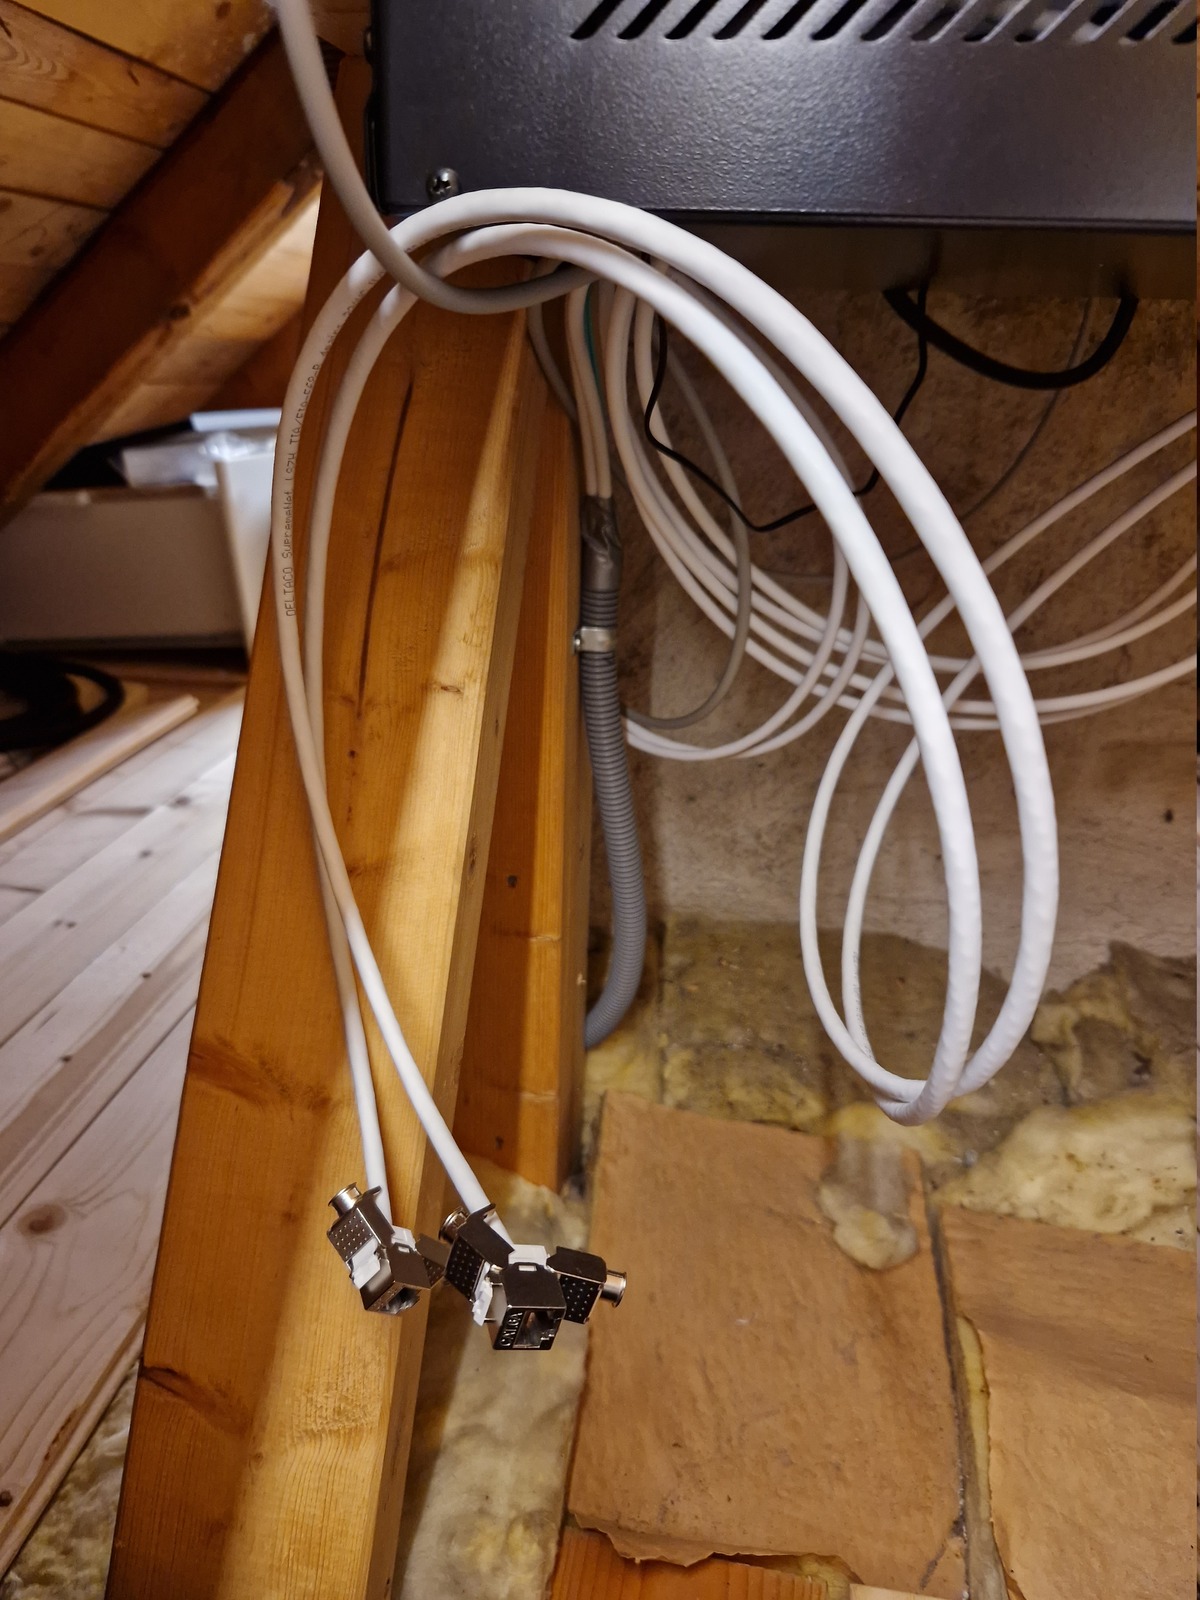
I routed two pairs differently — to free up some space. It does get pretty crammed by the punch down terminals.
On with the front plate; one new discreet double network outlet 👍

The tool-free keystone jacks I used were for CAT6A, which is thicker than CAT6, so I wrapped some left-over cable jacket around the CAT6 cable — for the zip-tie to get a better hold.
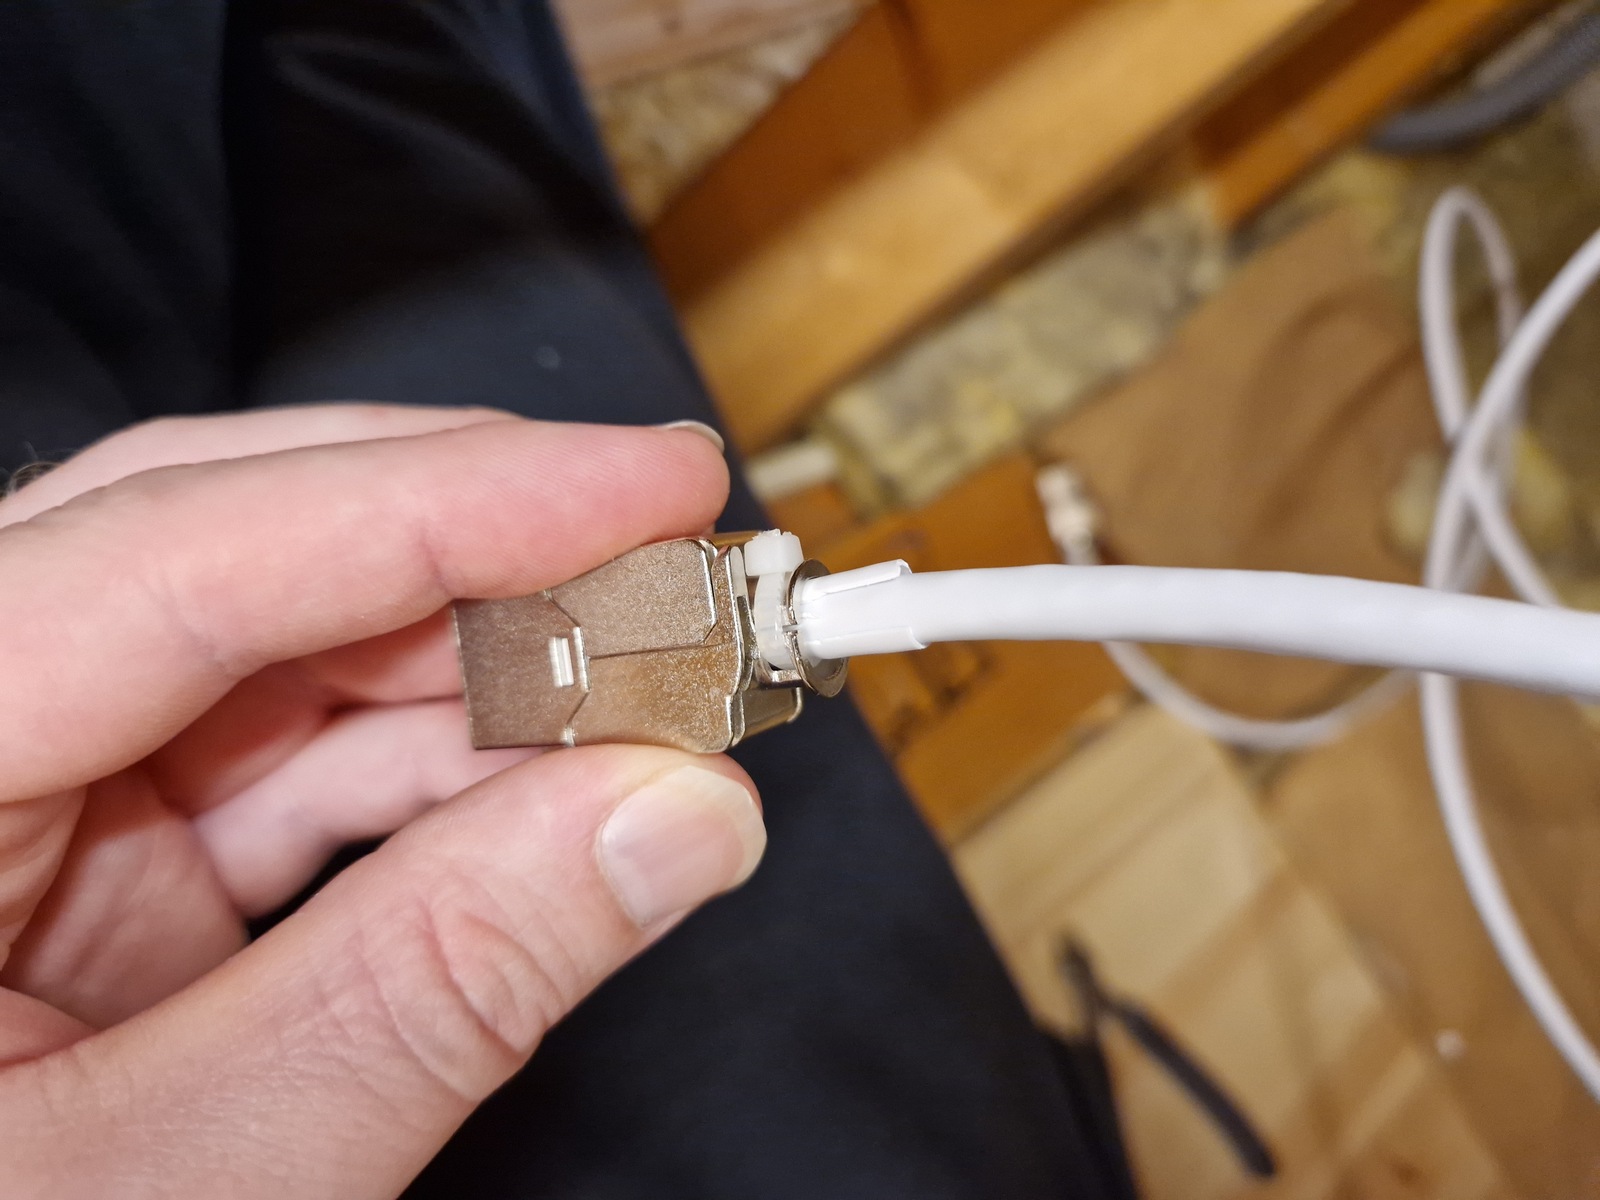
Checked with my Fluke network tester.

Secured the keystone jacks in the patch panel.
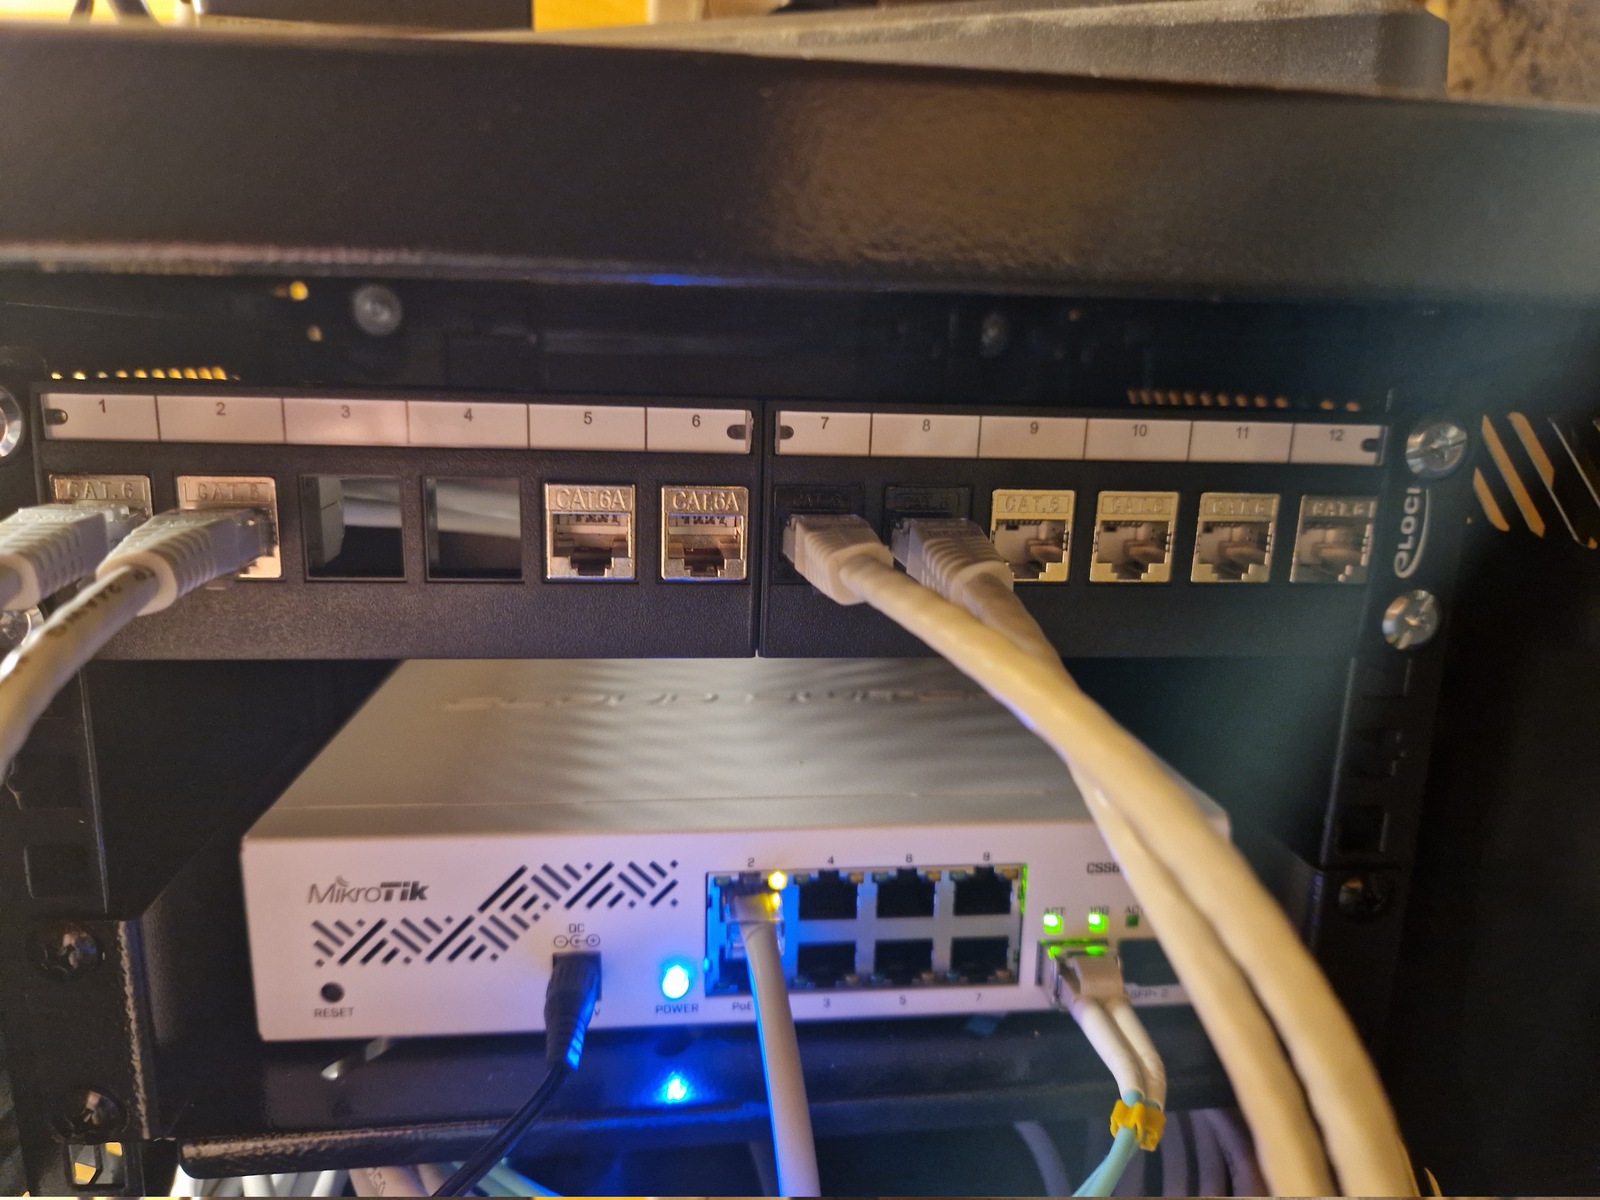
I patched the new network runs into the attic switch, using 0.5 m patch cables.
The small network cabinet, 4U 10", is filling up 🙂

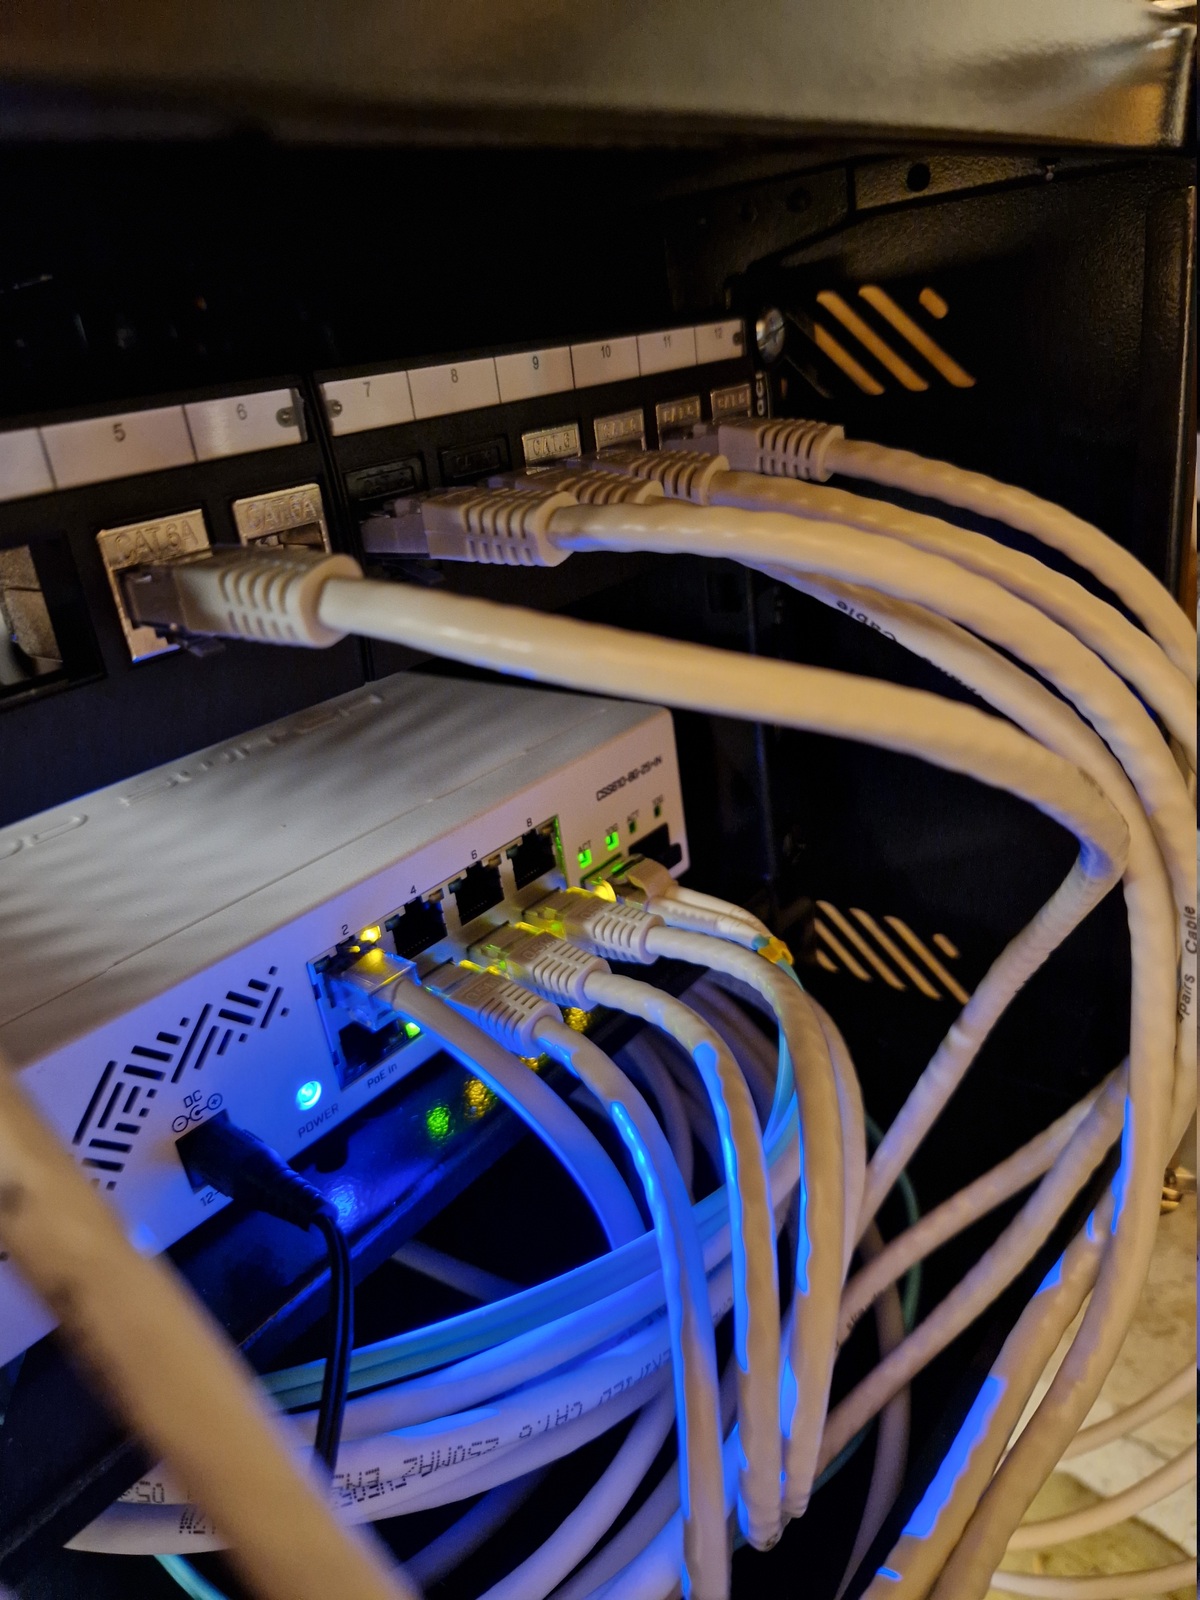
Lots of activity on the network ports when everyone is gaming 🙂
This network outlet in the 2nd floor den is used for media: TV, Shield, PlayStation, and computer.
Closing thoughts
This network run took me a long time to finish — almost exactly one year on the day 😛 Mostly because I already had wired network in the 2nd floor den, only its location was inconvenient.
And it took me over five months to get this blog post published 🤷 Oh well, procrastination for the win I guess 😛
Onto the next project 🚀
All posts in Home network v2 series
- Replacing Unifi switches with MikroTik
- Getting started with MikroTik CCR1009 and RouterOS
- Altibox fiber — straight into Mikrotik CCR1009
- Running underground CAT6 to detached garage
- Plans for my home network
- Running two CAT6 cables to the play room
- Running three CAT6 cables to the living room TV bench
- Moving CAT6 cable for access point; inside the wall
- Altibox fiber — straight into Ubiquiti EdgeRouter
- Two CAT6 cables and a fiber — from the basement to the attic
- A few Wi-Fi improvements
- Updated plans for my home network
- Knot Resolver — with ad blocking
- Pulling CAT6 cable in existing conduit
- Running CAT6 to the twins' rooms — inside interior wall
- Running CAT6 to the 2nd floor den — another interior wall
- Finally getting fiber between the house and garage
