This post is part of a series.
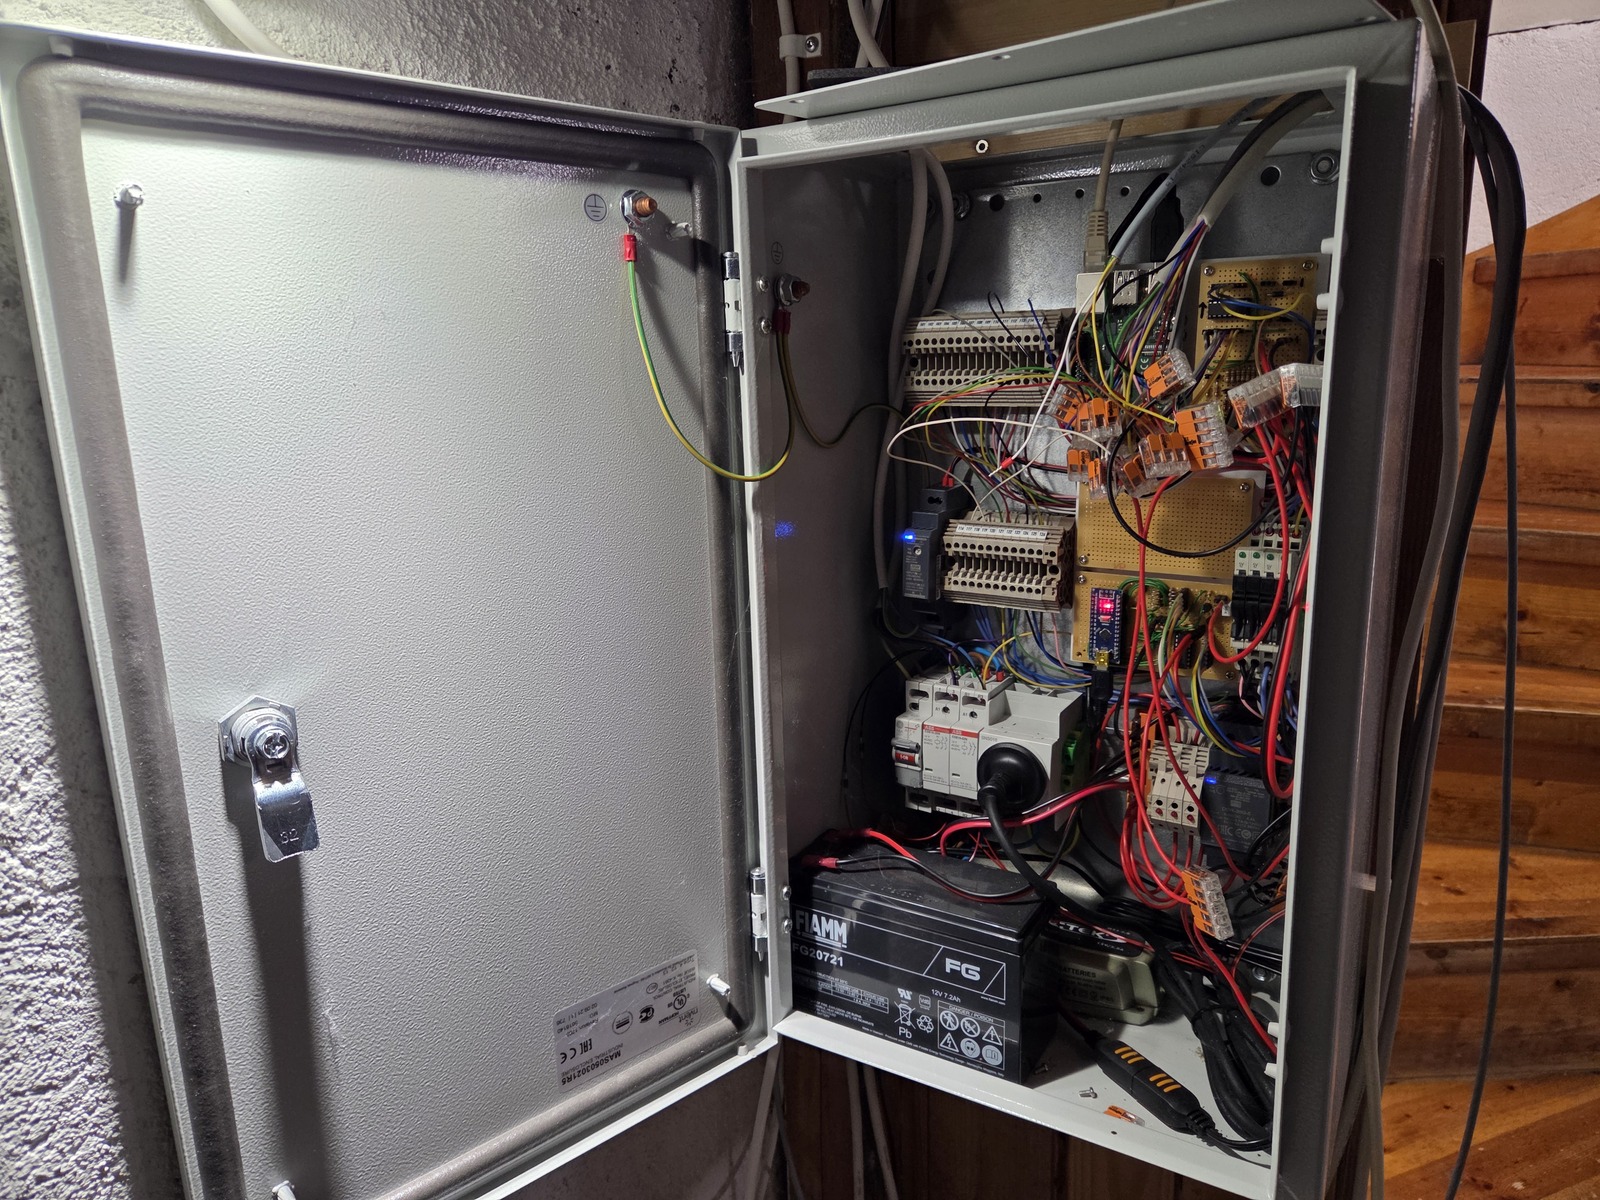
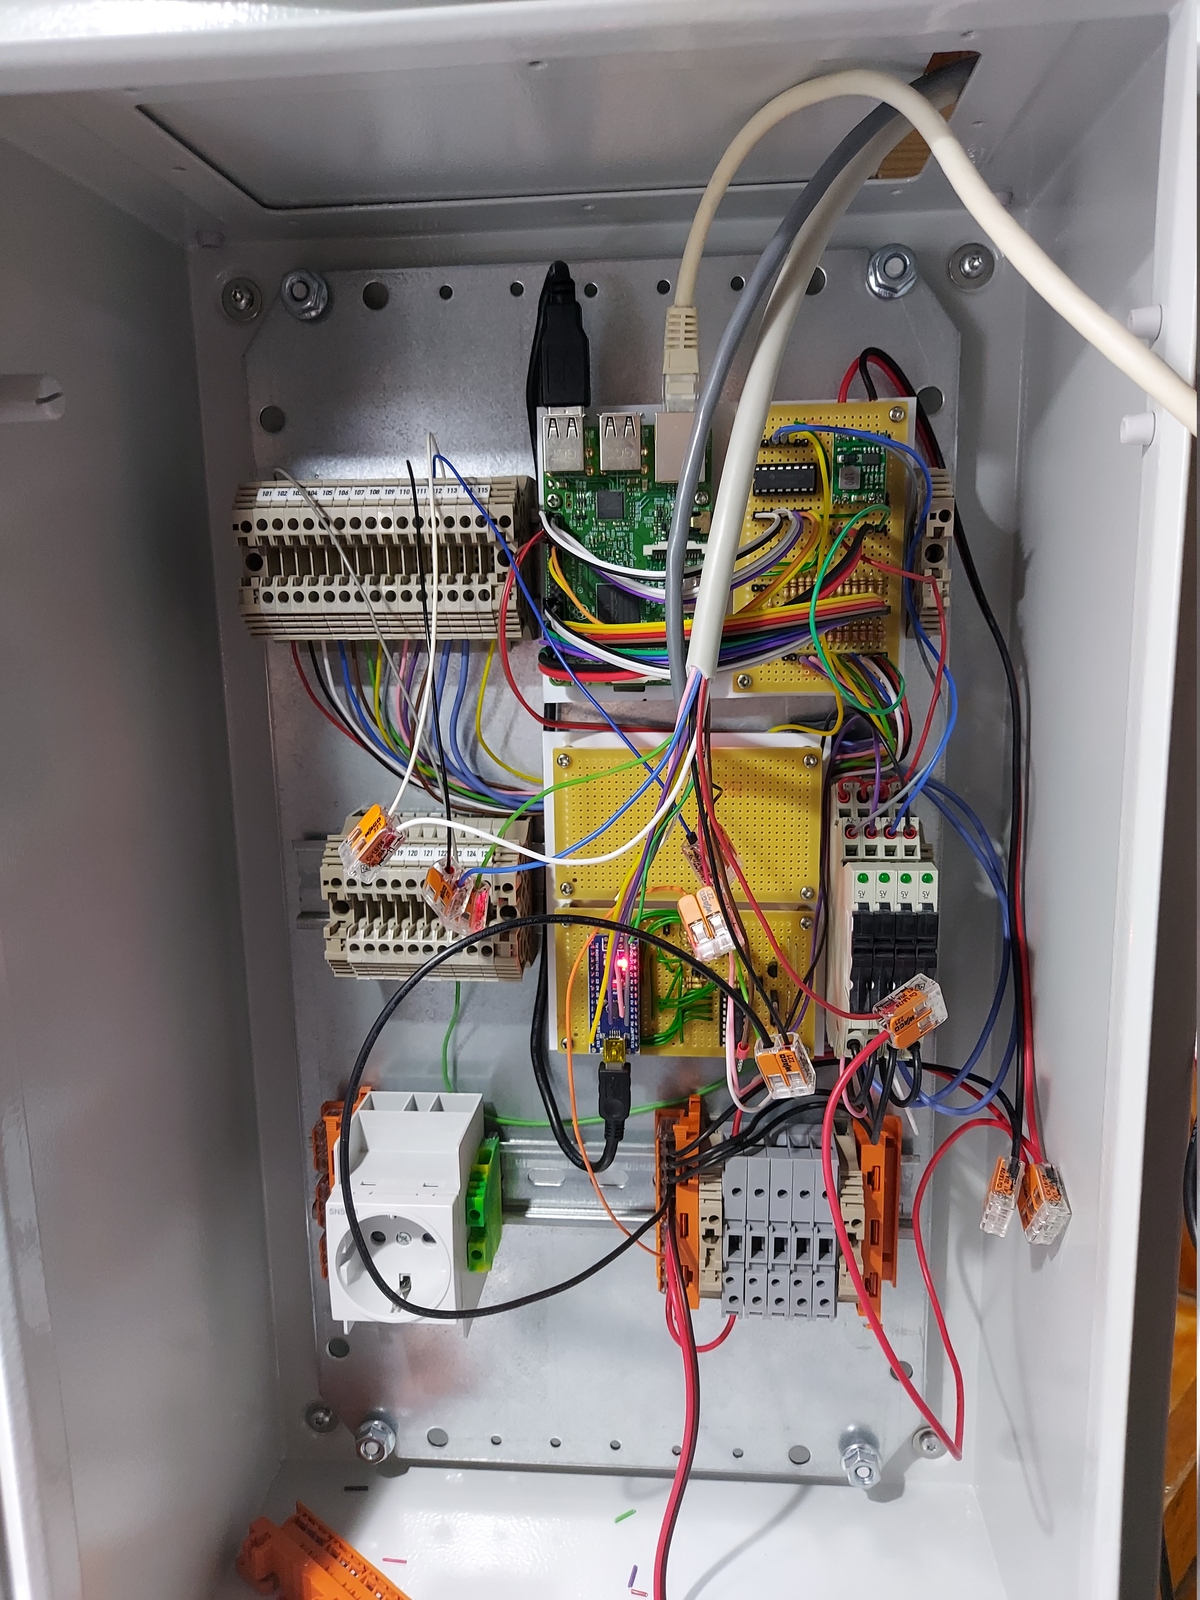
Quick recap: I’m building a DIY security alarm using a Raspberry Pi, hardwired PIR sensors, and MQTT integration with Home Assistant.
Hello again — it seems to be close to a year since I last managed to get some words published on this blog. And almost three years since I last wrote about my Raspberry Pi security alarm project 😮
But the project is still alive and well. We use it every night and whenever we are away, and it just works 😃 Development usually happens in bulk, with very little happening in between.
Since the last post, the system has progressed a lot:
There are so many things to explain that I don’t know where to start… That is probably the main reason I find it hard to document this project — where do I begin?
Writing long, detailed blog posts is extremely time consuming — and finding that time is hard. So my plan is to write shorter posts, tackling one topic at a time.
Here are some topics that I am planning to cover in future blog posts:
- New Zigbee keypads
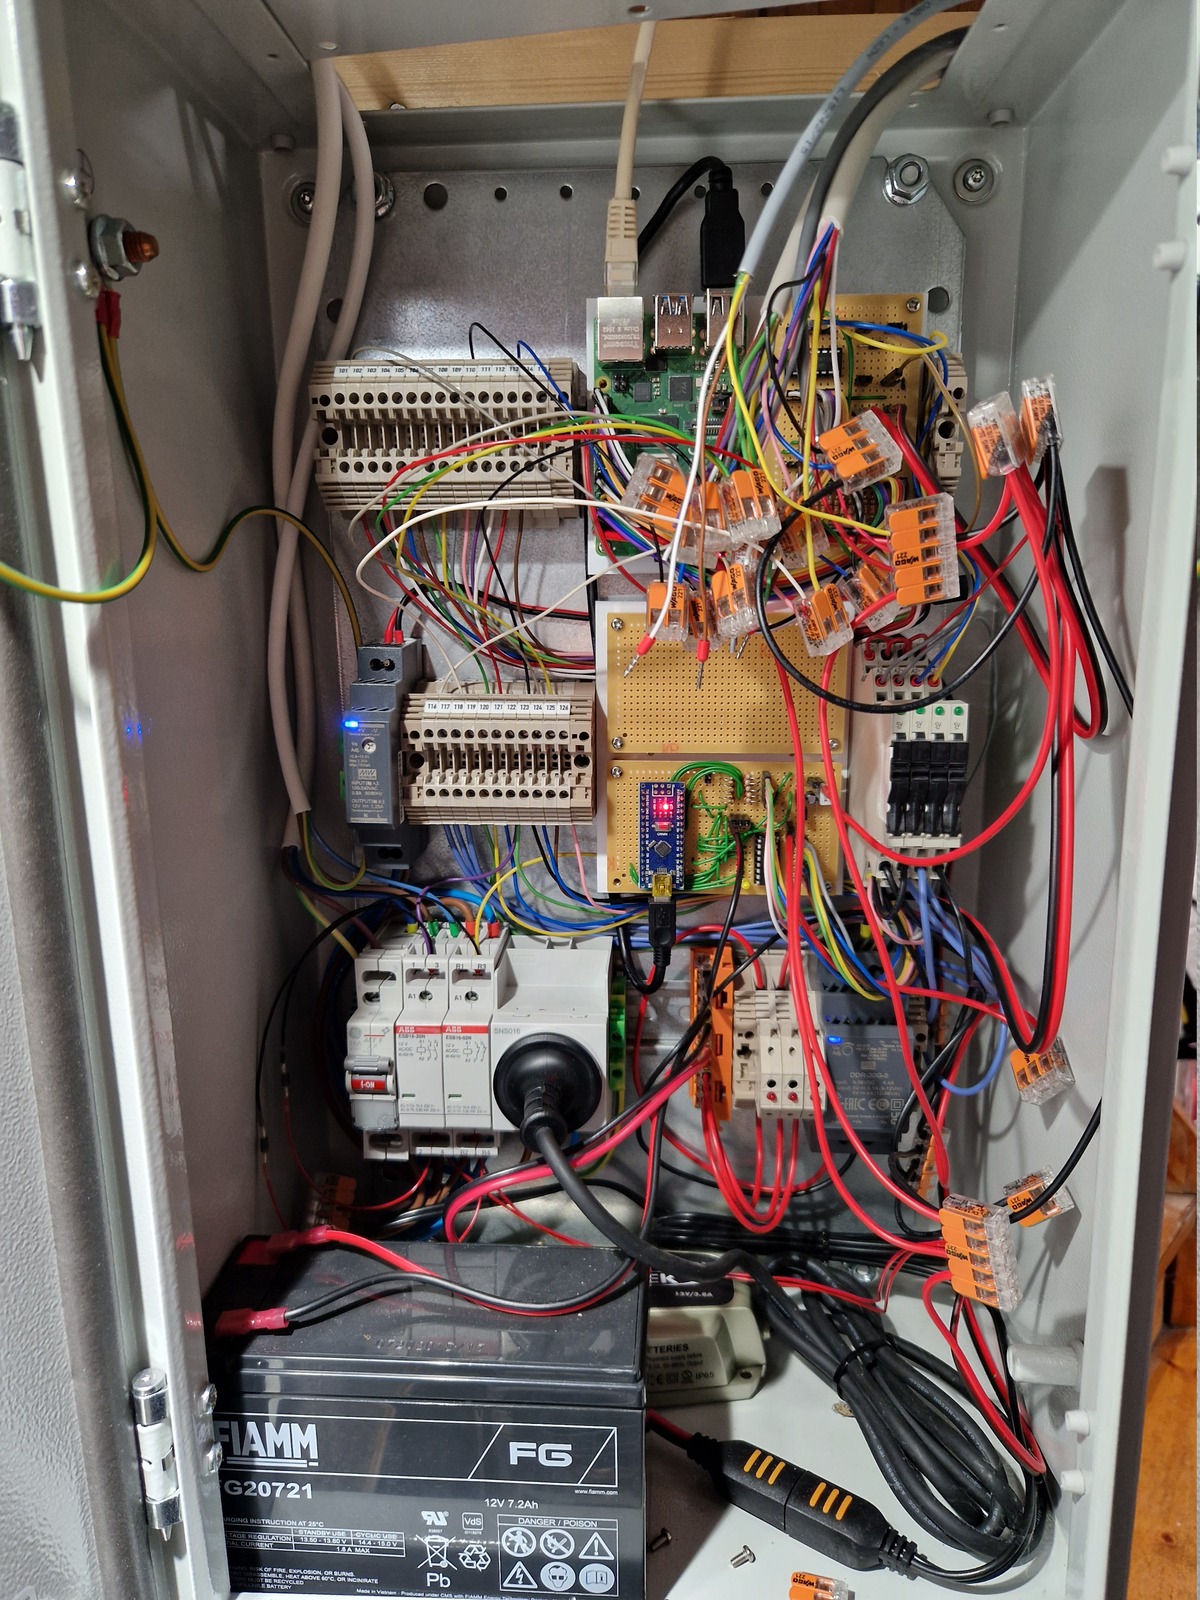
- What does the Arduino microcontroller do?
- Replaced Aqara with Hue Zigbee motion sensors
- The electronics; inputs, outputs, and schematics
- Water alarm implementation
- Battery, power, and charging
- Thinking about fire alarms
- CLI and scheduled tests
This is just the first post in my attempt to break the writer’s block.
🖖
All posts in DIY security alarm series
- Making a manual security alarm in Home Assistant
- Raspberry Pi security alarm — the basics
- A short update on my Raspberry Pi security alarm project
- New keypad for my RPi DIY security alarm
