
This post is part of the DIY security alarm series.
Using a few cheap sensors, a wireless keypad, Zigbee2MQTT and Home Assistant; I was able to get a basic security alarm up and running during a free afternoon 🙂
Table of contents
Devices
I’m using Zigbee devices — they are cheap, and I like that the protocol is open source.
Keypad
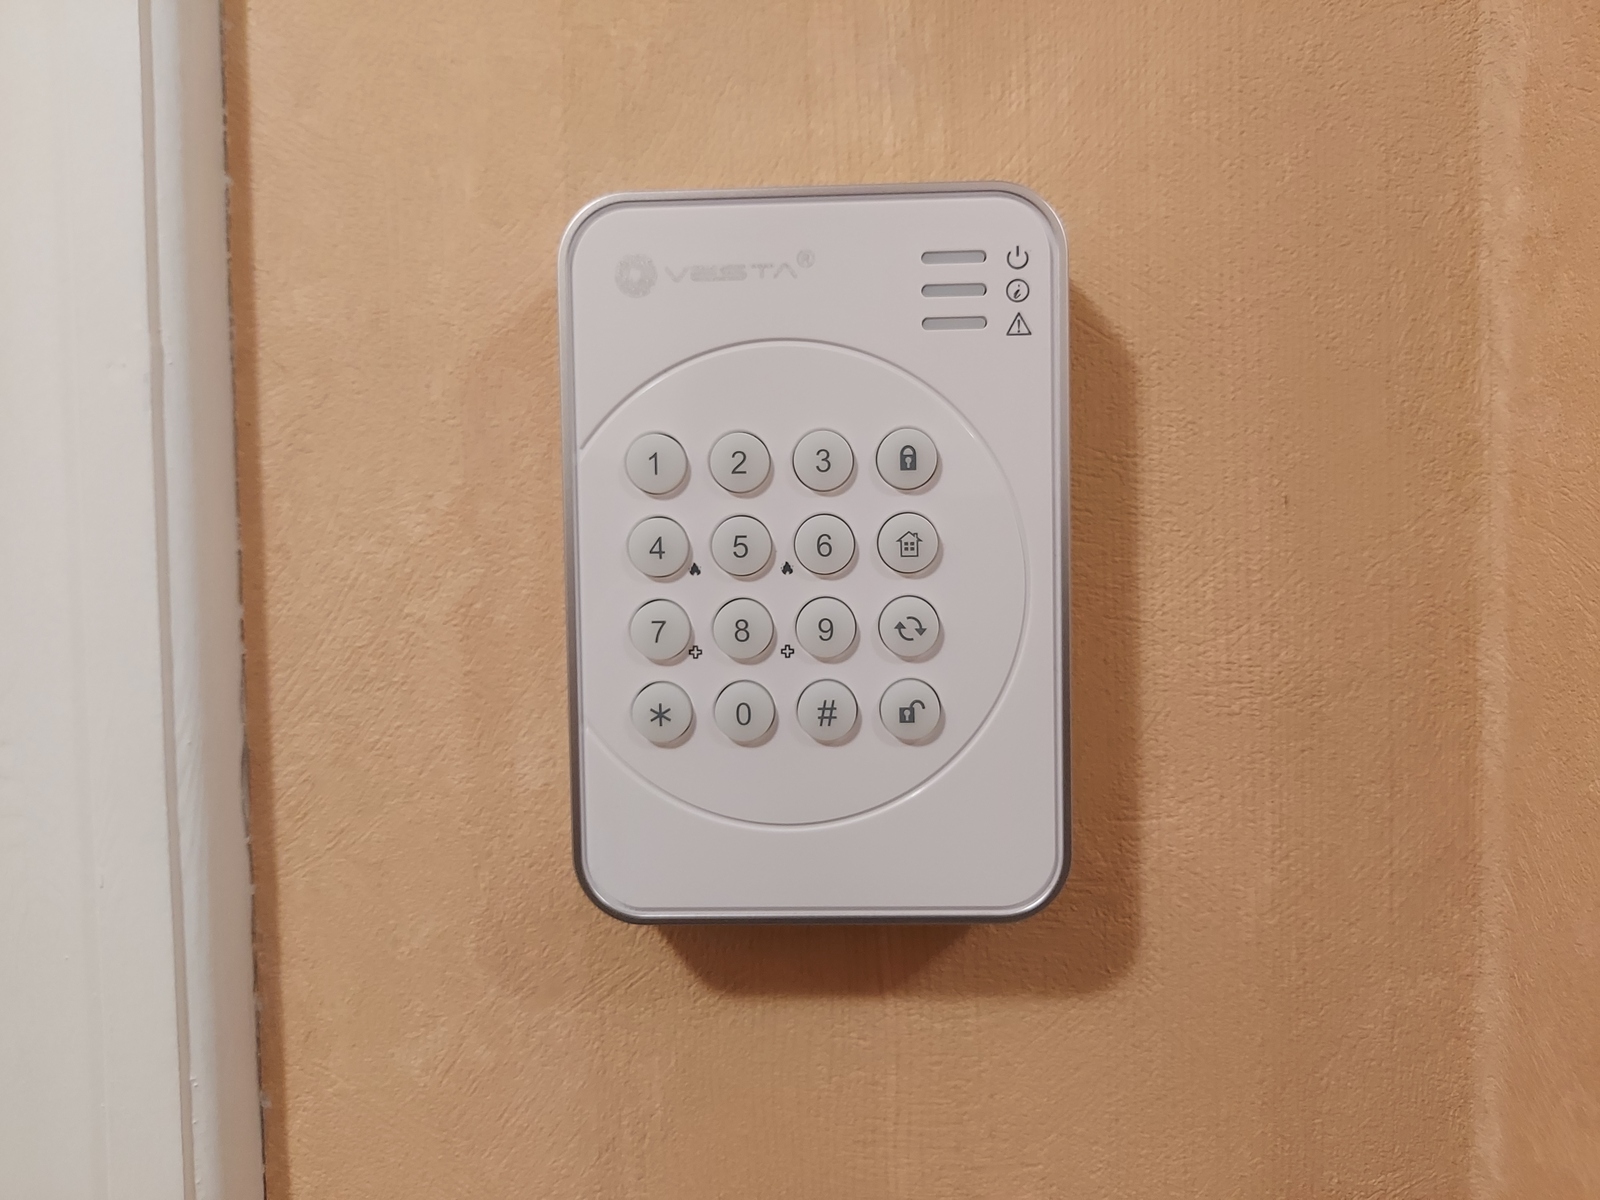
The Climax KP-23EL-ZBS-ACE keypad looks nice, and I got it really cheap at a web store sale 🙂
It sends the entered code, along with the selected action; meaning that the panel doesn’t know if the code is correct or not. I like this approach — as it allows me to use Home Assistant for the PIN code validation.
The keypad uses a single EL123AP 3V Lithium battery, and has a tamper switch; which detects if the panel is removed or opened.
Door sensor
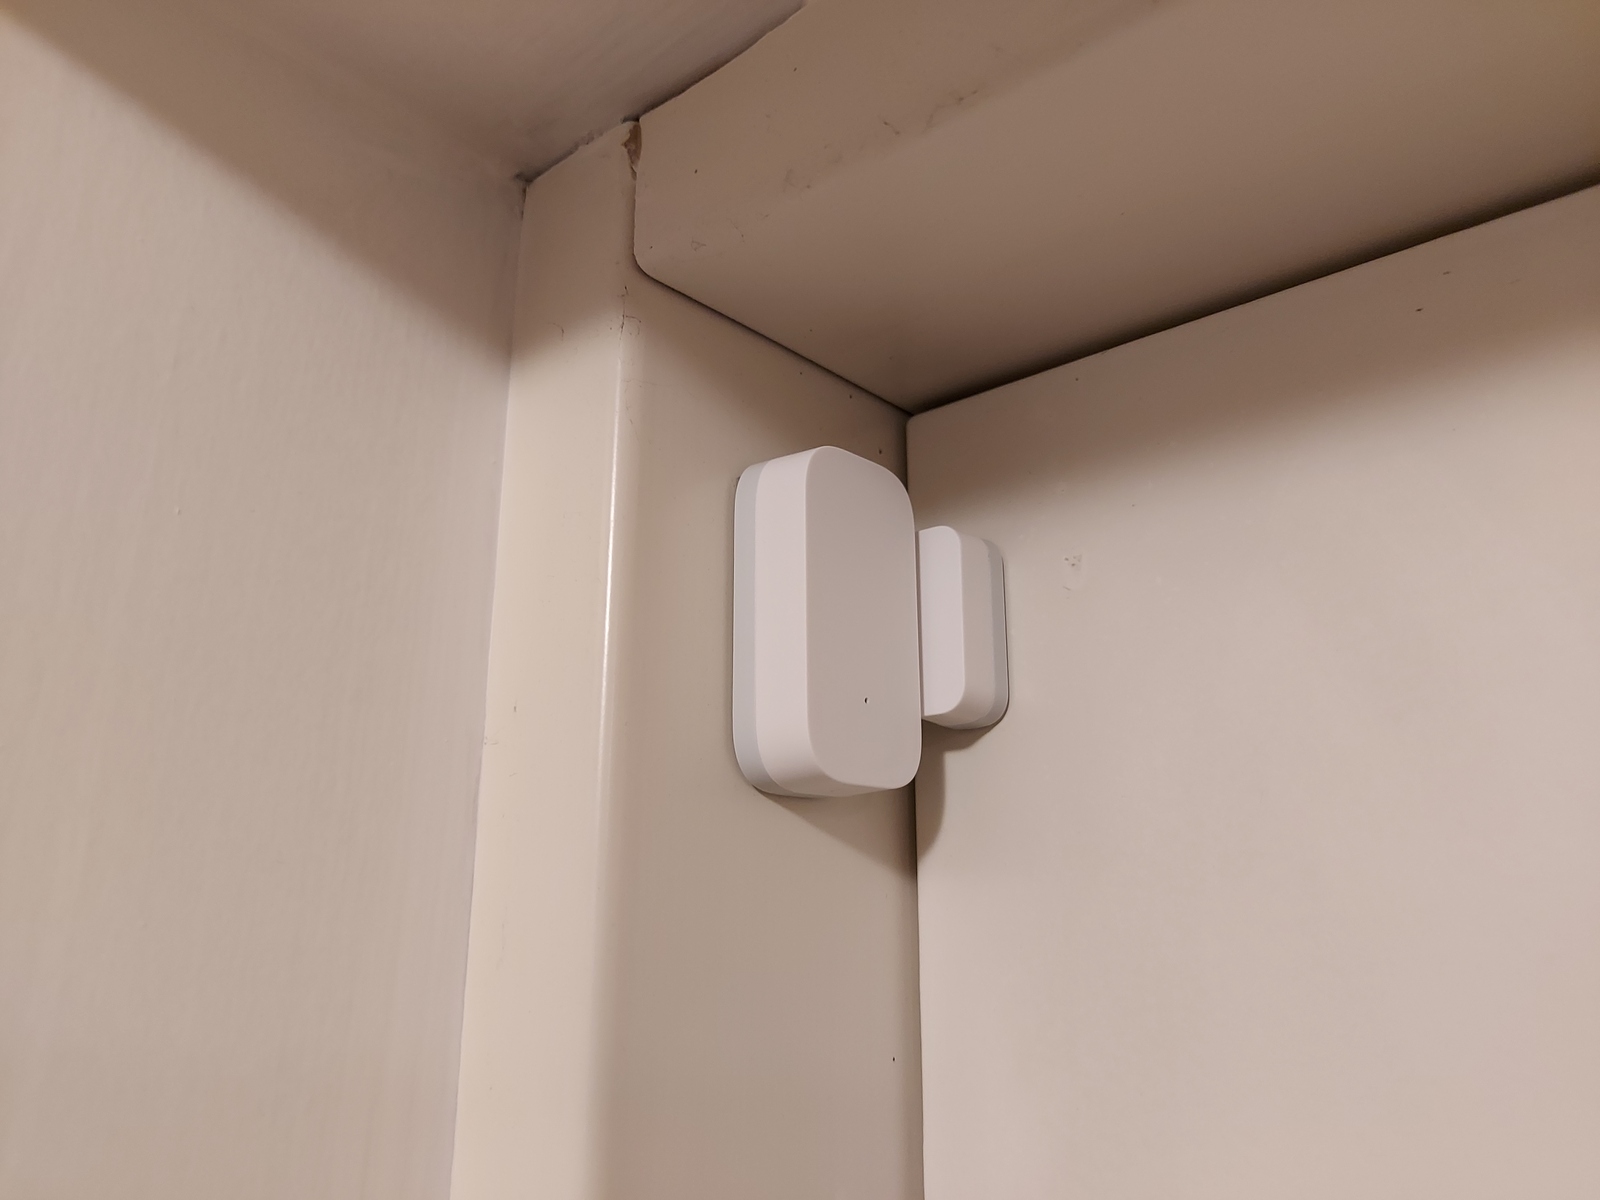
I’m using the Aqara MCCGQ11LM door and window sensor on our front door. It’s small, looks nice, and really cheap 🙂
It uses a single CR1632 battery.
Motion sensors

For motions sensors; I’m using the Aqara RTCGQ11LM. Again; small, looks nice, and really cheap 👍
I have two; one in the kitchen, which also controls our Dakboard monitor, and one in the 2nd floor hallway. The sensor comes with a stand — but I’ve just placed them on top of shelves.
It uses a single CR2450 battery.
Zigbee2MQTT
To communicate with the keypad and sensors; I’m using Zigbee2MQTT, as the name implies — it publishes states from the devices as MQTT topics. It even supports Home Assistant MQTT discovery 🙂
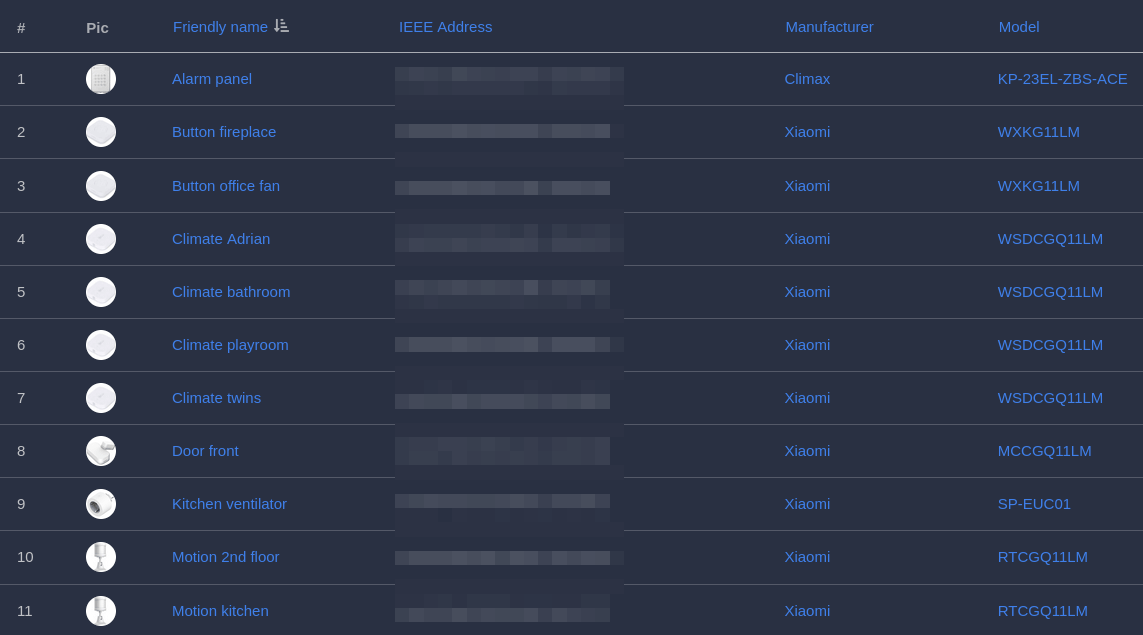
Adding the devices was easy; enable permit join, connect the device battery, hold down a button, and voila — they magically appeared in Zigbee2MQTT 🙂
All my devices are listed as supported.
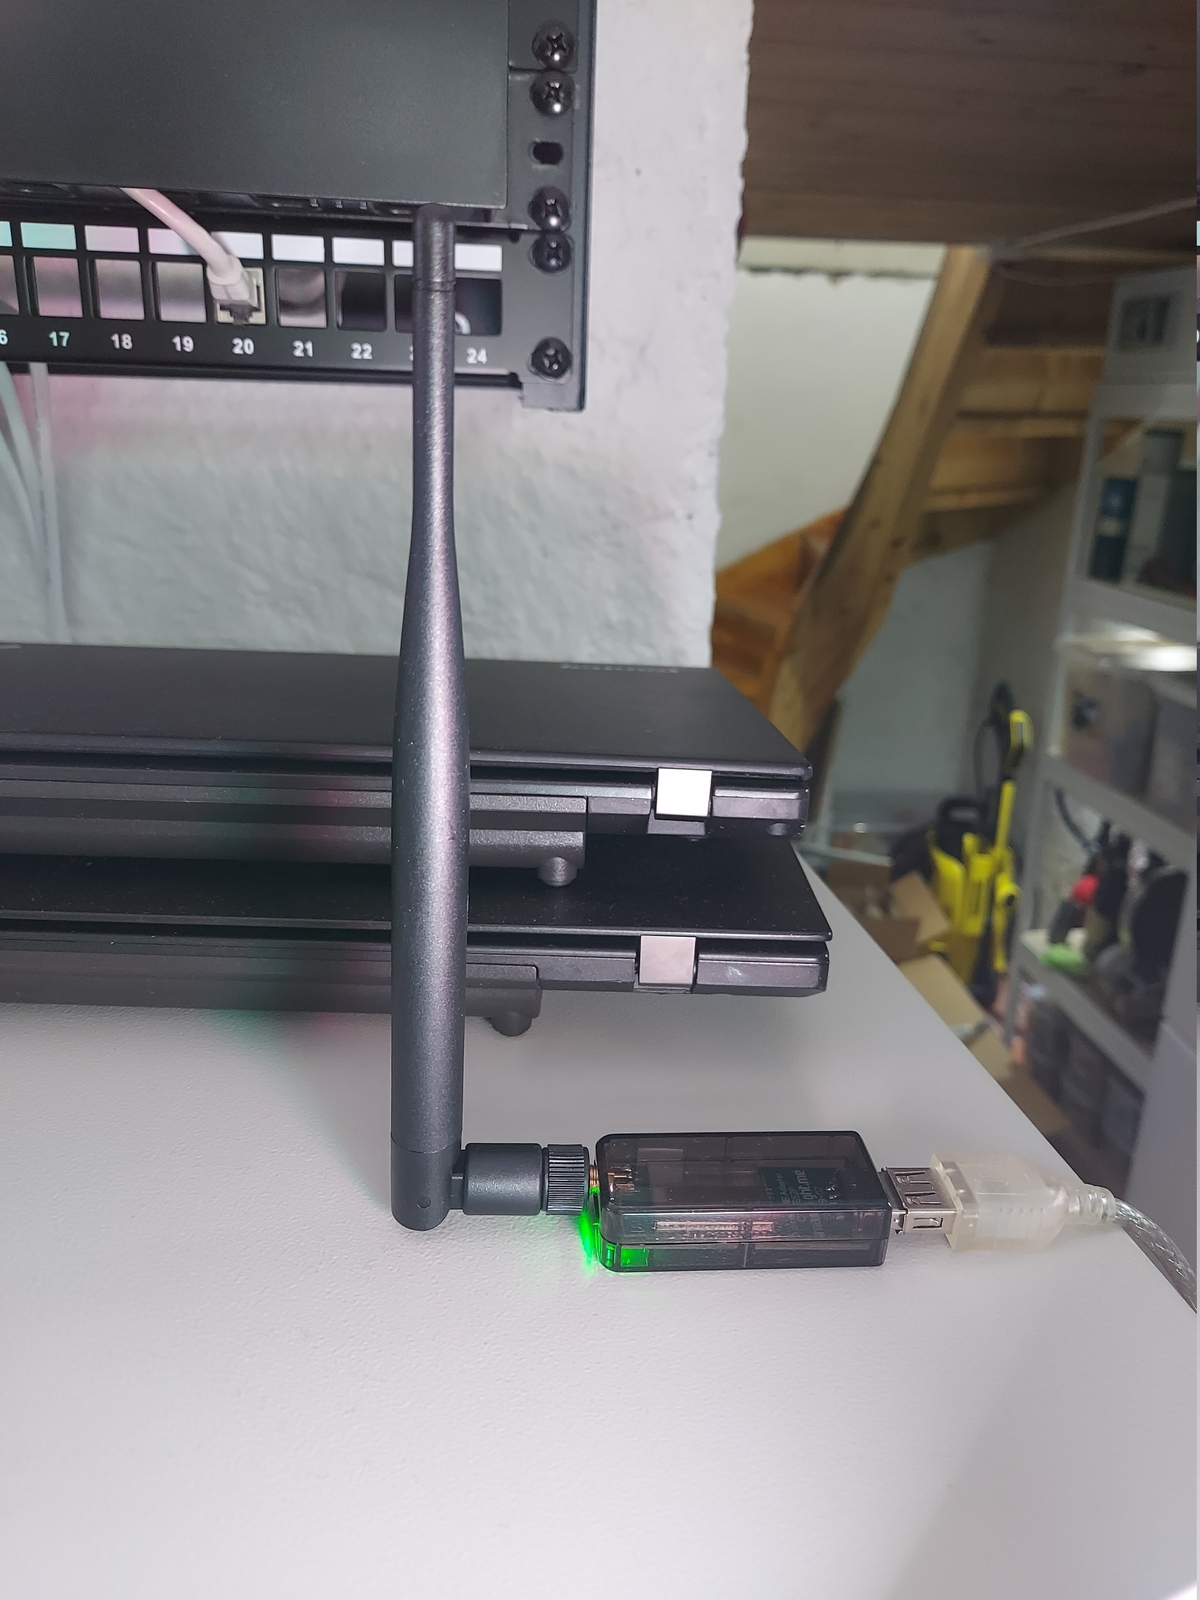
As a Zigbee coordinator; I got the CC2652P USB stick on eBay. I have it attached with a USB cable extender, so the antenna isn’t hidden away behind my Docker host computer.
It’s listed as a recommended adapter.
Home Assistant
Now for the Home Assistant configuration. As before; if you are familiar with Home Assistant; this should make some sense to you 🙂
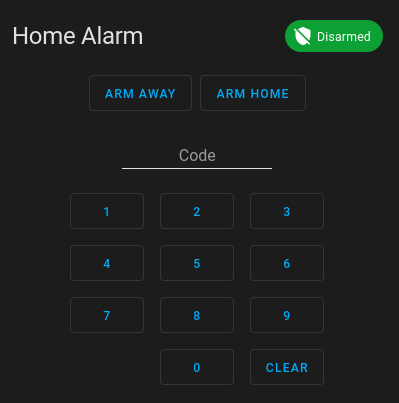
Alarm control panel
First we need a manual alarm control panel:
alarm_control_panel:
  - platform: manual
    name: Home Alarm
    code: "1234"
    arming_time: 30
    delay_time: 20
    trigger_time: 4
    disarmed:
      trigger_time: 0
    armed_home:
      arming_time: 0
      delay_time: 0
Notifications
My alarm doesn’t have a siren — yet, instead I am using Pushover notifications.
notify:
  - name: pushover_notify
    platform: pushover
    api_key: !secret pushover_api_key
    user_key: !secret pushover_user_key
Automations
Now let’s tie it all together; with automations 🙂
Arming and disarming
For arming and disarming; I’m using a MQTT trigger on the topic used by the keypad, when the action payload is arm_all_zones, arm_day_zones, or disarm.
The entered PIN code is sent together with the action, and this is used as input to the alarm control panel. This allows Home Assistant to handle the PIN code validation, which is nice 🙂
The alarm can only be armed if the door sensor contact is closed.
- id: '1637090966233'
  alias: 'Alarm: arm Away'
  description: ''
  trigger:
  - platform: mqtt
    topic: zigbee2mqtt/Alarm panel
    payload: arm_all_zones
    value_template: '{{ value_json.action }}'
  condition:
  - condition: and
    conditions:
    - condition: state
      entity_id: binary_sensor.front_door_contact
      state: 'off'
  action:
  - service: alarm_control_panel.alarm_arm_away
    target:
      entity_id: alarm_control_panel.home_alarm
    data:
      code: '{{ trigger.payload_json.action_code | int }}'
  mode: single

- id: '1637092857488'
  alias: 'Alarm: arm Home'
  description: ''
  trigger:
  - platform: mqtt
    topic: zigbee2mqtt/Alarm panel
    payload: arm_day_zones
    value_template: '{{ value_json.action }}'
  condition:
  - condition: and
    conditions:
    - condition: state
      entity_id: binary_sensor.front_door_contact
      state: 'off'
  action:
  - service: alarm_control_panel.alarm_arm_home
    target:
      entity_id: alarm_control_panel.home_alarm
    data:
      code: '{{ trigger.payload_json.action_code | int }}'
  mode: single

- id: '1637092918618'
  alias: 'Alarm: Disarm'
  description: ''
  trigger:
  - platform: mqtt
    topic: zigbee2mqtt/Alarm panel
    payload: disarm
    value_template: '{{ value_json.action }}'
  condition: []
  action:
  - service: alarm_control_panel.alarm_disarm
    target:
      entity_id: alarm_control_panel.home_alarm
    data:
      code: '{{ trigger.payload_json.action_code | int }}'
  mode: single
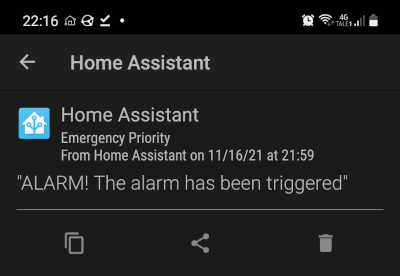
Notifications
Notifications are handled by Pushover. The triggered alert notification has priority set to 2; which means the notification disregards quiet time and must be acknowledged.
State changes to armed_away and disarmed are also notified, but with a default priority.
- id: '1637094175145'
  alias: 'Alarm: notification Alert'
  description: ''
  trigger:
  - platform: state
    entity_id: alarm_control_panel.home_alarm
    to: triggered
  condition: []
  action:
  - service: notify.pushover_notify
    data:
      message: '"ALARM! The alarm has been triggered"'
      data:
        priority: 2
        retry: 30
        expire: 3600
        sound: alien
  mode: single

- id: '1637094327314'
  alias: 'Alarm: notification Status'
  description: ''
  trigger:
  - platform: state
    entity_id: alarm_control_panel.home_alarm
    to: armed_away
  - platform: state
    entity_id: alarm_control_panel.home_alarm
    to: disarmed
  condition: []
  action:
  - service: notify.pushover_notify
    data:
      message: Alarm has changed state to {{ states('alarm_control_panel.home_alarm')
        }}
      data:
        sound: bike
  mode: single
Triggering alarm
And lastly; triggering the alarm. Armed away is triggered by either the door sensor, or any of the motion sensors. While Armed home is only triggered by the door sensor.
- id: '1637138622733'
  alias: 'Alarm: trigger Away'
  description: ''
  trigger:
  - type: opened
    platform: device
    device_id: xxxxxxxxxxxxxxxxxxxxxxxxxxxxxxxx
    entity_id: binary_sensor.front_door_contact
    domain: binary_sensor
  - type: motion
    platform: device
    device_id: xxxxxxxxxxxxxxxxxxxxxxxxxxxxxxxx
    entity_id: binary_sensor.motion1_occupancy
    domain: binary_sensor
  - type: motion
    platform: device
    device_id: xxxxxxxxxxxxxxxxxxxxxxxxxxxxxxxx
    entity_id: binary_sensor.motion2_occupancy
    domain: binary_sensor
  condition:
  - condition: state
    entity_id: alarm_control_panel.home_alarm
    state: armed_away
  action:
  - service: alarm_control_panel.alarm_trigger
    target:
      entity_id: alarm_control_panel.home_alarm
  mode: single

- id: '1637093532902'
  alias: 'Alarm: trigger Home'
  description: ''
  trigger:
  - type: opened
    platform: device
    device_id: xxxxxxxxxxxxxxxxxxxxxxxxxxxxxxxx
    entity_id: binary_sensor.front_door_contact
    domain: binary_sensor
  condition:
  - condition: state
    entity_id: alarm_control_panel.home_alarm
    state: armed_home
  action:
  - service: alarm_control_panel.alarm_trigger
    target:
      entity_id: alarm_control_panel.home_alarm
  mode: single
Future plans
This alarm project is just a stepping stone for me to familiarize myself with Zigbee2MQTT, the sensors, keypad, and alarm control panel logic in Home assistant.
My goal is to build my own Raspberry Pi powered alarm controller, and use wired PIR motion sensors and a proper siren 🙂
I’ve already started working on that project — subscribe if you don’t want to miss it 🖖
Last commit 2024-11-11, with message: Add lots of tags to posts.
All posts in DIY security alarm series
- Making a manual security alarm in Home Assistant
- Raspberry Pi security alarm — the basics
