I first got the server rack back in 2011. At the time I lived alone in a house; I had a UPS, single server, a few cheap NAS’ and a switch in it. When I met my girlfriend, and we moved together about two years later the rack went into storage. And it stayed in storage until we bought our house late 2014, where we currently live. The rack was put to use in my home office in the basement, but not really utilized much. It’s only lately, and after I found /r/homelab, that the rack was truly put to use in my current homelab.
Early days of my rack, in the server room of my previous house.
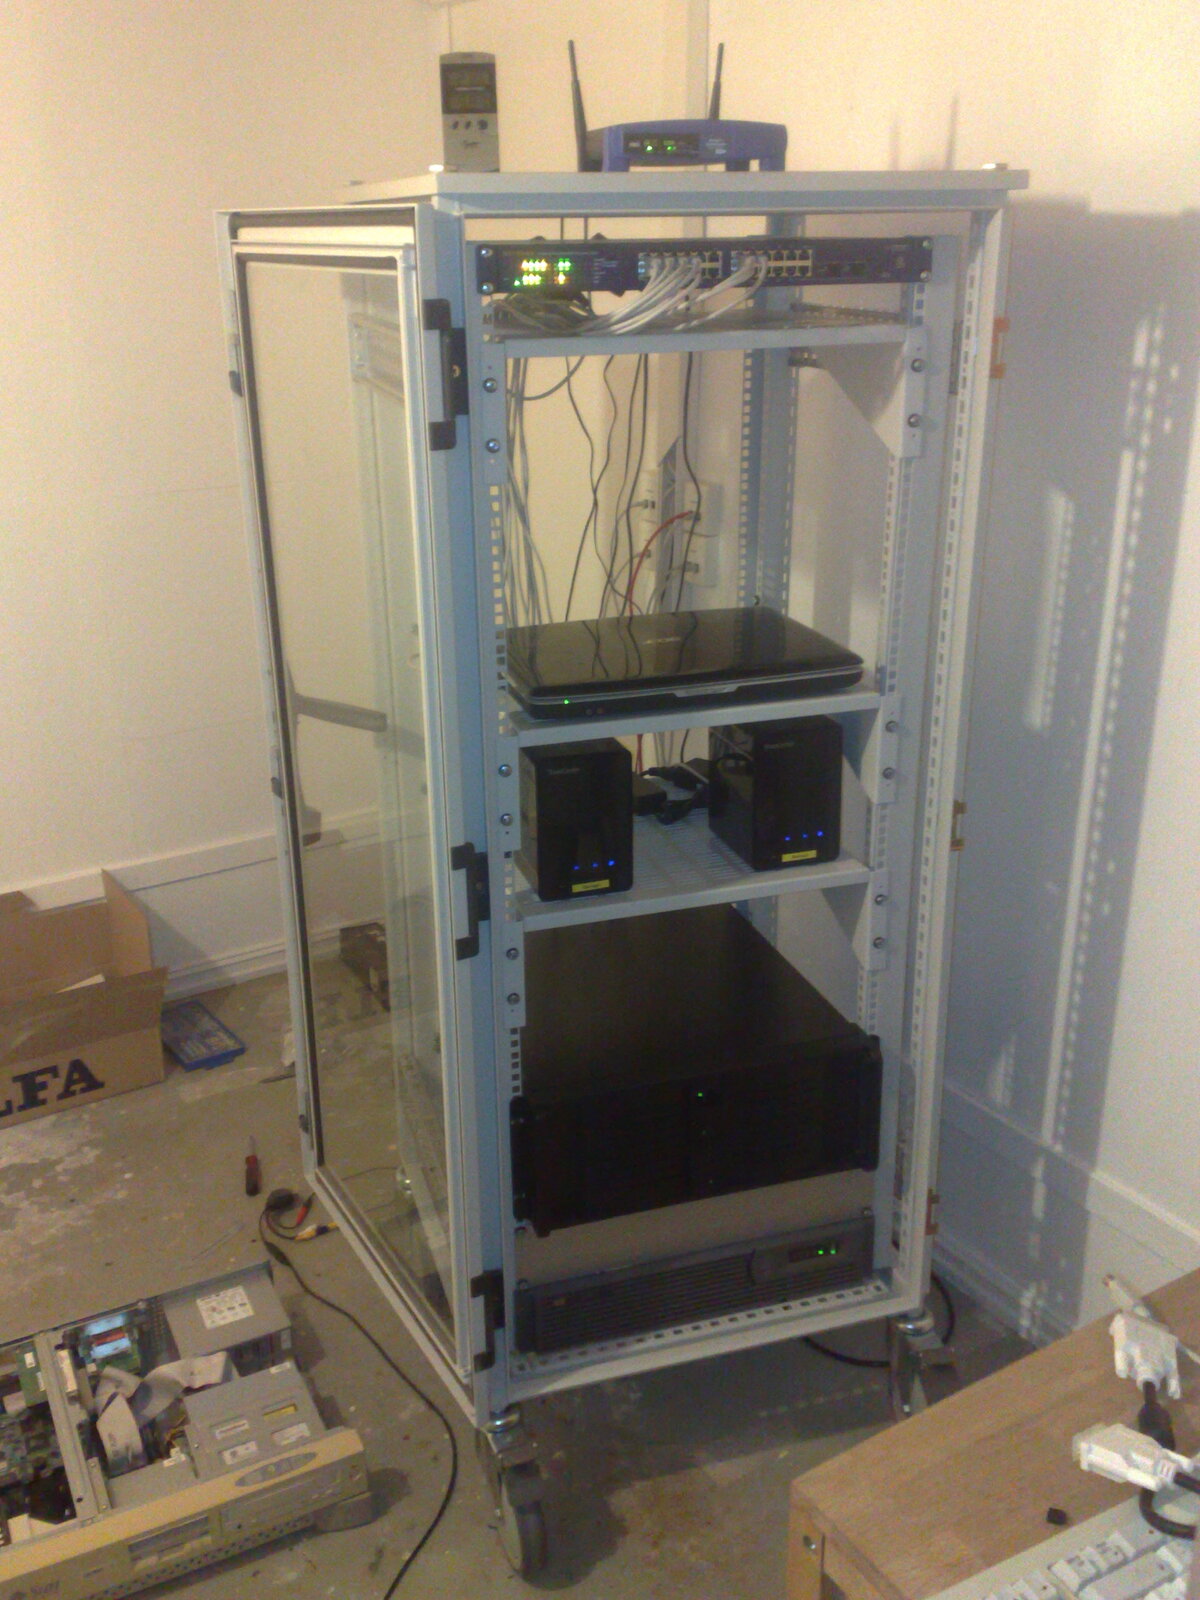
This is how the rack looked before I got into homelabbing.
After tinkering with VMware ESXi at work I figured it would be cool to have a hypervisor at home, so I found the 4U rack case I had been using back in 2011, ordered new components and stuck it in the rack. I wanted to virtualize my Plex media server, so I bought a QNAP NAS and put that in the rack also.
The story could have ended there, but it doesn’t. I still had the server components from the 2011 server and figured I might as well put them to use. So I bought a new 4U rack case, actually managed to find the same type I already had. Alright, so now I had two hypervisors…
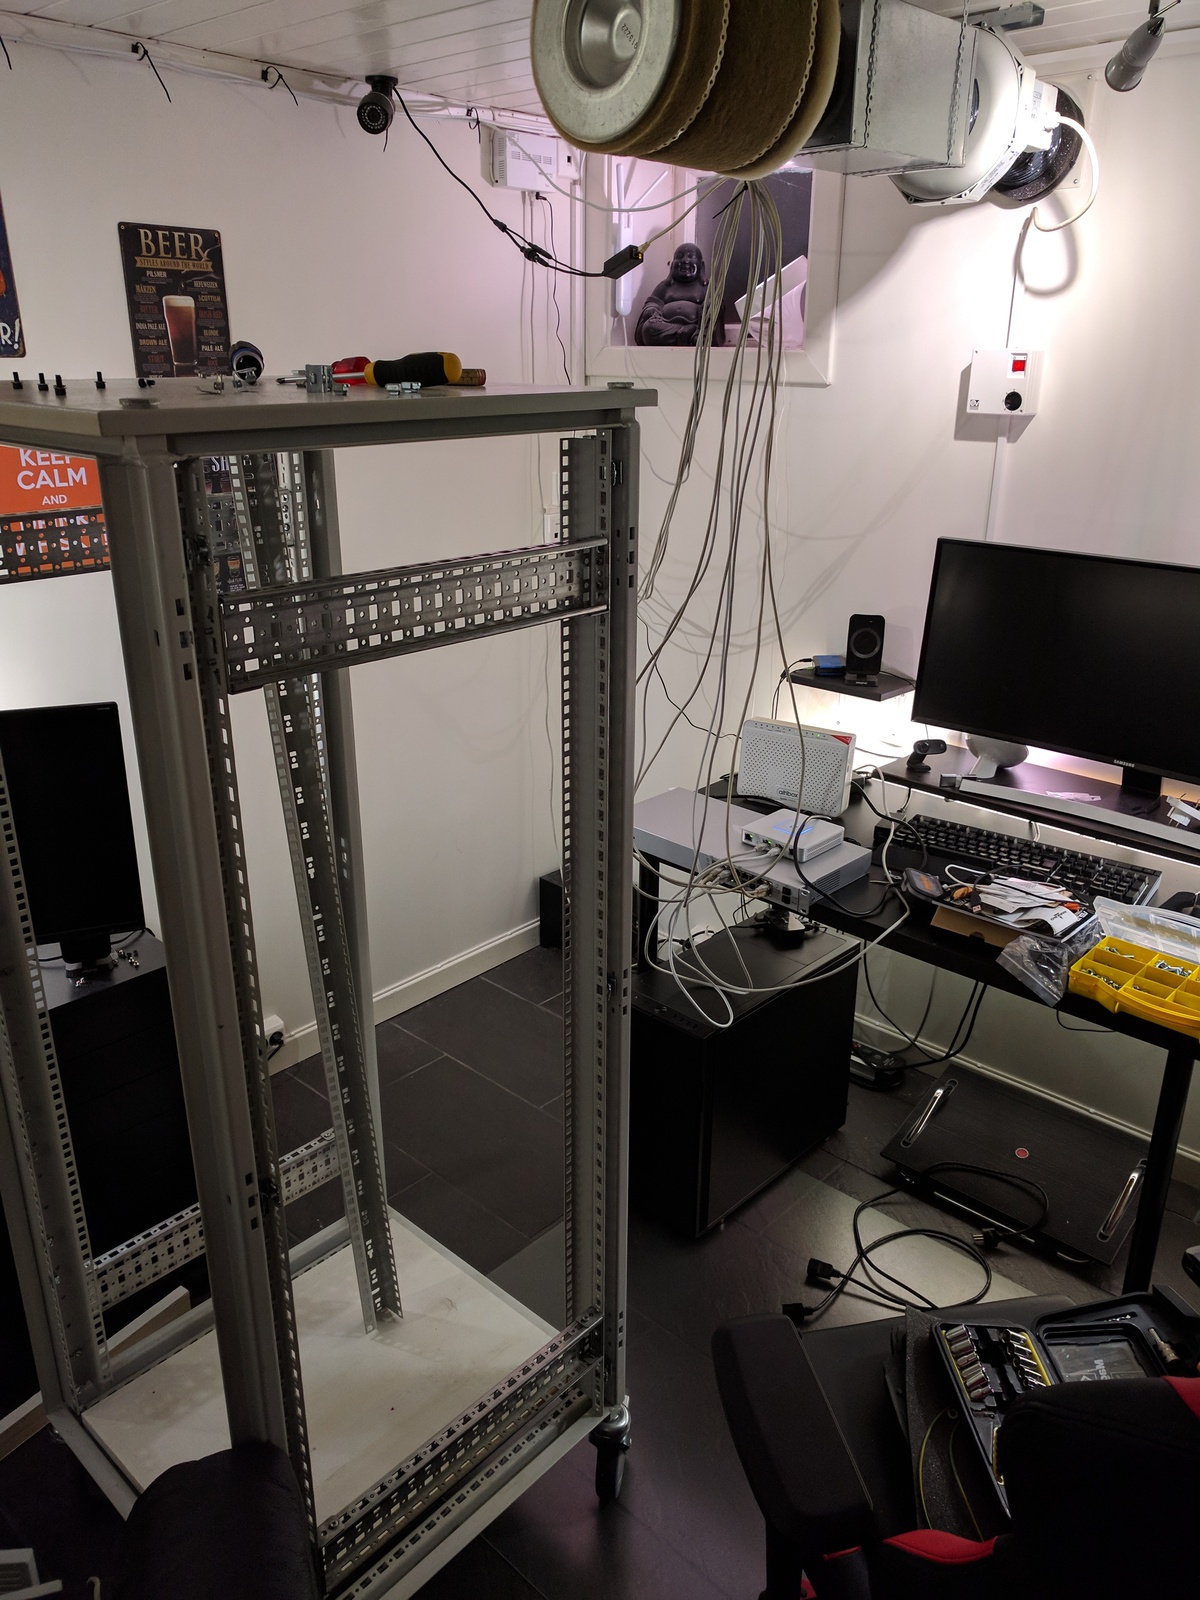
But it didn’t fit in the rack; I wasn’t utilizing the space properly. So the big rebuild began! First order of business was to remove everything so I could re-position the vertical rails.
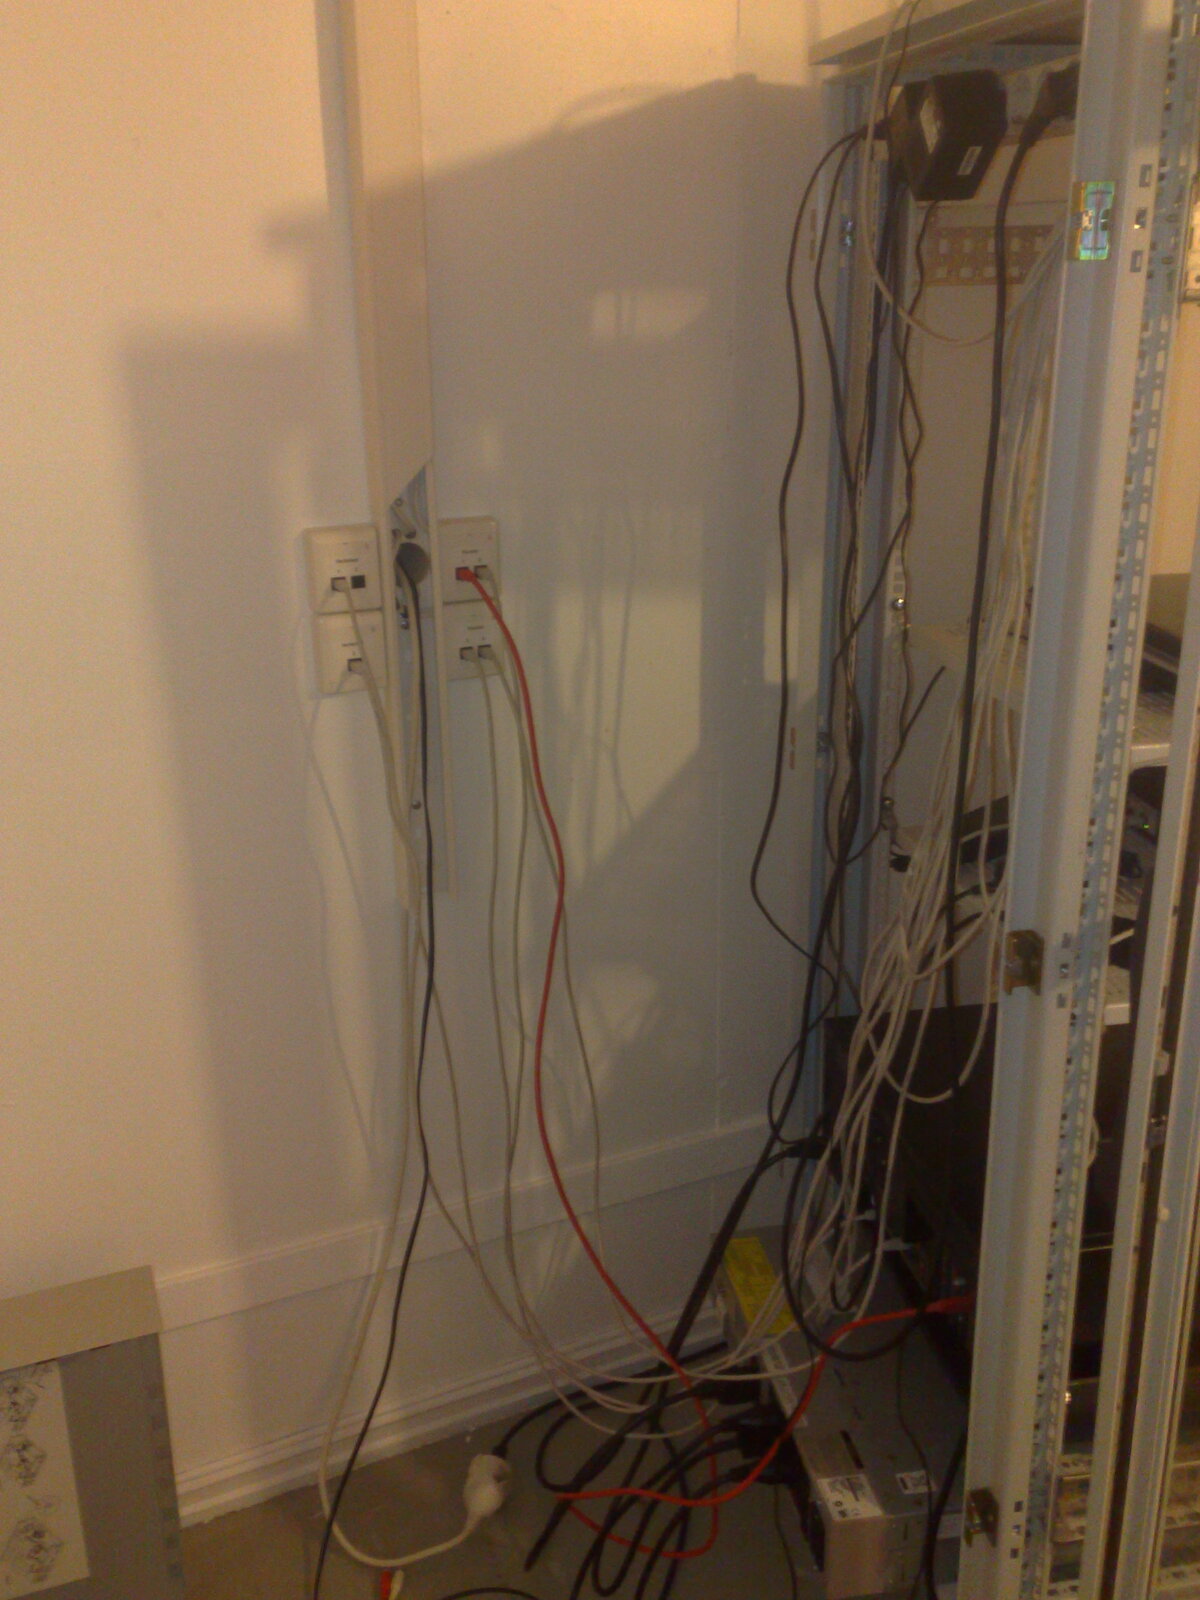
Then I figured that I might as well do the networking properly while I was pulling everything apart anyway, so I removed the network wall sockets on the wall behind the rack. And I went on eBay to order a small patch panel that I could mount on the wall.
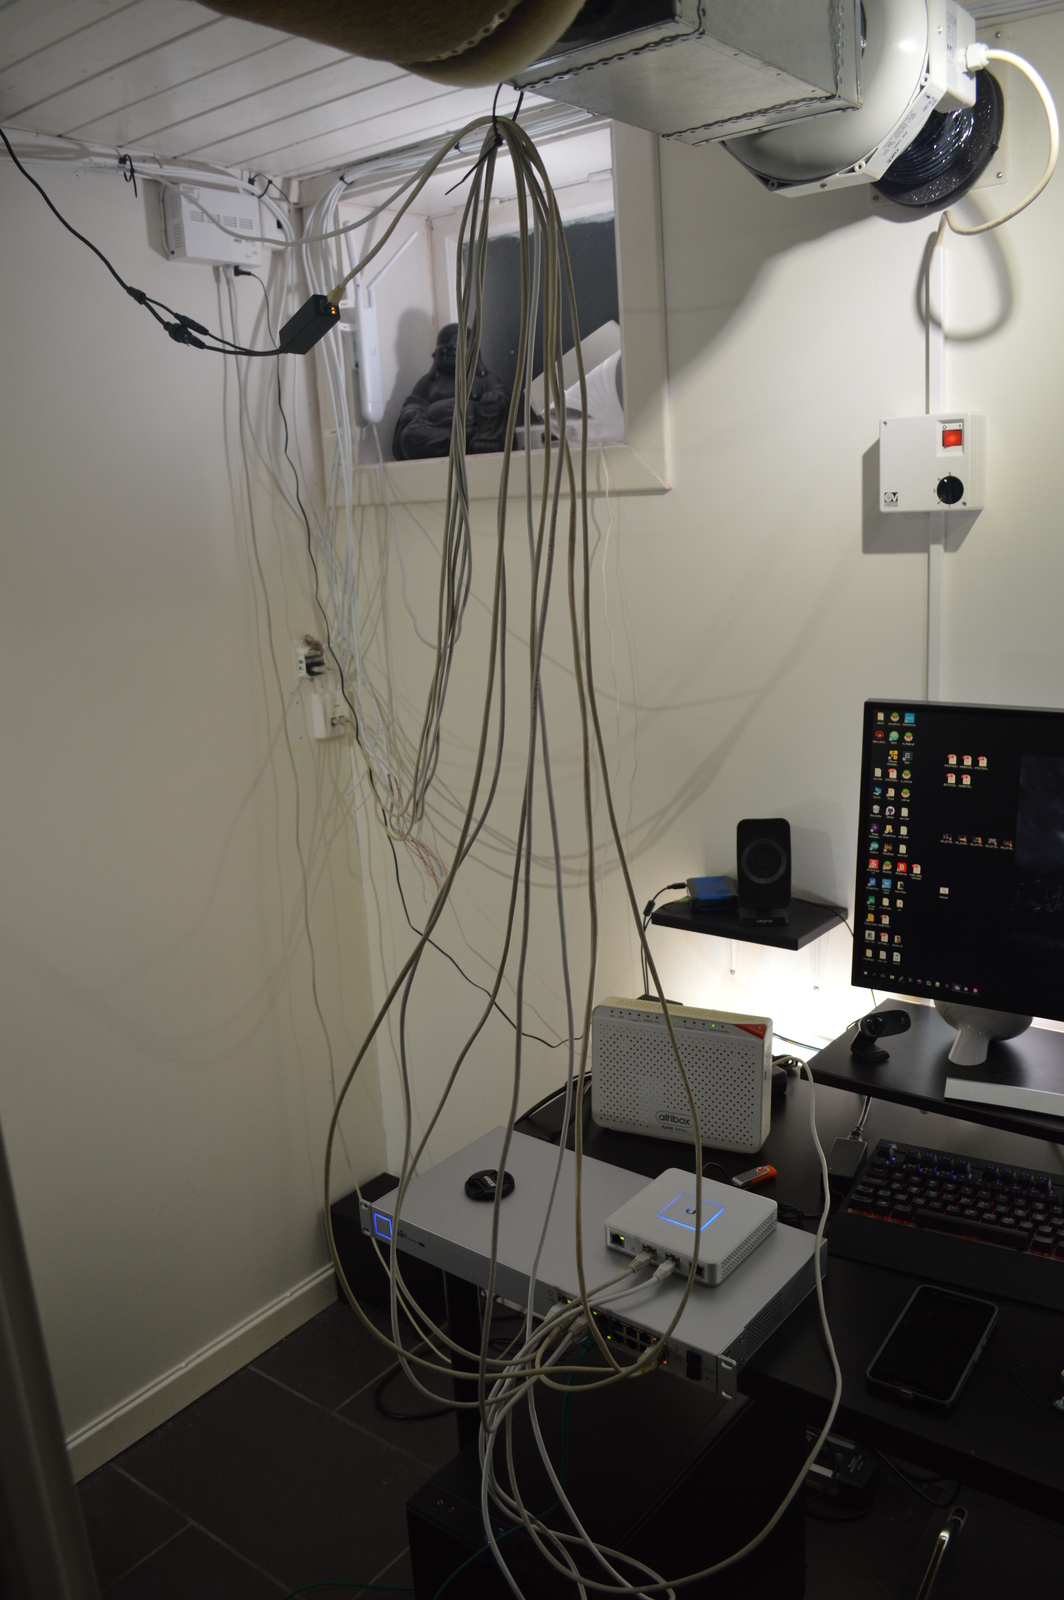
Now; the internet is a pretty big part of our daily routine. TV, music, office applications, image synchronizing; it all needs internet to work. So I needed to have everything up while I was working on the networking and server rack, so some creative patching was required. And some of the work had to be carried out after the girlfriend had gone to bed and finished watching her shows.

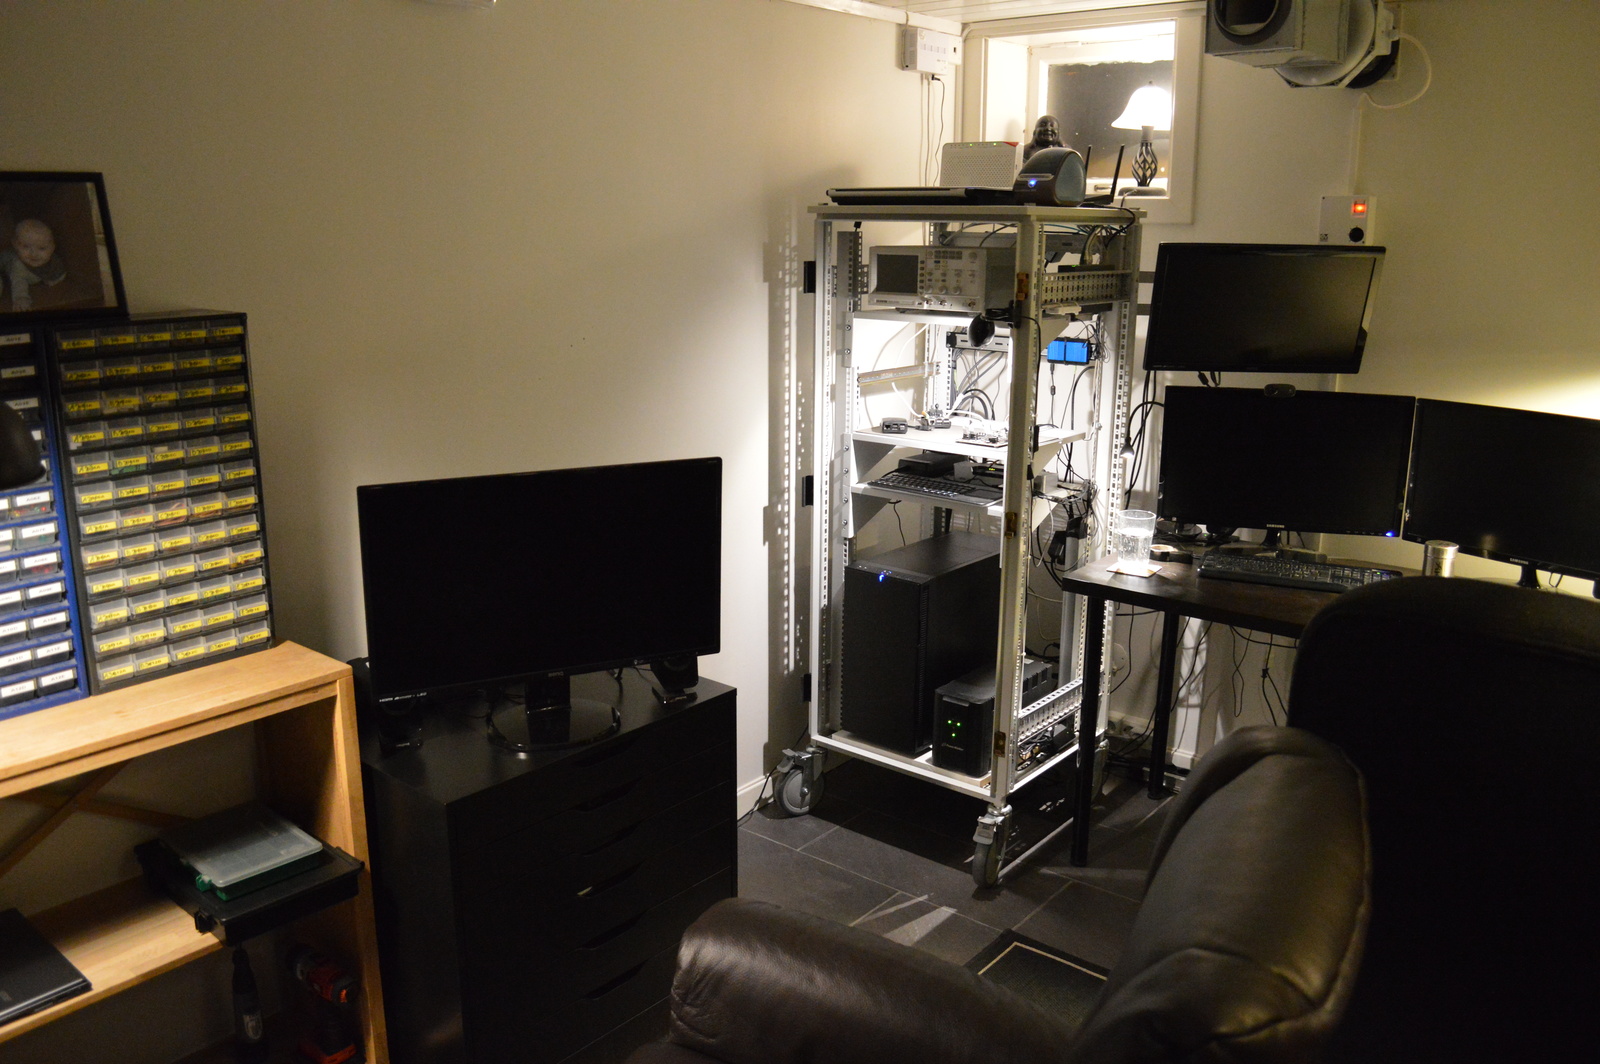
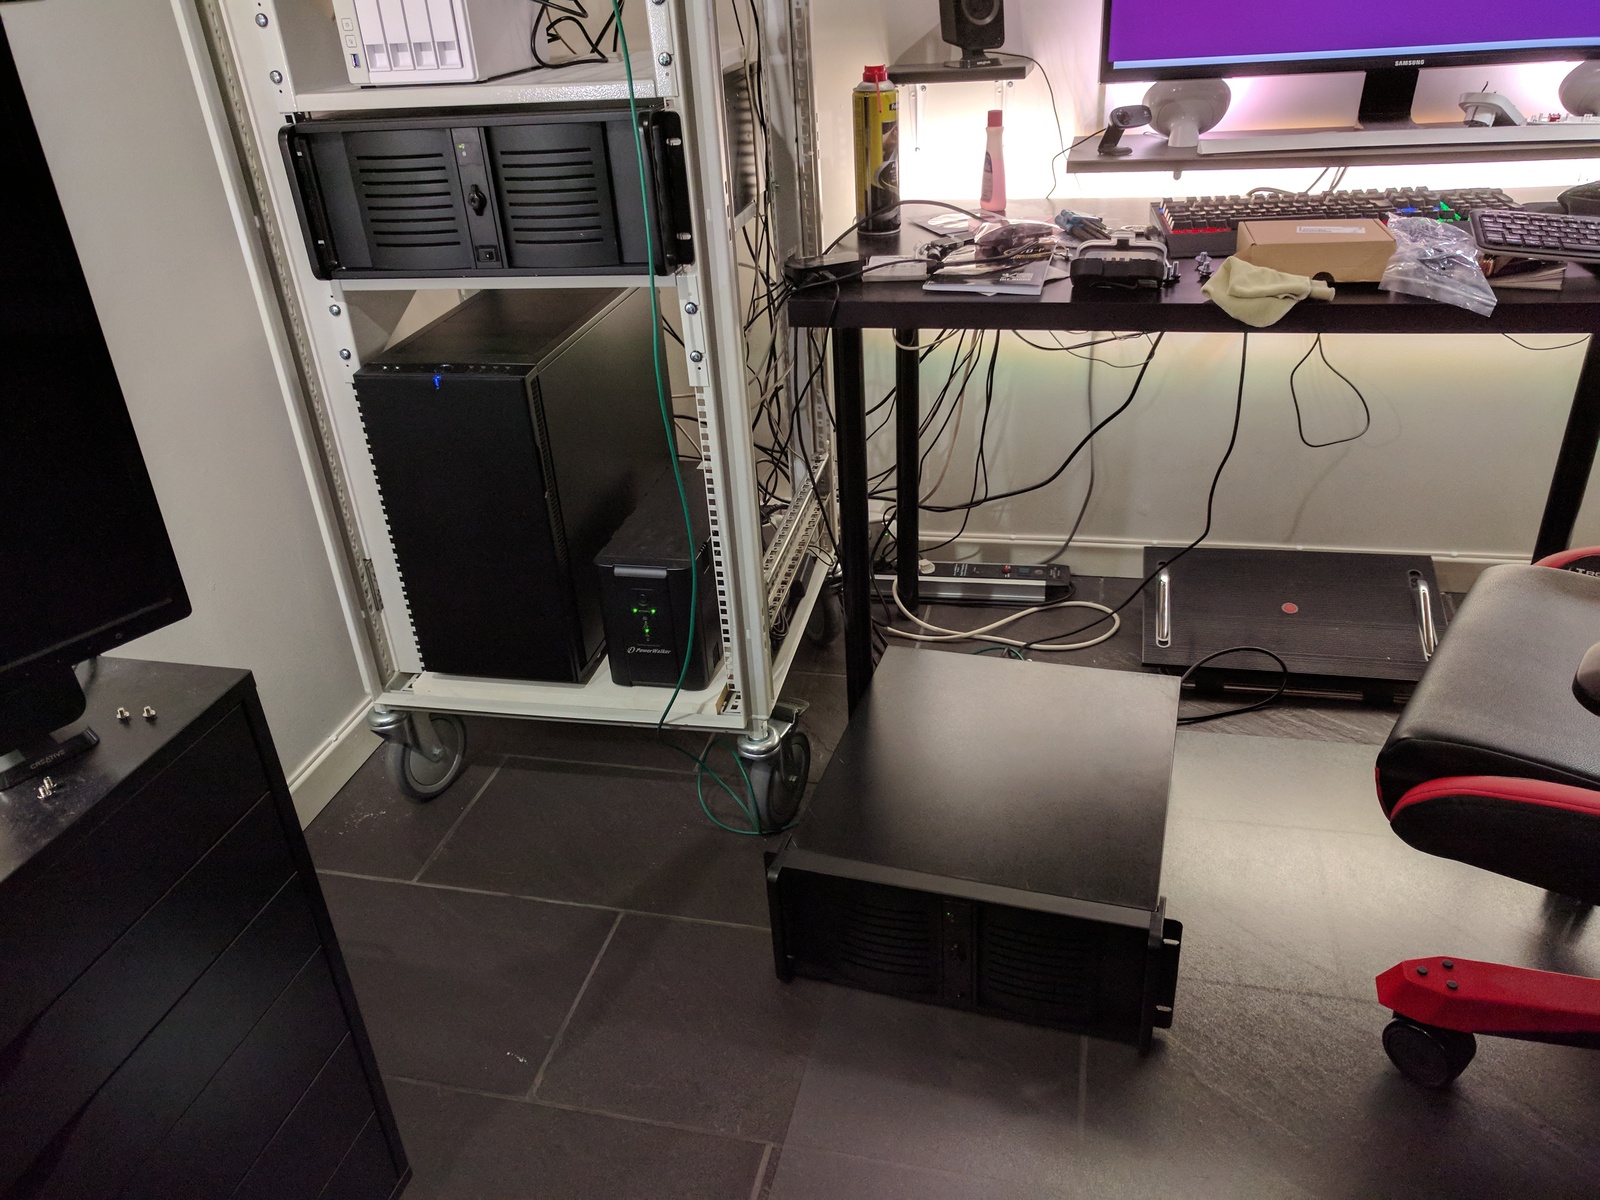
The two servers, which I now was dependent on, was given a temporary home at the other end of the home-office during the rebuild.
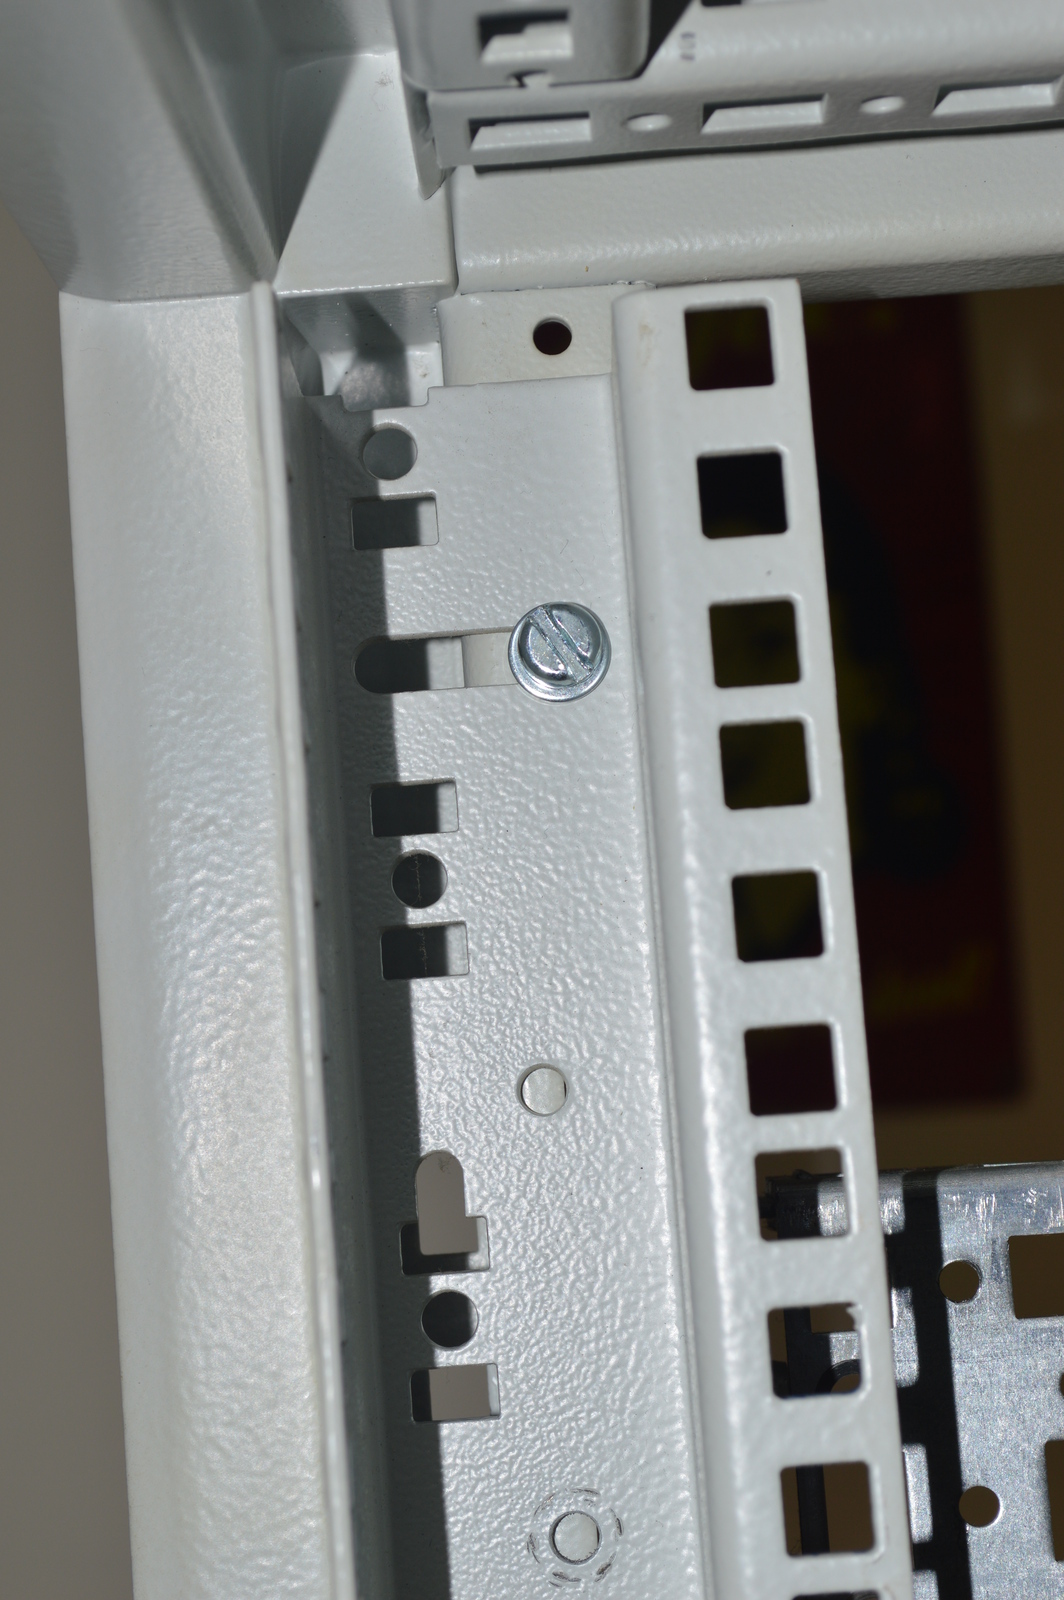
First I needed to re-position the vertical rails. My rack is 600x600 mm and had previously been used for audio equipment and used to have a plexiglass door. For this reason, the front vertical rails were recessed about 10 cm (4"). I needed all the space I could get so I moved the verticals rails as far out as I could, both in the front and back.
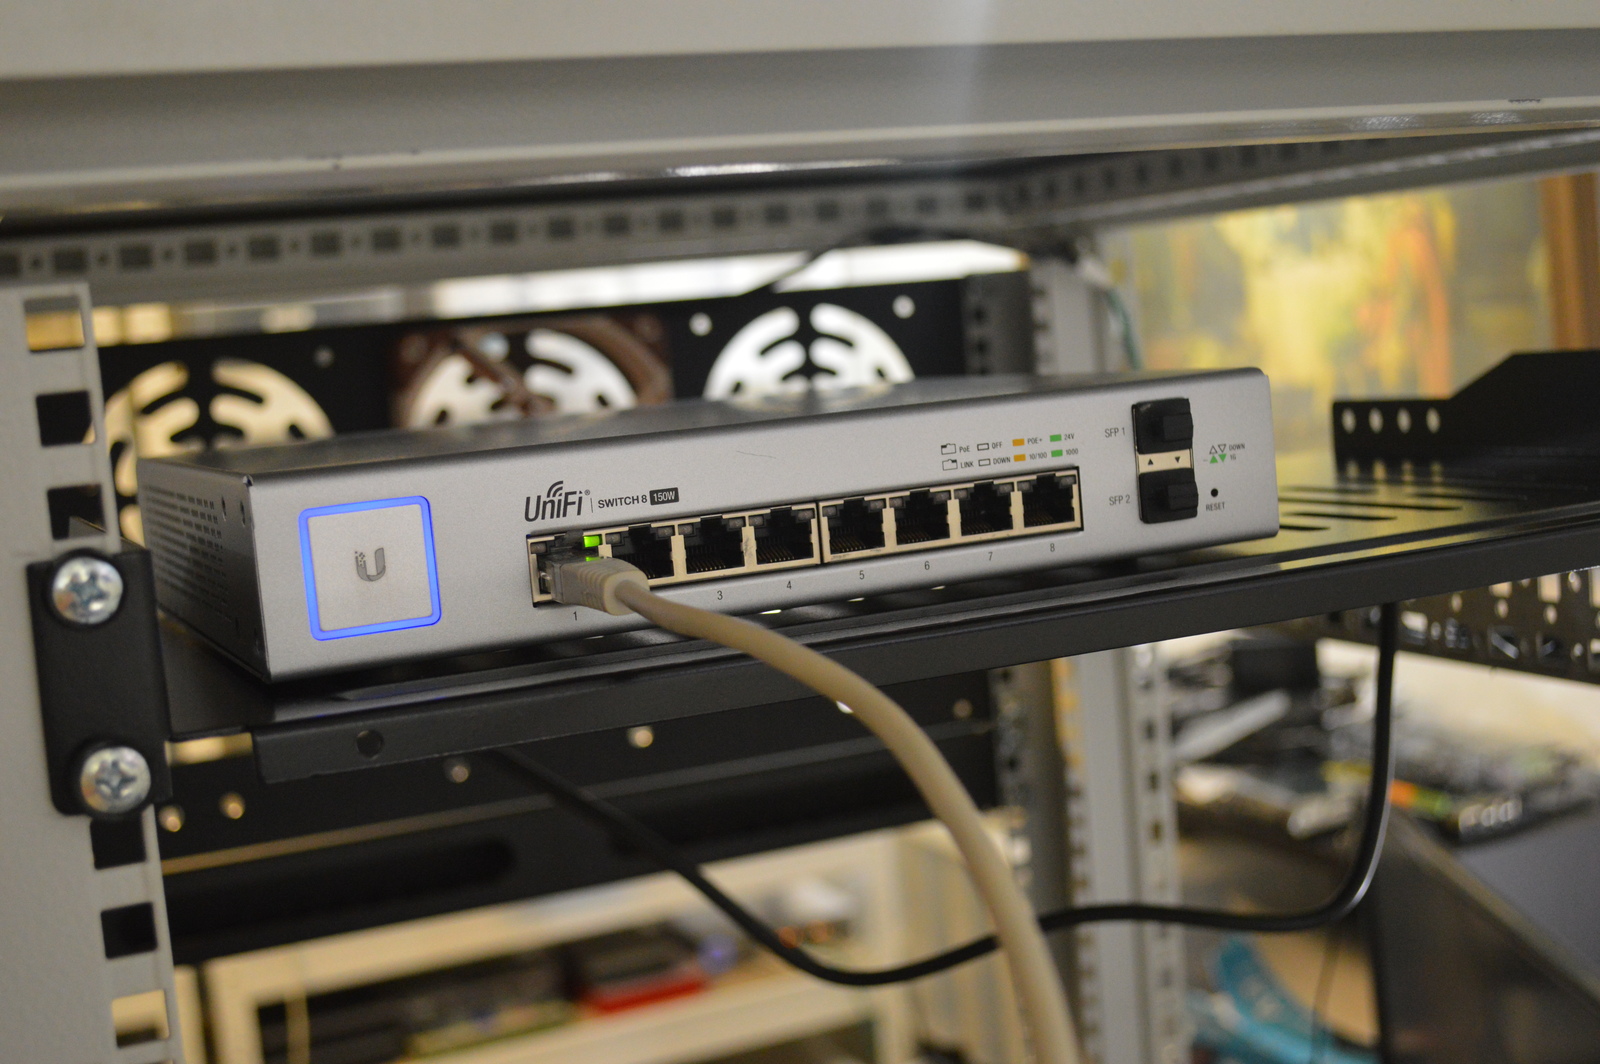
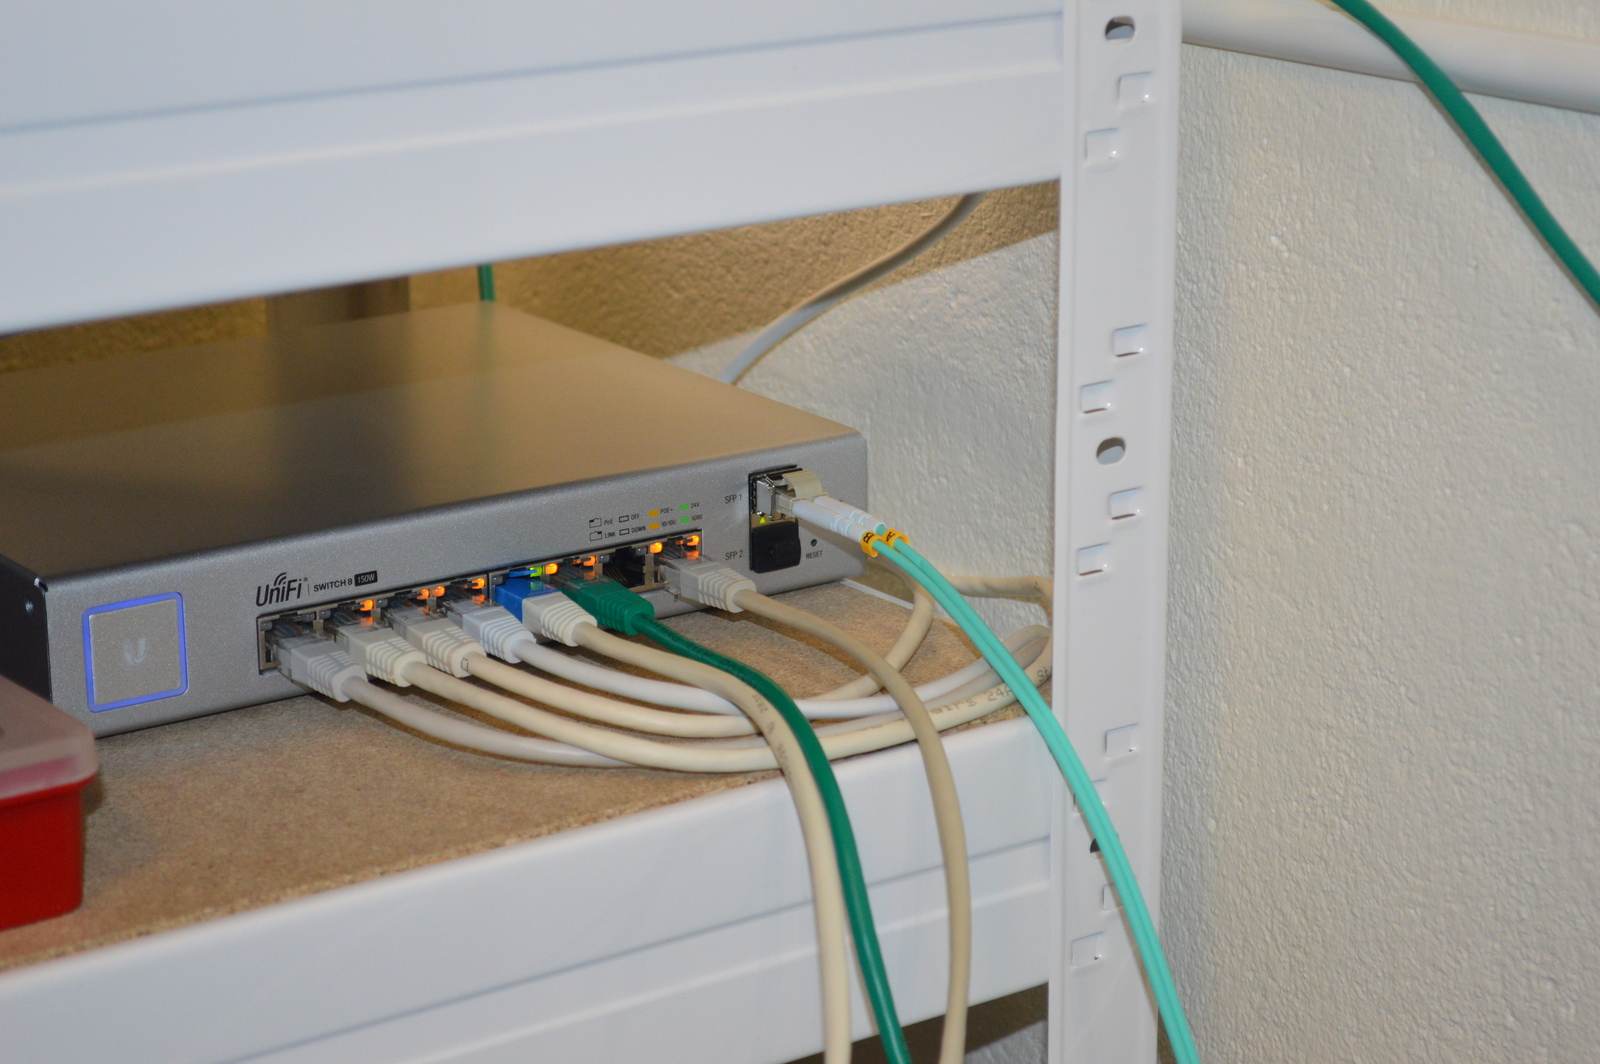
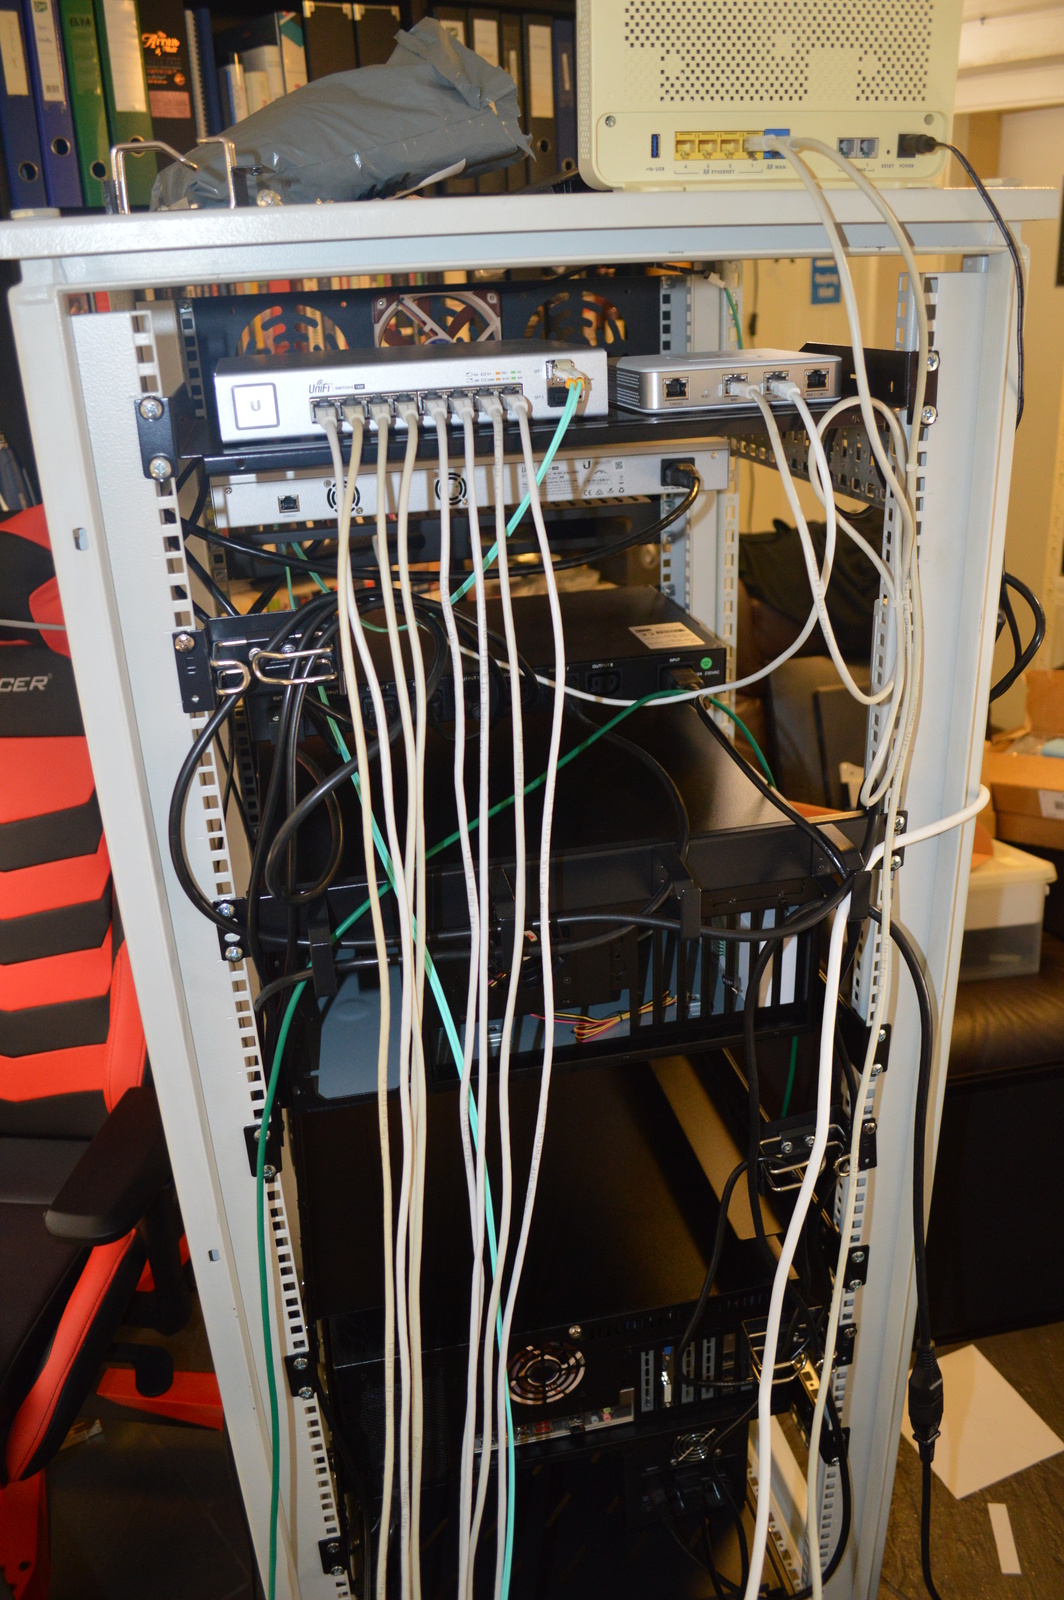
I placed an eight-port UniFi switch on a network shelf, accessible from the back.
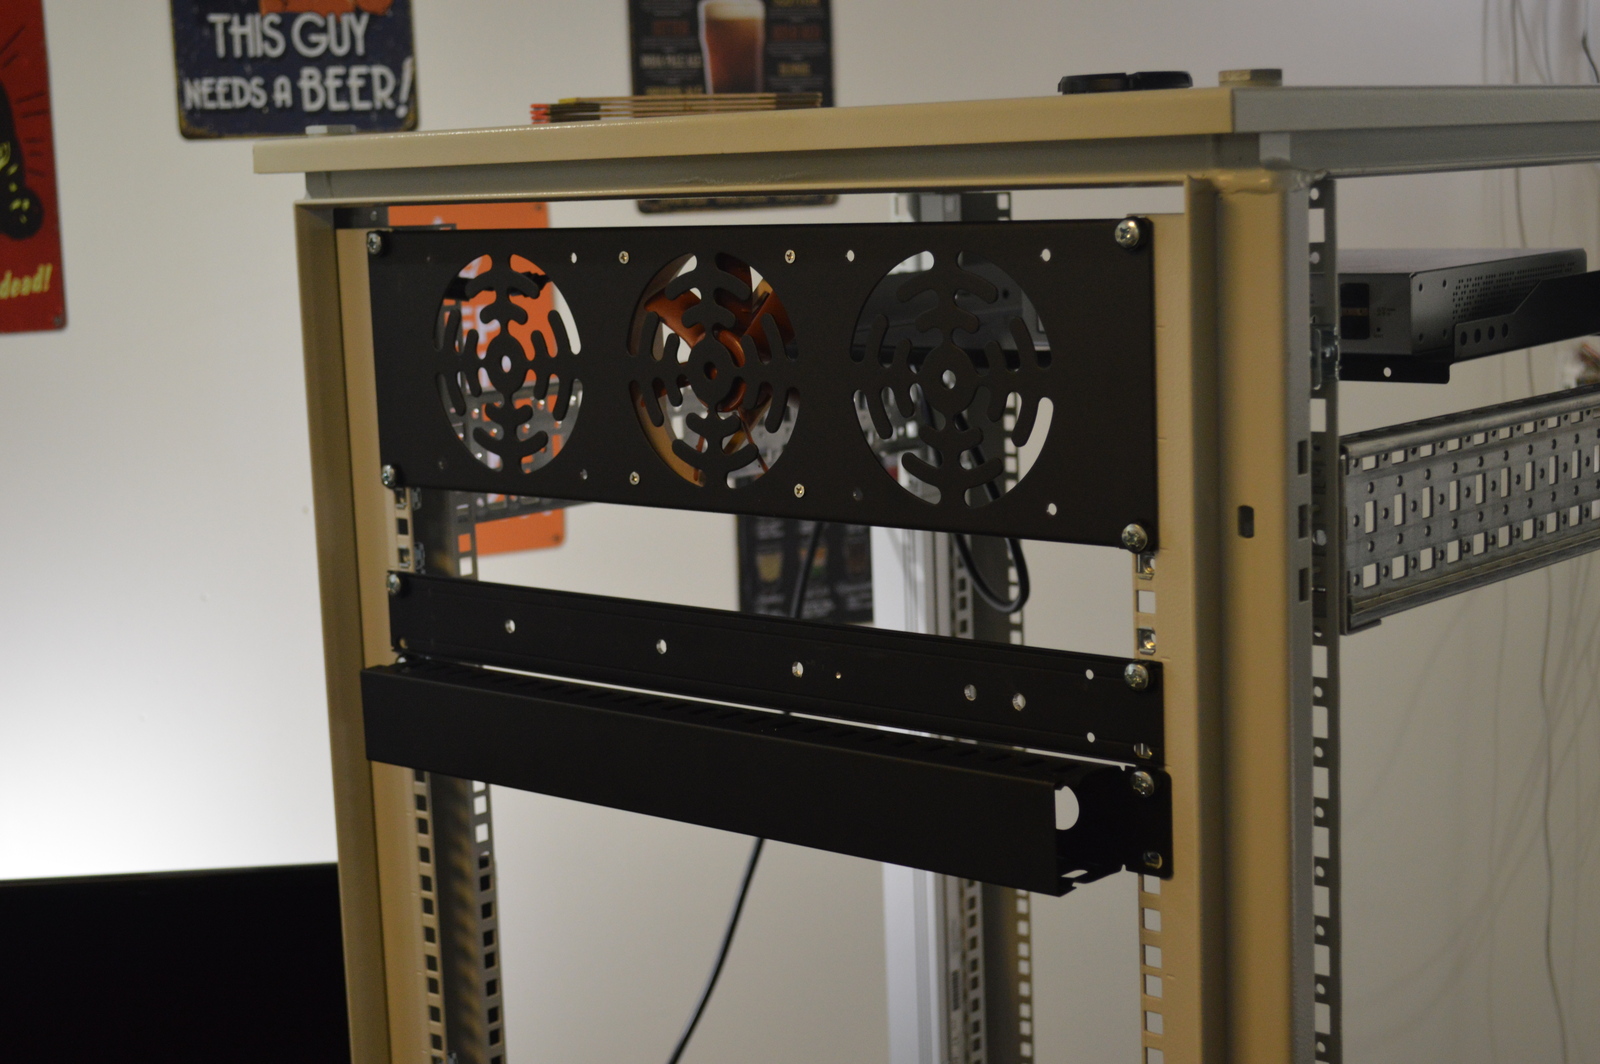
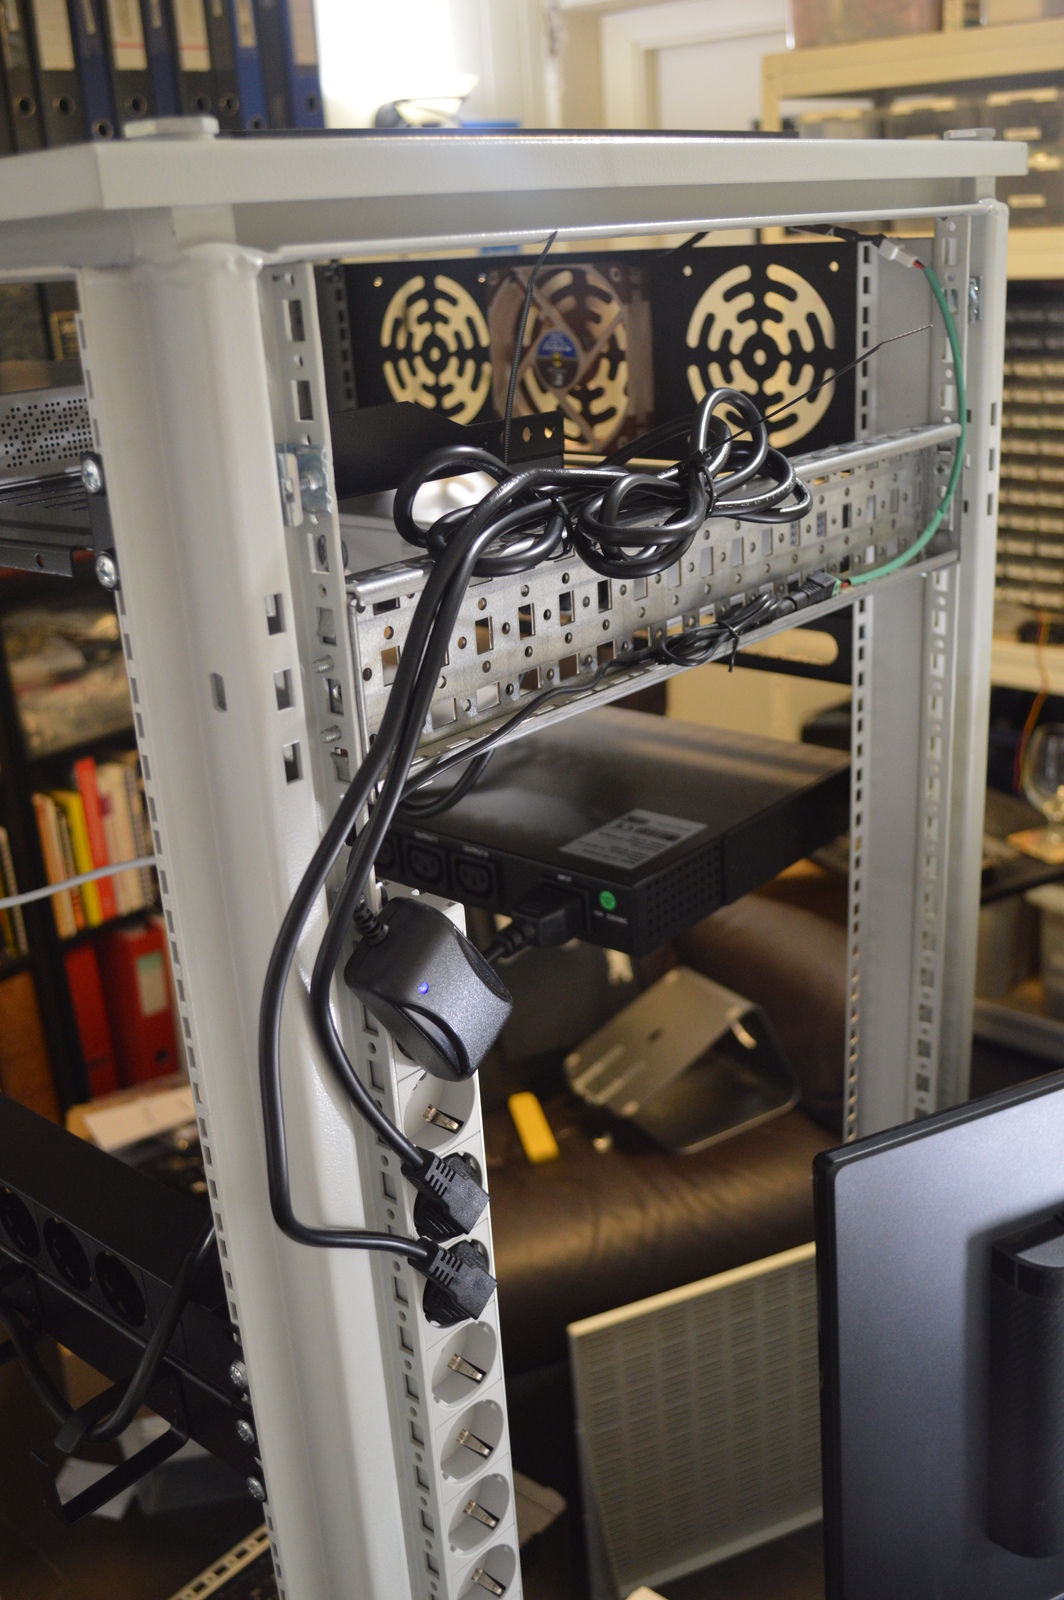
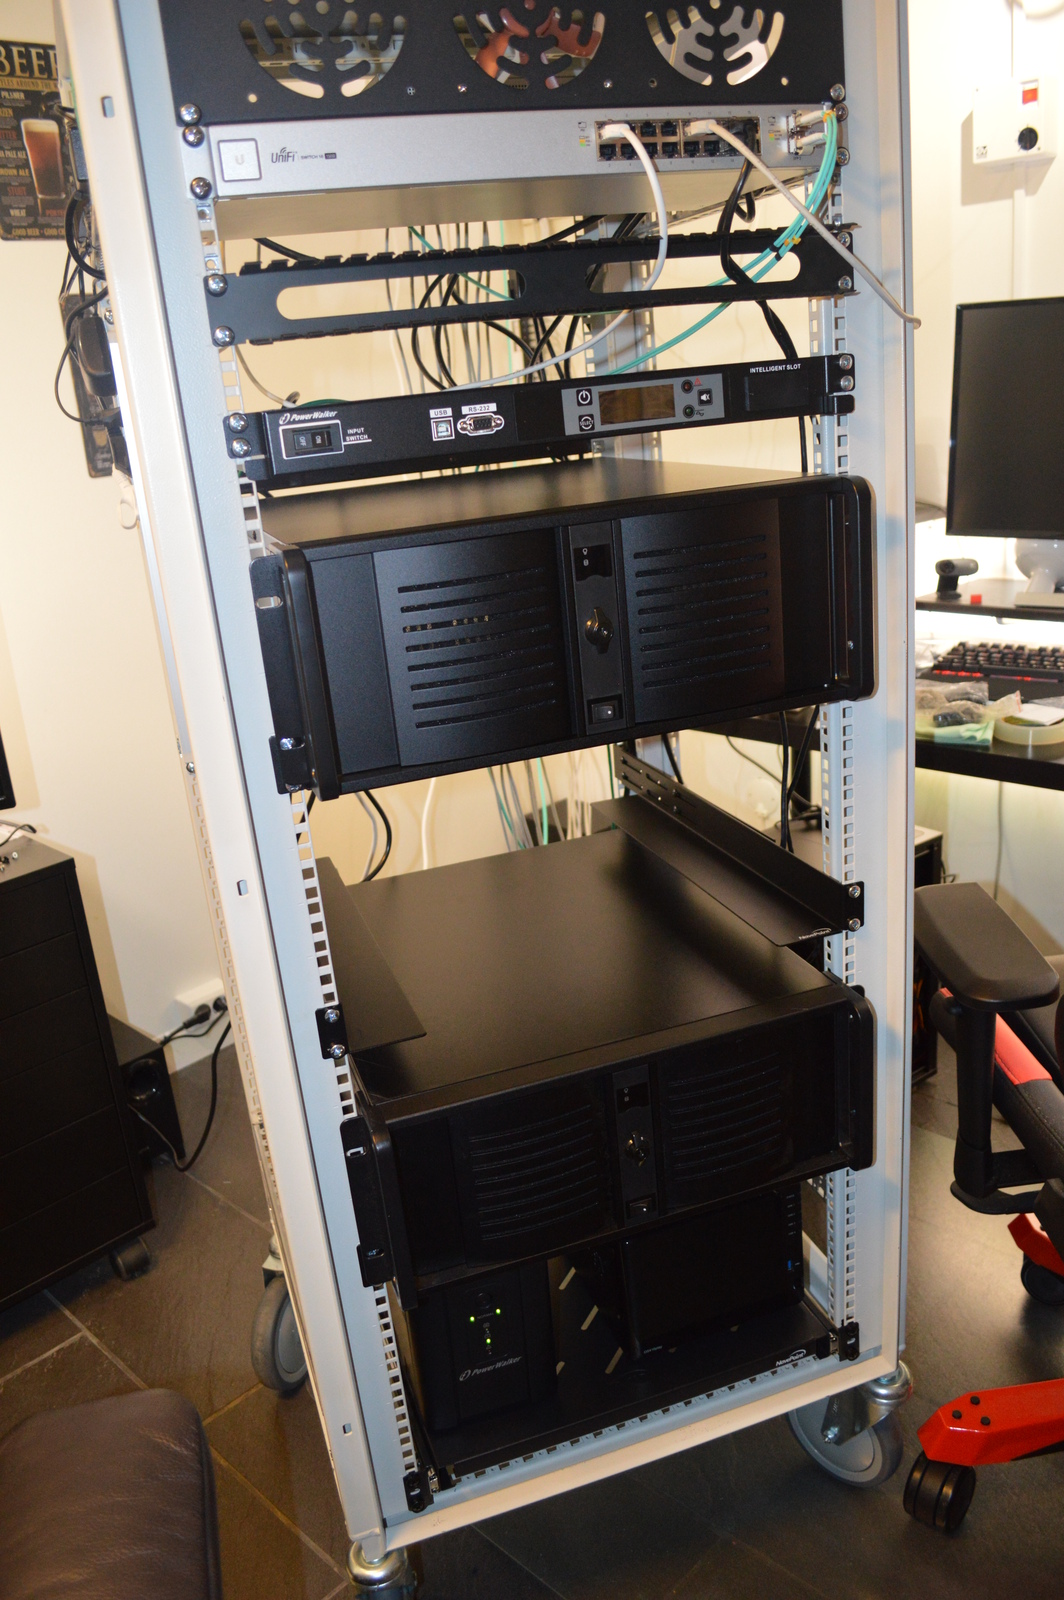
I went on eBay and bought a 3U plate for 3x120mm fans. I figured this would make a slight breeze that would cool the 16 port UniFi PoE switch, thus making sure that its internal fan would not turn on. And help cool the eight-port switch and USG in the back.
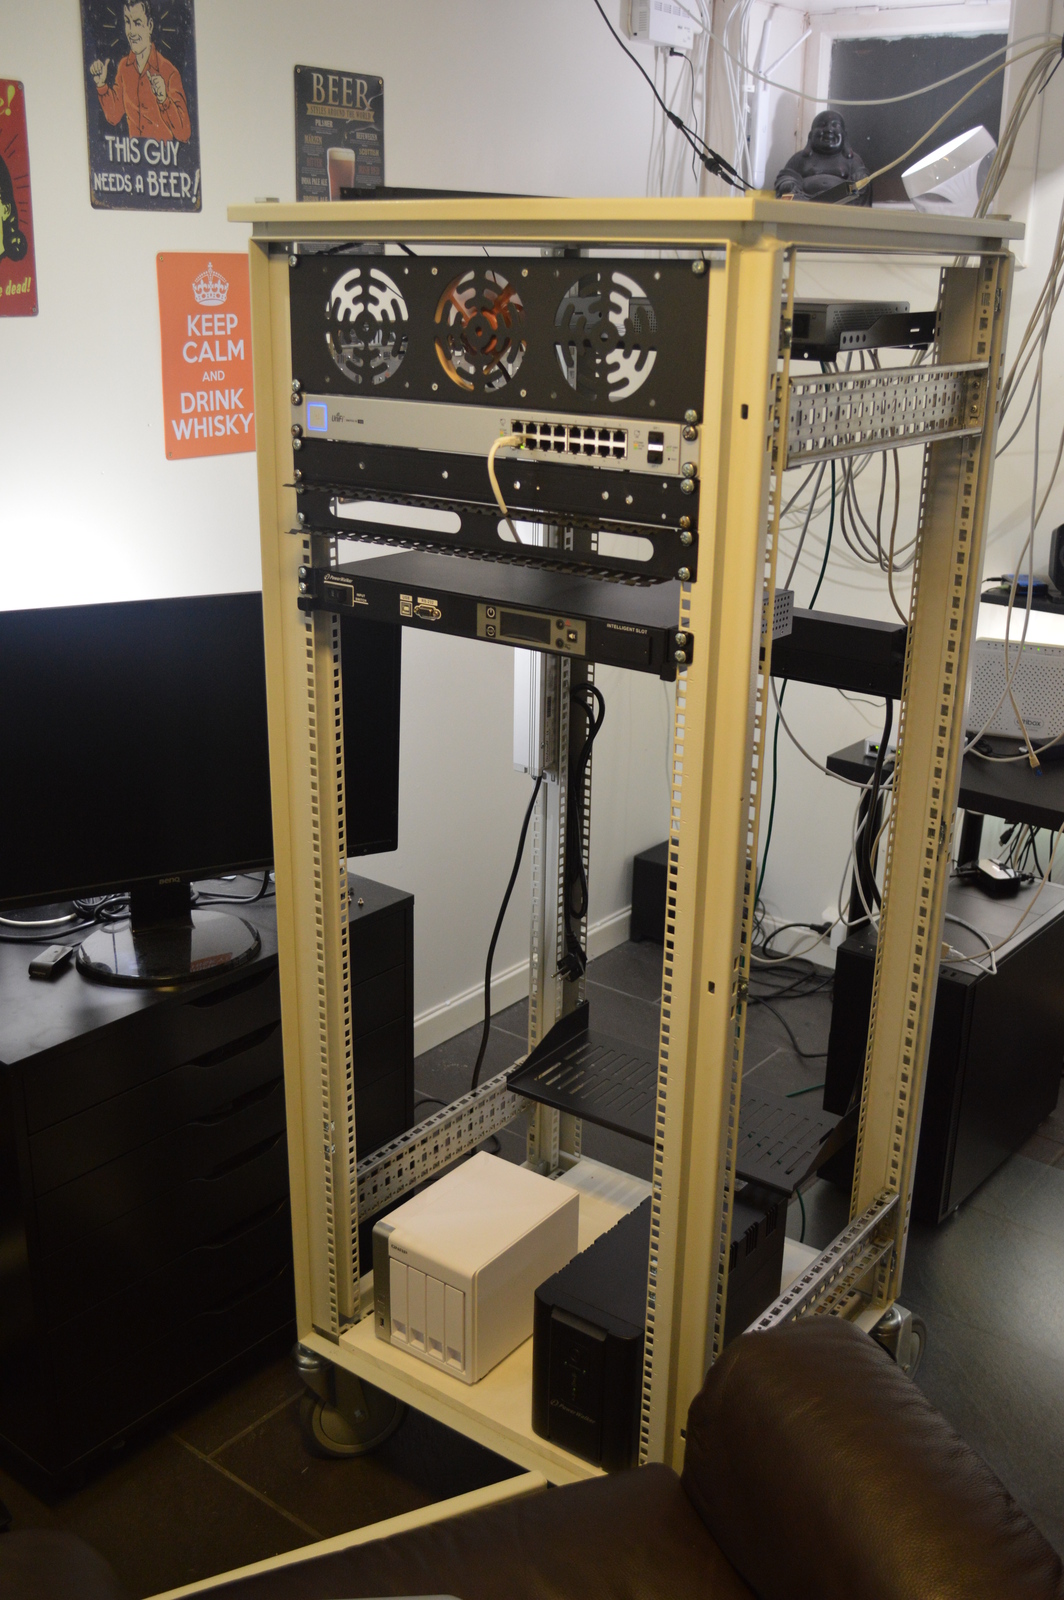
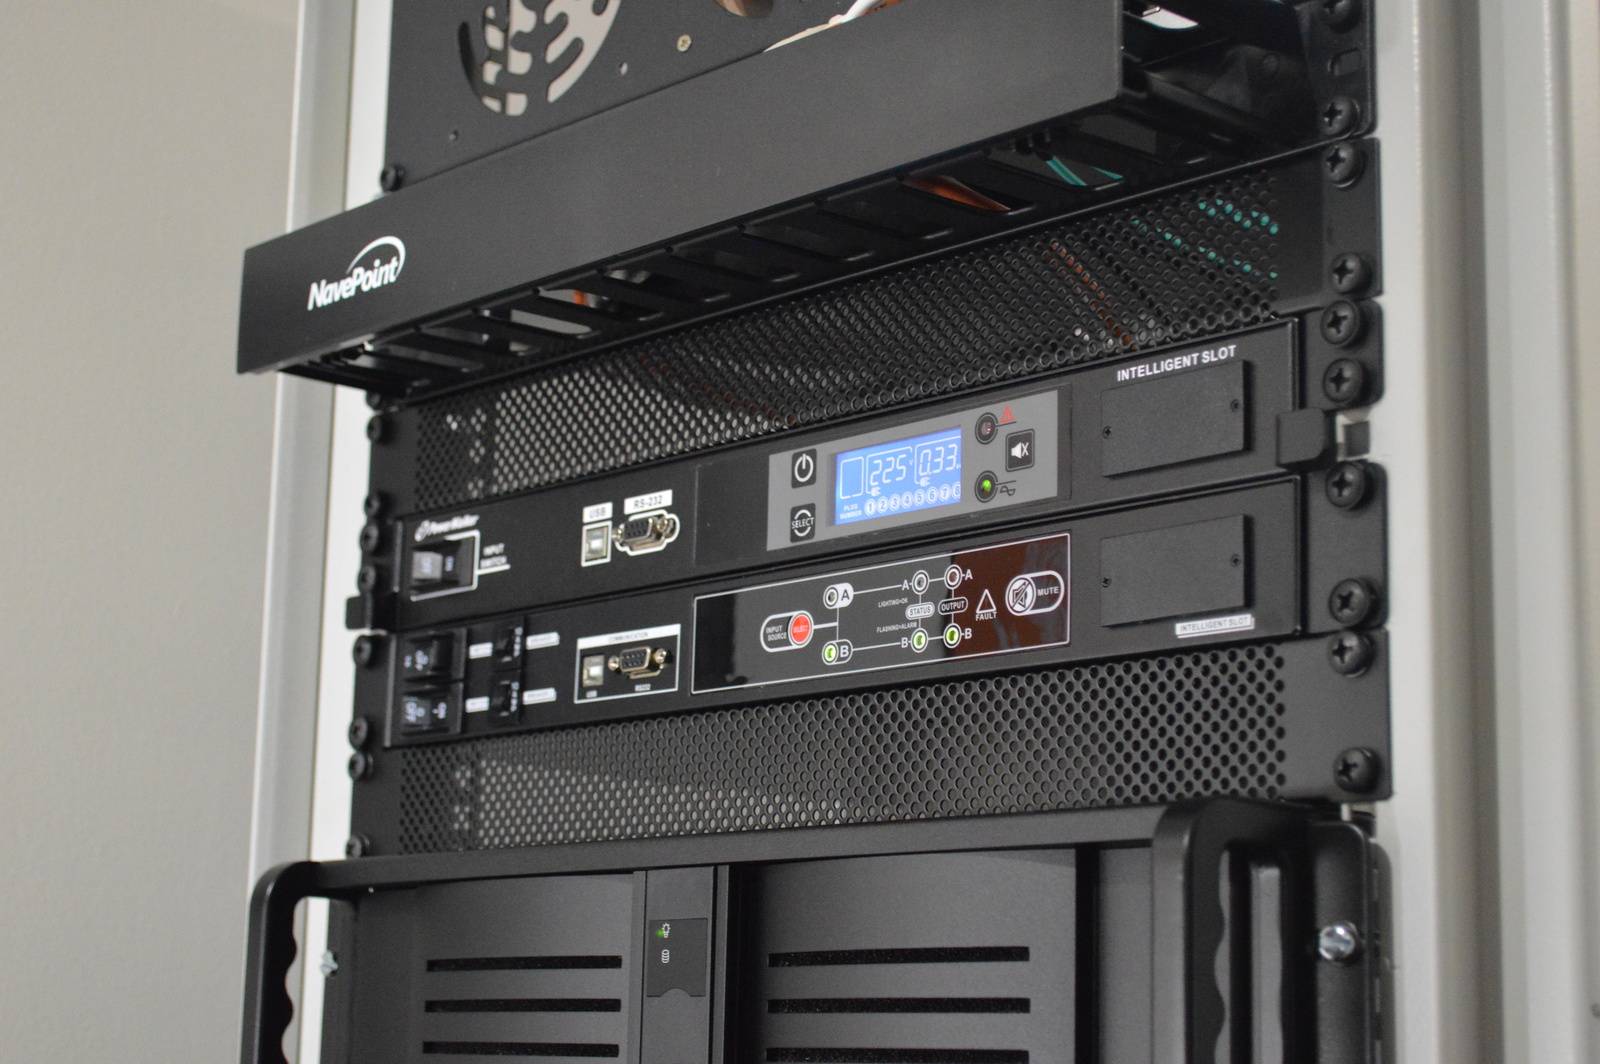
Next, I installed the 16 port UniFi switch, NAS and UPS that I already had. And got a PowerWalker PDU and some power strips, and installed that.
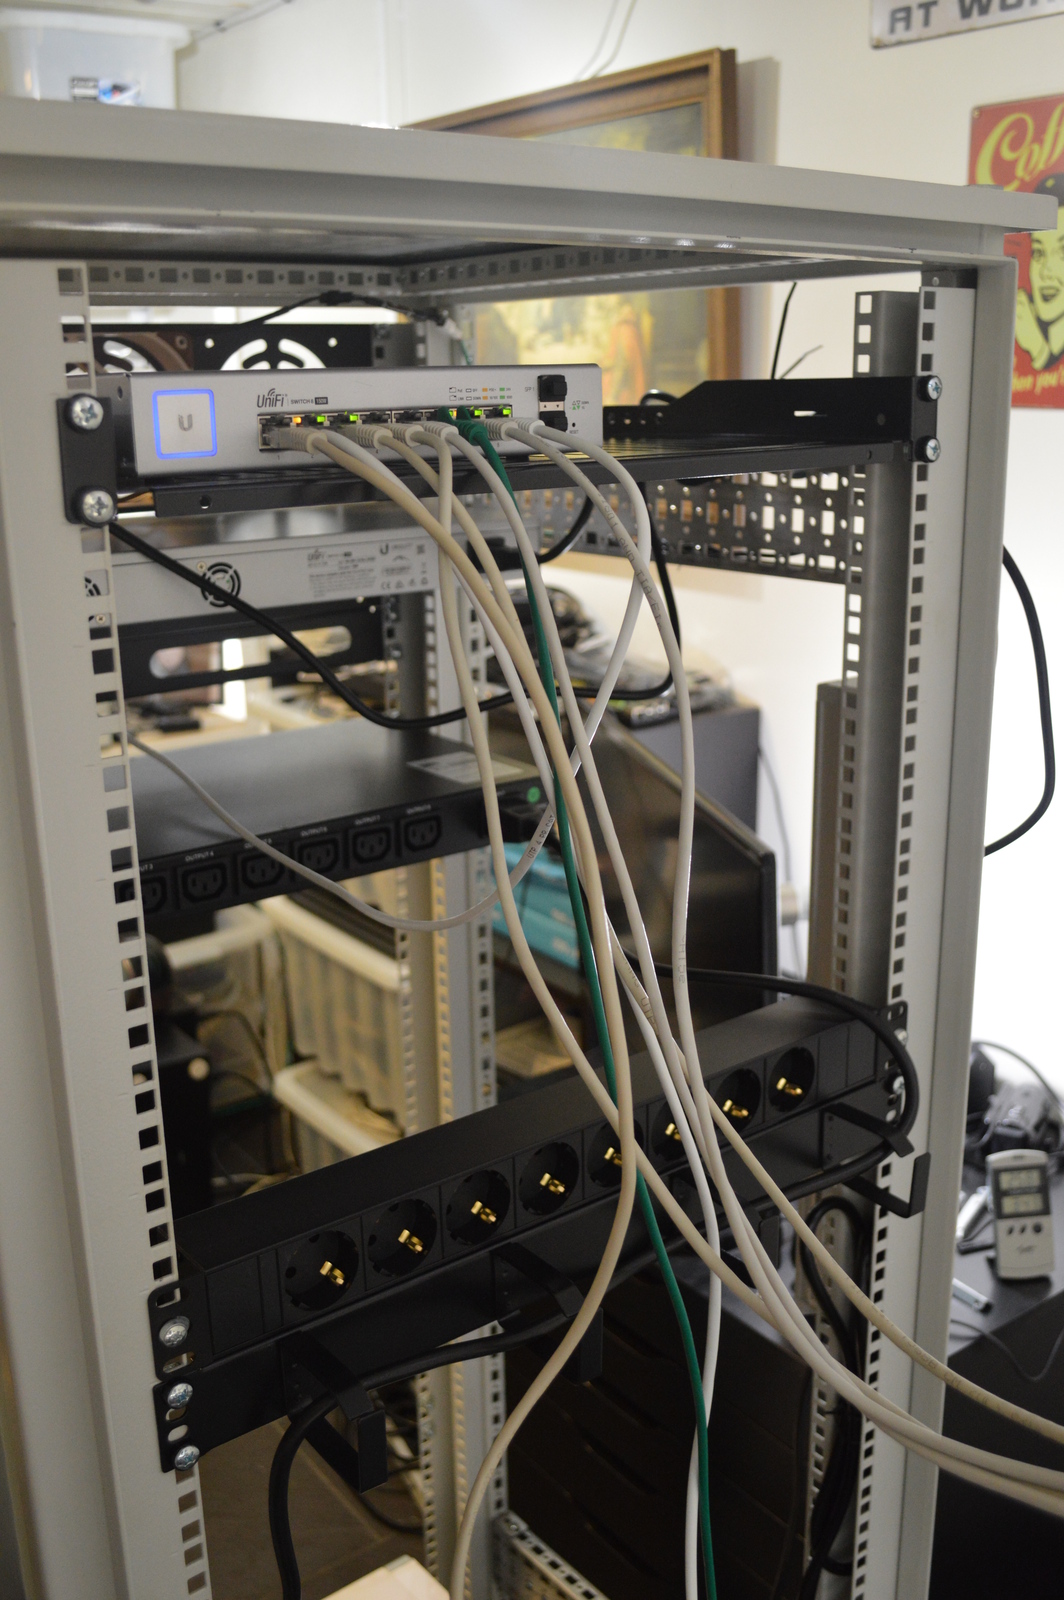
The plan was for the black strip at the back to be for peripherals like the monitor, USB hubs, etc.
The white vertical strip was for networking equipment, modem and the 120mm fan(s).
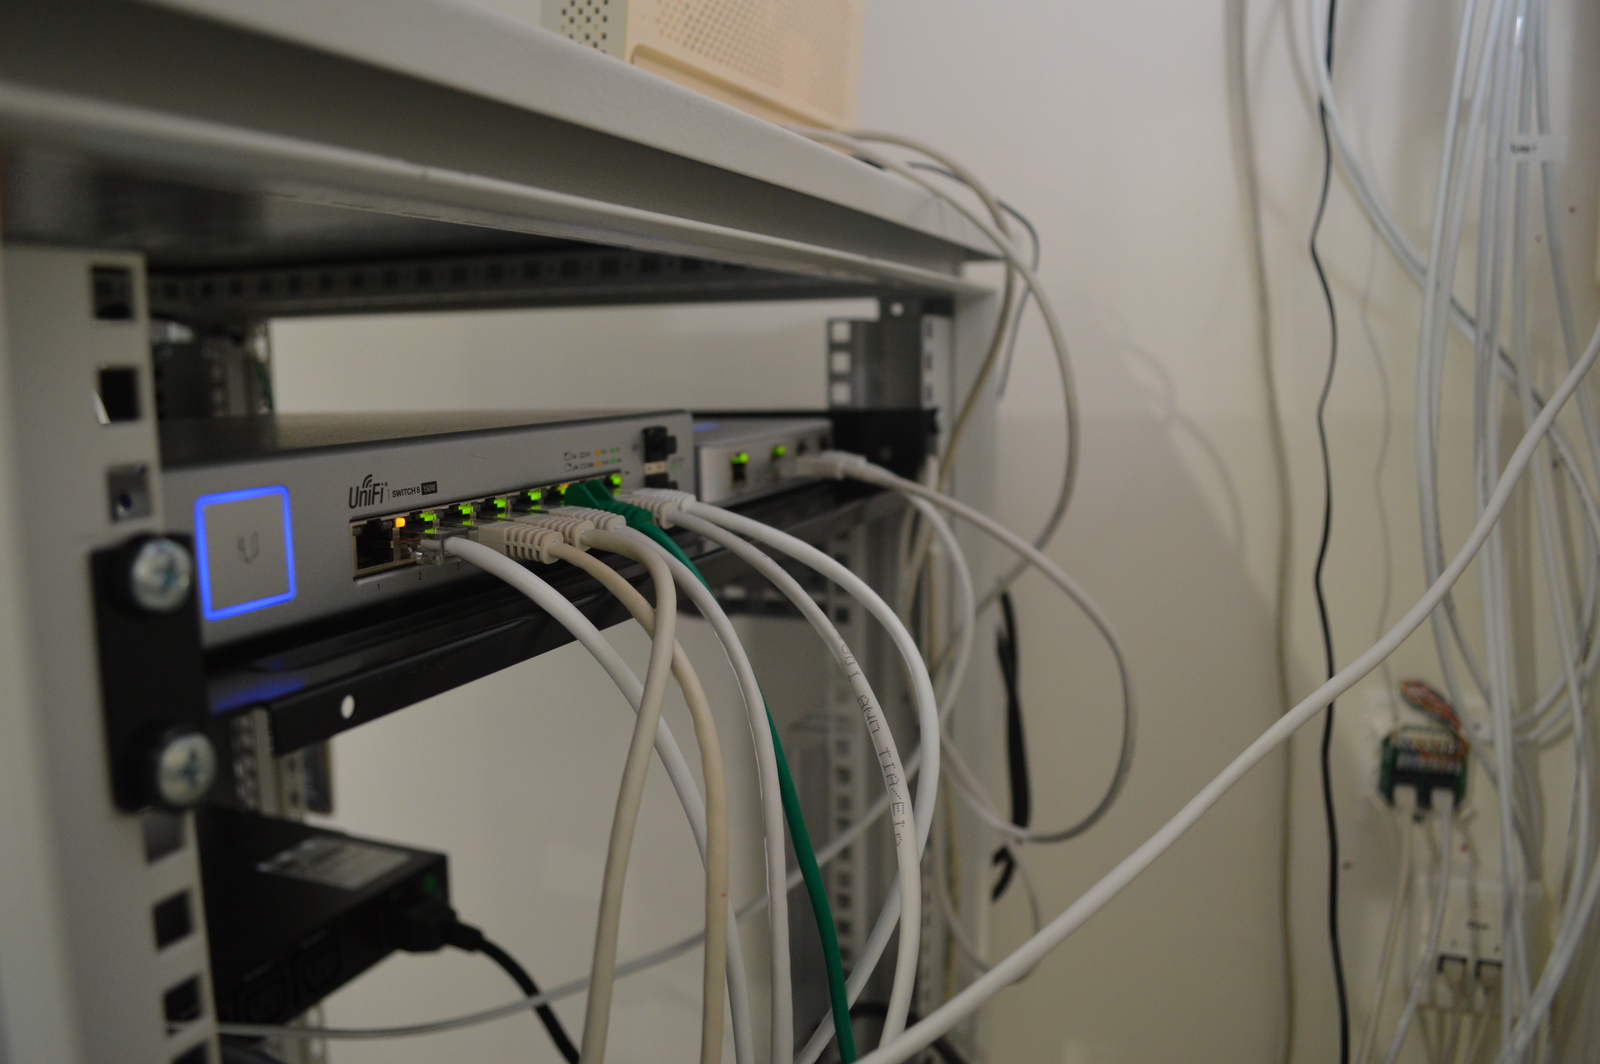
I powered the rack and moved my UniFi router (USG) into its new home. I was still only using the eight-port switch at the back, hadn’t started wiring and using the 16 port yet.
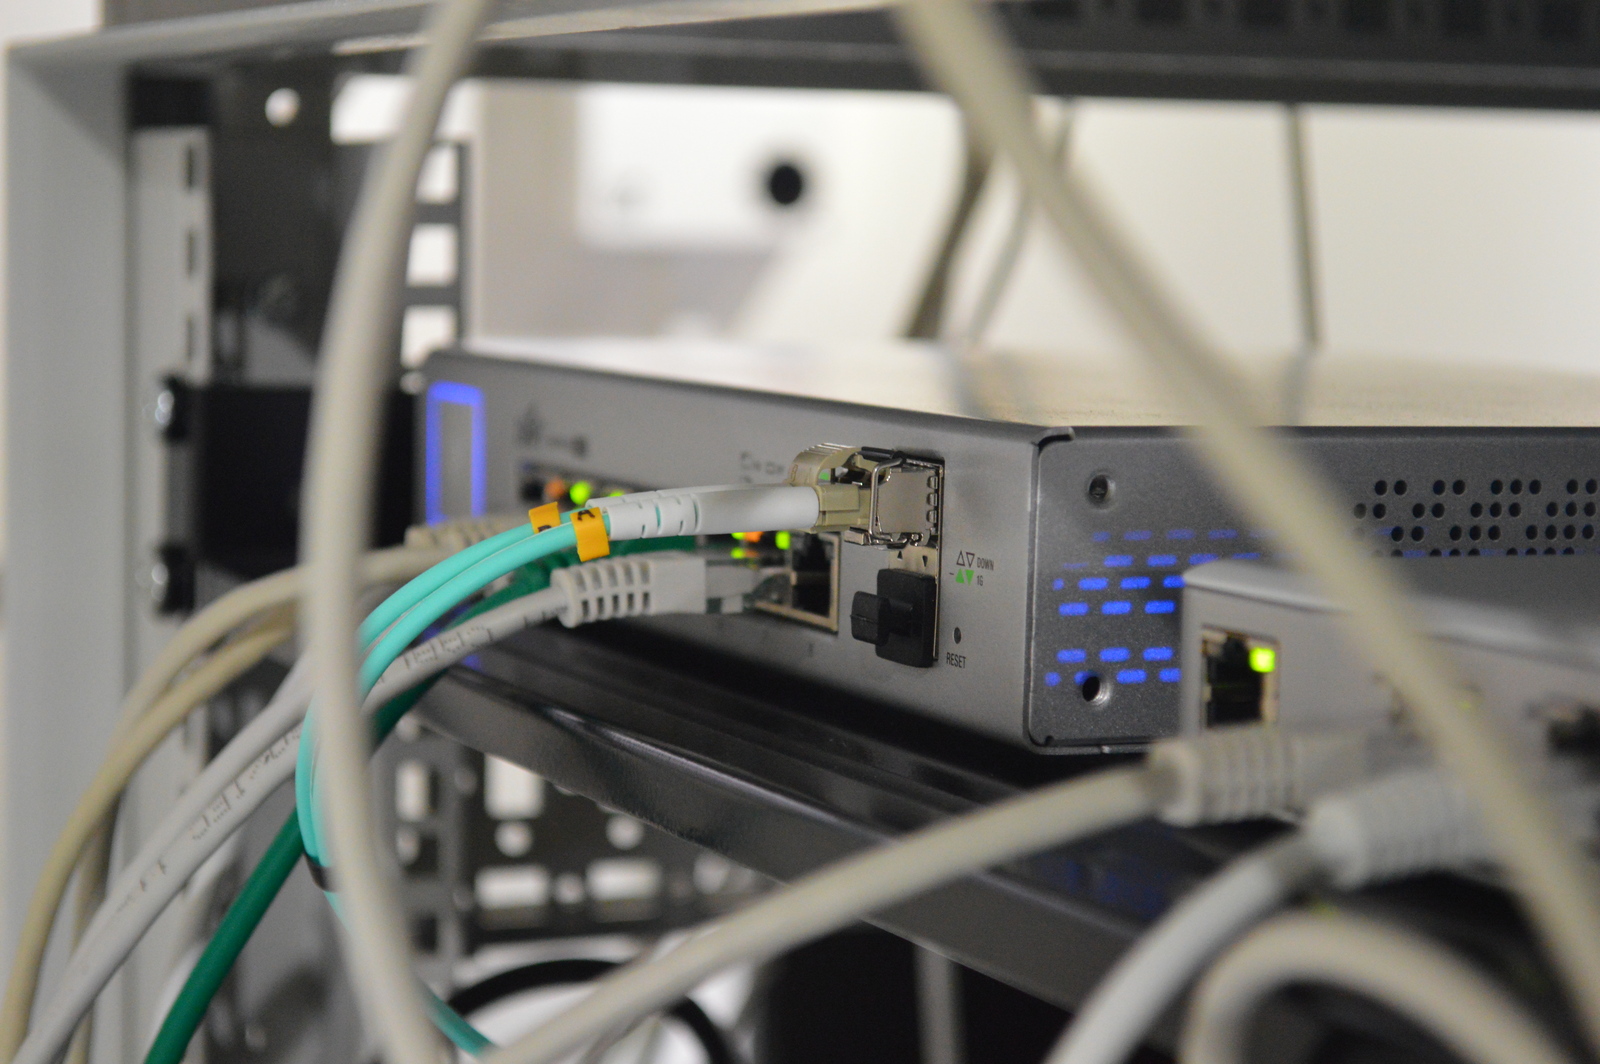
I got a set of two UniFi multi-mode 1Gbit fiber SFPs for the 16 and eight-port switch, and a one-meter fiber to go between them. I could just as easily have used a network cable, there is no performance gain, but I did save two Ethernet ports; one on each switch. And it looked cool!
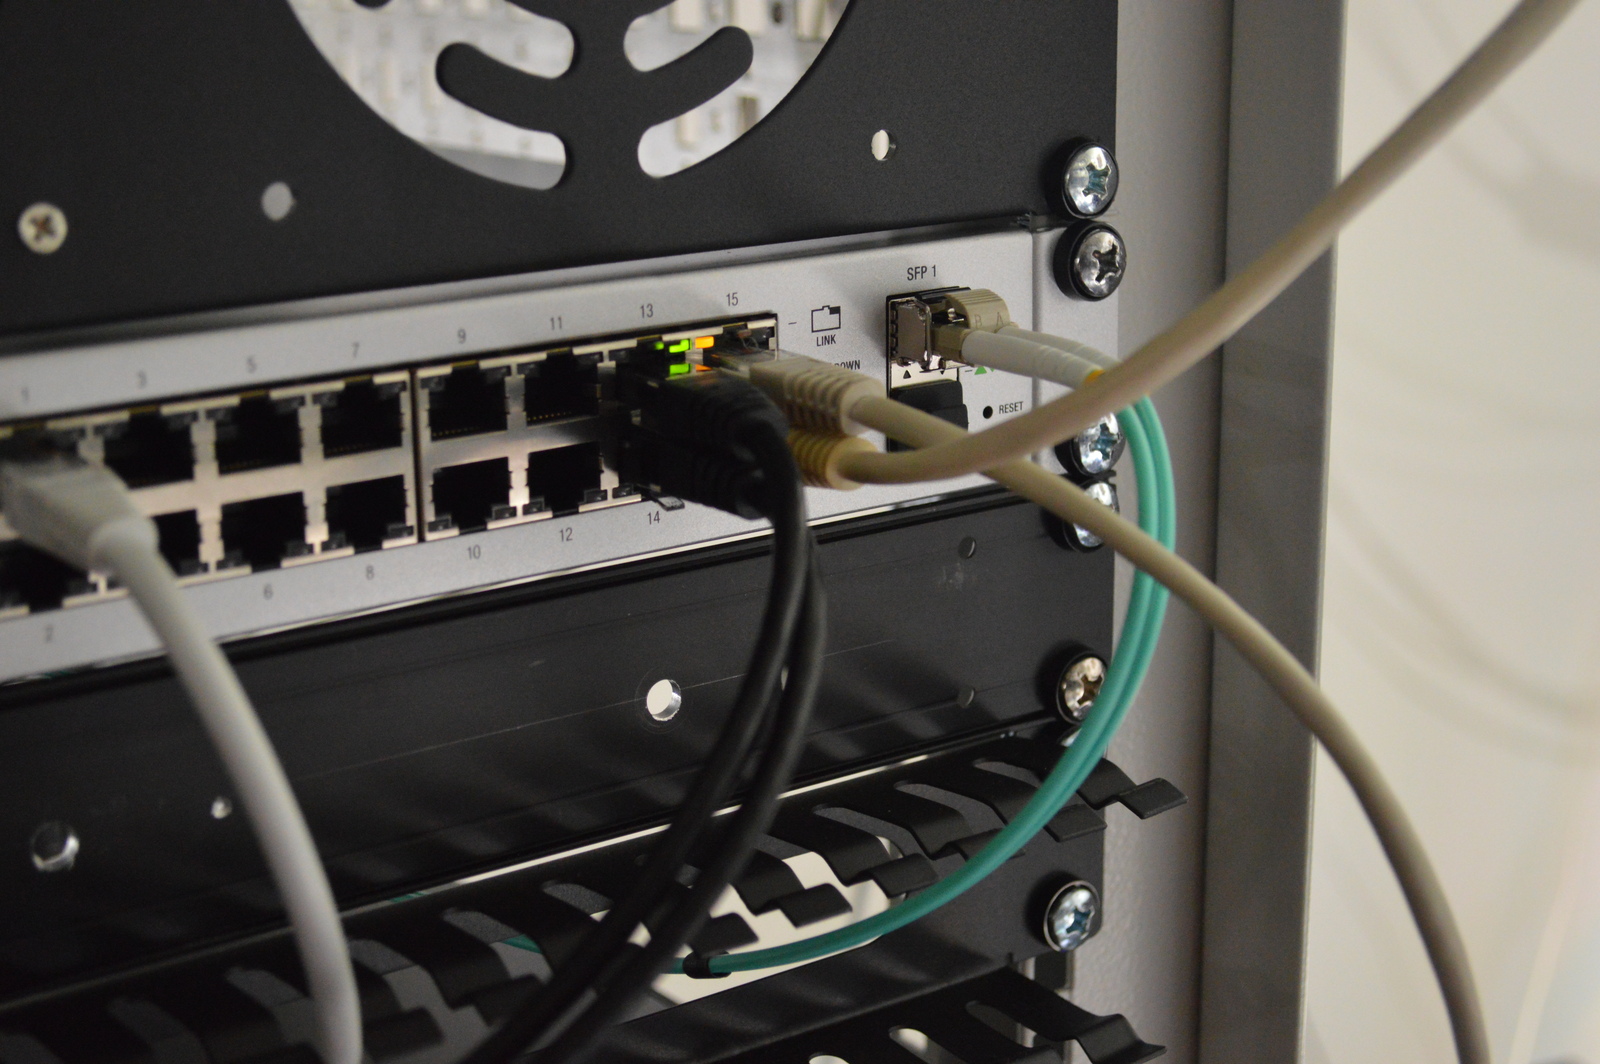
At this point, I had powered the 16 port switch and started to wire it.
The first server was in, wired and running! Yeay! I purchased adjustable server shelves off eBay for all servers. I figured they were universal and would allow me to rack mount pretty much anything.
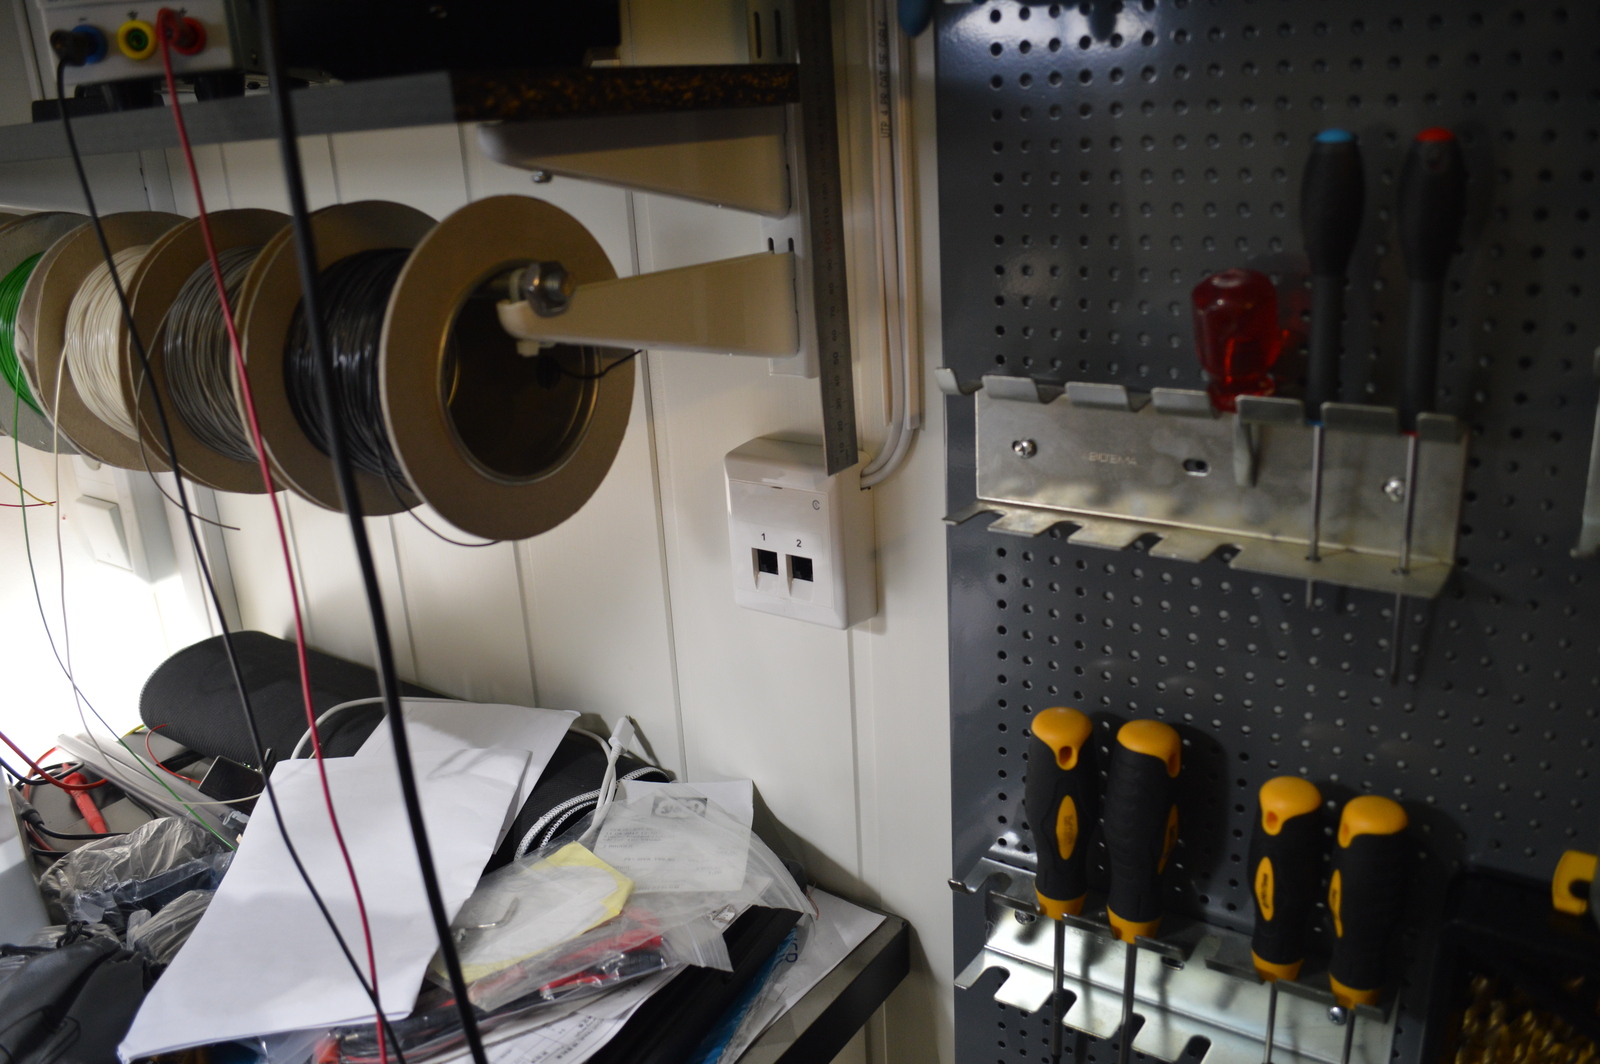
I installed a test plug in my electronics lab corner. It’s pretty handy to have a network socket readily available when building and testing stuff.

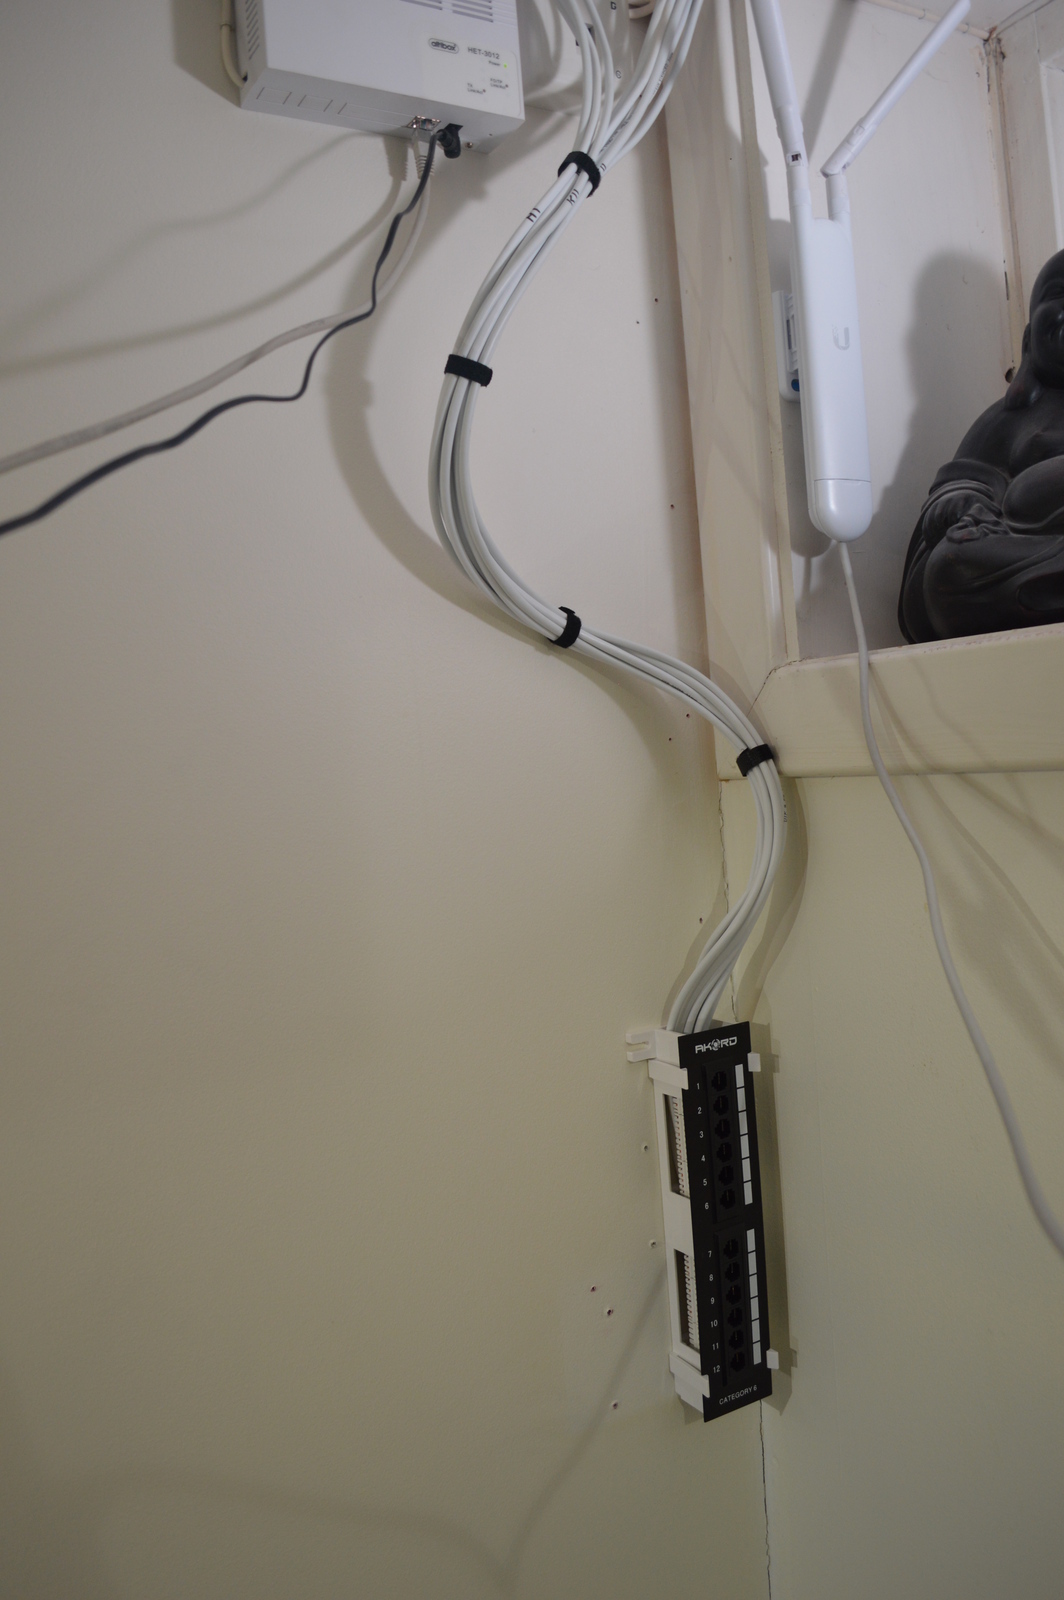
Next order of business was the patch panel; I got a 12 port CAT6 panel of eBay. Twelve ports would leave me two ports free for later expansion. The install was quick and easy. I left a bit of slack in the cables, you know; for later adventures,
I have another eight-port UniFi PoE switch in the home office, on the wall facing the homelab rack.
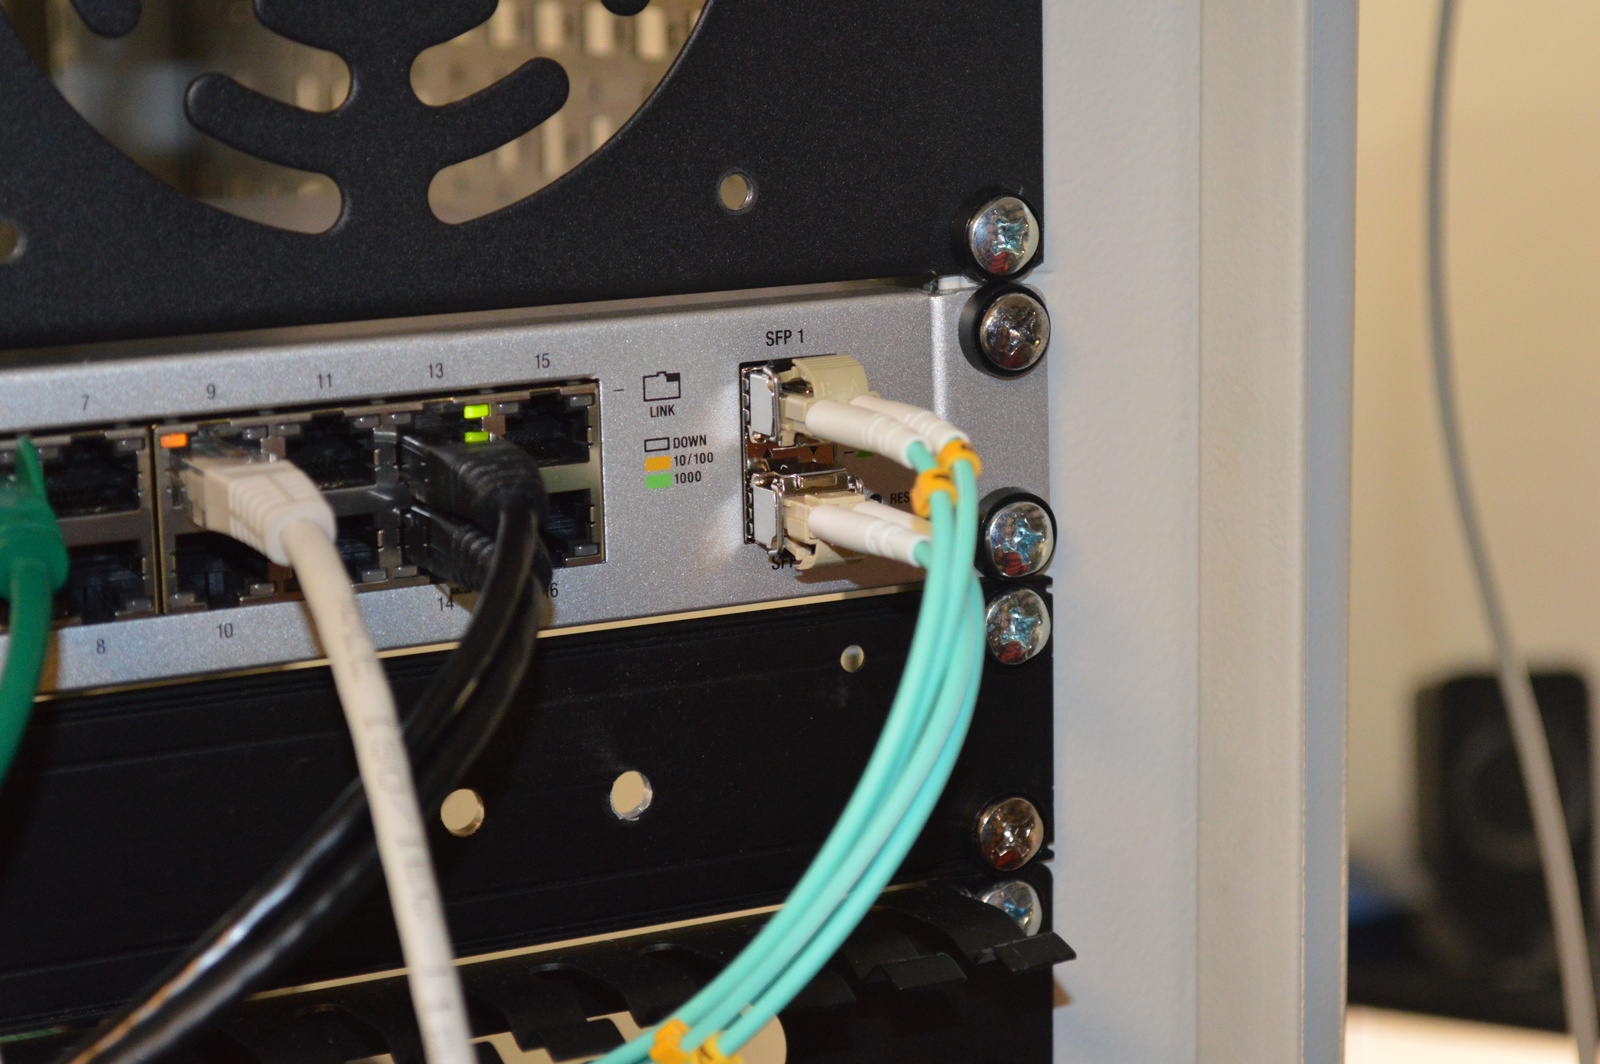
I got another pair of UniFi multi-mode 1Gbit fiber SFPs and 10-meter fiber and connected this switch to the 16 port with fiber as well. Again there is no performance gain, but again I did save two Ethernet ports. And again; it was cool! 🙂

All cables leaving the rack have enough slack that I can pull the rack from its location in the corner and about two meters out onto the floor. That gives me easy access to the backside and patch panel should I need it. No cables touch the ground though, so no dust build-up and it’s easy to vacuum the floor.

I mounted a power distributor on the wall next to the fiber media converter so that I could connect this to the rack UPS as well.

After having some problems with my QNAP NAS, and the fact that it restarted three times in one day without any apparent reason; I decided enough was enough. I returned the QNAP and spent the extra money to get a high-quality NAS; a Synology DS416play. I also replaced the white painted wooden board I used to have at the bottom of the rack with a proper rack shelf.
The next server got installed and I put in shelves for a third.
More network and power cables.

I figured I couldn’t have a desktop computer standing next to this awesome looking rack, so I got yet another 4U rack case. Again identical to the two I already had and moved my desktop computer components into it, and installed it in the rack. The observant reader might notice that there is a 1U gap between the servers, and wonder why that is. Well, the adjustable rack shelves had an unforeseen, at least to me, property.
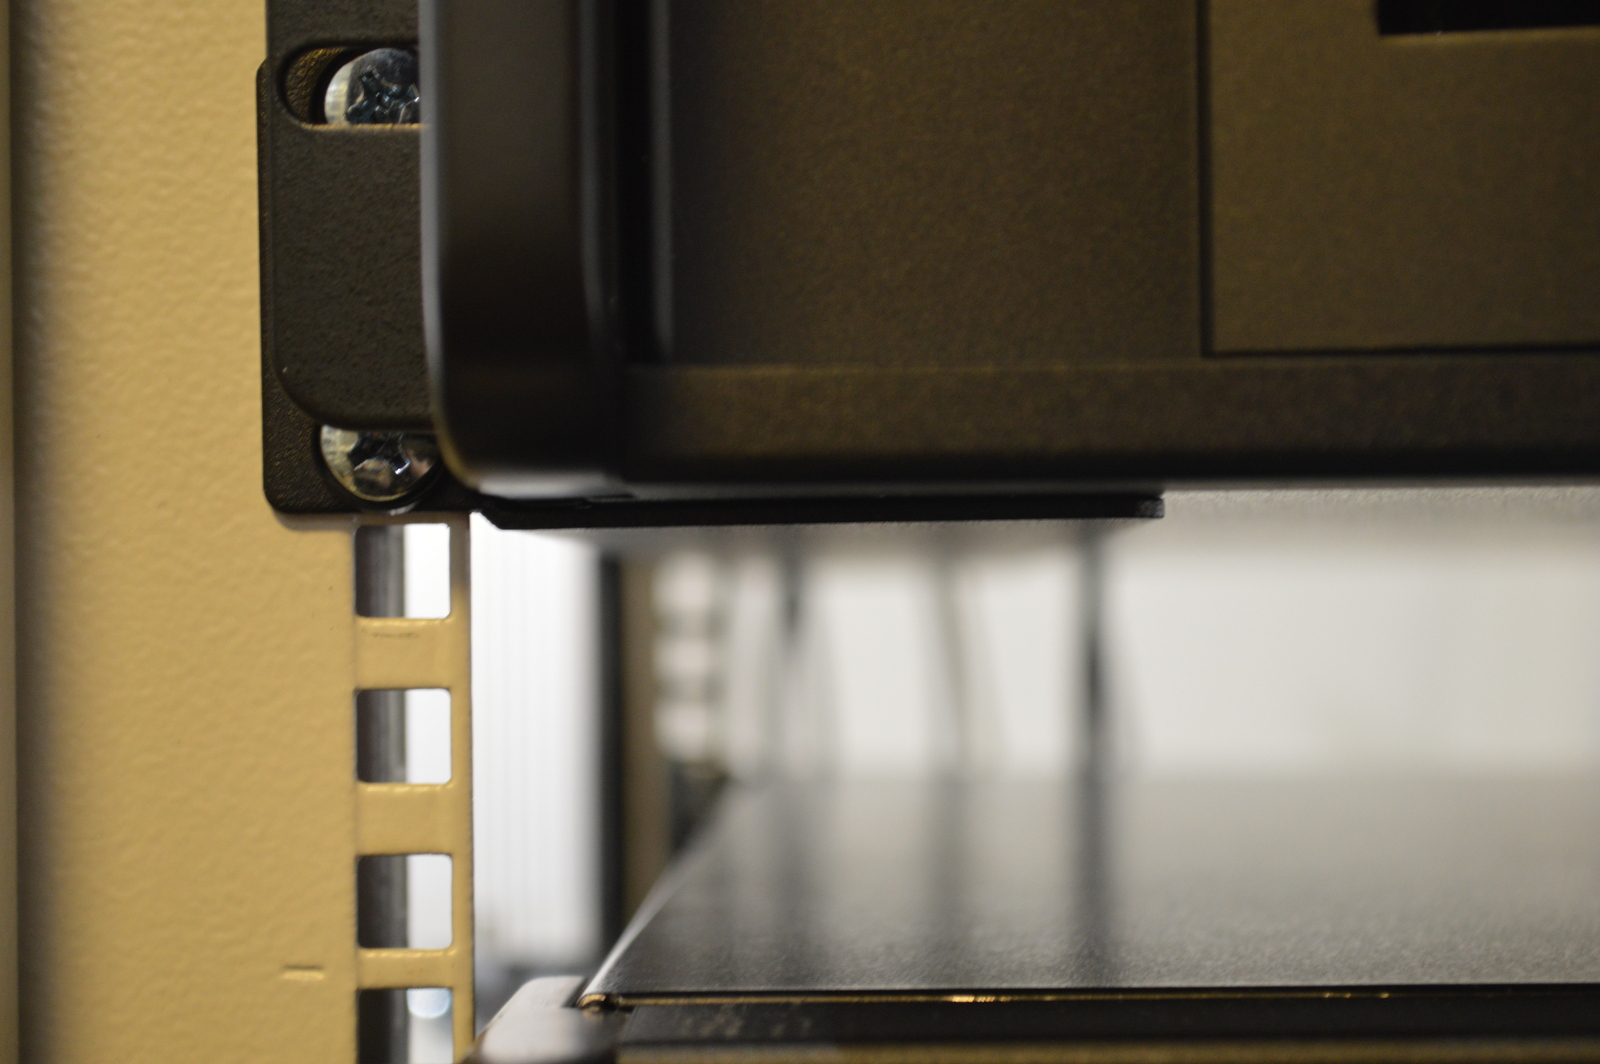
They protrude a few millimeters below their rack unit, just enough that the server below does not fit. This fact is understandable, with the way that they are constructed. But it’s not something I considered. Alright; fine, so there is a gap. But I needed to close that gap with something, so I got 1U vented blank panels. Ventilated because I liked the rugged look.
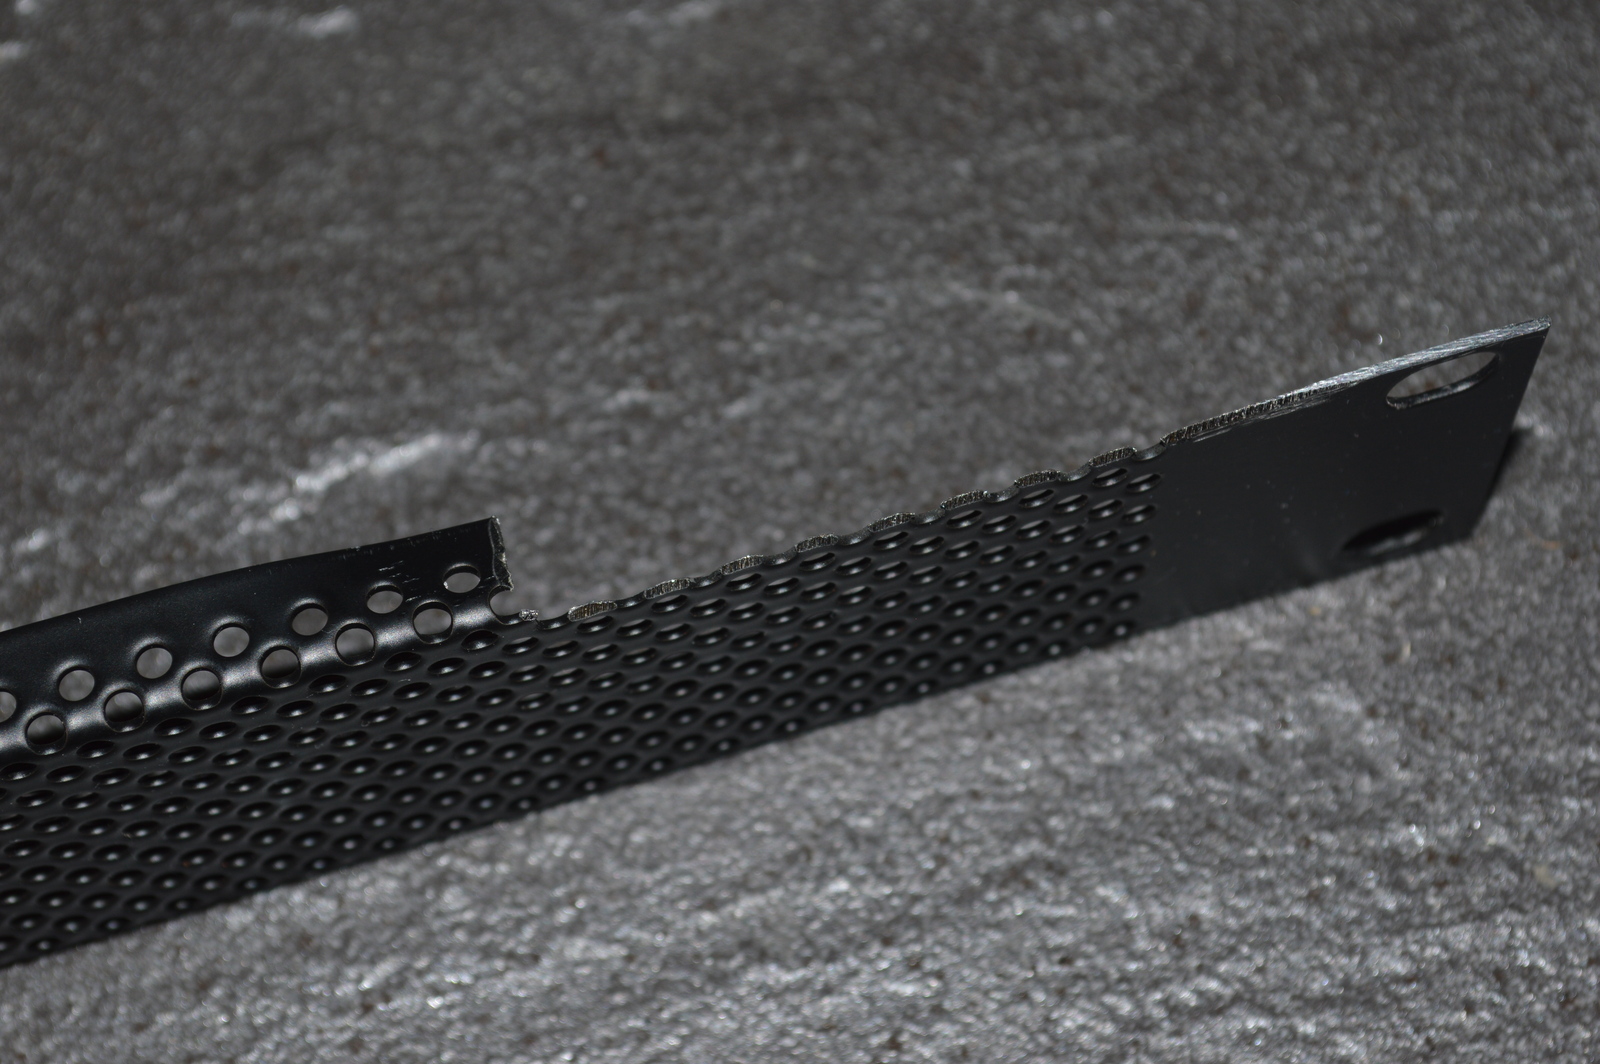
To make them fit without interfering with the rack shelf I had to cut away a section on top of both ends. I used an angle grinder and bent both sides of the remaining crossbar, this to prevent any scratching on the underside of the servers.
That did the trick, the black plates fit nicely, and it ended up looking quite lovely.
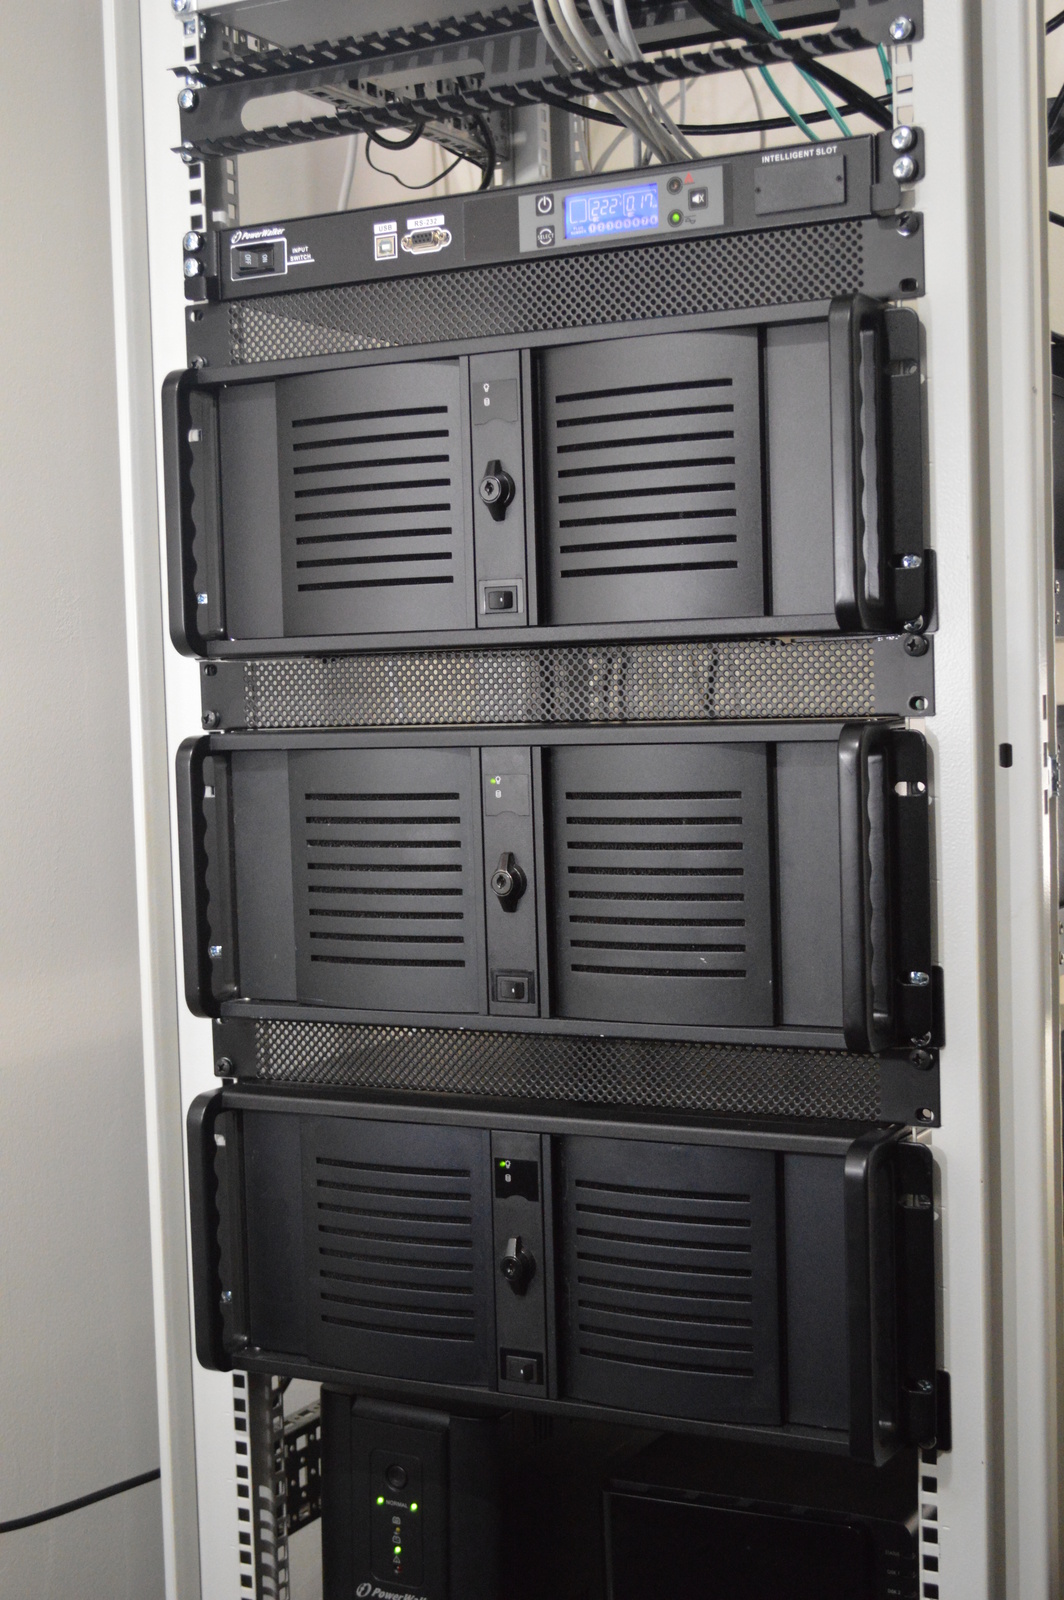
The next piece of tech I got was a PowerWalker ATS (automatic transfer switch), this allows the rack to have two power sources and switch between them without any interruptions. I connected it so that one supply goes through the UPS and the other straight from the wall socket. That allows me to test and do maintenance on the UPS without having to shut the rack down. I plan on getting a dedicated breaker circuit installed so that the rack can be on two different breakers. You know; redundancy 🙂
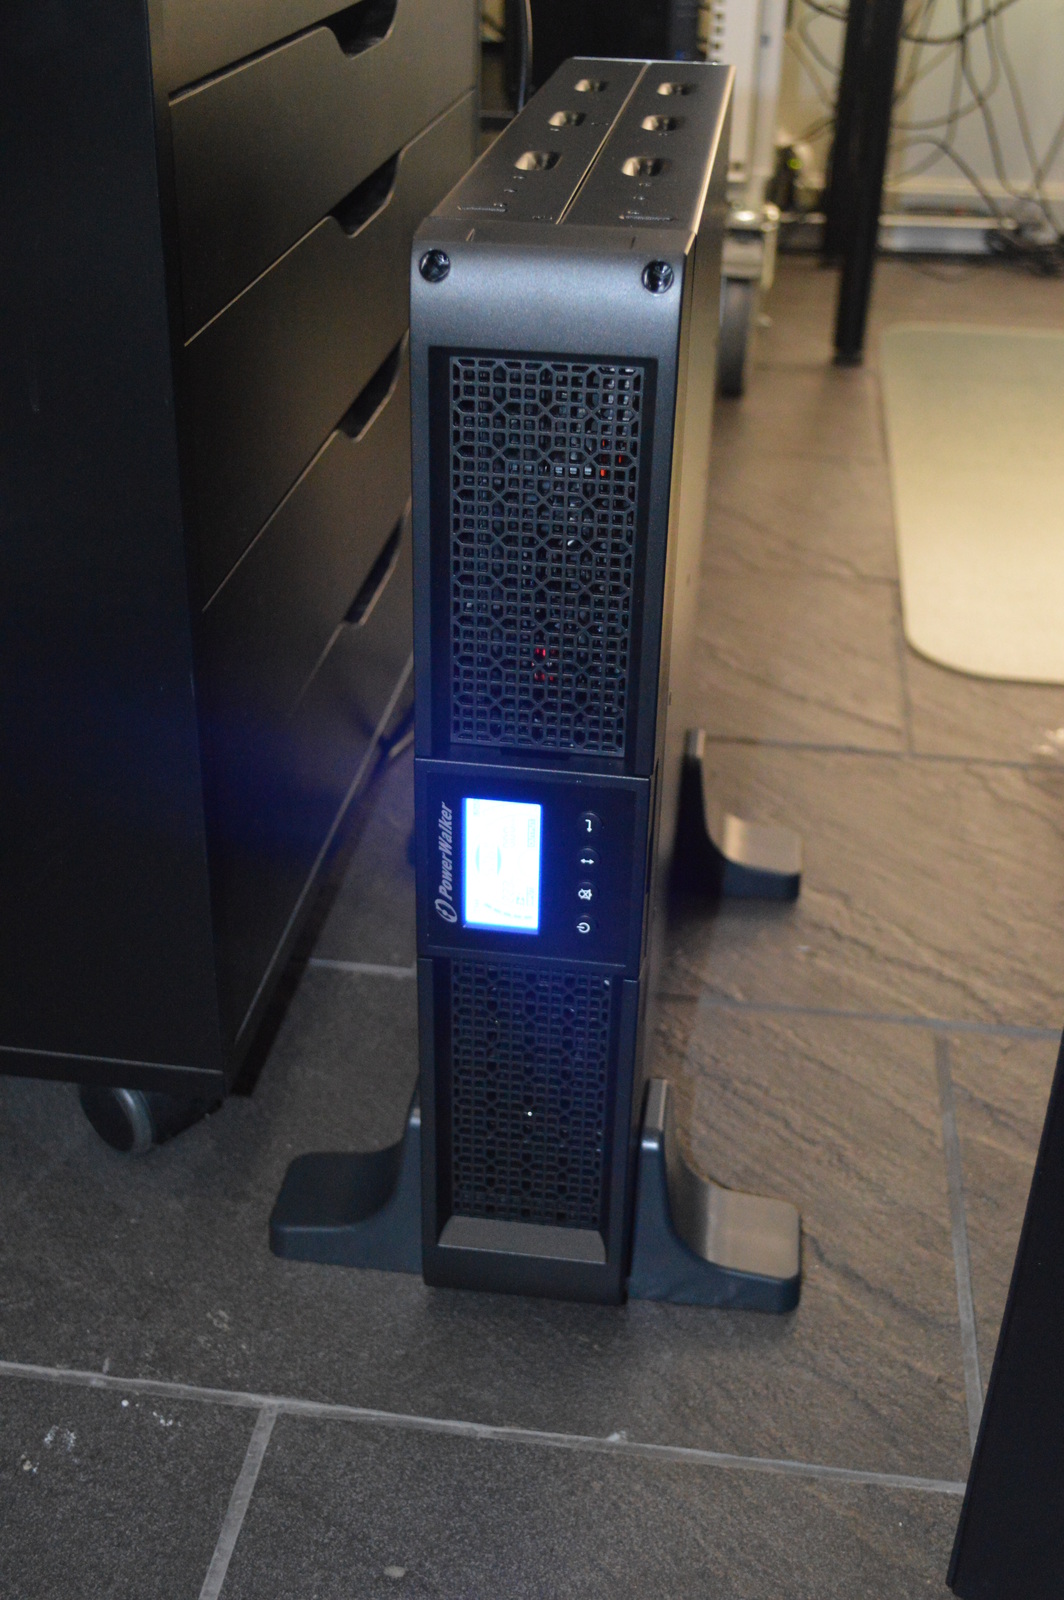
The rack is starting to look pretty good now, but the bottom shelf with the NAS and UPS is not fitting in. Time to do something about that. I got a PowerWalker line interactive 1500VA UPS, with pure since save. And the best part is that it’s completely silent when the load is below 80%. The UPS is both tower and rack mountable. Yes, I have a lot of BlueWalker equipment, I like their stuff, and I like their pricing 🙂
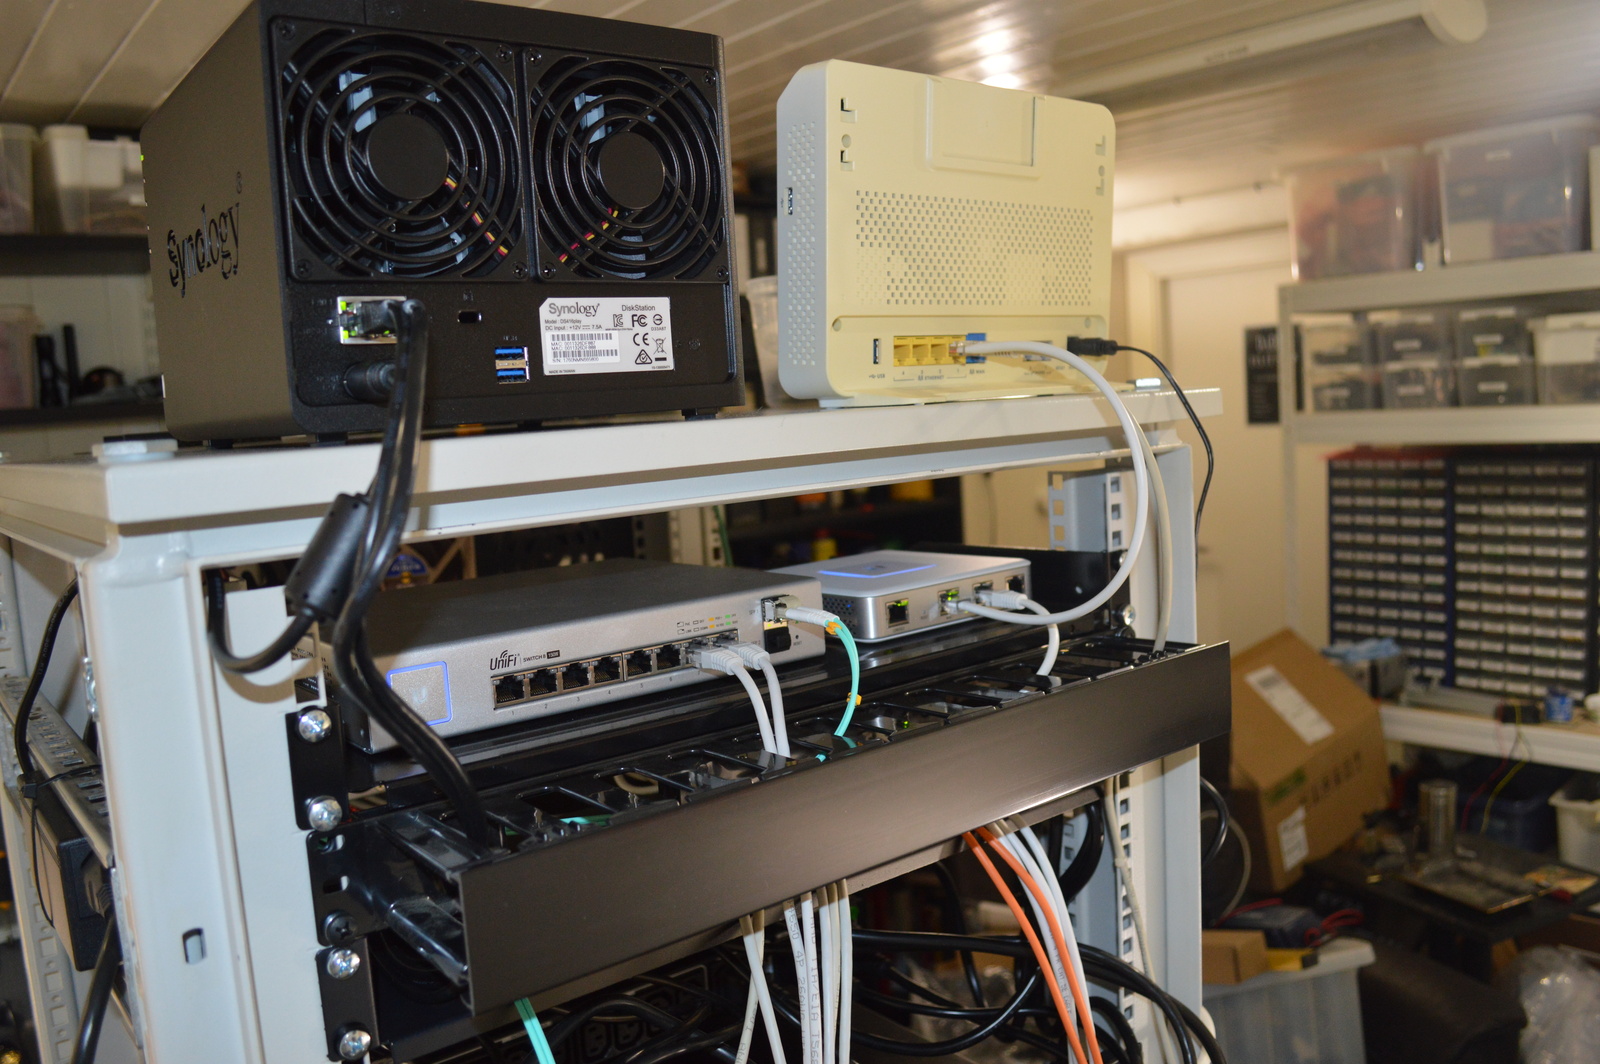
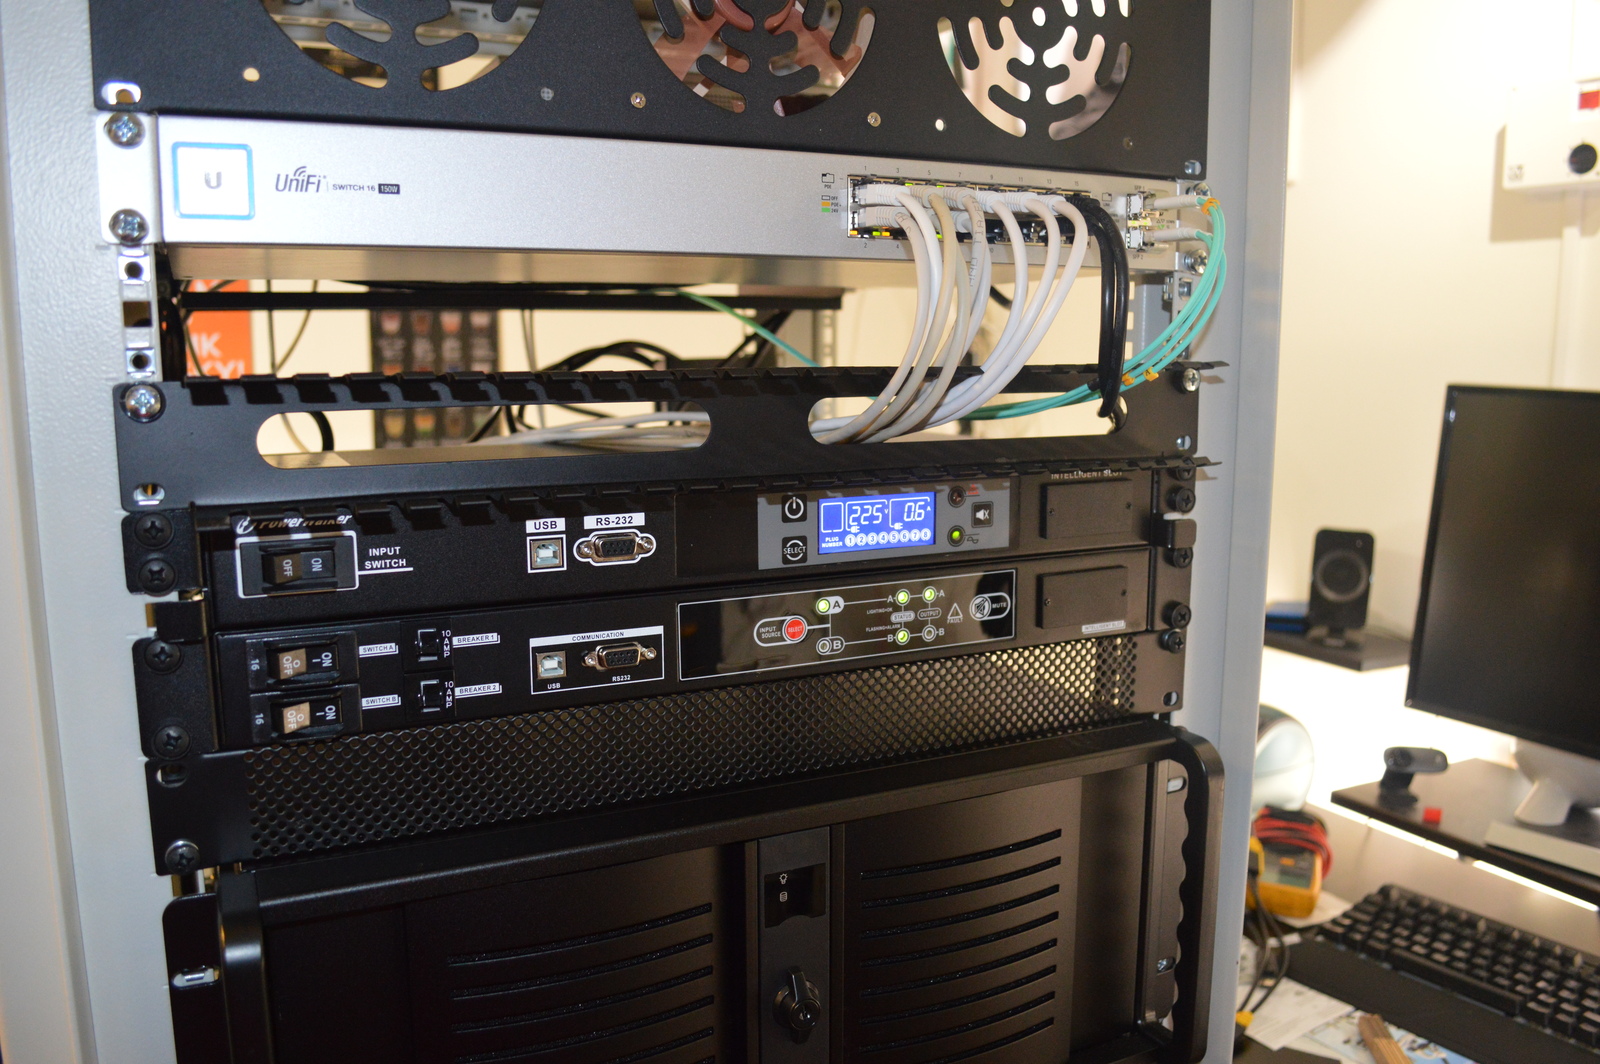
I had to move the Synology NAS to the top of the rack to free up space for the new rack-mountable UPS. I later removed the cable organizer at the back of the rack, as it was obstructing the hot exhaust air flow.
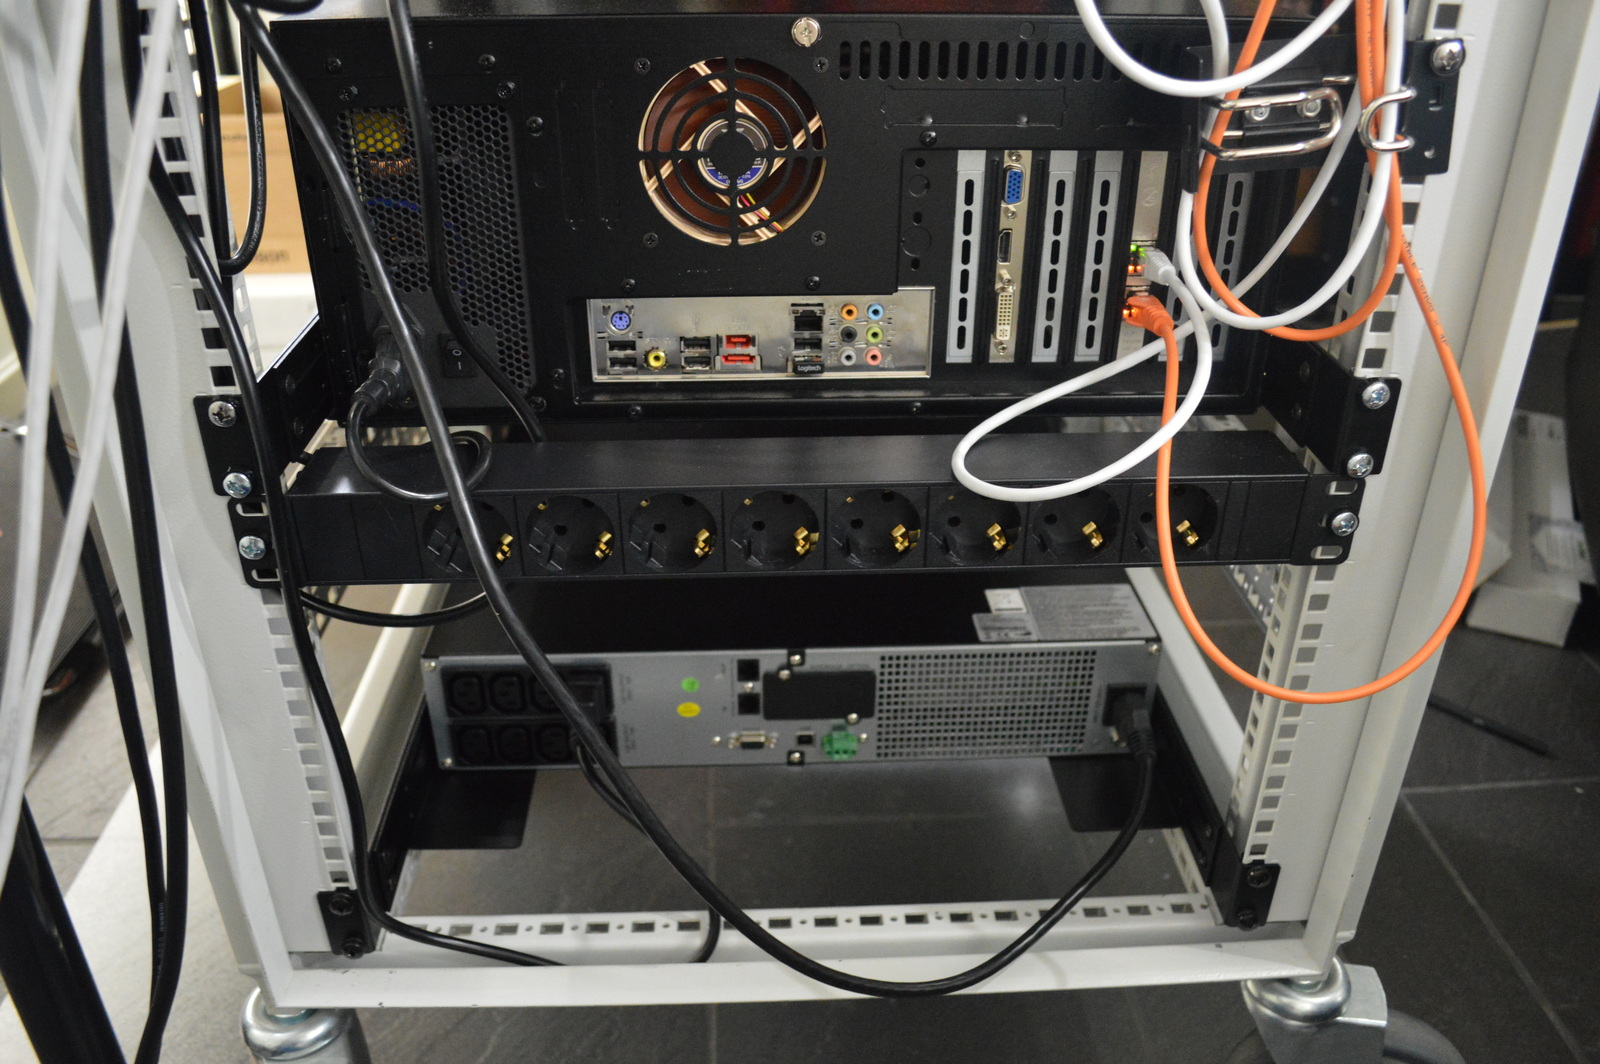
I moved the power strip down, just above the new UPS. I use that for peripherals. The UPS is connected to the primary power source on the automatic transfer switch, which again is connected to the power distribution unit.

I installed a cable manager below the 16 port switch in the front. That cleaned things up nicely!

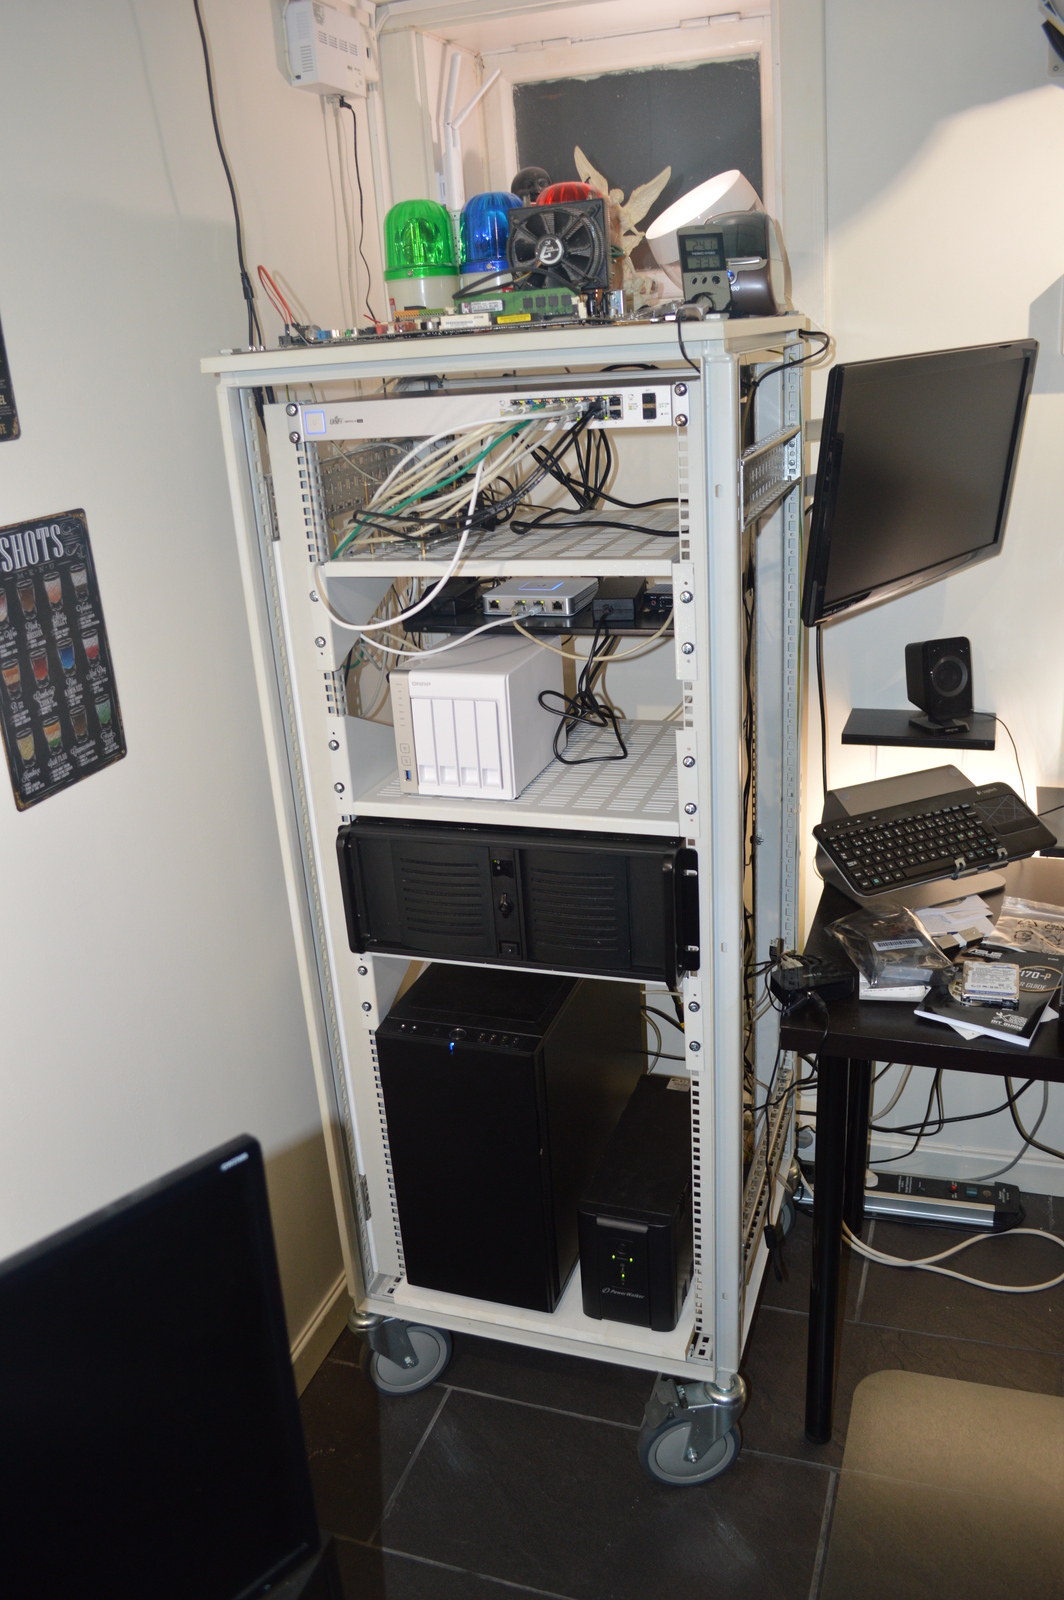
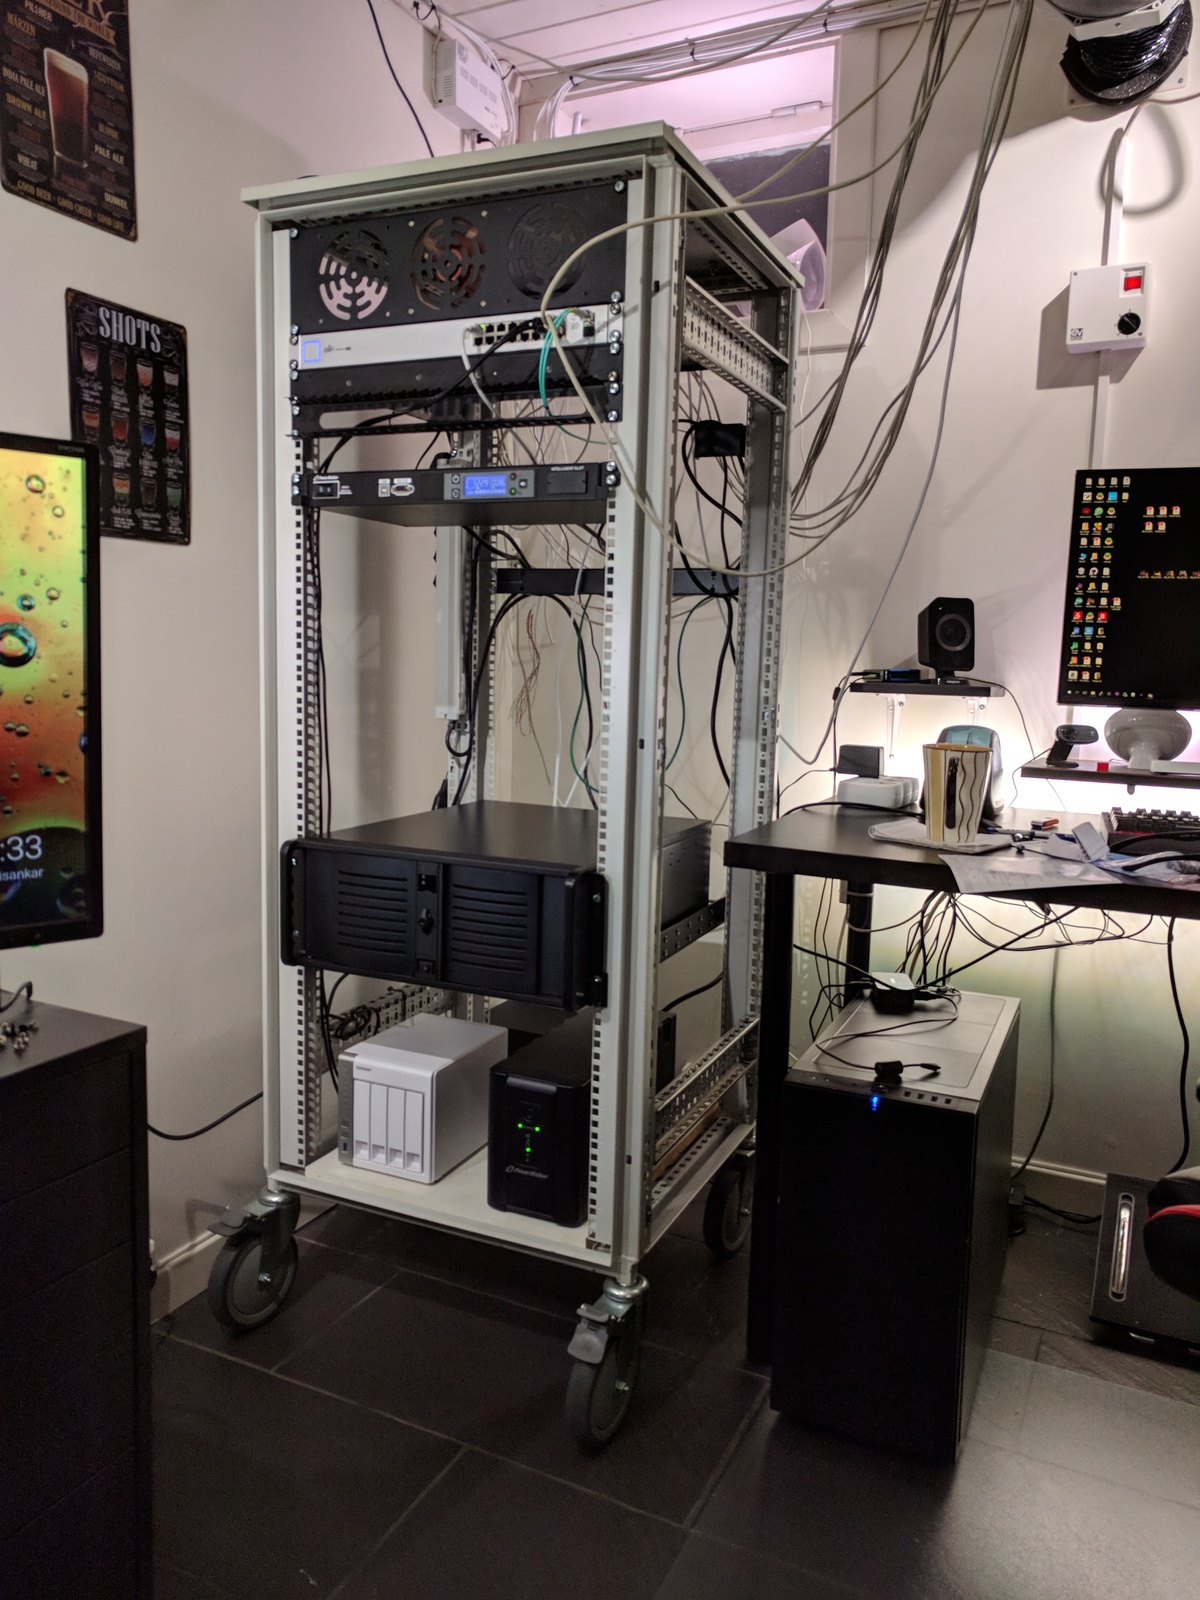
So this is how it looks now; obviously I am just getting started!
Last commit 2024-11-11, with message: Add lots of tags to posts.
