When watching a few Linus Tech Tips videos on YouTube, I noted that he mostly used UniFi wireless access points. So I started reading about this series of products, and it didn’t take long fore I realized that I had to have it. I was already looking to replace my current router, as I wanted the WiFi access point to be placed more central in the house. And that didn’t work with a combined router and WiFi device. In the end, I replaced all my network infrastructure 😛
Table of contents
Introduction
I’ve been using an ASUS RT-N66U Dark Knight 11n N900 router for the last four years, after flashing it with Tomato I was pretty happy with it. Our internet fiber ends in my office, so that is where the router is. But it’s not a good place for the access point, as it is in the basement corner of the house. So I was already looking to split the router and access point when I stumbled onto the UniFi series from Ubiquiti Networks.
I first purchased the USG and AP AC-PRO, after getting them and seeing just how excellent this system was I was hooked. So, in the end, I got the following:
- 1 x UniFi Security Gateway 3P
- 1 x UniFi AP-AC-Pro
- 1 x UniFi AP-AC-Mesh
- 1 x UniFi Switch 16 POE-150W
- 2 x UniFi Switch 8 POE-60W
- 2 x UniFi Switch 8 POE-150W
UniFi controller
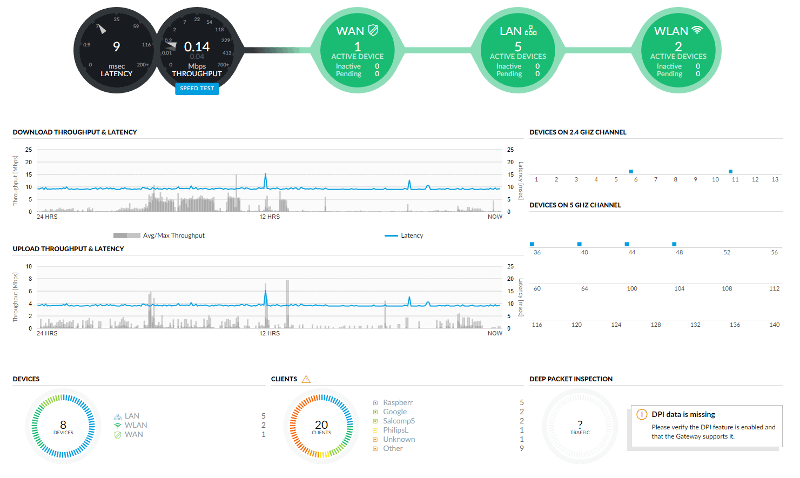
UniFi products need a controller to configure the devices, the controller is not required for operation, but then you miss all the fancy statistics. There is a hardware controller that you can buy, the CloudKey, or you can run the controller software on pretty much any computer.
I already have a small VPS that serves as my “home away from home server”; so I went ahead and installed the UniFi controller on this. That way it always runs, and I don’t have to worry about it. It’s also possible to run the software on a Raspberry Pi, I’ve been told.
The UniFi controller is in many ways what makes the system, having all network configurations in just one place is very convenient. I can modify VLANs, wireless networks, routing, firewall in one location and it will be provisioned to the devices as needed. There is even an app so you can do it on your phone! 😃
My networks
Since all my switches are now managed, I can segment my network in ways not possible before. Here are my networks:
CCTV
I have a few cheap CCTV cameras from China, and for security reasons I’ve put these on a dedicated CCTV VLAN. Their traffic is not allowed to leave this network, but traffic is allowed in. That means that these cameras have no internet access and no way of communicating outside their network, but I can connect to from my management and data LANs.
Firewall rules for LAN IN
- Rule Applied: before Predefined Rules
- Action: Reject
- Protocol: All
- States: New, Invalid
- Source
- Type: Network
- Network: CCTV NETv4
DMZ
The DMZ, or demilitarized zone, is where I put all devices that are reachable from the outside world. Like web, FTP and SSH servers. This network is only allowed internal and internet traffic, so they only see other devices on the DMZ network and the web. If one of them were to be compromised; at least the management and data LANs would not be affected.
Firewall rules for LAN IN
- Rule Applied: before Predefined Rules
- Action: Reject
- Protocol: All
- States: New, Invalid
- Source
- Type: Network
- Network: DMZ NETv4
- Target
- Destination Type: Address/Port Group
- Address Group: 192.168.0.0/16 (Management and data LANs)
Firewall rules for LAN LOCAL
This is to disallow SSH traffic to the USG from this network.
- Rule Applied: before Predefined Rules
- Action: Drop
- Protocol: All
- States: All
- Source
- Type: Network
- Network: DMZ NETv4
- Target
- Destination Type: Address/Port Group
- Port Group: 22
Guest
For guest networks there isn’t a whole lot you need to configure, just set the “Purpose” to “Guest” and firewall rules and node isolation will be enabled for that network. The wireless guest network is also mapped to the Guest VLAN ID. So the same rules will apply both for wired and wireless clients.
IoT
I also have a dedicated VLAN for IoT devices; this does not have any firewall rules (yet), so all traffic is allowed in and out of that network. I do have a wireless network with a hidden SSID for all wireless IoT nodes. I find this useful as the WiFi password is hard-coded into some devices using the ESP8266. So that password can be long and random.
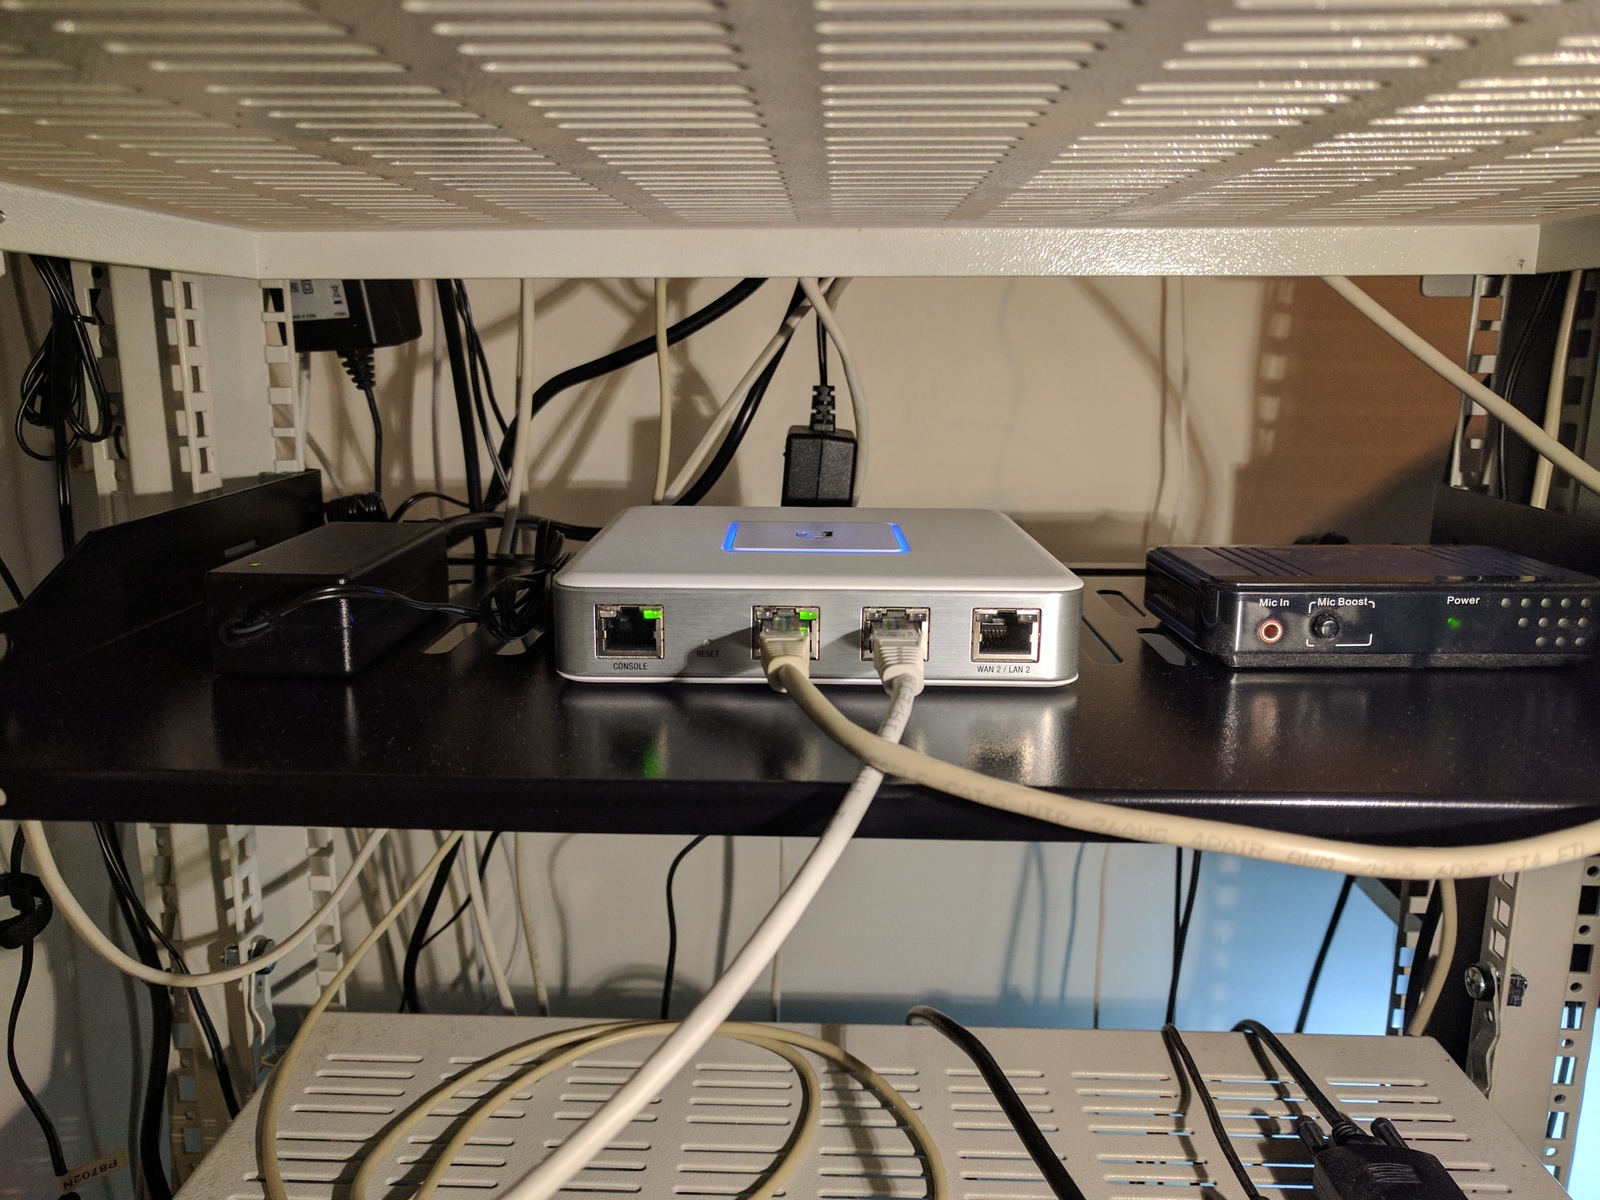
Switches and wiring
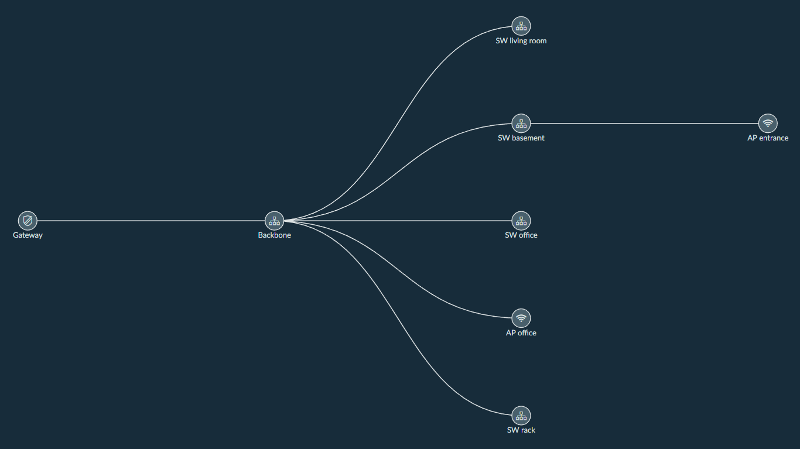
The USG is connected to the 16 port switch, which serves as my network backbone. So all other switches are downlinks from this switch. The backbone is mounted on the computer rack in the home office. I installed it on the lower left side of the rack instead of at the top because the temperature is lower by the floor, and this switch has a fan which turns on when the internal temperature reaches 70’C. And I’d like to avoid that; it is currently holding steady on 58’C.

Behind the computer rack, there are three dual RJ45 sockets, these end up in the living room, in the basement living room and on the other end of the home office. On the other end of those, I have eight-ports switches. There is also an eight-port switch on the rack for all my Raspberry Pi devices.
WiFi
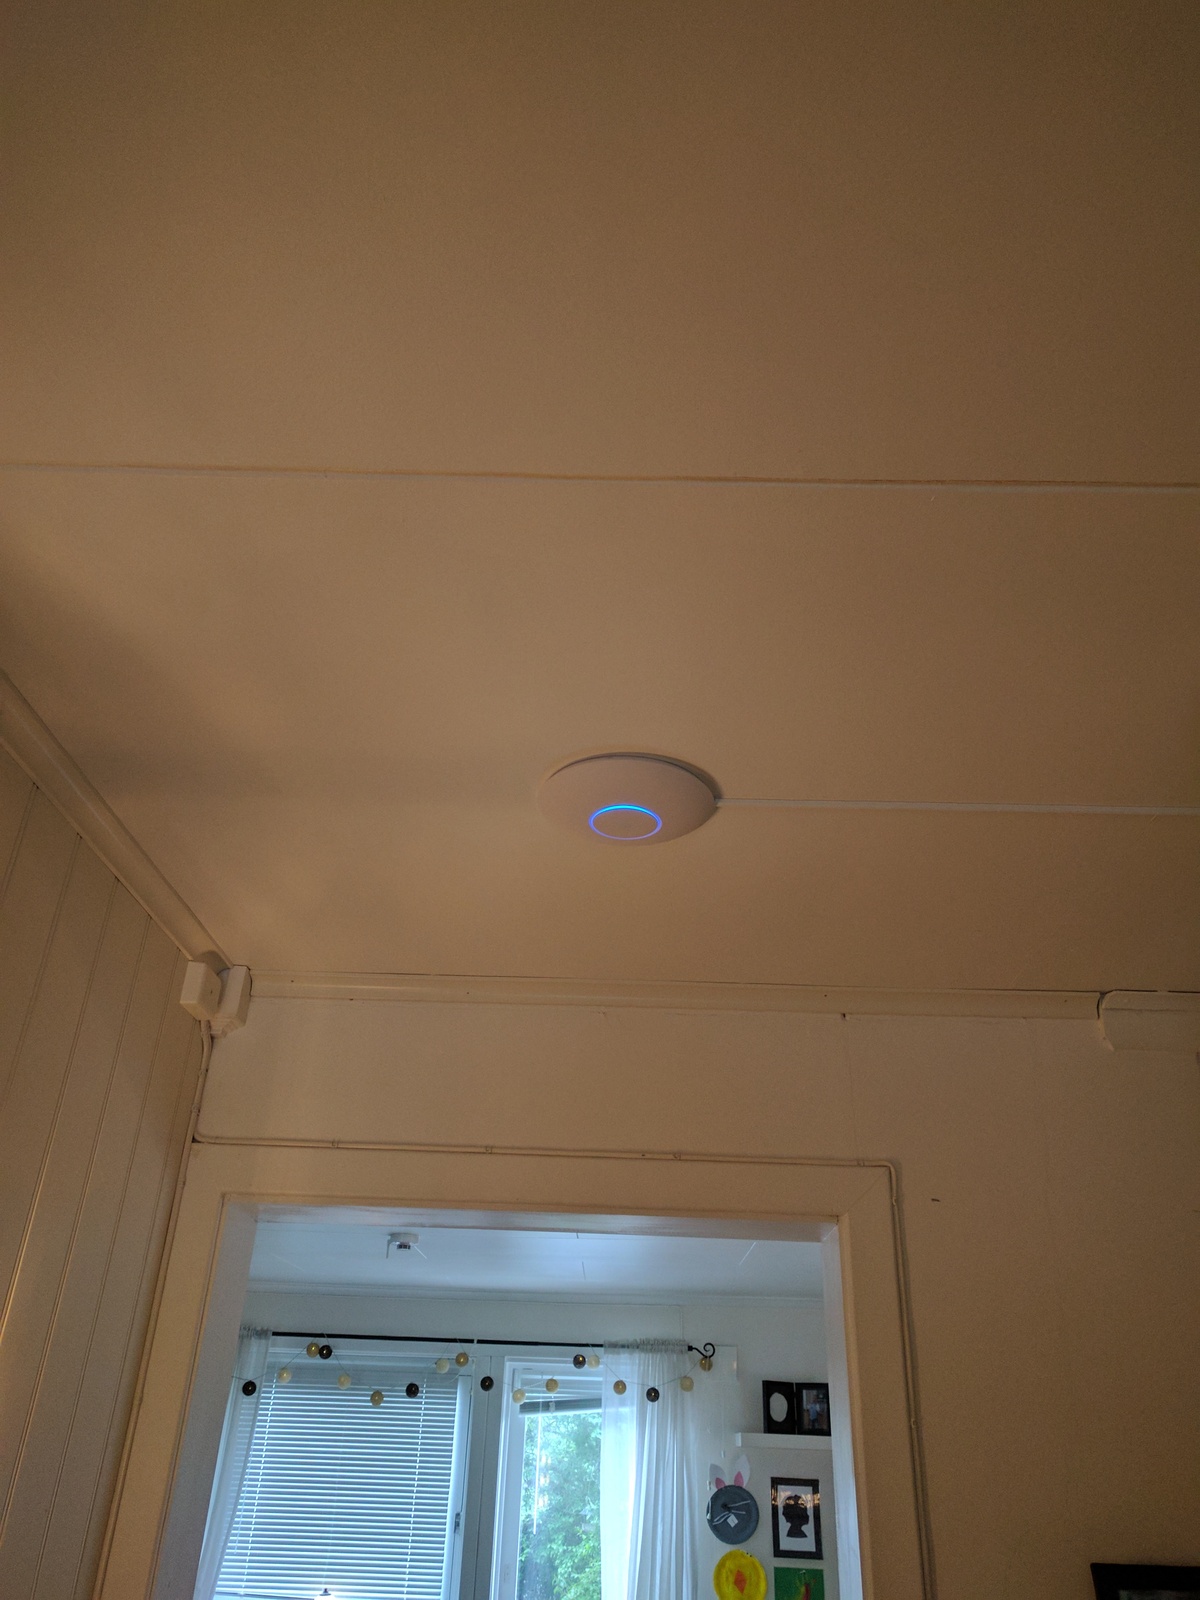
The AP-AC-Pro is mounted in the entrance ceiling on the first floor; this is as central in the house as I could get. That gave me excellent to good reception in every room of the house.
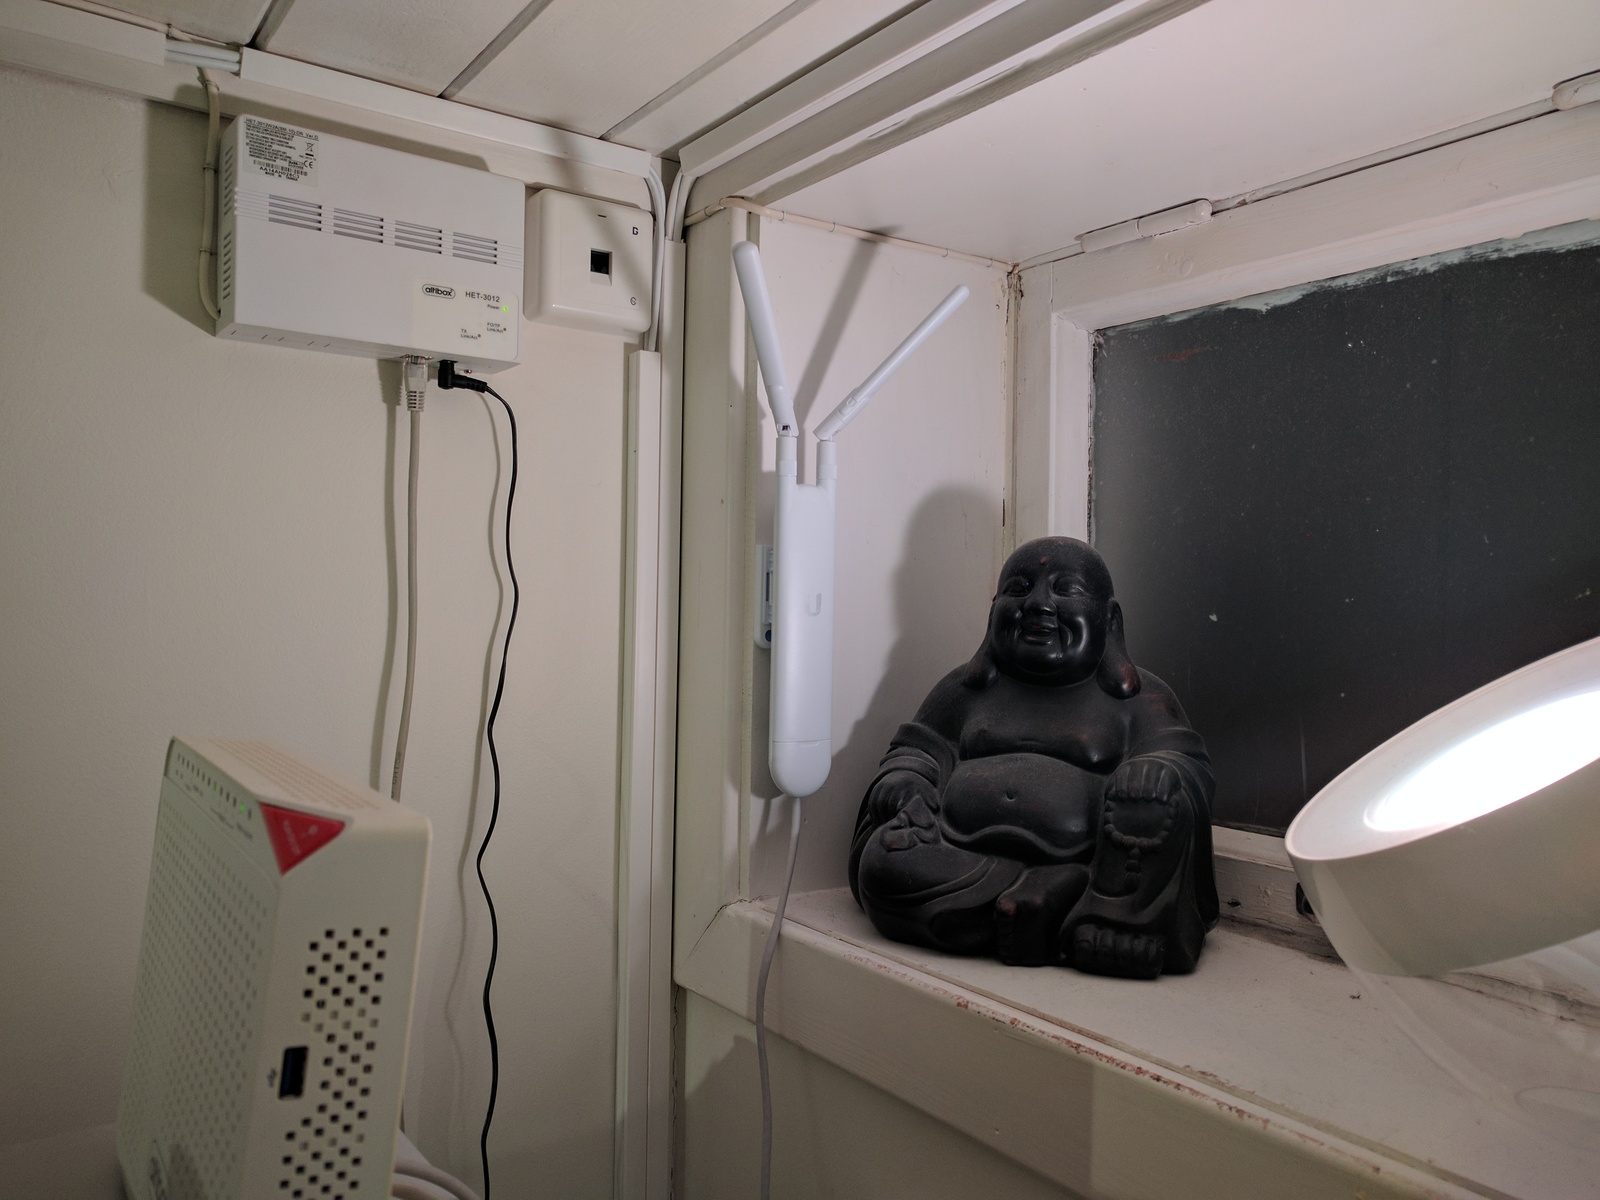
The AP-AC-Mesh is mounted by the window in the home office. I guess I didn’t really need this one, but it does provide a bit better signal on the porch since this is right outside that window. And, most importantly, it means that there is still wireless network available if the other access point drops out. And since the USG, the backbone and the AP-AC-Mesh are all connected to a UPS there would still be WiFi in the case of a black-out.
A few tips
I struggled a bit with the initial USG adoption by the cloud controller; this is what I did;
- Unplugged my current router and plugged in the USG.
- Opened 192.168.1.1 in the browser, set the inform URL and settings.
- SSH into 192.168.1.1 username
ubntand passwordubnt, used commandset-inform. - Even then the adoption failed a couple of times, so I just ran the
set-informcommand multiple times, and even during adoption.
I learned pretty much all about the UniFi system on the CrossTalk Solutions YouTube channel, it’s worth checking out.
Last commit 2024-11-11, with message: Add lots of tags to posts.
