I rebuilt the exhaust ventilation late 2017, but shortly after — I did the homelab ventilation project and had to remove parts of the exhaust system because it was in the way of the new insulated ducts. Time to rebuilt it!
Table of contents
First try
My first attempt was to lay the exhaust pipes around the new insulated ducts and move the intake down. I reasoned that this could “catch” the hot air as it exited the back of the servers in the homelab rack.
Well, this was a lousy design that did not work at all. As commonly known — heat rises. With the intake moved down, it wasn’t venting the hottest air in the room. And it didn’t “catch” the heat straight from the servers as I had imagined.
The new intake
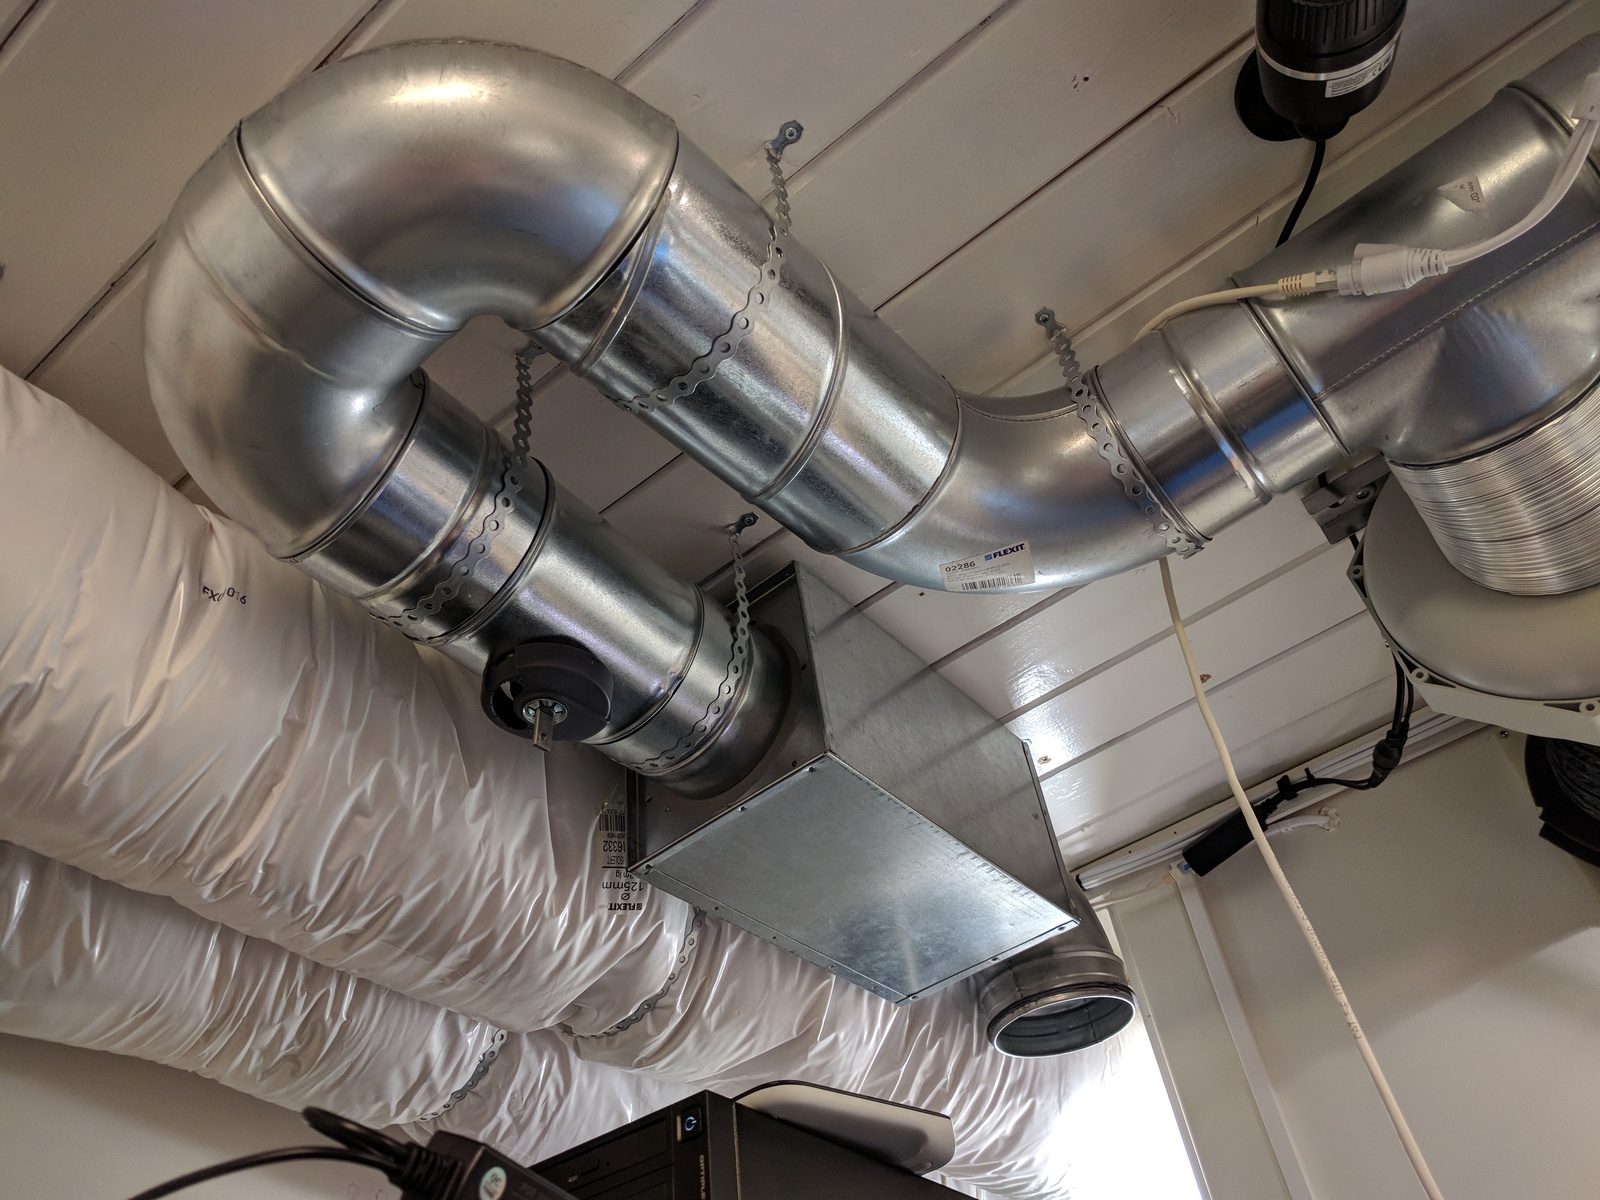
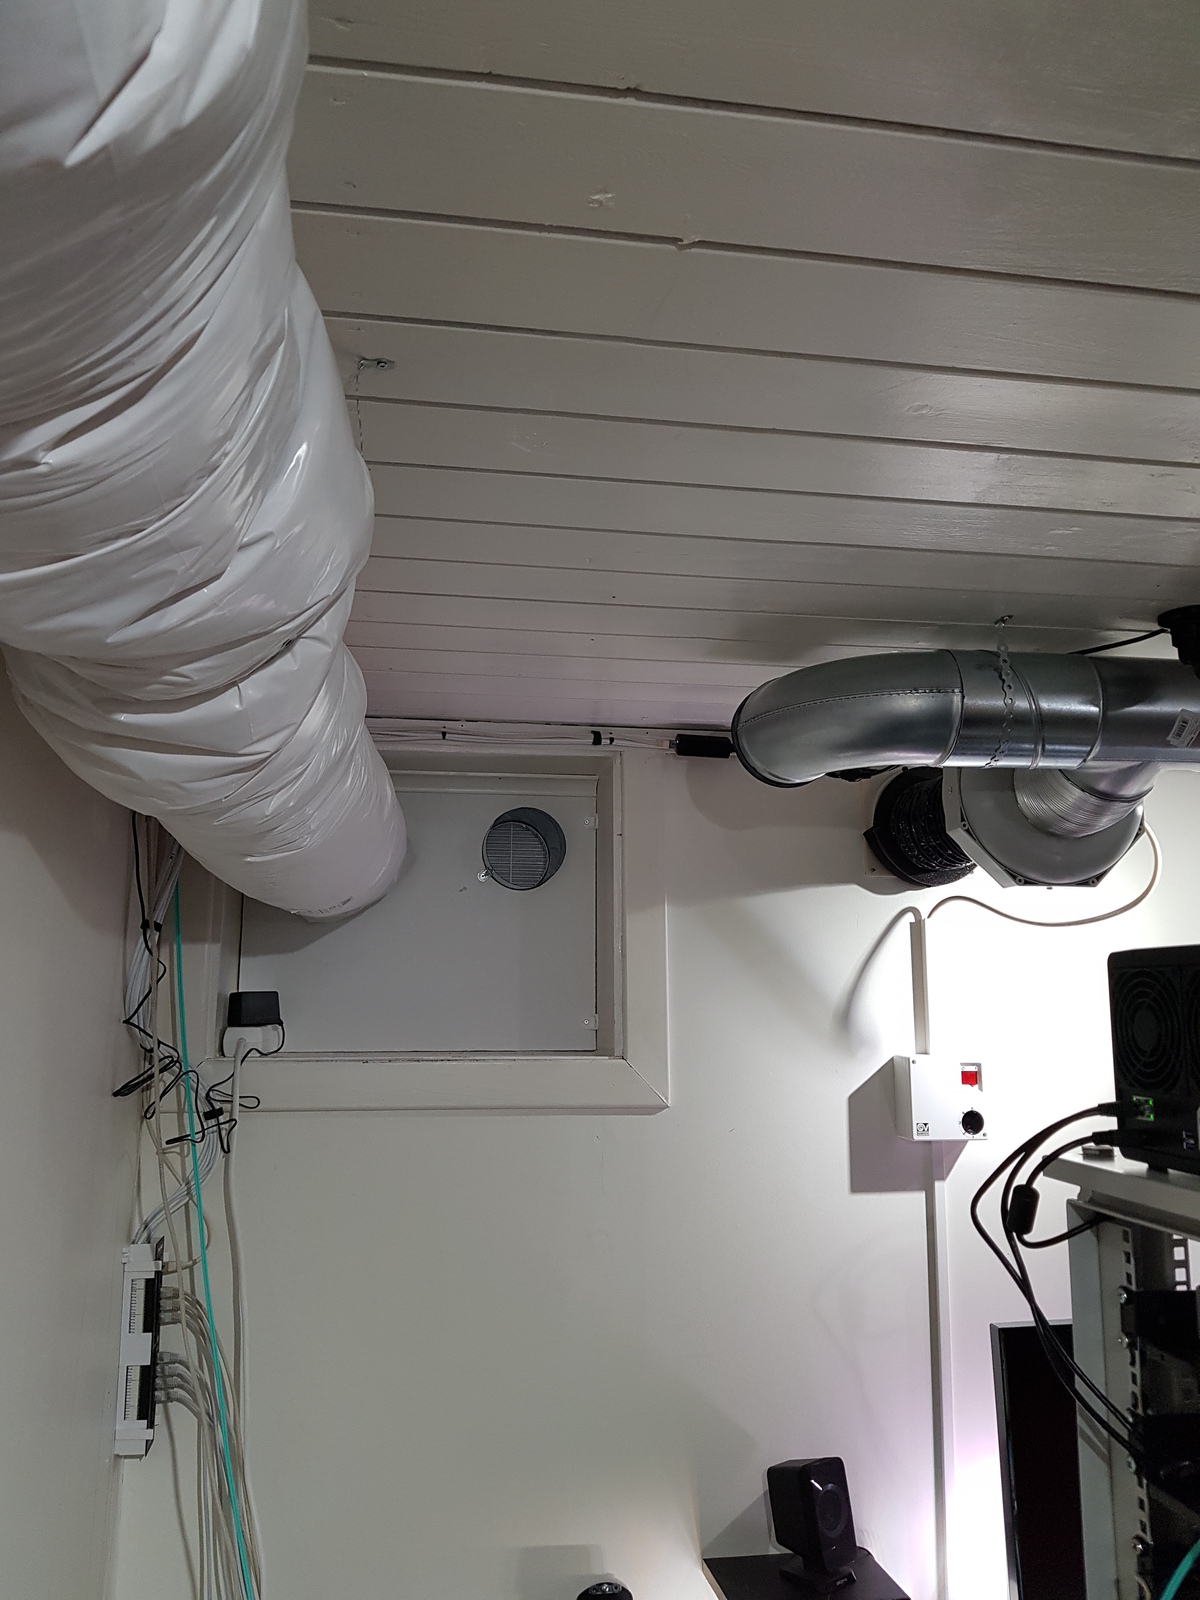
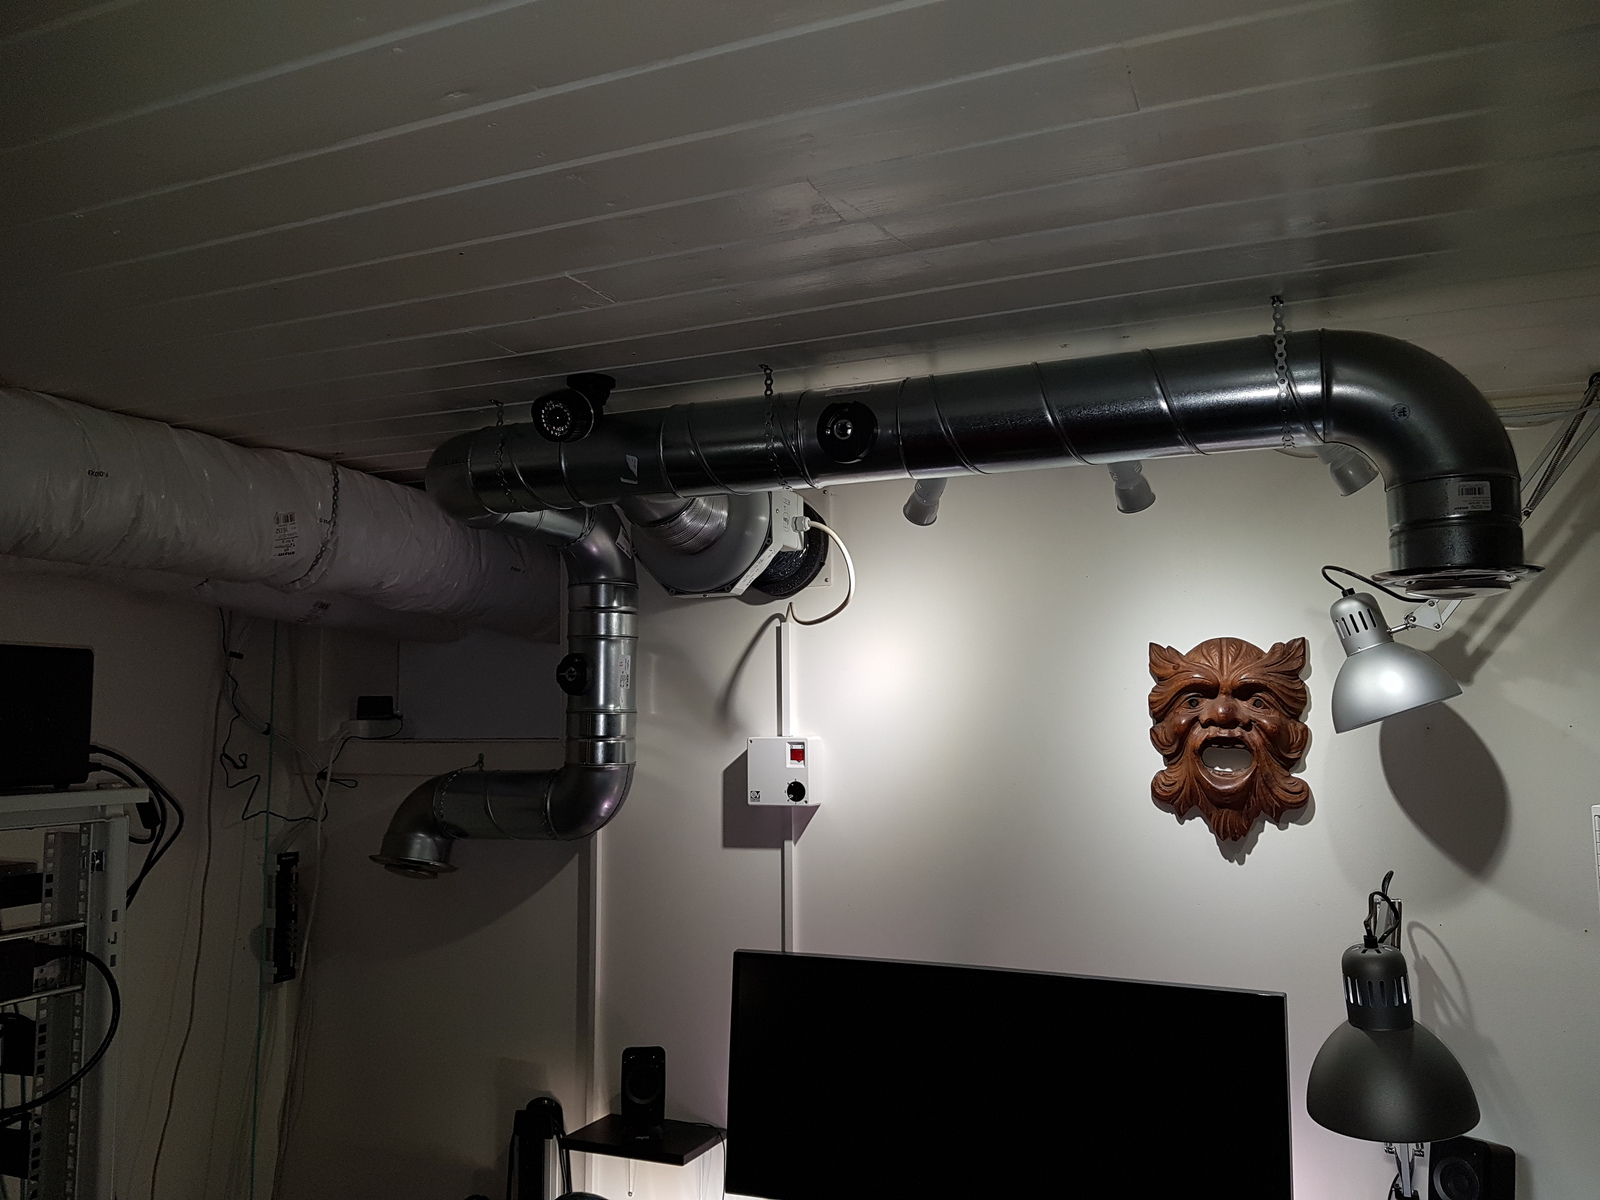
I took it apart and tried again. This time I focused on getting the intake as close to the ceiling as I could. I also installed a valve, which I will explain later, and a noise-trap.
To be able to fit all these parts, and still position the intake above the rack, I had to make a little detour. But luckily — I had plenty of bends and pieces leftover from my previous attempt.
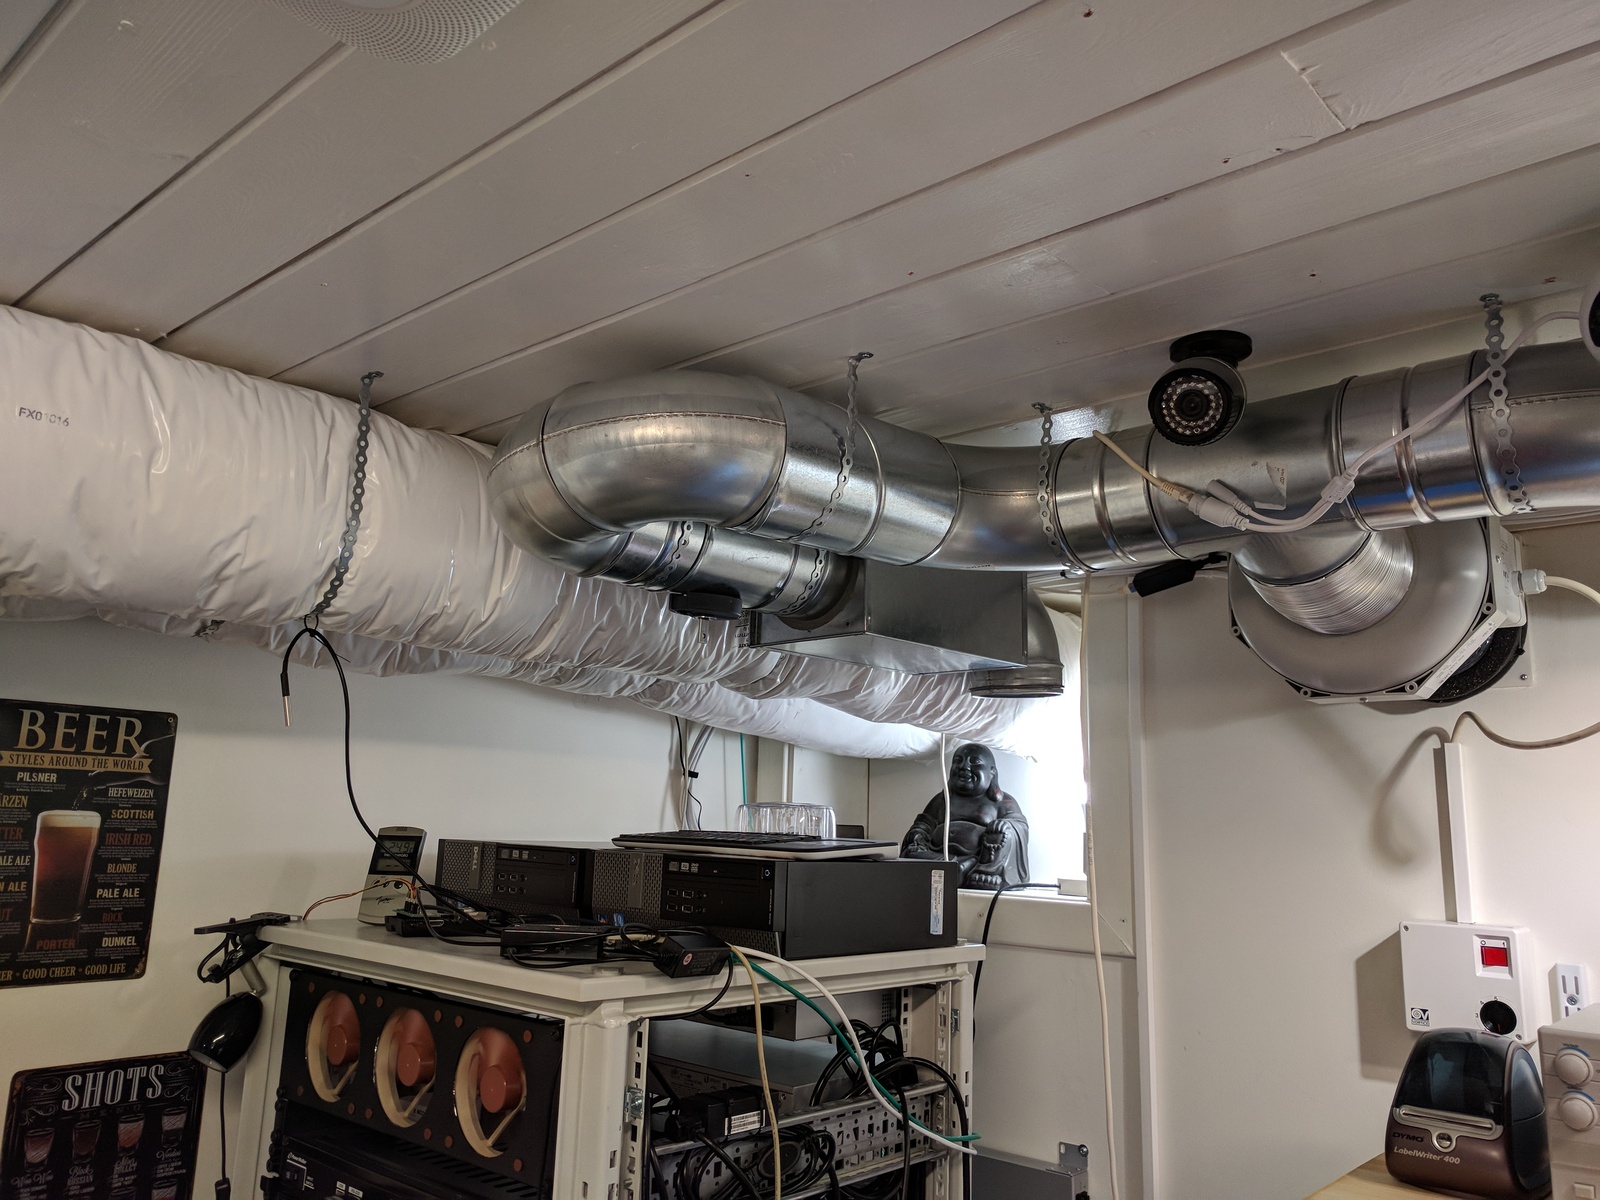
The intake was now close to the ceiling and above the rack. With the noise-trap, it was also considerably quieter than before. And it was more efficient, lowering the temperature in the room faster.
Fume extraction
The next thing I wanted to improve — was the fume extraction. My initial idea with the intake above the electronics lab area was that this would catch the solder fumes as they rose up.
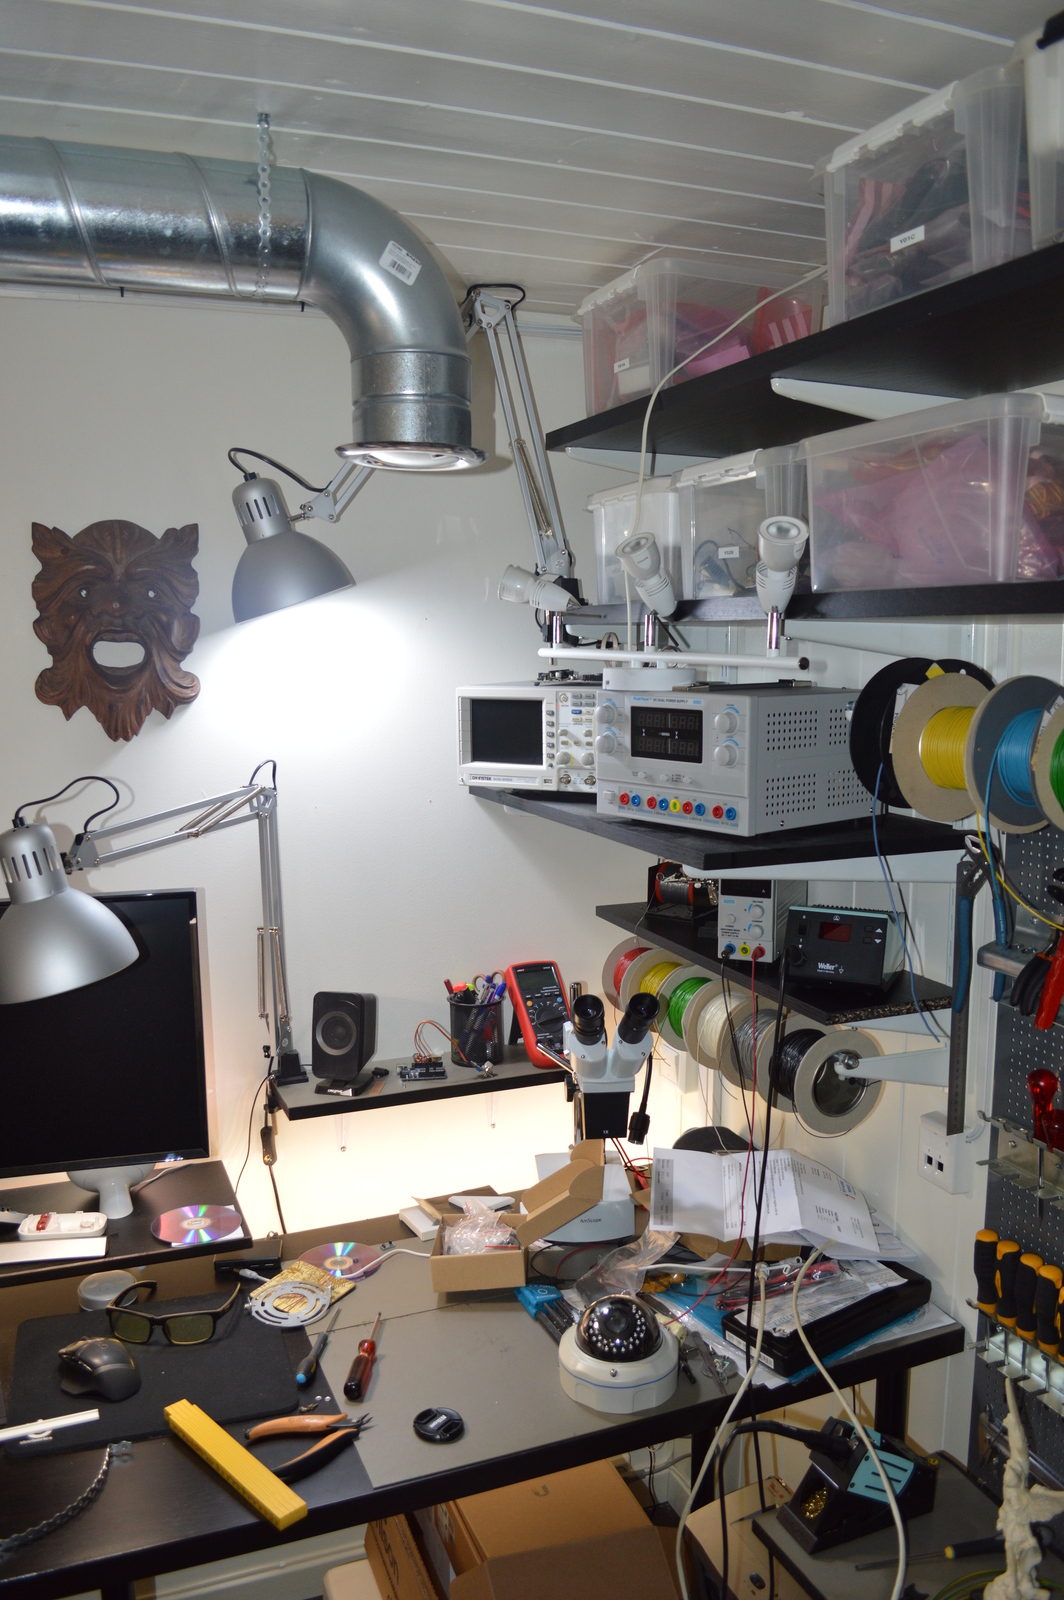
But it didn’t work like that. Because of the distance between the desk and the intake, the fumes didn’t reach it. Instead, they spread into the room and got in my face! What I needed was a fume extraction arm!
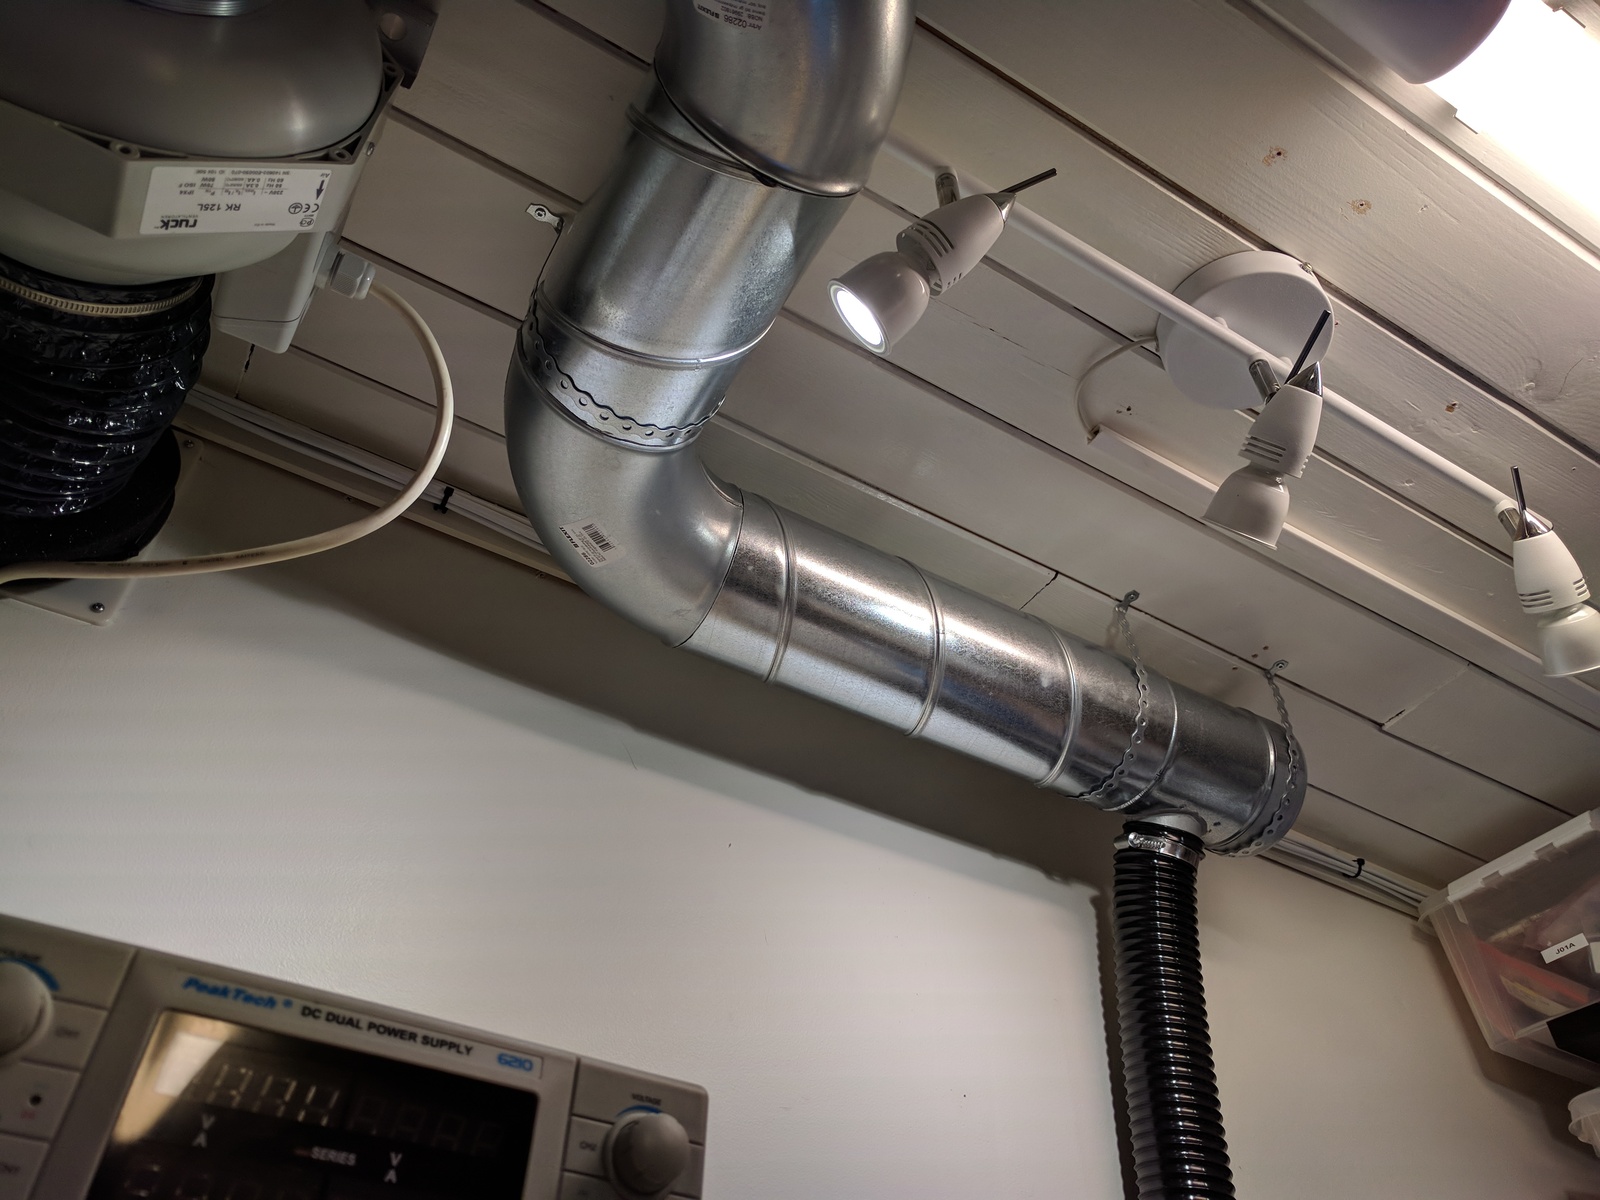
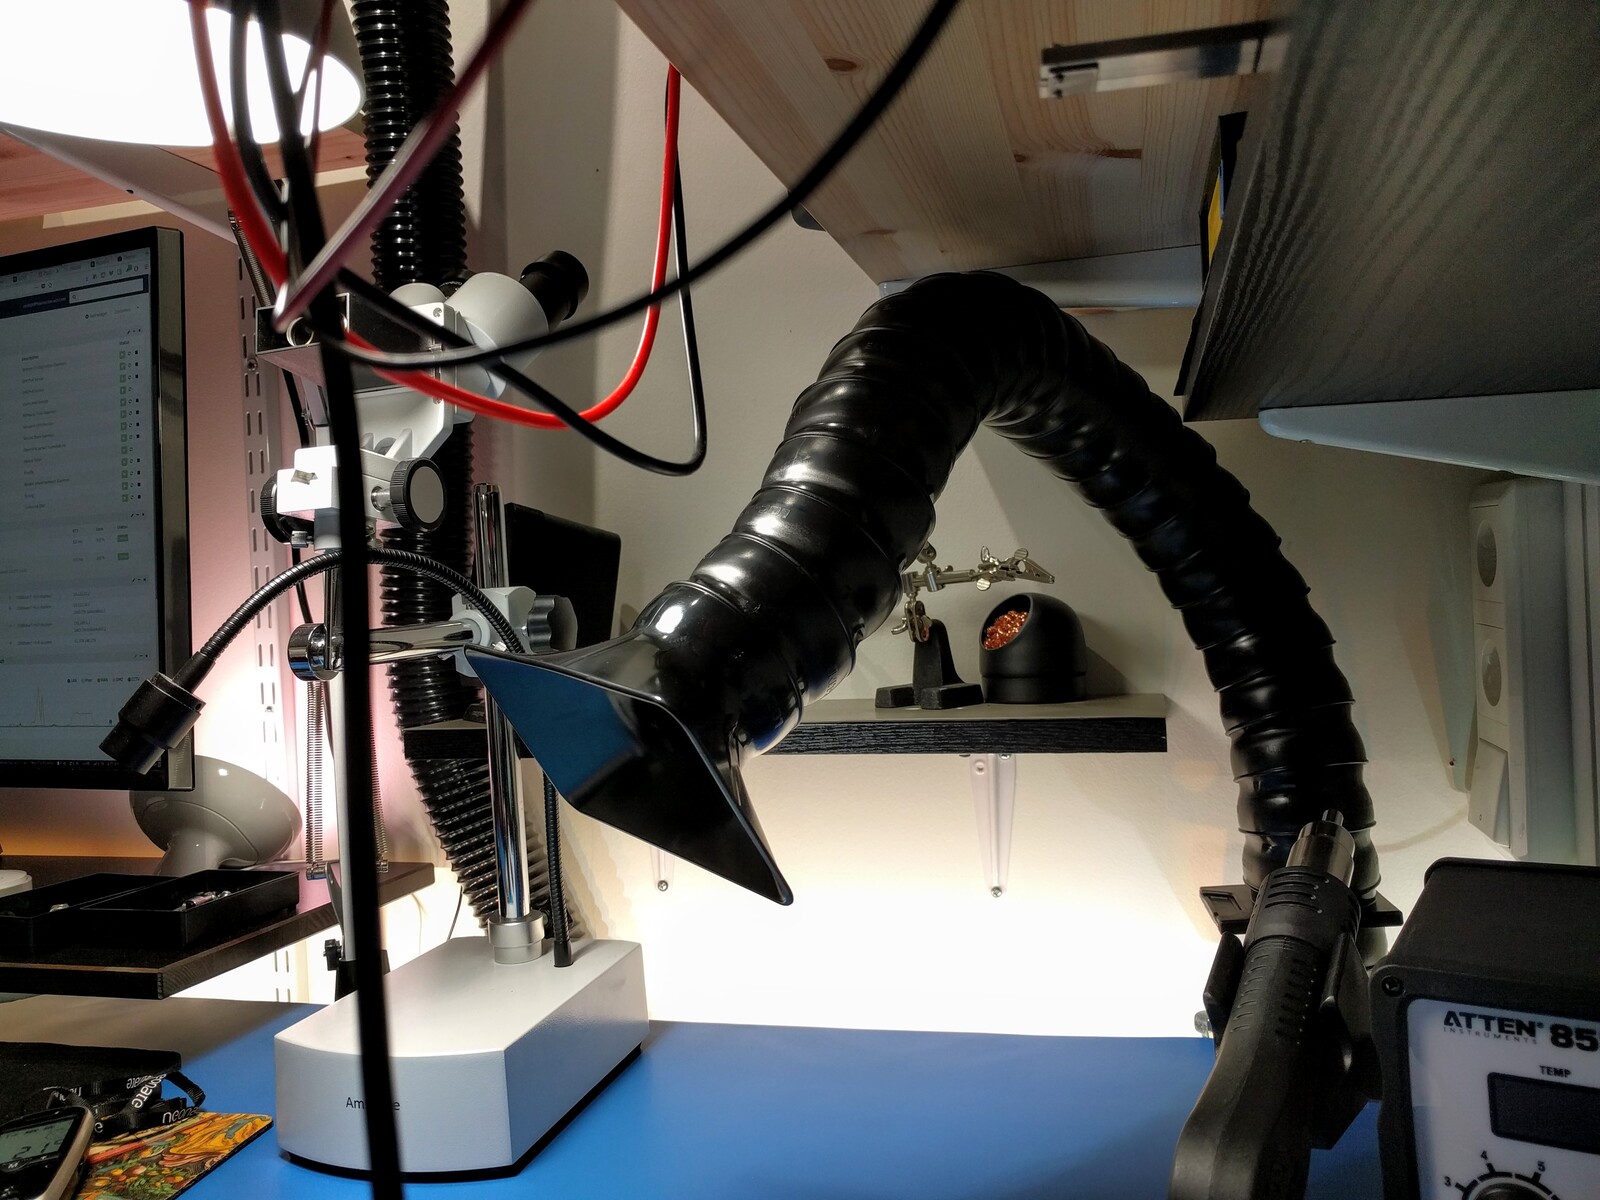
So I took the existing duct going to the fume intake down. I added some bends to get it closer to the wall. To connect the flexible hose; I added a T-piece with a 63 mm (2.5") outlet and capped the 125 mm (5") end.

The flexible hose is 2.5 m (8.2 ft), a bit longer than I needed. But I kept it at that length — should I want to move the fume extraction arm in the future.
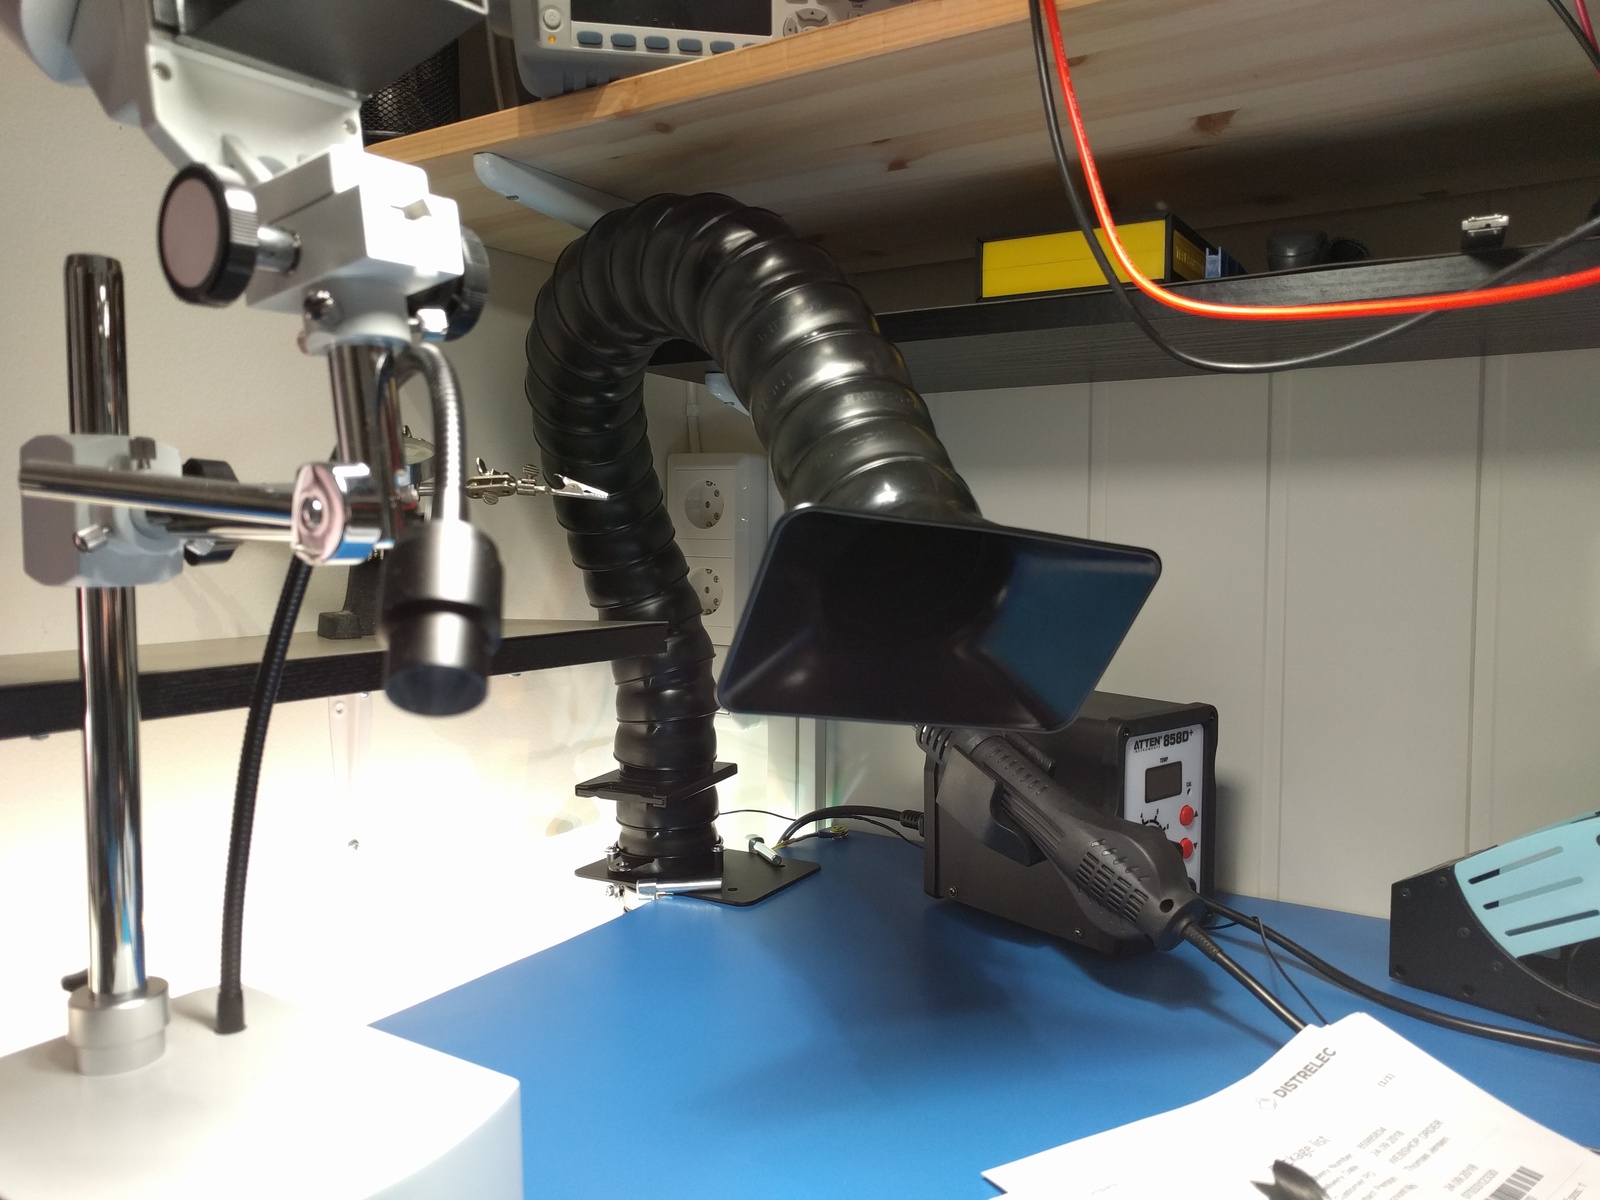
Both the arm and the hose is from Metcal. The arm is an Omniflex EA1122, which has a length of 60 cm (24"). I also got a 30 cm (12") extension and a damper, so that I can close it off when I am not using it. The arm is conductive and connected to ground, for ESD protection. The hood is 88x150 mm (3.5x6").
Having the fume extraction arm close to where I solder also keeps the fumes out of my face. And I no longer have to hold my breath, or gently blow when I am soldering 🙂
If you don’t have a fume extraction system; at least place a small computer fan, or something of the sort, to blow the smoke away from you. You don’t want that stuff in your eyes, or to breath it in.

The arm has a rated airflow capacity of 140 m3/h (82 cfm), which is a good match for the exhaust fan (RK 125L), which is capable of moving 168 m3/hour (100 cfm).
The reason why I needed the valve on the ceiling intake is that there is quite a lot of resistance in the 63 mm (2.5") flexible hose and extraction arm. Without it, the pressure would not be low enough to achieve any suction at the extraction arm end.
Both the valve and the duct joints have gaskets and make airtight seals. And the fan is designed to work with low pressure.
Conclusion
To vent heat; place the intake close to the ceiling and above or close to the heat source. To vent fumes; get as close to the source as possible 🙂
Both my exhaust ventilation and fume extraction now works great!

Noise
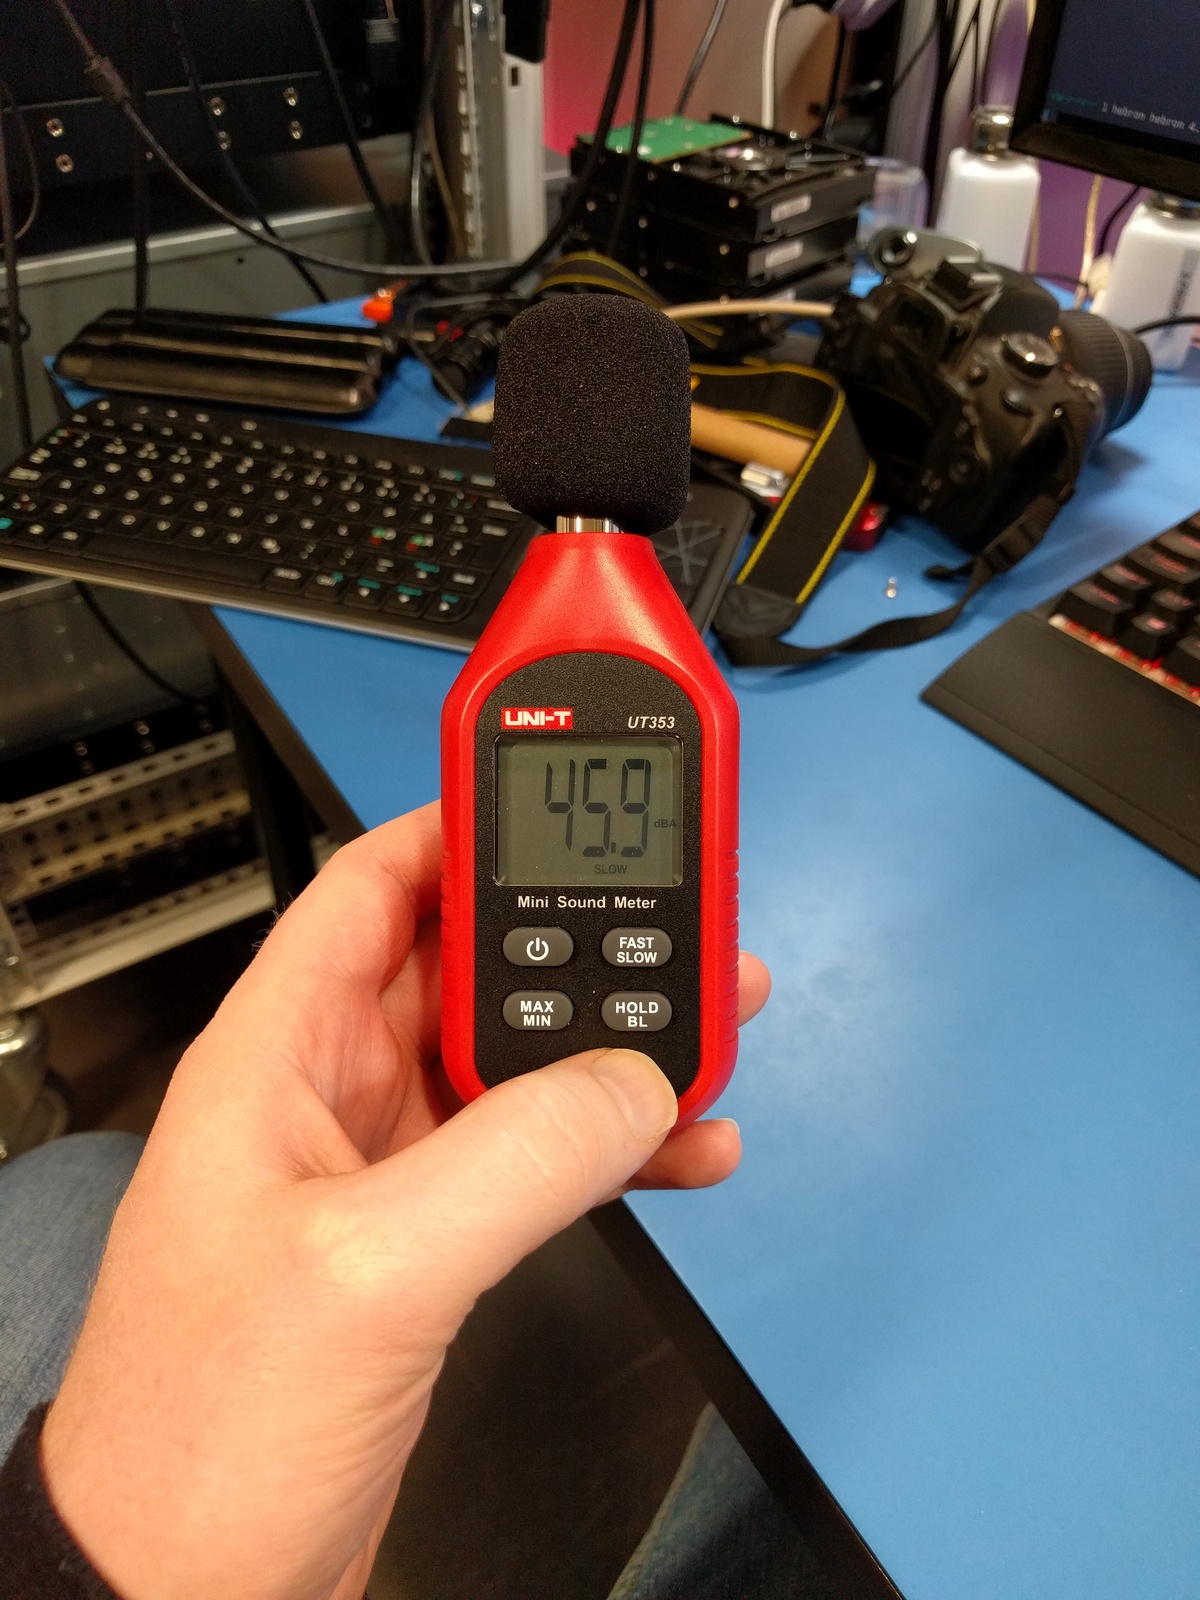
I figured it might be interesting with some noise levels — these are measured at my desk, where I sit, with a UNI-T UT353 sound level meter. All measurements were done with the fume extractor arm closed, and the valve for the ceiling intake fully open.
| Fan level | dBa |
|---|---|
| 1 | 43.8 |
| 2 | 44.2 |
| 3 | 45.9 |
| 4 | 49.0 |
| 5 | 50.9 |
I typically run the fan at level 3, or lower. The sound coming from the fan is low frequency, kind of like a hum — I don’t find it annoying at all.
Last commit 2023-12-25, with message: replace emoji slight_smile/slightly_smiling_face
