
I’ve been using dnsmasq as a local DNS resolver for a while, time to switch to Unbound instead.
Table of contents
Making an LXC container
I started by making a new LXC container on my hypervisor.
$ lxc launch ubuntu:20.04 unbound -p lan
$ lxc exec unbound -- /bin/bash
This creates a new Ubuntu 20.04 container, unbound, on my LAN and connects to it with bash.
Then I did was I always do on new containers;
- Delete the
ubuntuuser - Create my user and set a password
- Configure the timezone
- Update, upgrade and auto remove APT packages
- Create a
.sshfolder in my home directory - Exit the container
# userdel -r ubuntu
# useradd -m -G sudo -s /bin/bash hebron
# passwd hebron

# dpkg-reconfigure tzdata
# apt update && apt upgrade && apt autoremove

# su hebron
$ cd
$ mkdir ~/.ssh

$ exit
# exit
Next I pushed the authorized_keys file on my hypervisor to the newly created container, this allows me to log in with the same SSH key that I am using to connect to the hypervisor. I set the container to auto start and SSHed into it.
$ lxc file push .ssh/authorized_keys unbound/home/hebron/.ssh/
$ lxc config set unbound boot.autostart true
$ ssh unbound
Configuring Unbound
Now to the good stuff, getting Unbound up and running.
First we need to stop and disable systemd-resolved.service, because it uses port 53, and we want Unbound on that port.
$ sudo systemctl disable systemd-resolved.service
$ sudo systemctl stop systemd-resolved
Then I deleted /etc/resolv.conf and made a new one:
nameserver 127.0.0.1
search lan.uctrl.net
options trust-ad
Installing unbound…
$ sudo apt install unbound
Editing /etc/unbound/unbound.conf:
include: "/etc/unbound/unbound.conf.d/*.conf"

# Allow unbound-control
remote-control:
  control-enable: yes

server:
  use-syslog: yes

  # Refresh expiring cache entries, if less than 10% of their TTL remains
  prefetch: yes

  # Serve stale data if not older than 1 day
  serve-expired: yes
  serve-expired-ttl: 86400  # one day, in seconds

  # Timeout request and serve stable data if it takes longer than 1.8 seconds
  serve-expired-client-timeout: 1800  # 1.8 seconds, in milliseconds

  # Some logging to see what is going on
  verbosity: 2
  log-queries: yes

  interface: 0.0.0.0
  interface: ::0

  # Who can use our Unbound server
  access-control: 127.0.0.1/8 allow
  access-control: ::1/64 allow
  access-control: 192.168.0.0/16 allow
  do-ip4: yes
  #do-ip6: yes
  do-udp: yes
  do-tcp: yes

  # Certificates
  tls-cert-bundle: /etc/ssl/certs/ca-certificates.crt

  # Our local domain can fail DNSSEC validation
  domain-insecure: "lan.uctrl.net."

  # Allow plex.direct to return local addresses, otherwise Plex will fail
  private-domain: "plex.direct"

  # Ad-blocking, leave this commented out for now...
  #include: /etc/unbound/adservers.conf

  # Local zone entries should be transparent
  local-zone: "lan.uctrl.net." transparent
  local-zone: "168.192.in-addr.arpa." transparent
  #include: /etc/unbound/host_entries.conf

# All queries to the local zone can go to the Edgerouter instead
forward-zone:
  name: "lan.uctrl.net."
  forward-addr: 192.168.1.1

forward-zone:
  name: "168.192.in-addr.arpa."
  forward-addr: 192.168.1.1

# Forward all queries to Quad9 and CloudFlare, with DNS over TLS
forward-zone:
  name: "."
  forward-tls-upstream: yes

  # Quad9
  #forward-addr: 2620:fe::fe@853#dns.quad9.net
  forward-addr: 9.9.9.9@853#dns.quad9.net
  #forward-addr: 2620:fe::9@853#dns.quad9.net
  forward-addr: 149.112.112.112@853#dns.quad9.net

  # Cloudflare DNS
  #forward-addr: 2606:4700:4700::1111@853#cloudflare-dns.com
  forward-addr: 1.1.1.1@853#cloudflare-dns.com
  #forward-addr: 2606:4700:4700::1001@853#cloudflare-dns.com
  forward-addr: 1.0.0.1@853#cloudflare-dns.com
When I tried to start Unbound with these settings — it failed… It didn’t understand the serve-expired, I learned that this option was added in 1.11.0, and I had 1.9.4. Time to upgrade!
Upgrade Ubuntu
I upgraded Ubuntu to 20.10:
$ sudo apt update
$ sudo apt upgrade
$ sudo apt dist-upgrade
$ sudo apt autoremove
To upgrade to a non-lts version, we need to make a configuration change:
$ sudo vim /etc/update-manager/release-upgrades
Change Prompt=lts to Prompt=normal.
Now we can upgrade:
$ sudo do-release-upgrade
I now had Unbound 1.11.0, success!
And my configuration is no longer failing:
$ unbound-checkconf
unbound-checkconf: no errors in /etc/unbound/unbound.conf
Ad filtering
I put this script in /etc/cron.weekly/update_ads.sh:
#!/bin/bash
USEIP=127.0.0.1

set -e

curl -sS -L --compressed \
"http://pgl.yoyo.org/adservers/serverlist.php?hostformat=unbound&showintro=0&mimetype=plaintext&useip=$USEIP" \
| tee /etc/unbound/adservers.conf

unbound-control reload
For unbound-control to work, we first have to set it up:
$ sudo unbound-control-setup
It is important that the cron script has the right owner and permissions:
$ sudo chown root:root /etc/cron.weekly/update_ads.sh
$ sudo chmod +x /etc/cron.weekly/update_ads.sh

$ ls -l /etc/cron.weekly/
-rwxr-xr-x 1 root root 234 Feb 28 23:33 update_ads.sh
Looks good, let’s run it:
$ sudo /etc/cron.weekly/update_ads.sh
Now we can uncomment the following line in /etc/unbound/unbound.conf:
include: /etc/unbound/adservers.conf
And restart Unbound:
$ sudo systemctl restart unbound
Success
You now have an ad filtering, DNSSEC validating, TLS encrypted local DNS resolver. Congratulations!
To test the DNSSEC validation you can try:
$ dig www.dnssec-failed.org
This should fail.
To test the ad blocking, try a lookup on a blocked domain:
$ dig adservice.google.com
This should return 127.0.0.1, instead of the real IP address.
Implementation
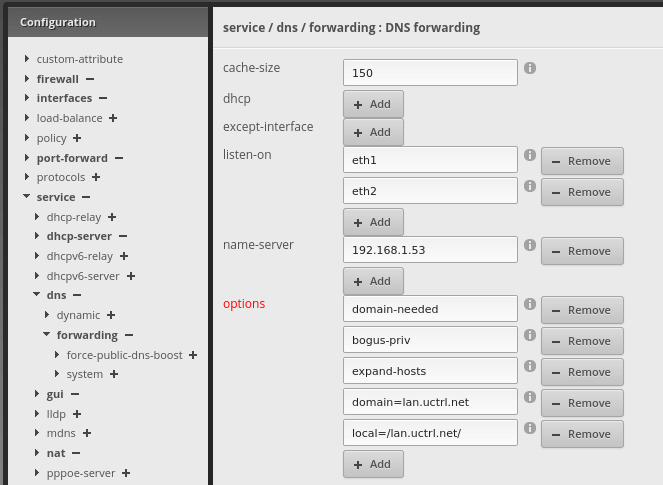
All DHCP clients have my Edgerouter defined as the DNS server, and it forwards non-local queries to the Unbound container.
Internet --- Edgerouter --- Client
                  |
                  |
               Unbound
References
Last commit 2024-11-11, with message: Add lots of tags to posts.
